 Sorry it’s been a few days. My sister came into town w/her kids & has been here since Friday, and so things have been a bit crazy at my house!
Soooo …. it happens to the best of us I think. I did this back in January with grand ideas of all these knots so beautifully going down the back of one of the girls heads, but it didn’t turn out as well as I’d of liked. I guess it’s because I really like the “smooth & clean” look in most of my hairdo’s and so to have things not tight & smooth I tend to look at it as not one of my fav’s. That’s not to say, everything is supposed to be tight & smooth – so I guess this really is ok. Anywho … because Bug was not in an overly cooperative mood when I did this, I have never tried to do it since to try and improve it. But sometimes I just have to post things so they’ll stop bugging me in my “in box!” So hopefully this one isn’t too bad for ya’ll to look at!
First off — if you don’t know how to secure a knot w/a rubber band, or need a refresher – watch my video. Then this should hopefully be no biggy if you know the jist of doing the knots & french braiding.
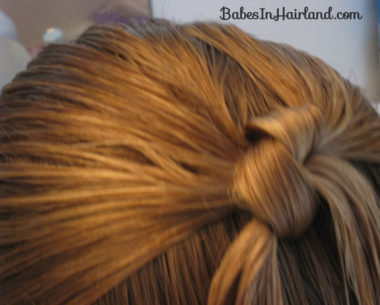
Comb the hair straight back, and then part the hair from ear to ear. Then divide the hair in 2 and make a knot (as the video shows – just don’t bobby pin it to the head) and secure it with a rubber band. It should look like this.
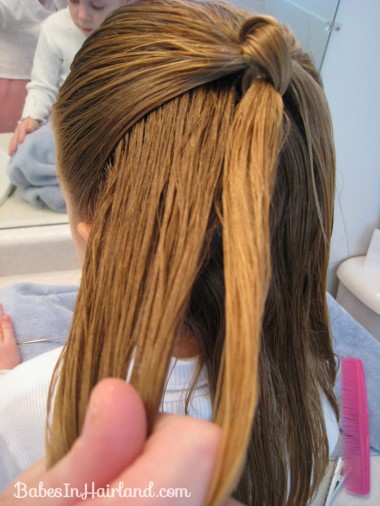
I was working with hair after her bath so it was still fairly wet. As always, the really helps when making knots like this. Not as many fly aways. (This looks nice too btw – you could just stop here if you want!)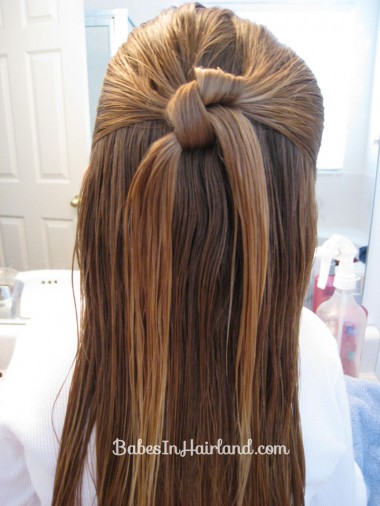 Here comes the “french” part! Once you’ve finished your first knot, add hair from below to the left section of hair from your finished knot. Combine it so it’s all one, and then do the same on the right side. So you will have 2 sections of hair again, with which to make another knot. Sorry I don’t have a ton of in between pix on this.
Once you’ve got 2 new sections, make another knot & secure it with a rubberband. Continue on down the back of the head making new knots & adding hair from each side for each new knot. Hopefully this makes sense.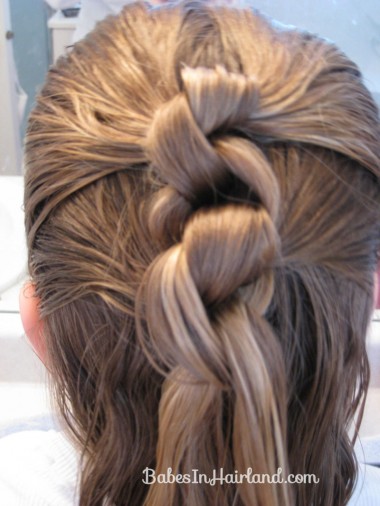
Once you get down closer to the nape of the neck, you should just be able to add hair to the left & right sides & make one last knot & secure it with a rubberband. You can continue down on the tail of it making knots too, but I just stopped it here.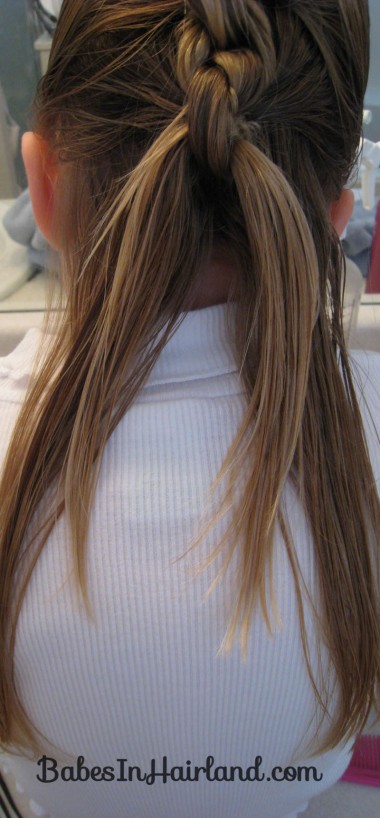
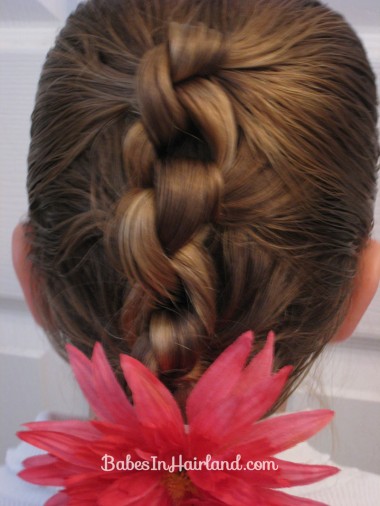
So here’s my “messy” look once I tied the end off with a rubberband, leaving a little hair down at the base for a tail.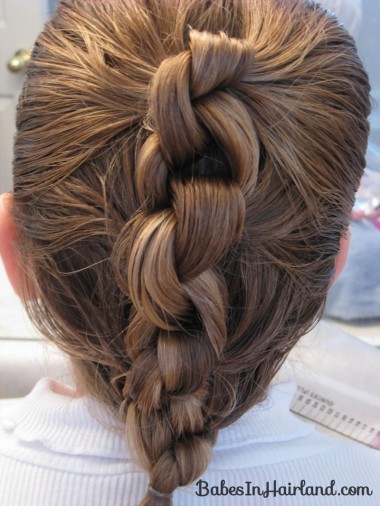
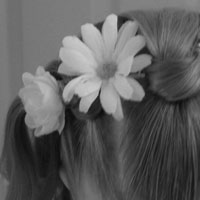
And because things didn’t look quite like I’d hoped, I added this nice big flower my sister made me for Christmas! Nice splash of color, eh?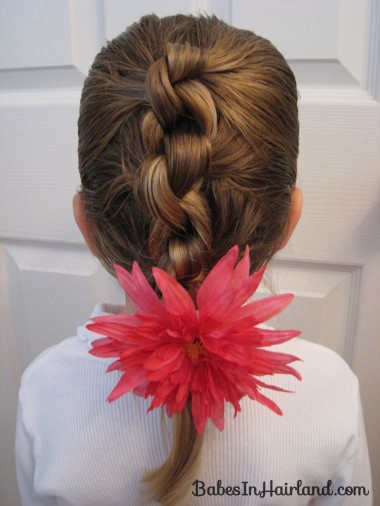
And a view from the side. I tried to comb & smooth things up a bit, so it wasn’t so lumpy & messy. So there you have it. A french-ish row of secured knots! ☺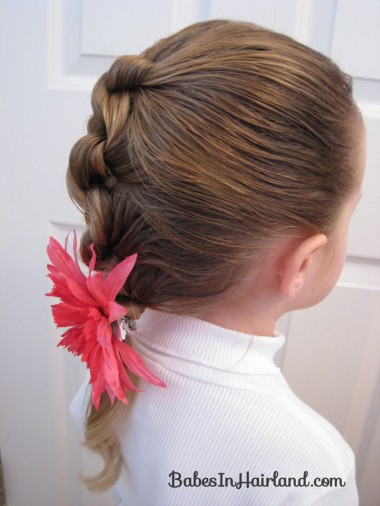
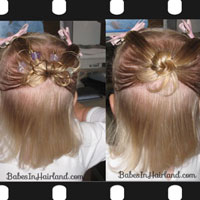
Oh, and I almost forgot … here was the day after waves that this one created. I just pulled it up lightly in front to a half pony & secured the pony just off to the left a bit topping it off w/a bow. Some pretty curly waves for the day after were a nice bonus from the above hairdo!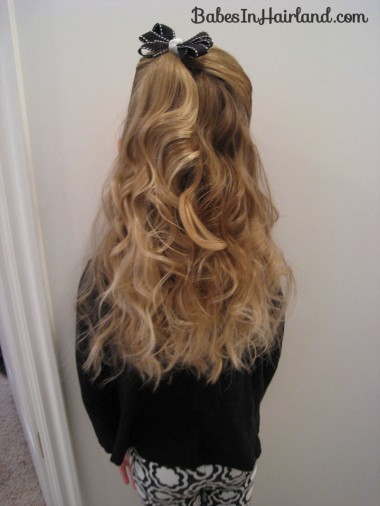 And new on the hair accessory front — go check these out:
Kayte Bug Boutique – Once again, some very darling must have’s for your DD. They are offering 15% off through the end of April, so if you want a deal, head on over.
Of course, if you didn’t win from my latest giveaway, Hair 4 My Princess has more stuff available from Every Little Detail – and you’ve only got through Wednesday to enter.
So lots of fun new things to go explore when you have a minute!
