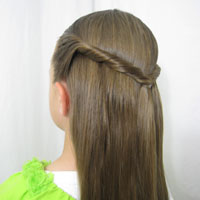
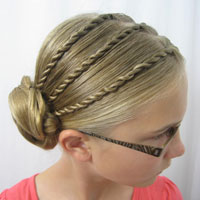
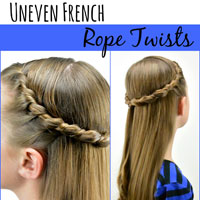
So before I ever learned how to do all the cool twists or rope braids, this was what I did – and still do quite often. If you have a hard time twisting hair and keeping it twisted so you can twist it backwards to get the rope look, this hairstyle is for you! I actually prefer to do this over the rope braid if I am pulling hair from the front to sort of make a crown around the back of their heads.But for some reason these lay a lot neater at the start of the twist and look nicer from the front for me. I can’t ever get the rope braids to look tidy from the front unless I’m starting the twist from the base of a rubber band or other accessory. Does that make sense? Anyway, this one is very easy and quick, but one of my fav’s.
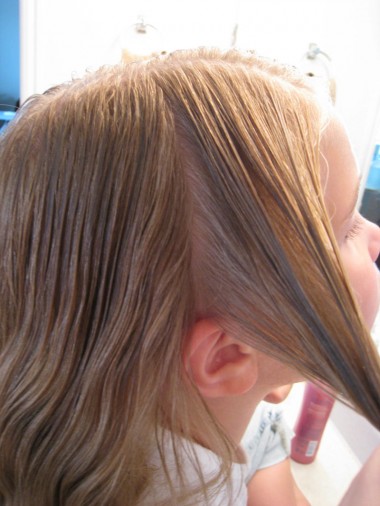
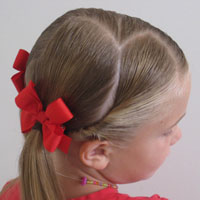
Step 1 – Make an off center part & section the hair from the top part down to the ear
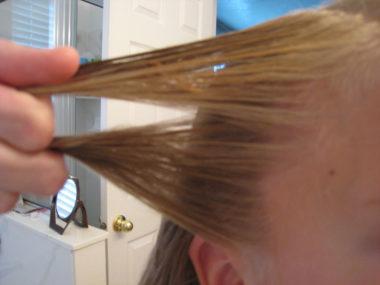
Step 2 -Make two sections of hair with what you’ve parted out above
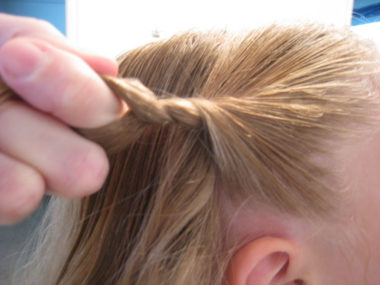
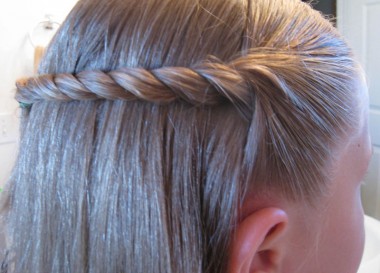
Step 3 – Simply start to pass the bottom section over the top section over and over again
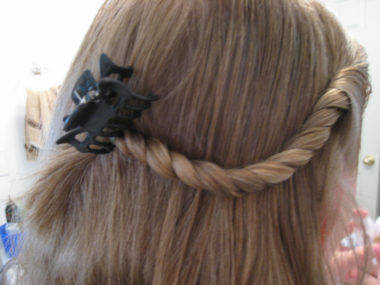
I always start with the bottom – so you are twisting the hair in towards the head – not out. I don’t just twist the hair in one big section of hair like the twists I do on the sides in this old post of mine – I actually take the two sections bottom over top.
Step 4 – Temporarily secure the twist with a clip to the other hair
When I reach the end I put a rubber band in it and because this will unravel I secure it with a clip of some sort while I start on the other side.
Step 5- Repeat on the left side & secure ends together with rubber band
Sometimes I’ll have the girls hold it, but they usually complain that their fingers are cramping up, so to save the whining I usually use a clip! When you have completed the 2nd side twist, bring together in the back and fasten. If you are afraid of it coming undone, put a rubber band in the end of the 2nd twist as well, and then join the two in the middle with another rubber band.
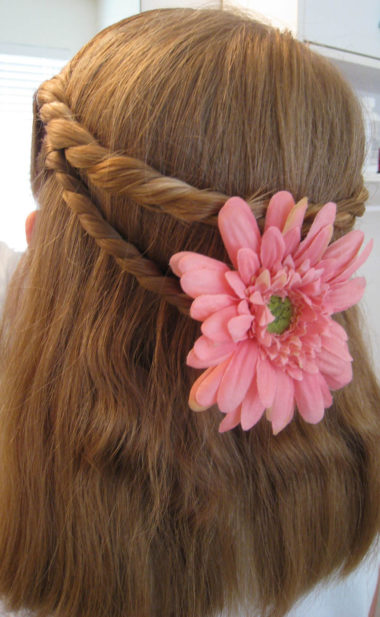
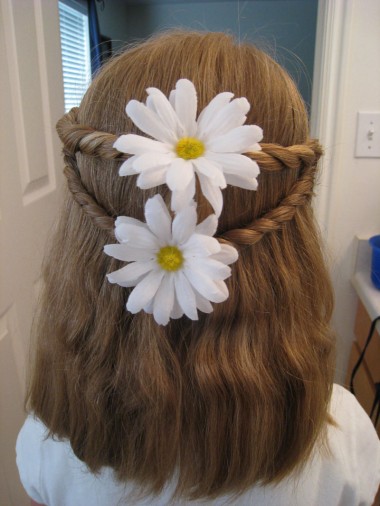
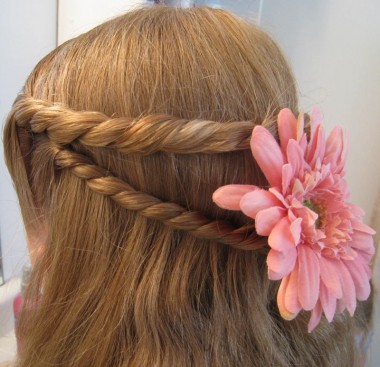
Depending on the length of hair you are working with, by having both ends secured with rubber bands it allows you to vary how tight the crown hugs the head. (Look at the picture way below with the pink flower on it. See how the top one is up higher and tighter to her head than the bottom one?) Am I making sense? Once you’ve got if fastened in the middle you can remove the extra rubber bands (they should be below your “final” rubber band.)
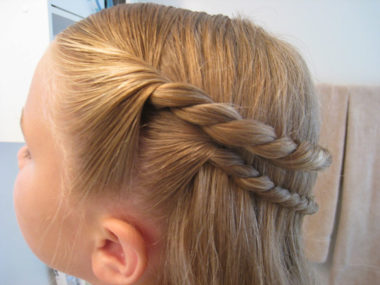
Here’s what it looks like from the side view. Normally I just do one set of these but on this particular day Goose asked for two.
Optional Step 6 – Add a 2nd twist below
I was actually surprised because she was anxious to go play with a friend. Because I was trying to hurry I didn’t wet this as much as I normally would have to keep the fly-aways down, so ignore all that! But we did two anyway…
I liked how these turned out looking because the top twist was a lot thicker than the bottom one so it gave it a bit of a different look.
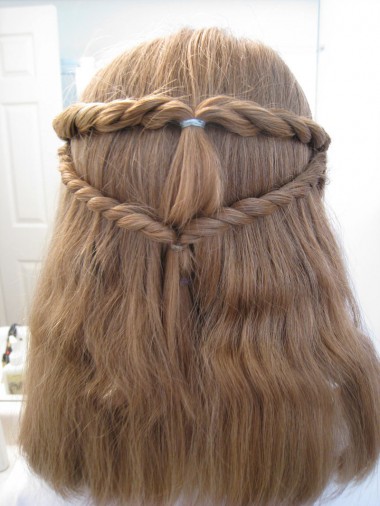
Here’s a view from the back. Ignore the lovely kinks in her hair – I didn’t bother straightening it after she’d had braids the day before. I figured it’d look nice a bit wavy, but in the end I wish I’d straightened it. No matter! Oh, if you look closely on the bottom twist, you can see I hadn’t taken out the lower rubber band on the right side after I’d fastened it permanently in the center. Oops!
We tried a couple different flowers, but ended out using the pink one in the end.
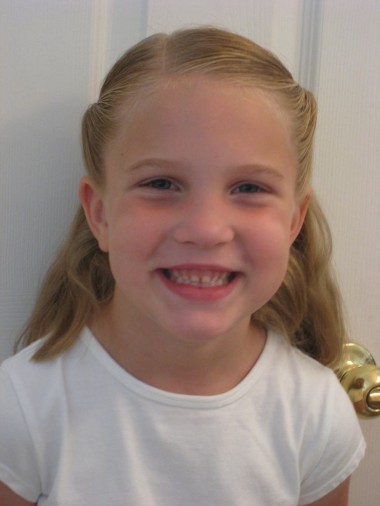
Here’s a view from the front. Like I said, I wish I’d straightened her hair in the back so it’d have laid nicer without the kinks for the view from the front. But I like the front view of the twists. My corkscrews never lay as well or have the “turning in” look to them when I’ve tried doing the style this way. Guess I’m just hair challenged on this one!
Wow, this turned into a majorly long post for these silly simple twists. Sorry! But like I said, it’s one of my favs. Uh, and ok Jenn, I guess you can keep calling me the twist queen! 😉
