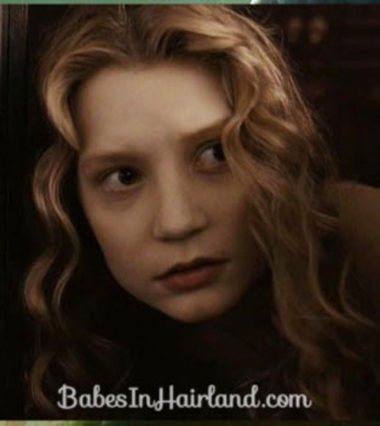
 Finally I think things are up and running again here – so on with the Alice Do’s. And I’m excited, because the movie comes out tomorrow. I saw a bunch of billboards advertising it while I was in Cali & that made me all excited! 🙂 If you missed our 1st Alice hairdo – check it out over HERE.
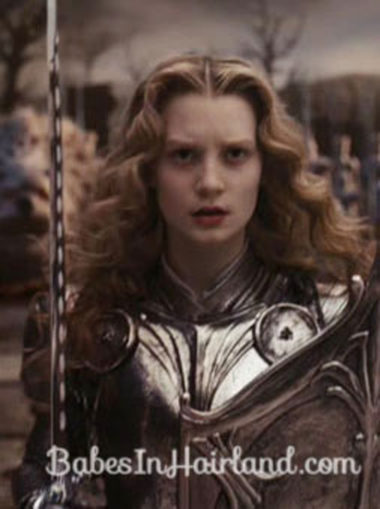
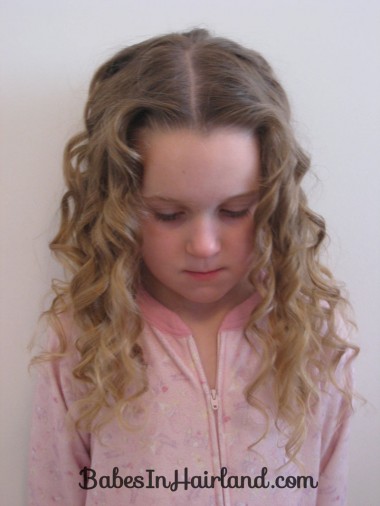
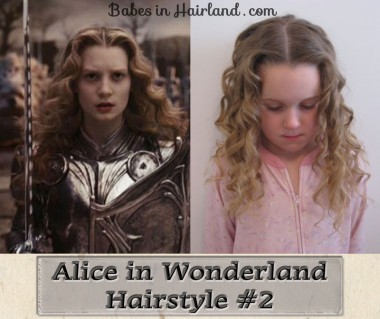
So this really is a no-brainer – but this is actually what I started with before I did the other styles – because I needed the “arched” bang – or Heart shaped hair up front. I’m not really sure if there’s an official name for how Alice has her hair arched up on each side of the part – but we’ll go with an “arched bang.” Just pretend Bug is wearing armor instead of her footy jammies! 🙂
I’ve always loathed Bug’s cowlick that she has in the front of her hair – for the reason of bangs, etc. She’ll probably never have bangs – unless she wants to deal with them springing up all over someday when she dos her own hair! But for this hair style, it totally played to our advantage. At least on one side of the part!
I’m sorry I don’t have step-by-step pictures on this, as I needed both hands for it – but it really is a no-brainer.
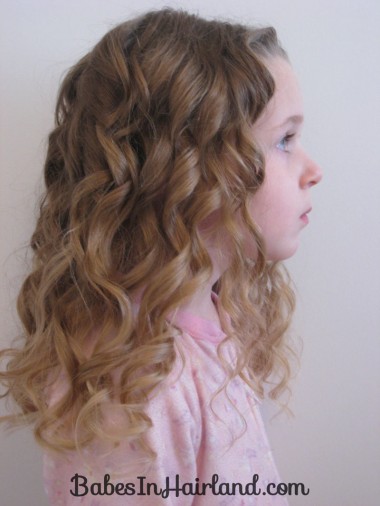
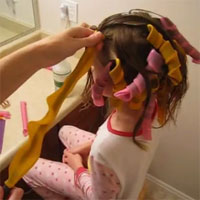
Obviously you’ll need curls. Before putting the curlers in – part the hair smack down the middle of her head. I have never been a big fan of this kind of a part – but it looks amazing with the curls – and I’m not going to argue with the stylists that did Alice’s hair! LOL Once you’ve got it parted right down the middle ,curl the hair – whether you do it with a curling or flat iron, or use Curlformers, or your favorite type of curler.
After your curls are done, you’ll need to get that “arch” on each side of the part. And because I needed both hands to do this I couldn’t take step-by-steps here! Her one side arched on its own because of her cowlick – the other side I back combed it a bit, sprayed with hair spray, and then with my hair dryer on low I aimed it at the area I was working on. I put my fingers in the arched area, pulling the hair up as I was drying it to give it a bit of “lift” as well. I hope that makes sense. You could probably also use your curling iron a bit to get the arch up front too. You’ll just need hair spray to keep the arch from falling once you’ve got it styled how you like.
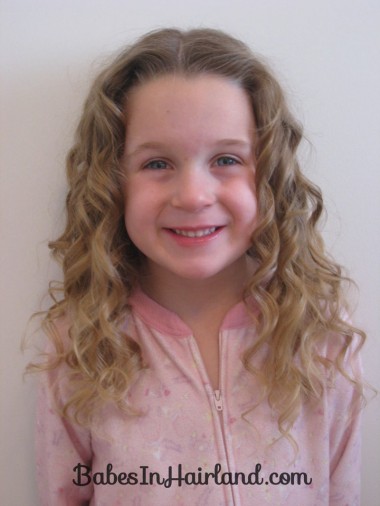 I didn’t get them as high arched as Alice has in the pic where she’s sporting the armor and getting ready to fight the Red Queen because I think it would have been a bit too much of an arch on a kiddo like Bug.
And there’s the comparison. The more I look at Alice’s hair like this –the more I love it! Stay tuned for the next installment of Alice Hair! 🙂
