My girls are the ones that named this because they thought it looked like a waterfall spilling over and up from their ponytail. Sorry for the cheesiness that some of these do’s may be named. When Goose’s hair started getting really long and was hot on her neck, we started doing a lot of ponytails (which despite their easiness, they are not my favorite). I decided to start changing it up a bit, so it wasn’t just an ordinary ponytail. This is one way we did that.
Step 1- First make a regular ponytail but don’t make it extremely tight.
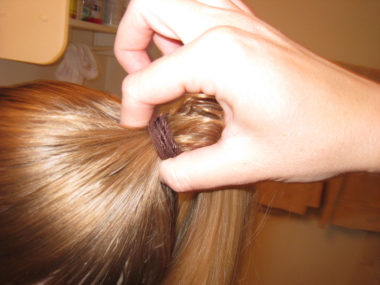
I then use a rat tail comb to make a hole in the hair against the scalp. I know there are hair “tools” (aka Topsy Tail) for this but I just take my fingers and pinch them through the hole like this:
Step 2 – Make a hole with your fingers in front of the rubber band
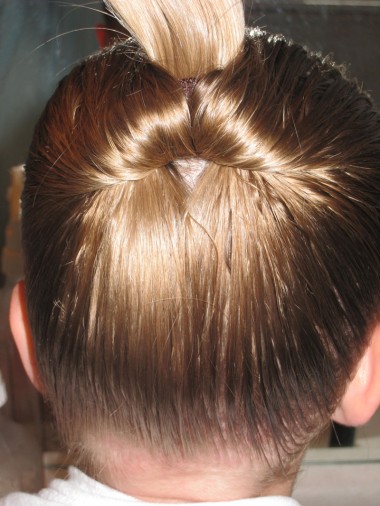
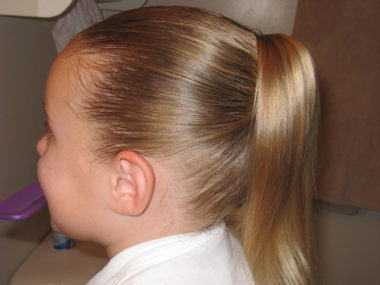
I sort of twist the ponytail around one of my fingers and push it through the hole. Instead of pushing the hair through down through the top and out the bottom, for this waterfall effect I push it up through the bottom and out the top like so. (This is underneath the ponytail)
Step 3 – Push the ponytail up through the hole
The picture below these words is a view from the top. (To some they may look the same!)
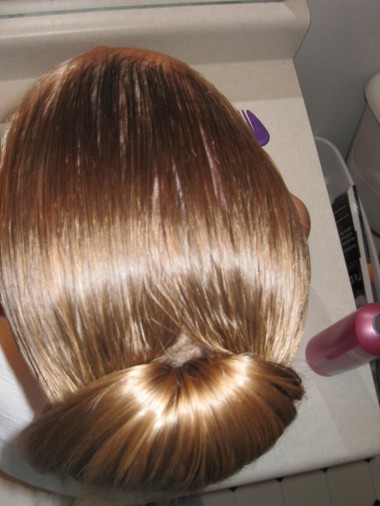
Step 4 – Smooth hair on sides
At this point you can either smooth the sides up a bit and leave it as is , or . . .
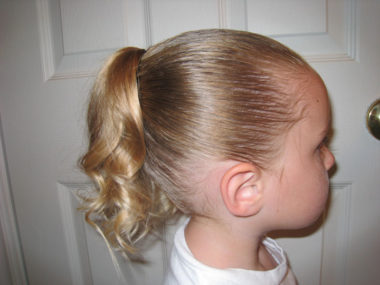
Optional – Step 5- Curl ponytail
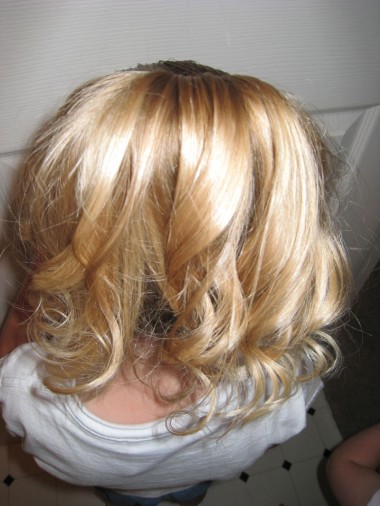
I prefer to add a bit of curl. Bug’s hair is stick straight so any curl you see her ever have is courtesy of our curling iron! I would have made it curlier but the baby was trying to climb up my legs during this one (which happens quite frequently during hair time!)
I love this tutorial! The hairstyle is simple, yet so classy. I wore this to my great-aunt’s stepdaughter’s graduation and she loved it! I never pleased someone so critical so simply!
Isn’t it funny how that works? Sometimes the hardest to please people like the simplest things. I’m so glad this worked for you & was a success! 🙂