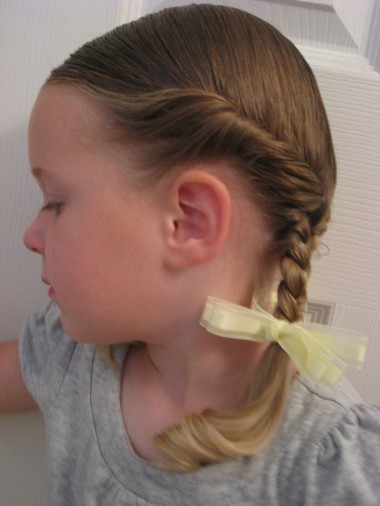
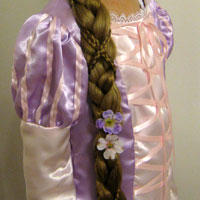
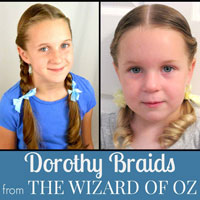
In the summer we also love to do Indian braids (sorry if not politically correct calling them that – no offense meant!) or as we call them at our house “Little House on the Prairie” braids (for those of you who remember that show!) But to dress them up a little, you can also do them like Dorothy in the Wizard of Oz. If you look closely, Dorothy doesn’t just have braids, but the side of her hair is twisted and then that leads into the braid. Hers were also not braided all the way down to the end, but instead just a little bit a braid and a nice curl on the end — and of course don’t forget the ribbons!
Step 1 – Part hair right down the middle
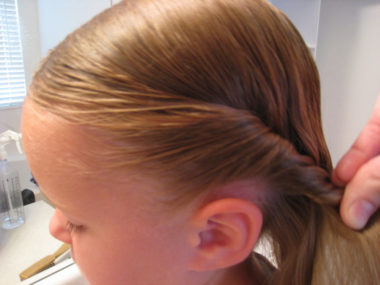
Step 2 – On left the left side start twisting hair inward
I started by parting Bug’s hair down the middle and just above her ear I took a section of hair and just twisted it. I didn’t really add more hair in sections like the “Ever After Crown,” I just rolled it inwards towards her head, working my way down.
When I do it again, I’ll probably start further forward with the twist so you can see it better from the front.
Step 3 – Twist to the ear & start braiding
Once I got down past her ear a bit I used the hair that I was twisting as one strand of the braid and grabbed the rest of the hair and started a 3 strand braid. I didn’t braid down all the way, but instead stopped with plenty of room to curl the ends.
Step 4 – Secure end of braid & repeat on the right side
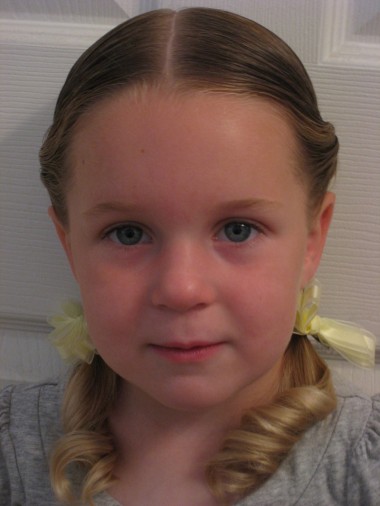
Optional Step 5 – Curl ends & add hair accessories
Looking at this picture I guess this kinda looks like a “little country girl” do, from the movies with her hair over her shoulders like this, but kinda sweet I think!
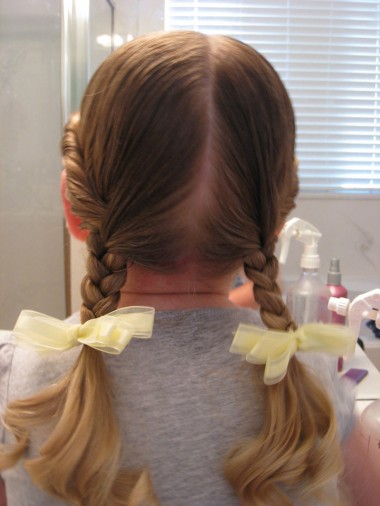
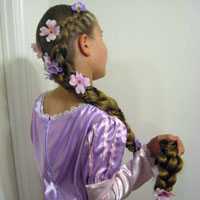
Here it is from behind – and why is that the part looks straight and centered when I’m doing it, but then after I’m all done and pictures are taken, it looks totally off? Sheesh! I also probably would have started braiding the strands in a different order, so they’d lay nicer at the top. Oh well, there you have it – a “sweeter” way to do regular Little House braids!
