Welcome to Day 1 Ladies! I’m so excited about this & I hope you are too! So to start the 7 days out, I thought I’d go with an accessory that has become fairly popular in my corner of the world – but I thought I’d change things up a bit —
Today’s Featured Accessory: Headband Scarf
Let me start off by saying, the day I did this Bee was not feeling well, so I had her at my knees the whole time I was doing this. So I had bigger plans to make the hair do a lot “fancier” than it turned out but this hopefully this gives you the idea & opens the door to your creativity as to what else you could with this fun accessory.
Our biggest problem with headbands – as may be yours – is that they are hard to keep in place. So I fixed the problem with this hair do – plus dressed up the headband a bit more.
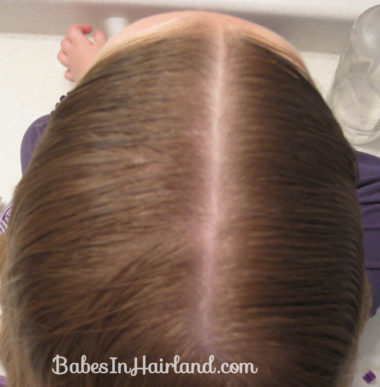
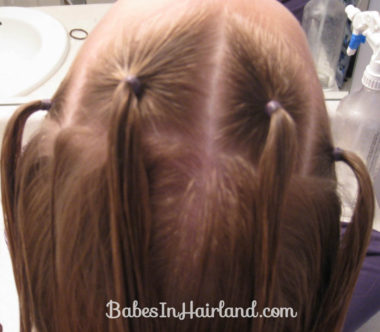
Part the hair in the middle on the top of the head
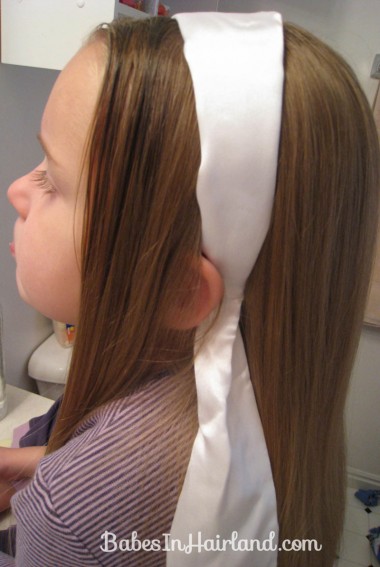
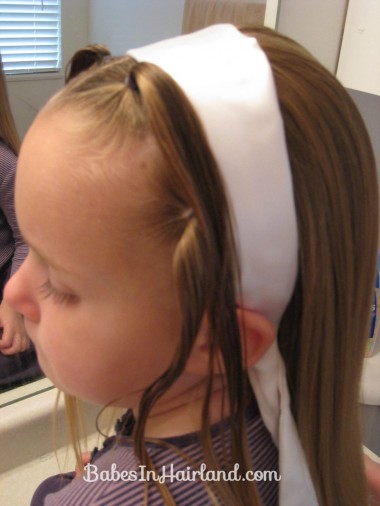
Then position the headband on your DD’s head where you want it to sit.
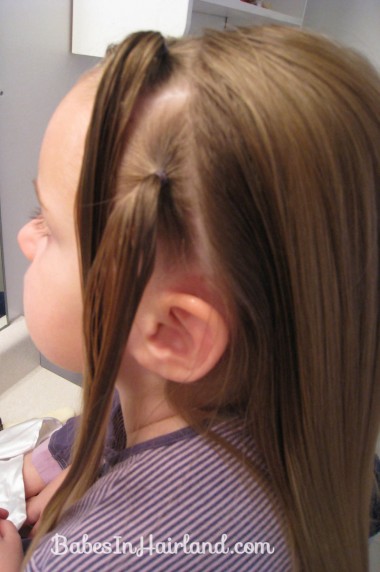
Then while the headband is still on, make a vertical part down to each ear, following the line of the headband on both sides. You can either keep the headband on (but I found it easier with out it) and then proceed to section out small ponytails with the hair that had been in front of the headband.
Because of the baby at my knees we kept this quick & easy with 4 ponytails around the front of her face.
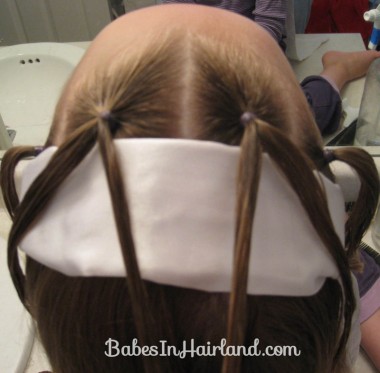
Then put the headband back on. Positioning it so it hopefully covers your part that goes from ear to ear.
Then I took the 2 middle ponytails & split them into 2.
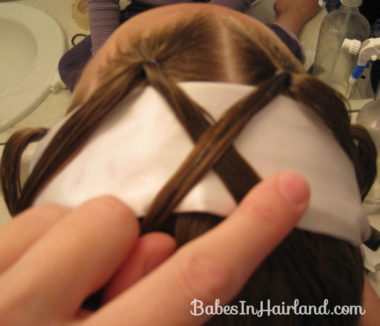
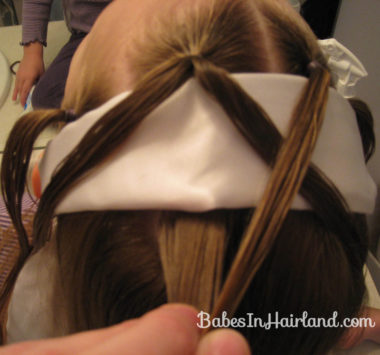
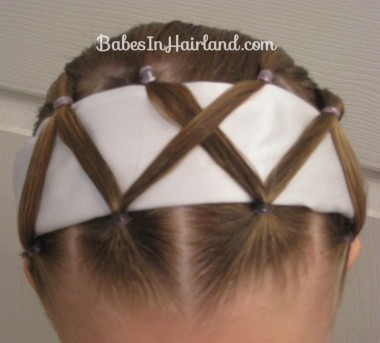
You’re just going to do a basic lattice work with this & I’m sure almost everyone and their dogs has done this – but just for demonstration’s sake I took pix! Cross the 2 inner pieces over each other to make an X.
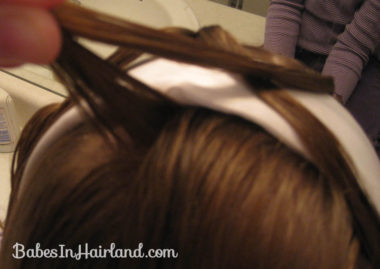
Then from behind the headband section out small pieces of hair for the front ponytail to join with. I didn’t make big parted out sections or anything because I really didn’t want noticeable parts like often times you do when making a “net” or “lattice” hairdo. Tie off with a rubber band behind the headband pulling it as close as you can to the headband.
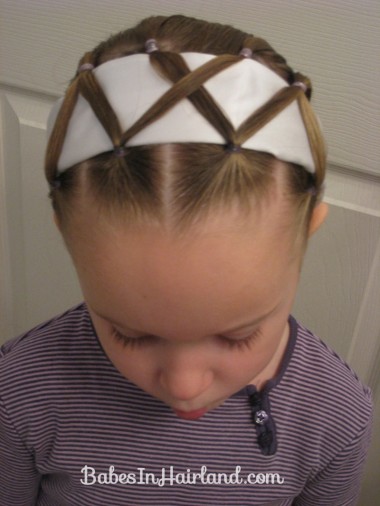
Repeat with each section of hair. This is kind of a view from underneath to show the small amount of hair I used to join them together.
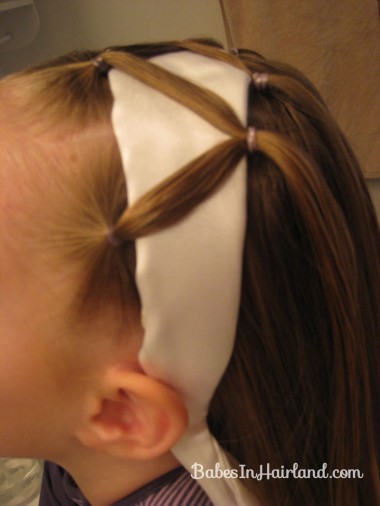
Once I made the middle X and had it fastened with rubber bands – I took the outer sections of hair from those 2 middle ponytails, and joined them with the outer ponytails making more of a V. This is where I wish I had made 6 or 7 ponytails across the front so I could have done more of the X’d look over the headband – (but like I said – baby at the knees! 🙂
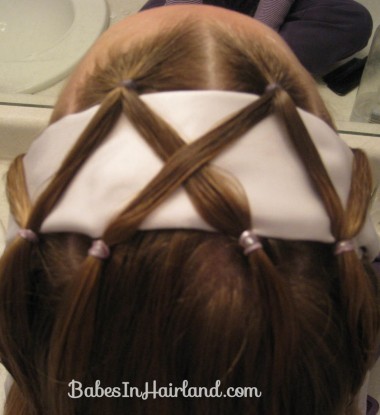
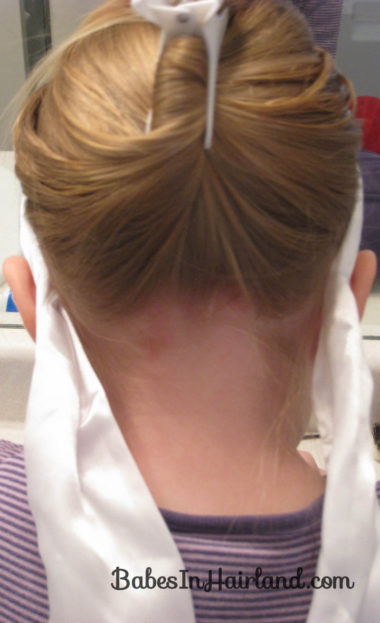
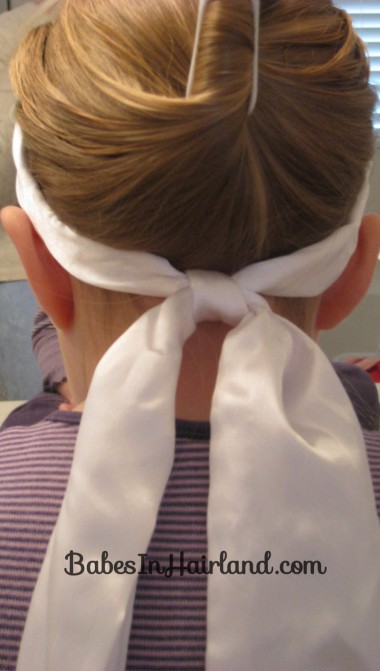
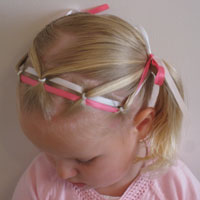
So this was a view from the top. Be careful to pull the hair tight across the headband to begin with or you’ll have a bit of bubbling like I did on the left side of my X. I cinched the rubber band in a bit & that’s what happened. So try get them as tight as possible from the beginning. At this point you could be done and just tie the scarf ends underneath the hair & call it good – but we went just a little further.
I pulled her hair up out of the way (you could also do this and keep it swept up like this too) – there are so many options with these.
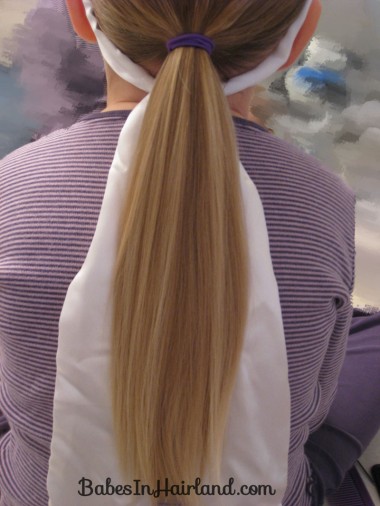
Then pulled her hair into a ponytail…
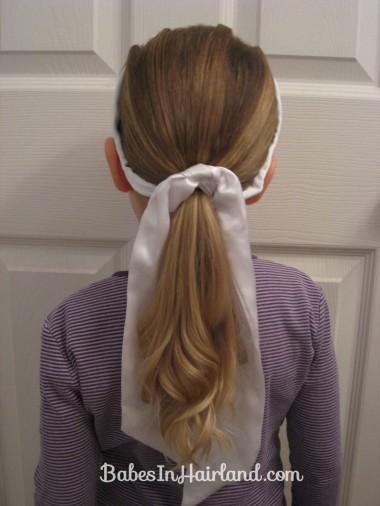
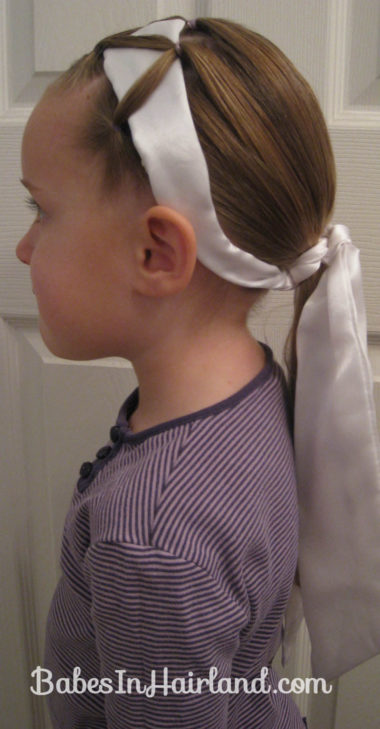
Then pulled the scarf ends up from below and wrapped them around the base of her ponytail tying another knot.
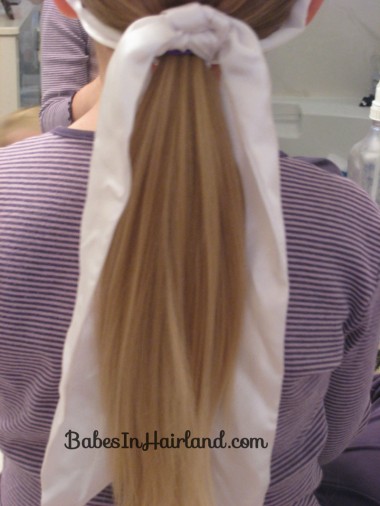 I curled the ends and Voila — the look from behind …
From the side …
From above …
And straight on. Bug really liked this one & we had many compliments on it when we were out running around later. The best part about this was I didn’t have to undo it all when the day was over. I simply untied it from around her ponytail and then gently slid it out one side & the lattice work stayed in beautifully!
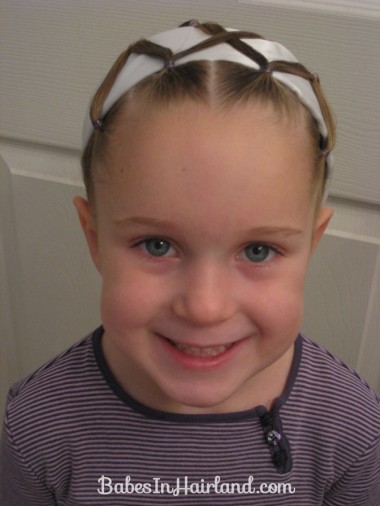 So this worked wonderfully keeping this headband in place for her. Especially since it actually was a little big for her head. I tried it on her one day just letting her wear it normal & wrapped the scarf around a bun and the headband didn’t stay on worth anything. But this hairdo solved our problem. Can I get a Whoop-Whoop!? 🙂 I definitely will do this again & am going to try a few other looks that you’ll probably see later on down the road. So if you need help keeping these type of headbands in place – this is the hairdo for you!
Oh, and here’s another one with Bug sporting her hair w/the headband when I had her pictures taken a while later. The photographer couldn’t stop asking me about it! Love this one! 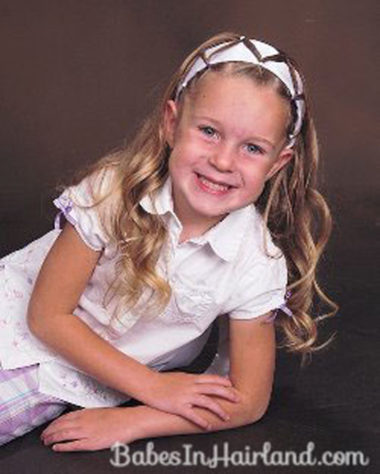
Love love love the hair!!!! Always wondering what to do instead of a ponytail. Definitely found great ideas. THANK YOU!
Love this it will be great for Katherine’s hair it’s so long that it’s nice to know there are more things to do then just the braid or pony
I have terrible trouble getting anything to stay on The Bean’s head. She just doesn’t like headbands very much, and only tolerates her bonnet for so long before pulling it off. (until she pulled apart the ribbon ties and that was the end of that *sighs*) She also has a tendency to pull out any hair ties after a while as well, so I’m going to try this and combine the two. Hopefully her little baby fingers won’t be able to undo everything and her hair will stay OUT of her face and hubby and Spudling (aka older brother) will be happy. Thanks for the tutorial. (^.^)/
I guess the key is to just keep at it and be consistent. If I saw my girls trying to grab stuff out of their hair, I’d gently take their hands away from their head or give them something else to play with to distract them from having their hands up in their hair. It is a battle that some mom’s don’t care to fight, so you just have to pick those battles I guess! lol