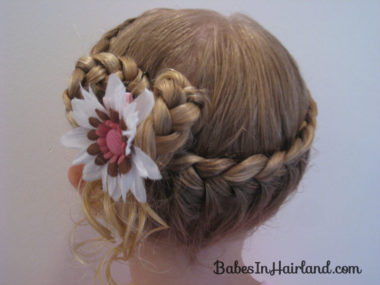
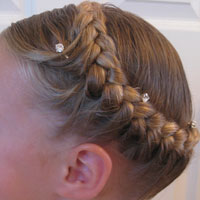
In a recent post where I introduced Miss K. as a new “babe” here in Hairland, I’d posted a few pictures of her along with asking advice on her curls, etc. and in one of the pictures I’d done a French braided “crown” on her. I’d had someone ask how exactly it was done. I’d posted a Half French Braided Crown on Bug almost 2 years ago that wrapped clear across the top of her head (you can go HERE to see it along with the video on how these are done.) But this one is just a bit different. And I think it looked so cute on Miss K. So I redid this the other day & took a few step-by-step pictures. She’s not quite used to the “holding still” thing for pictures to be taken, so I apologize that some of these aren’t the best quality!
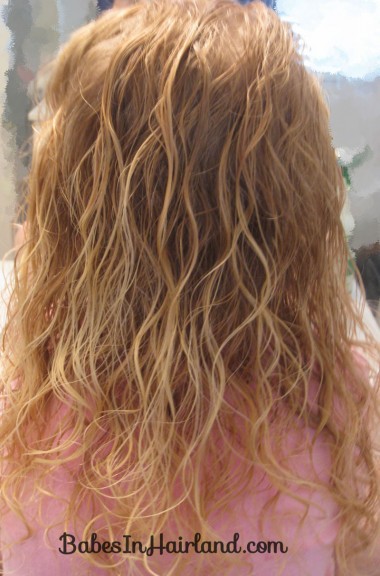
I started with de-tangling her hair and putting Garnier Fructis Curl Sculpting Cream Gel in her hair while it was still fairly damp.
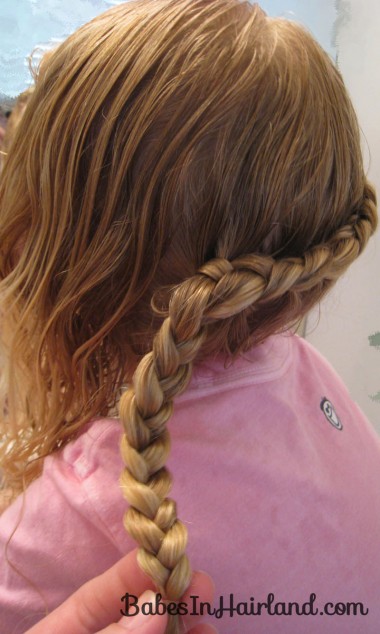
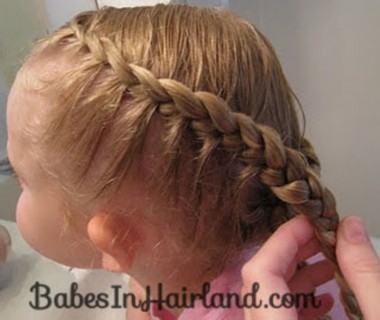
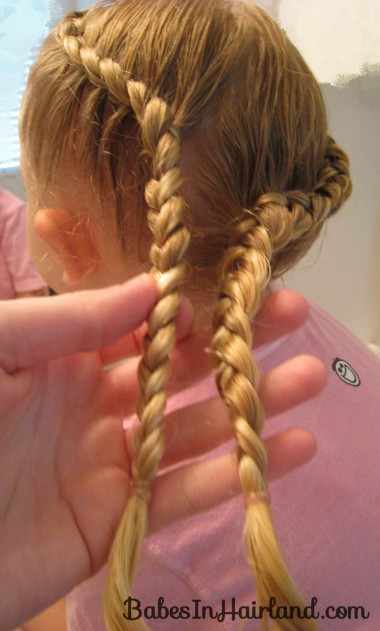
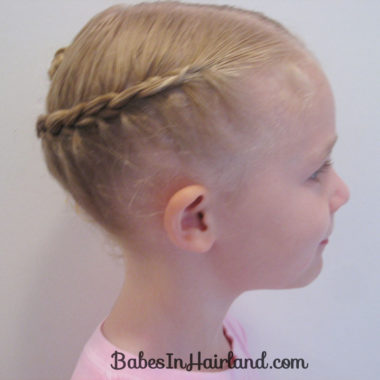
Part the hair off center on the right side. Begin doing a half-French braid (go HERE for my video) working your way from the right side around to the left side. Work your way just past the middle of the back of the head. Stop adding hair once you past the middle of the back of the head & do a regular 3 strand braid down to the ends of the hair. Secure with a rubber band.
Then on the left side of the head, start another half-French braid and work your way around the left side of the head until you run out of hair to add. Then continue doing a regular 3 strand braid down to the ends of that part of the hair as well.
Once you’ve tied both braids off with rubber bands it should look something like this:
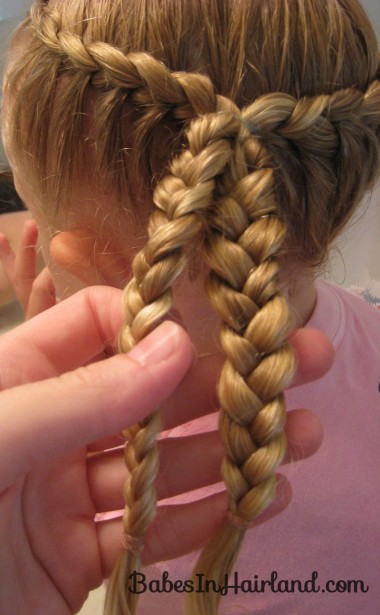
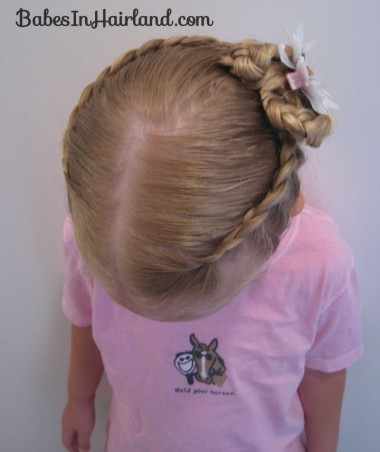
Bring the two half-French braids together on the head, as if to make a pony tail with the 2 braids. Secure with a rubber band. The French braided parts should be pulled close together to look like it is one continuous braided crown around the head.
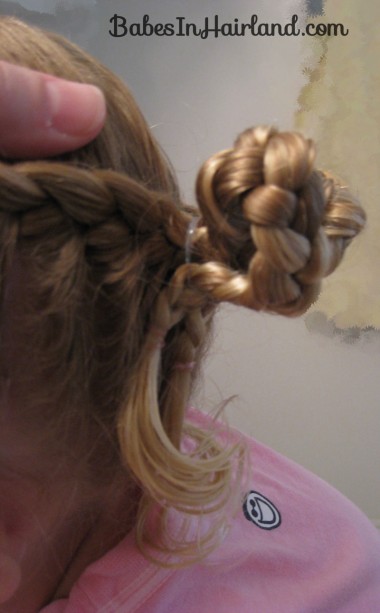
Take another rubber band and wrap it around the two braids as if making another pony tail. The last time you wrap it around, don’t pull the braids all the way through (kind of like a messy bun – but with braids.) You’ll have the 2 braids making little loops.
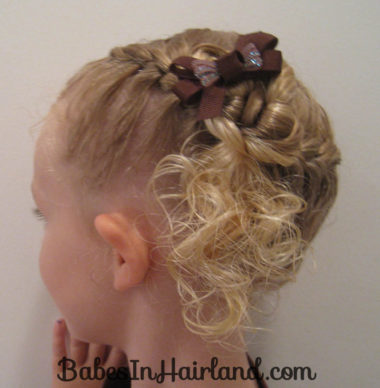
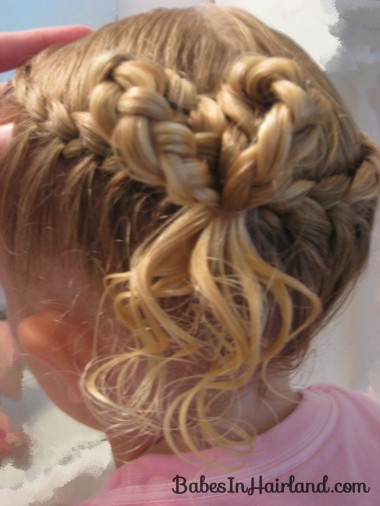
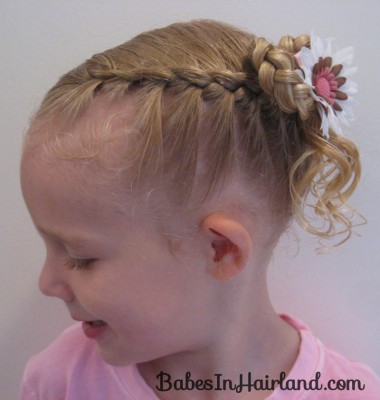
Take the 2 looped braids and position them to sort of form a heart shape of sorts. Secure them to the head with a bobby pin or two. Remove the rubber bands that you’d had holding each individual braid to start with. Fluff the curls below the braids – or curl with a curling iron.
Add a fun flower or bow & you’re done. This cute little flower is from Gimme Clips.
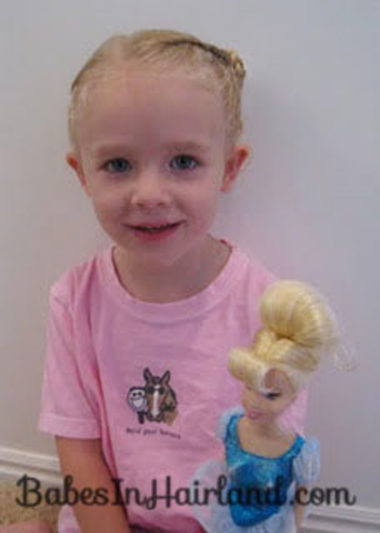
And Little Miss K., the darling little girl that she is, fits right in our little family – Cinderella Barbie and all! 🙂
The first time I did this, I didn’t make the braided loops as big & I had more curl hanging down below. I’m not sure which one I like better. But either way she looked darling & kept telling me all day that she loved her “princess hair!”
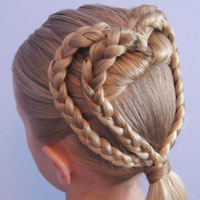
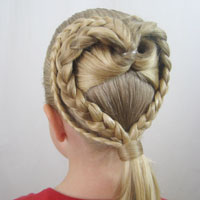
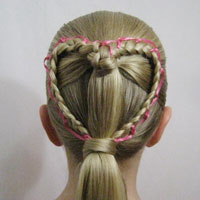
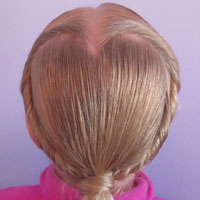
i love the braid shape is like a heart i wil try it for my litile sister for next valntine