Maybe you’ve noticed, or perhaps you haven’t – but I’ve not been posting every week lately. I’ve had this blog for 8 years, and every single week, almost religiously, I’ve posted a new tutorial or at the least, shared a little of what was going on in “Hairland.” I try to keep things mainly about the hairstyles around here and in a world of online over-sharing, I tend to under-share I suppose! I’m just that way. However, I feel I owe a bit of an explanation.
My lack of posts lately has been due to many things. The main issue has been I’ve been suffering majorly again from migraines, so the last thing I feel like doing is sitting at the computer or being online. Also, this past year, my whole life has been in limbo because we felt we were supposed to move. First we thought we were moving to Arizona for a job offer (which in the end we decided not to take.) And then in the last 6 months, we’ve had several different houses we’ve put offers on, and each for different reasons (none of them ours), has fallen through. We’d packed up a lot of stuff and had things in boxes and even had a storage unit in anticipation of moving. It’s truly been an emotional roller coaster. I’ve been stressed to the max & have been emotionally spent (hence the migraines) and to be honest, depressed. I’m doing much better now, but it’s been a real struggle for not only me, but the whole family. We recently decided to call the house hunting over and just stay where we are. I’m still not overly happy about that, but it is what it is, and I hope that someday I’ll see the purpose in why we went through all we did, just to stay where we are!
Anyway, I apologize for the long explanation, but with all that being said, I’m hoping that as I unpack things and “move back in,” life can get back to normal — whatever that means! So thanks for not giving up on me, and thanks for your understanding knowing that life in Hairland isn’t always rainbows and unicorns (or gorgeous hairstyles!) But speaking of gorgeous hairstyles — today’s tutorial definitely falls into that category, so let’s get started!
Below is our video, and then step-by-step instructions and pictures of the finished product. I know you’ll love this one!
Step 1 – Make a subtle part down the center back of the head so you have a left and right side to work with
Step 2- On the left side near the top center, divide out a small triangular section of hair
Step 3 – Divide that hair into 3 even sections and braid 1 full rotation of a braid
Step 4 – Cross the bottom (or left) section over the middle section, and then from below, add hair into that section
Step 5 – Cross the top (or right) section over the middle section, but do not add hair
Step 6 – Again, cross the bottom section over the middle section and then from below, add hair to it
Step 7 – Continue this process, only adding hair to the bottom (or left) part of the braid
This creates a lace braid when you only add hair to one side of the French braid. If you want a loose, more romantic updo, don’t keep your hands right against the head. The farther you hold your hands away from the head when braiding, the looser and more “drapey” the braids will be.
Step 8 – Add hair only to the left side of the braid, until you run out of hair. Then, if needed, just make a regular 3 strand braid down to the ends of the hair & secure with a clear elastic.
Step 9 – Repeat the above steps on the right side of the head (this time adding hair to the bottom – right), securing the end of the braid with an elastic.
Step 10 – Gently drape the left braid across the back of the head to the right side & secure as needed with bobby pins
If working with longer hair and the tail of the braid is extremely long, bend/fold the braid back toward the back of the head and hide the tail and elastic under the braids. Secure as needed with bobby pins.
Step 11 – Next, draw the right braid up and across the back of the head toward the left side
Step 12 – Again, if tails of the braid stick out, fold them under so they are hidden by the braids & secure with bobby pins
Step 13 – If desired, pinch & pull up on the hair on the crown to add a bit of volume so the hair on the back of the head isn’t as flat. Adjust braids and hair as desired.
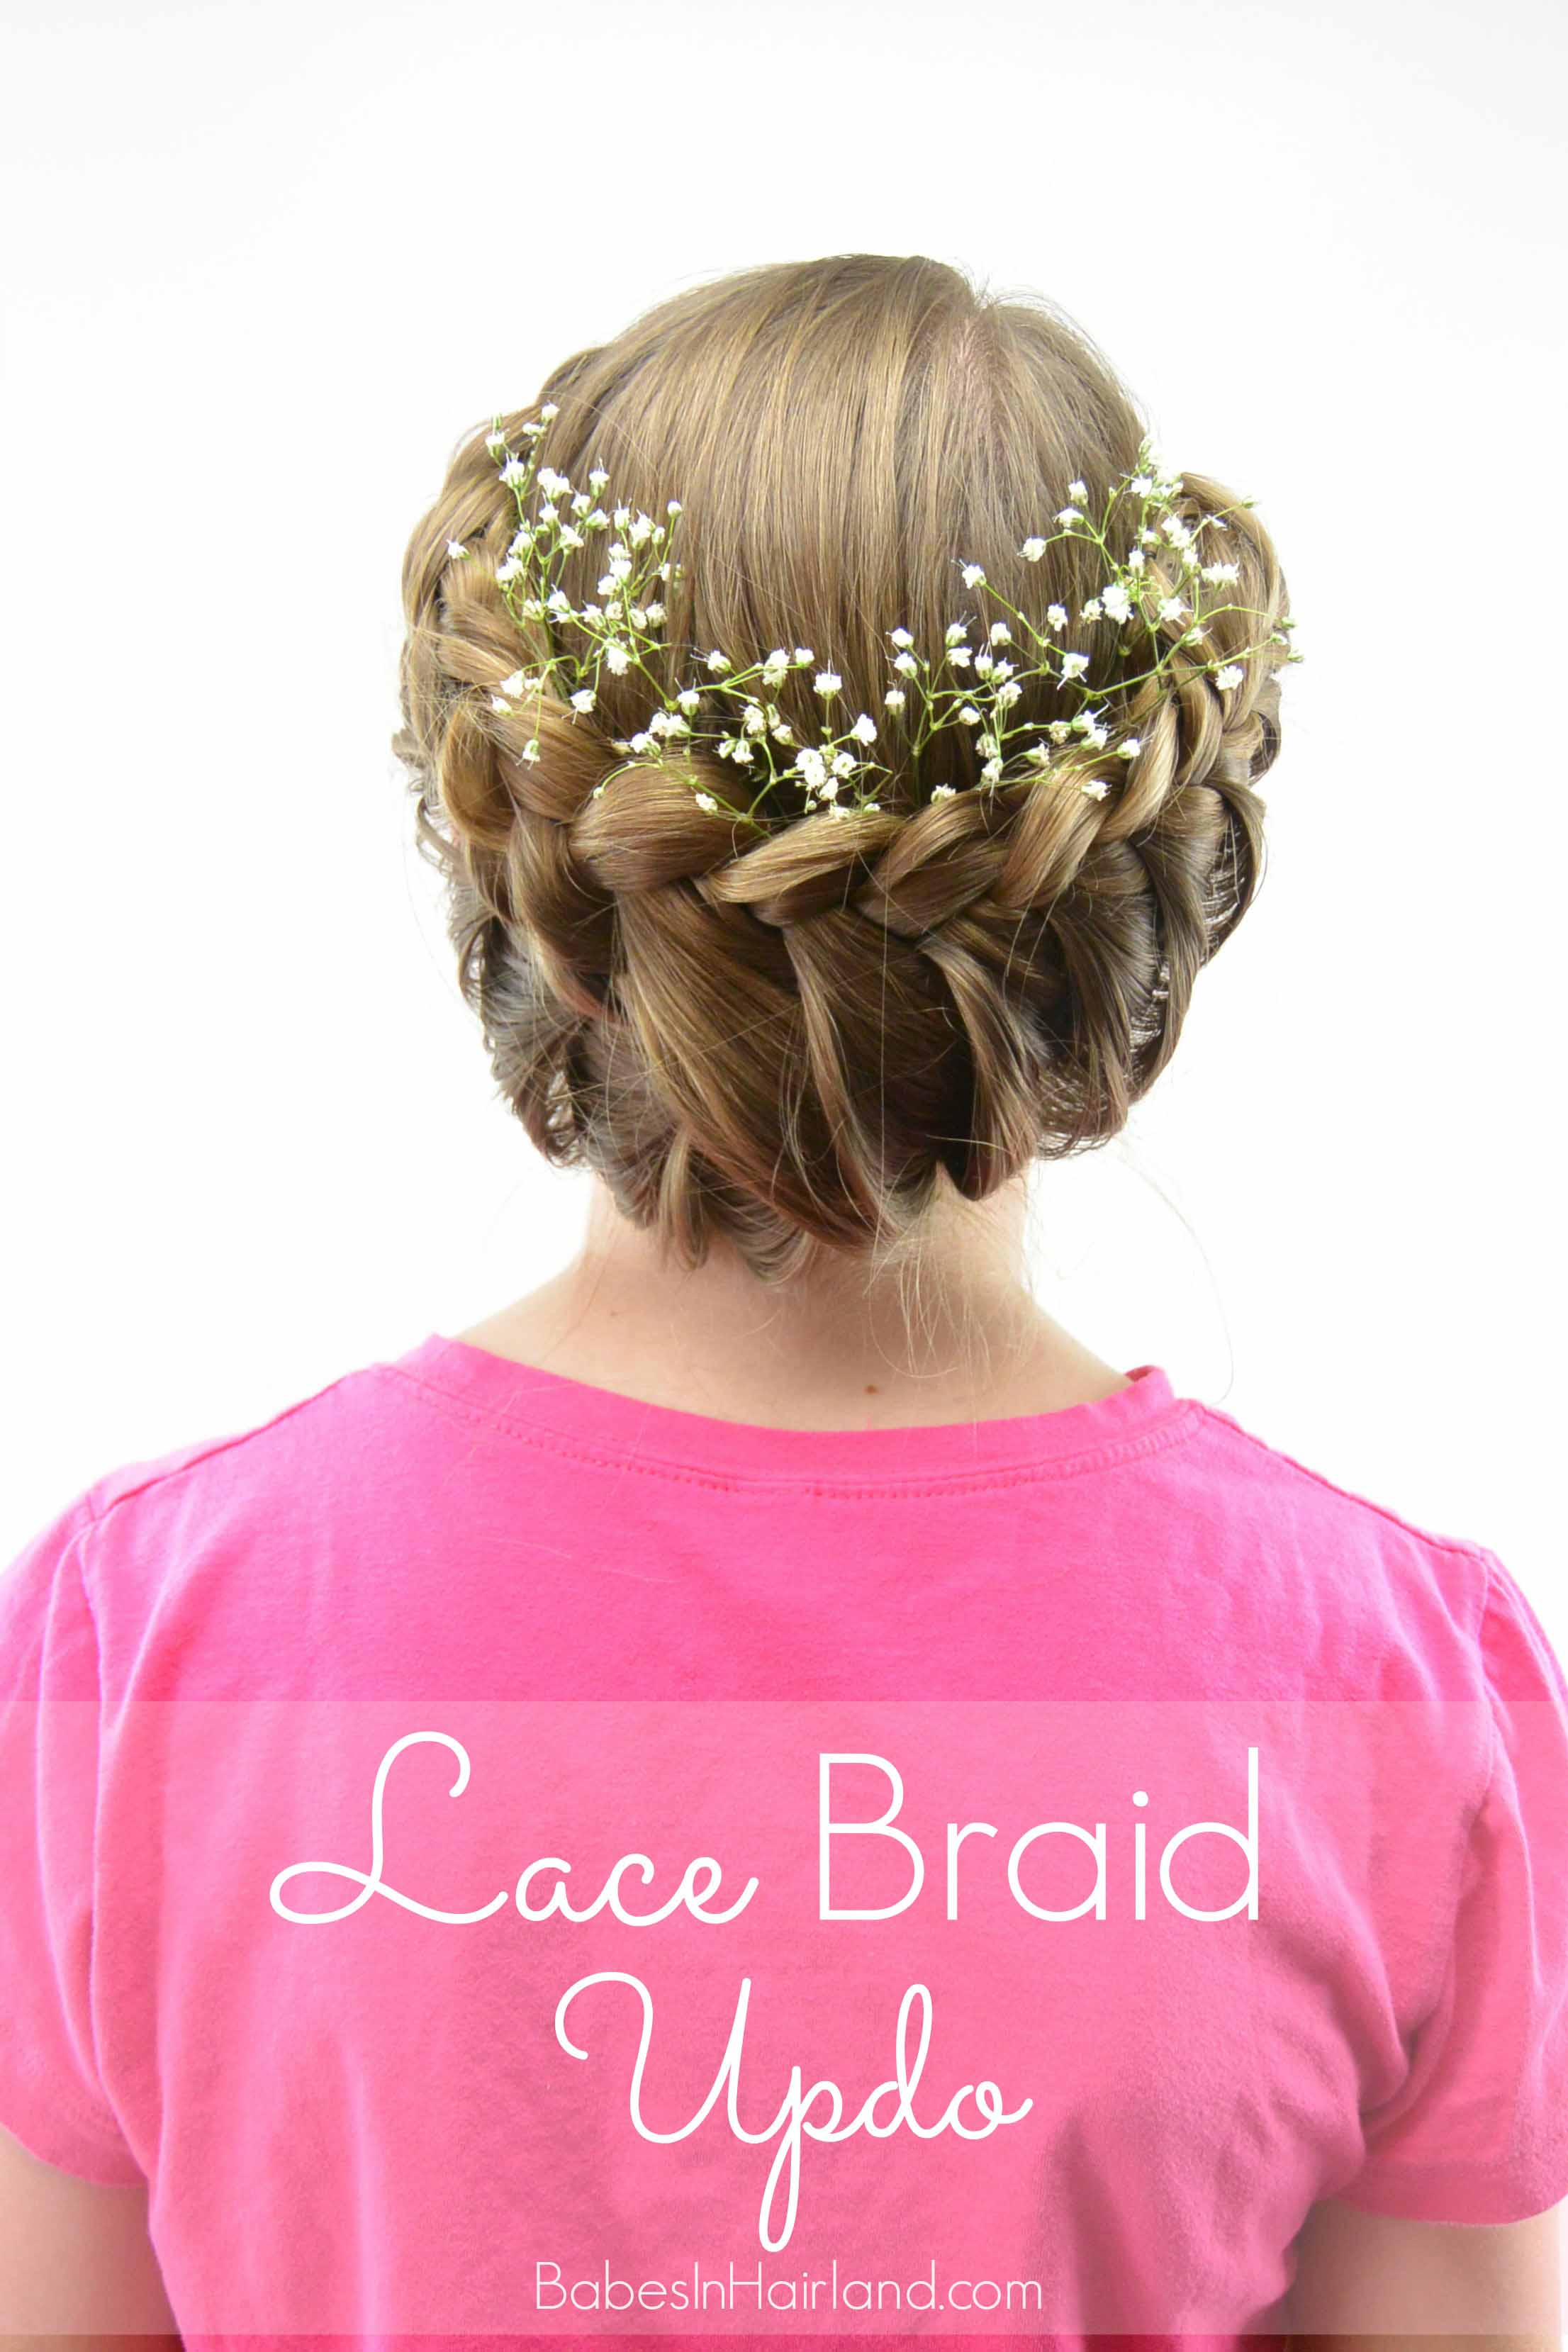
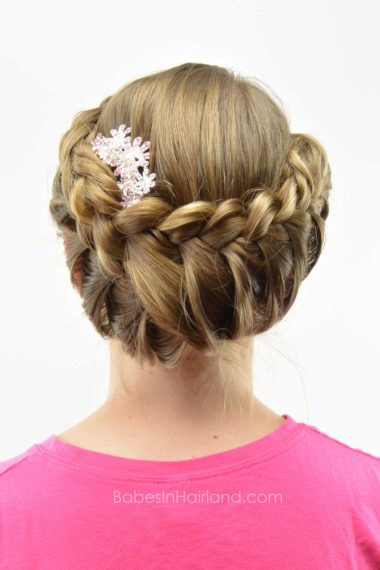
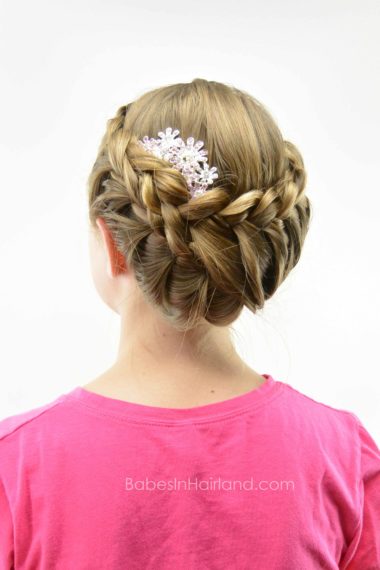
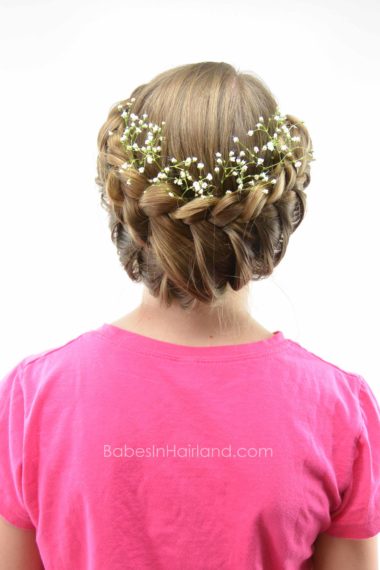
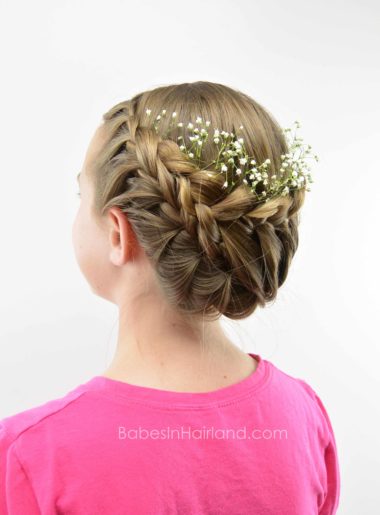
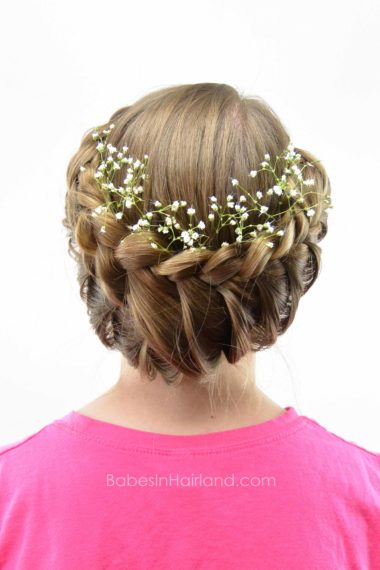
Step 14 – Accessorize with flowers or bling if desired!
FINISHED!
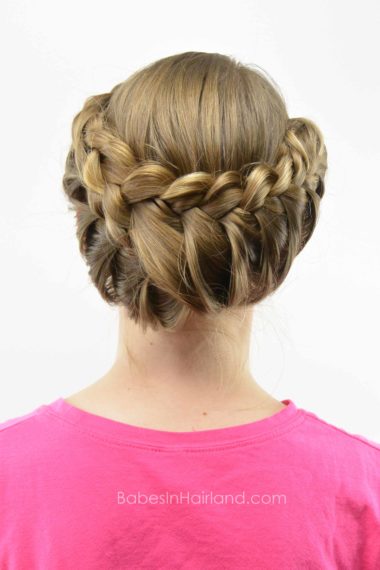
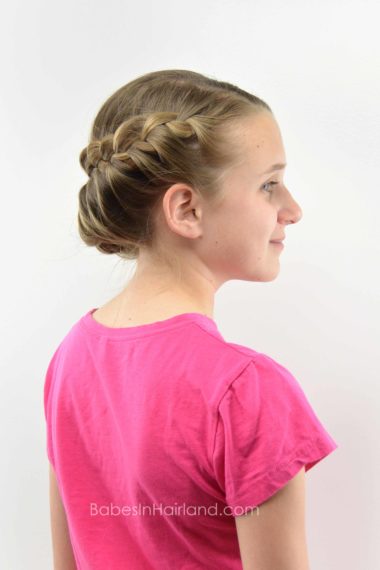
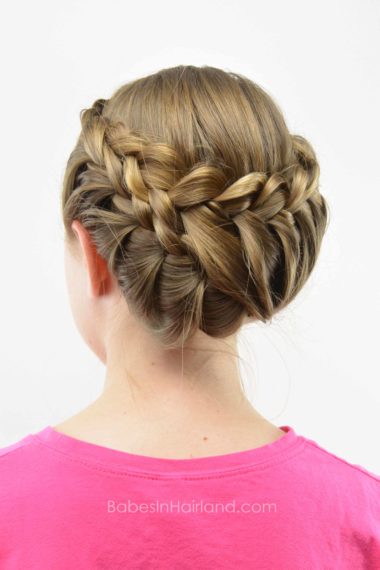
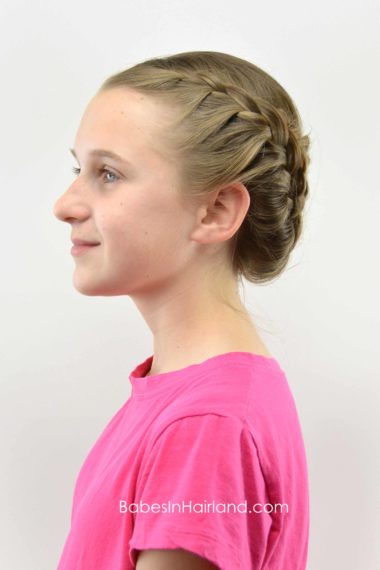
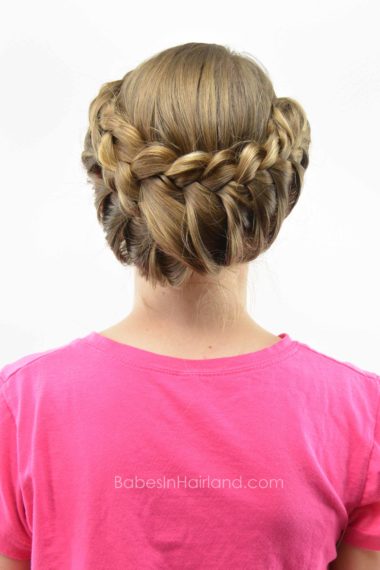
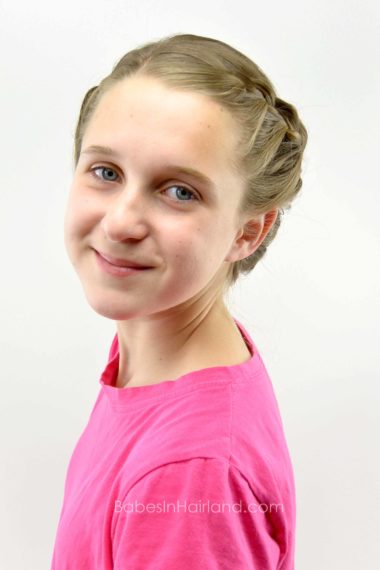
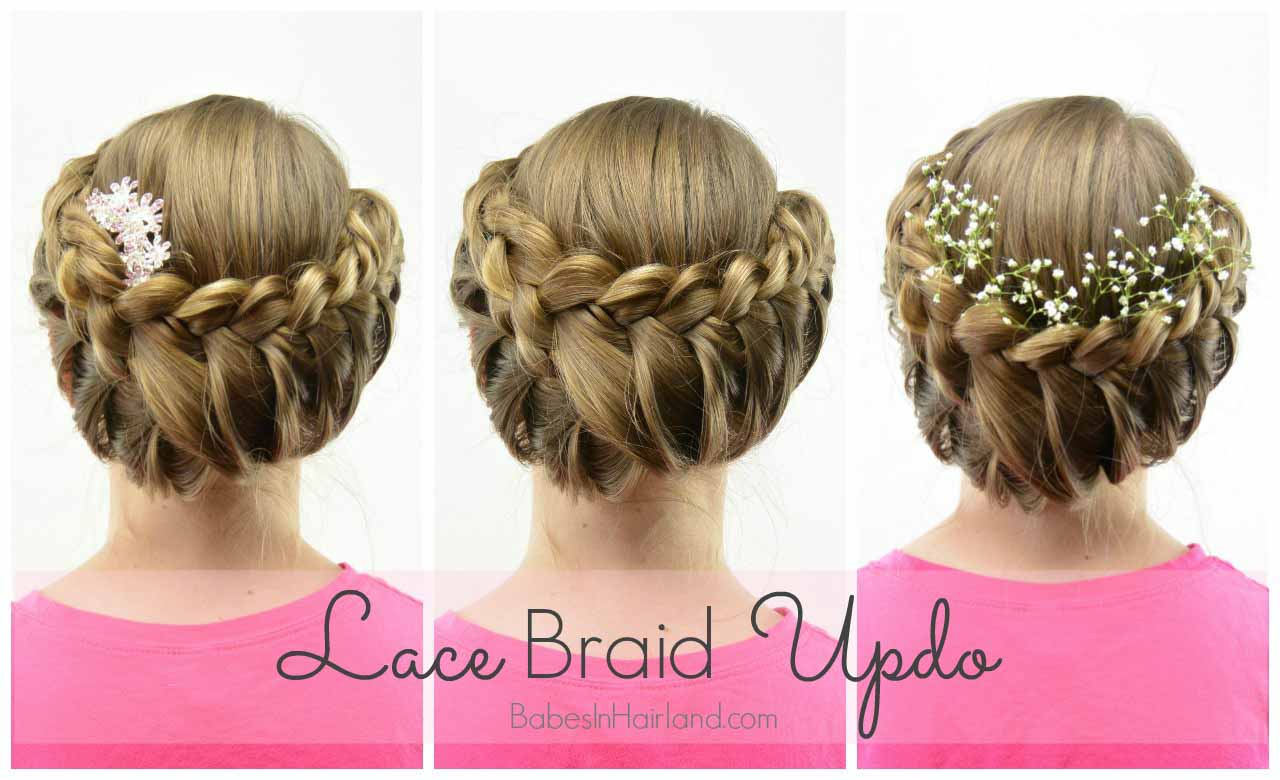
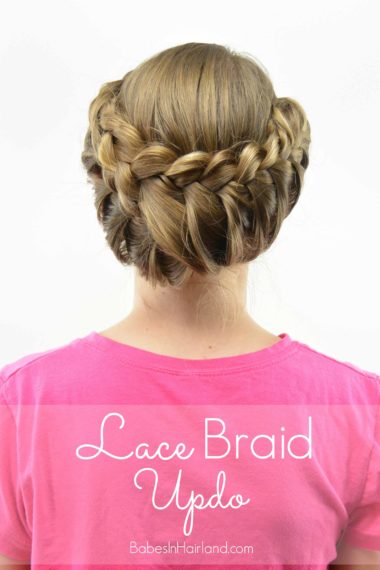
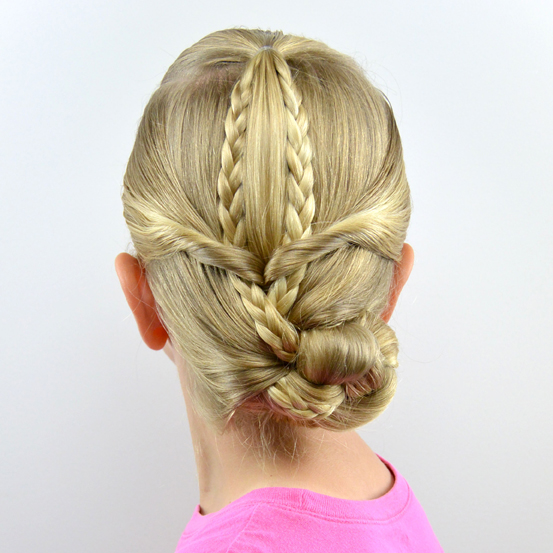
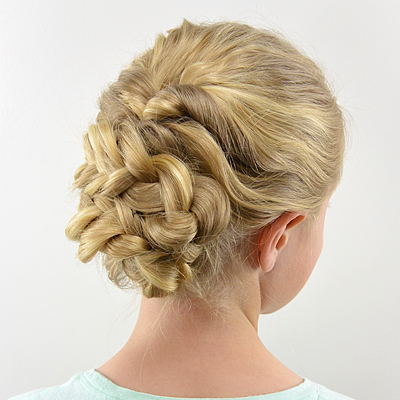
The first several pictures are of the finished style without any accessories. It’s gorgeous on its own, but looks extra pretty with some pretty bling or flowers.
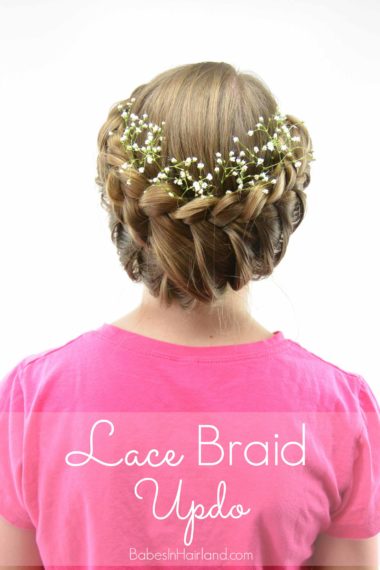
This look is probably my favorite! I happened to have some babies breath flowers on hand so I clipped a few sprigs and arranged them on top of the braid. What do you think?
Tell us — which look is your favorite? Pin your fav! 🙂
