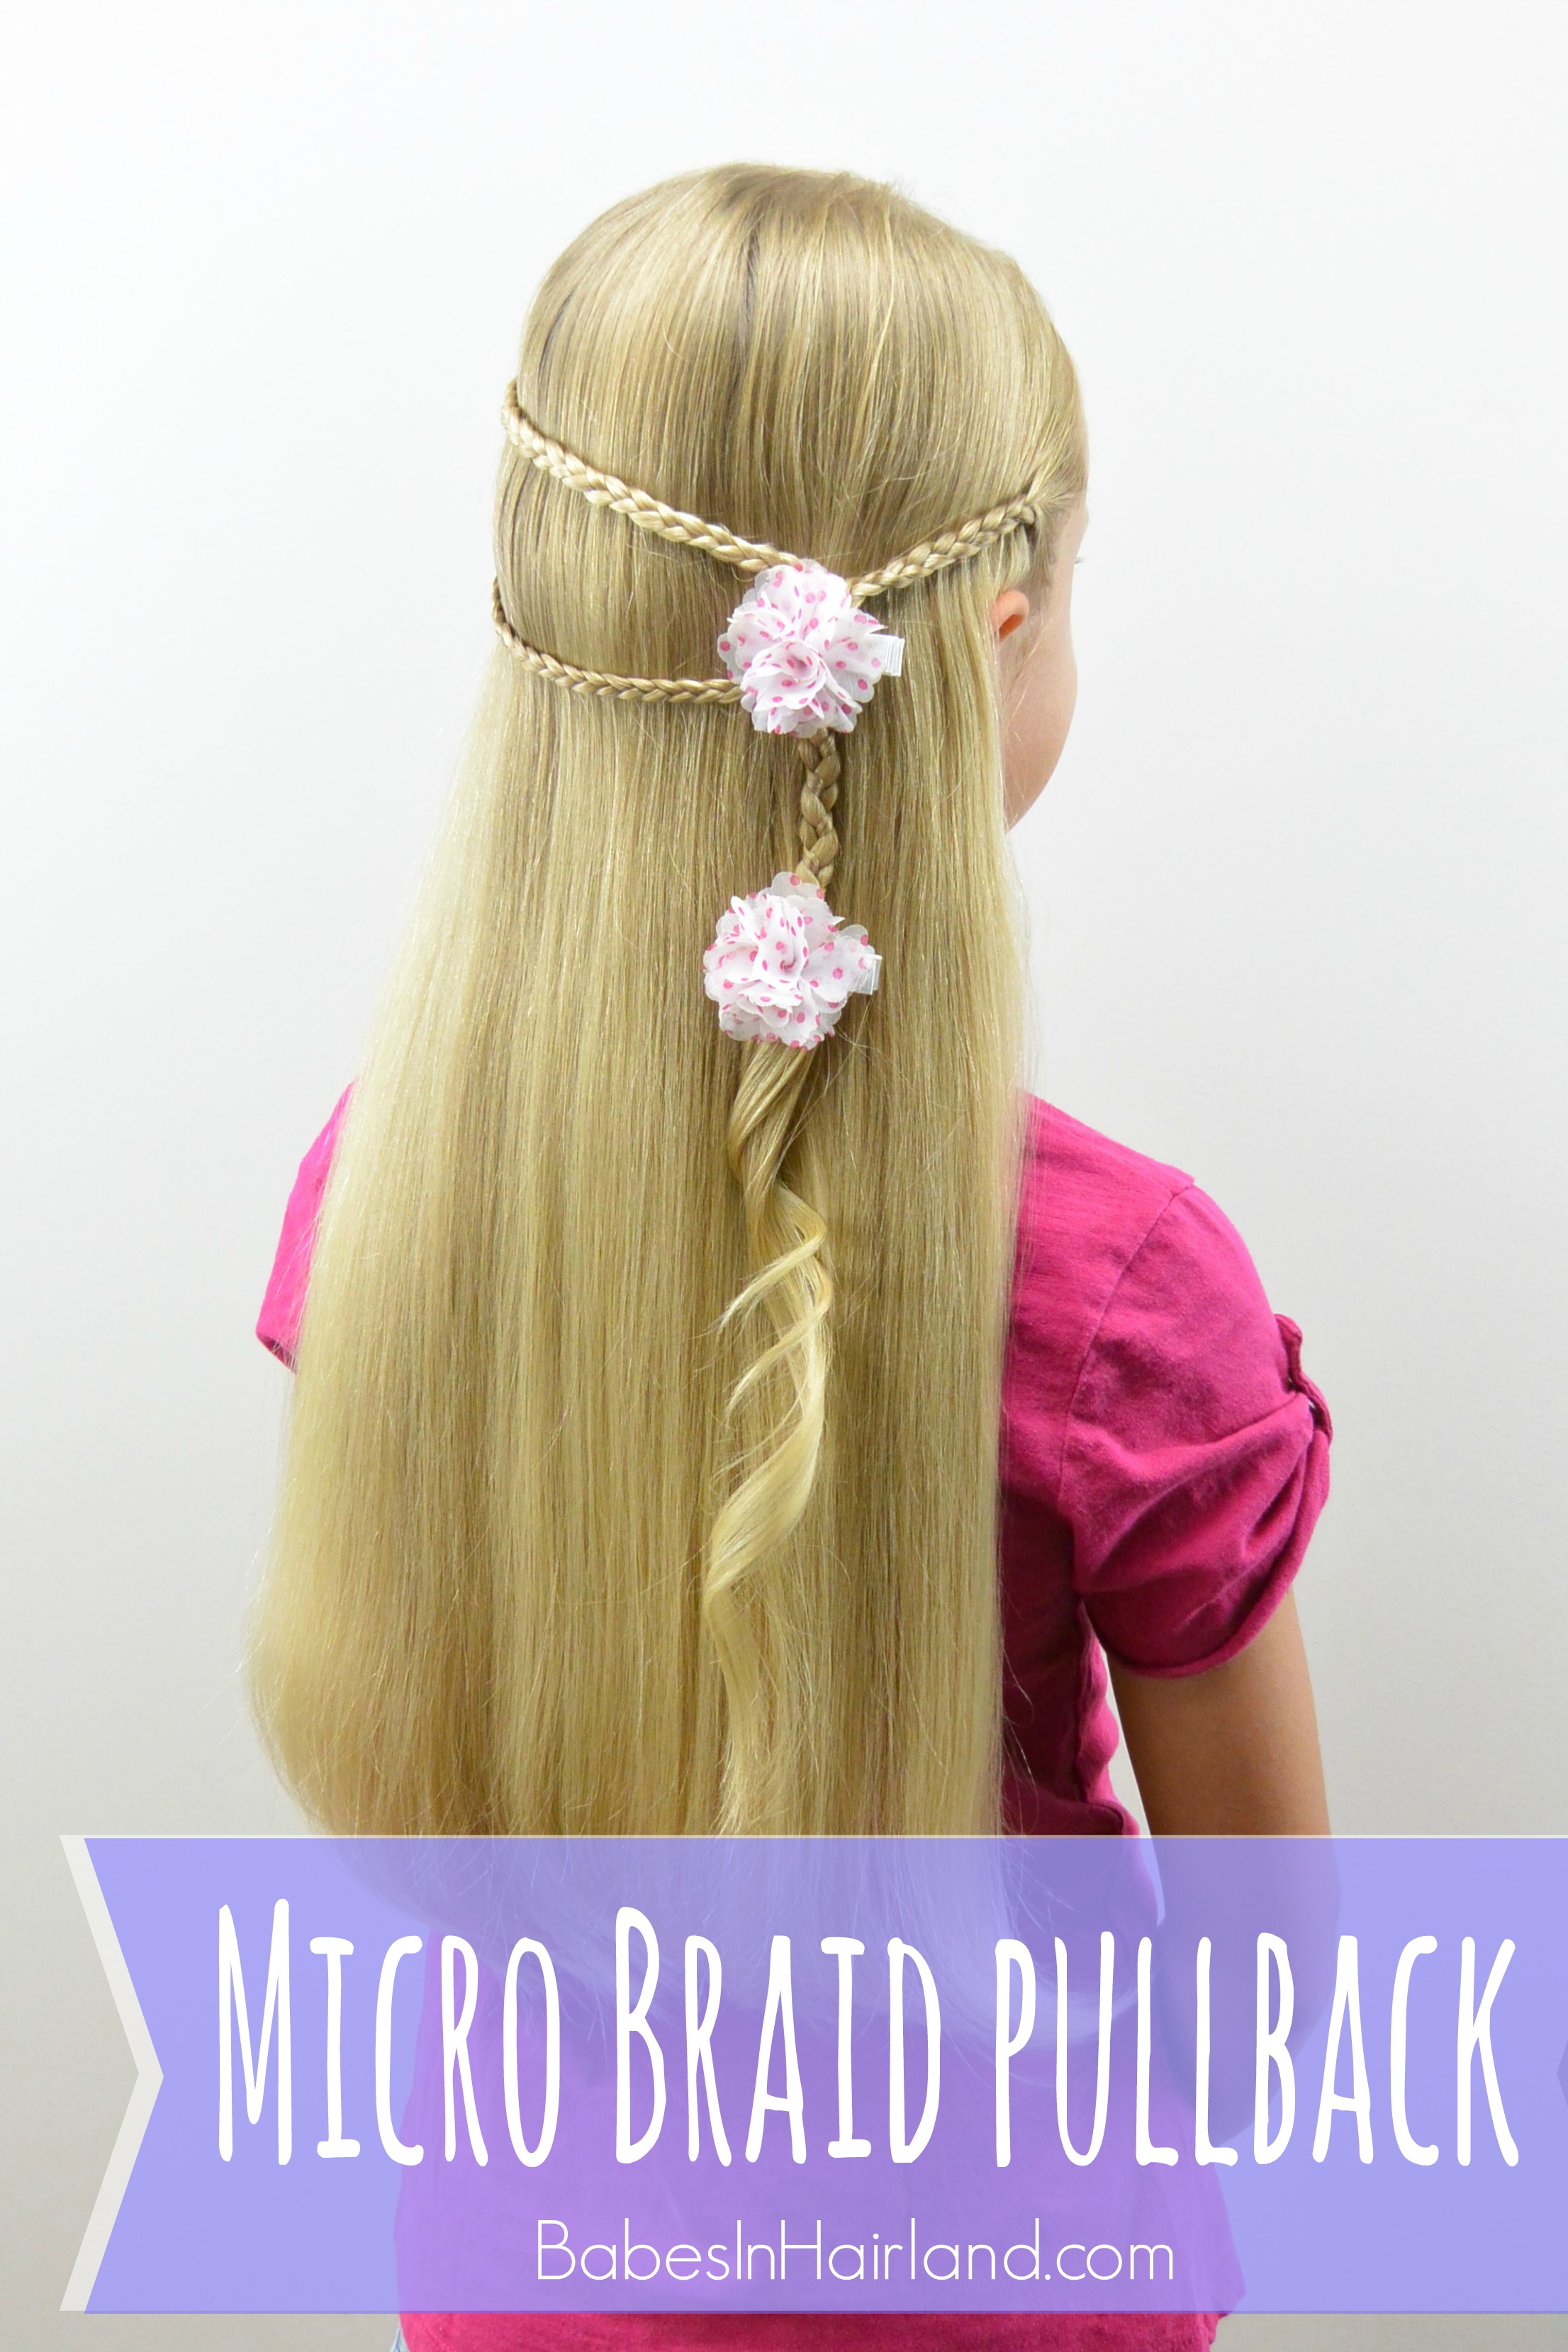
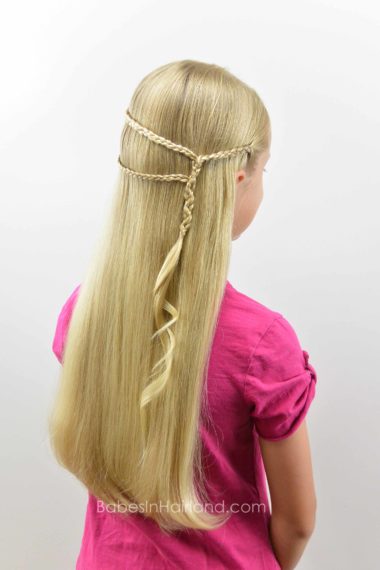
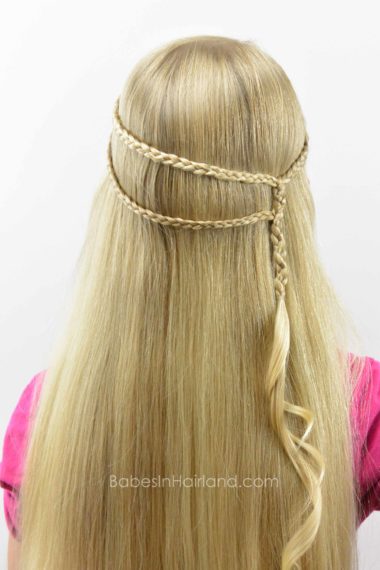
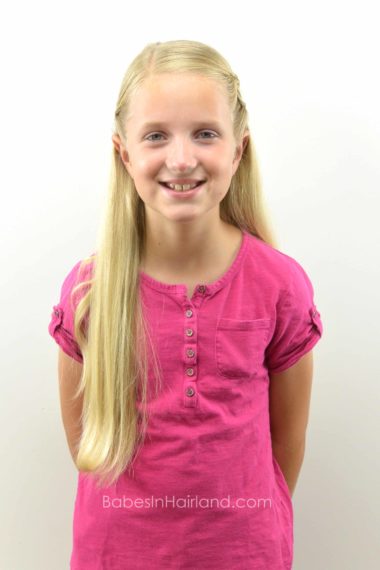
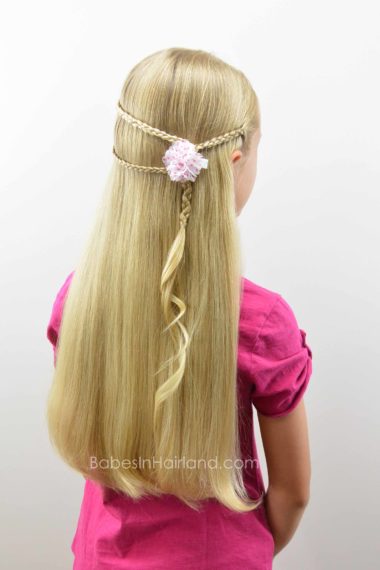
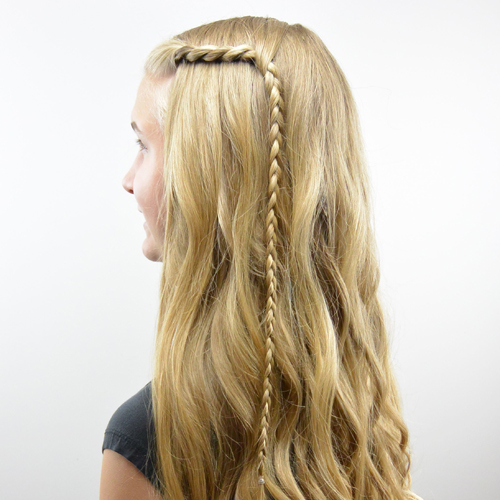
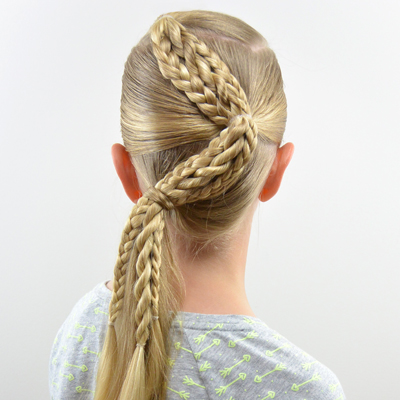
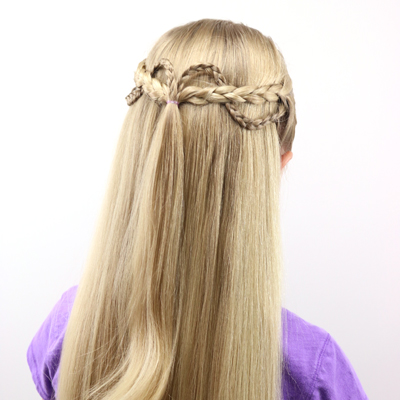
This style is actually one from our archives and has been one of my favorite simple styles over the years. When I posted “Wrap Around w/Little Braids” 7 years ago, it was just a step-by-step with pictures and done on “Bug,” my middle daughter. Today we’ve made a quick video and it’s done on my youngest daughter “Bee.” It’s just so simple, but so pretty. Those are my favorites!
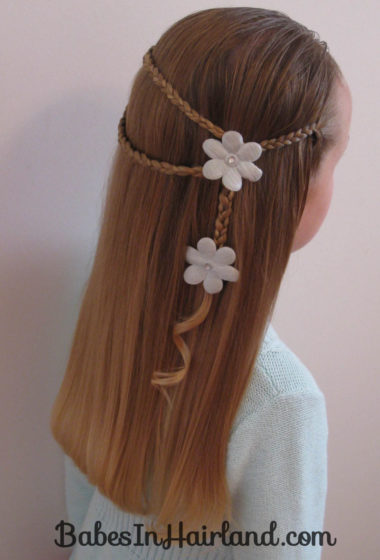
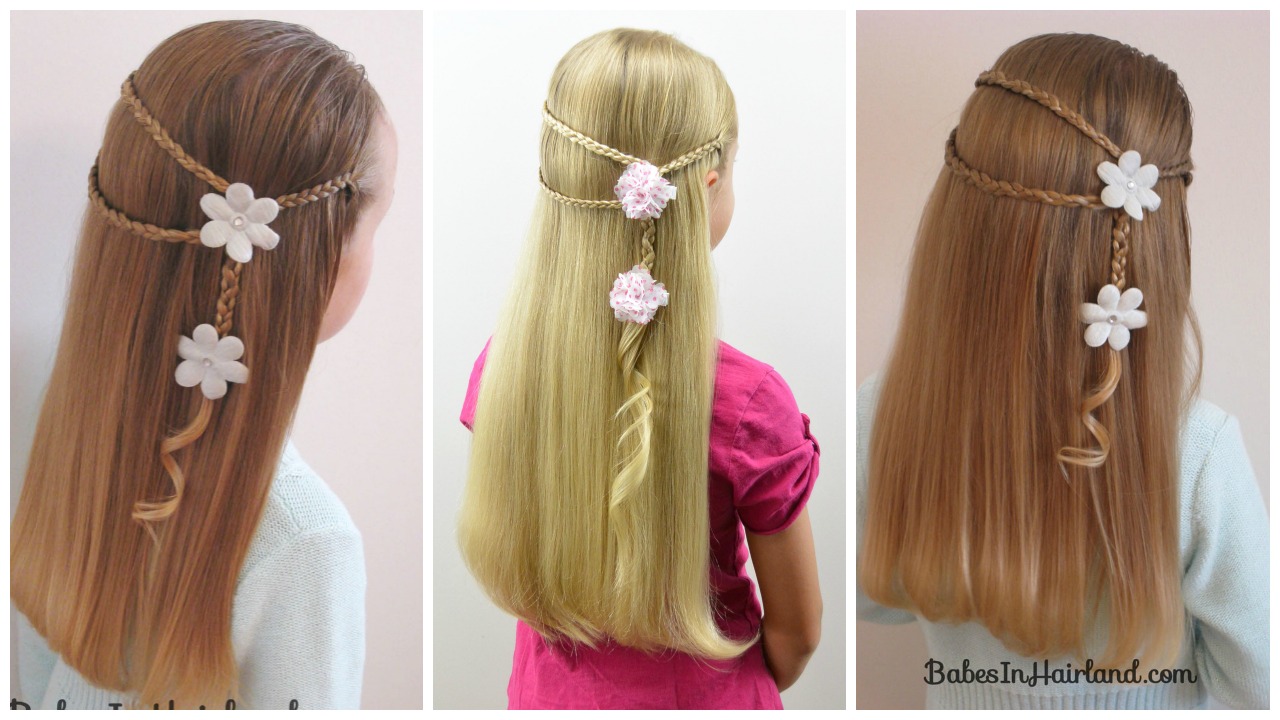
Below is the original hairstyle from 2009, and it’s been one that has been repinned and recreated by others so often. I just love it!
Here’s our video of us recreating this cute style we first did so many years ago!
If you can’t view the video here on our blog, you can watch it HERE on our YouTube channel. Below are the step-by-step instructions.
Step 1 – Make an off-center part on the right side of the head
Step 2 – On the left side of the head, near the temple, section out a small amount of hair
Step 3 – Create a regular 3 strand braid that will reach across the back of the head clear to the right side
Step 4 – Once the braid is long enough to reach the right side of the head, temporarily secure the end of the braid with a small clip
Step 5 – Just above the ear on the left side, below the first braid you made, section out another small amount of hair
Step 6 – Create another regular 3 strand braid with this hair and make sure it also can reach clear to the right side of the head
Step 7 – Temporarily secure the end of the braid with a small clip
Step 8 – On the right side of the head, just above the ear, section out another small amount of hair
Step 9 – Create another 3 strand braid, but only make the braid about 2-3 inches long
Step 10 – Draw the top braid from the left side across the back of the head to the right side and incorporate it into the braid on the right
Step 11 – Once you’ve incorporated the 1st braid, do 3-4 more rotations or stitches of the braid
Step 12- Draw the other braid from the left side across the back of the head and incorporate it into the same braid from above
Step 13- Continue braiding down as far as desired and secure the end with an elastic
Step 14 – Optional – Curl the tail of the braid and add accessories
FINISHED!
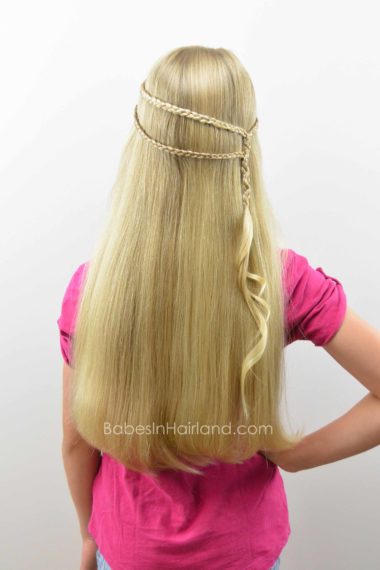
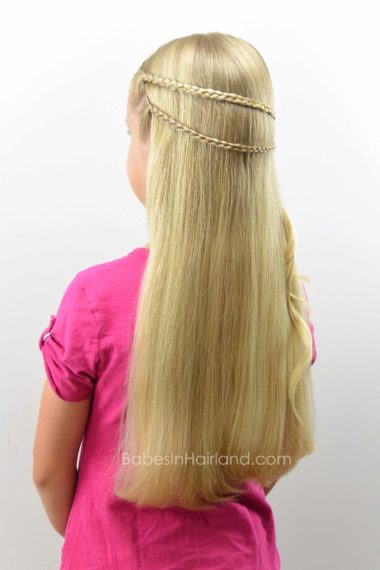
Here it is first without any accessories:
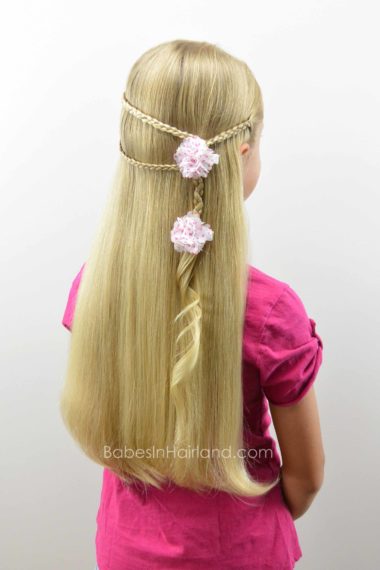
Then like our original post, we added 2 little flower clips:
Here it is with just 1 up at the top:
And she preferred it with just 1 clip at the bottom: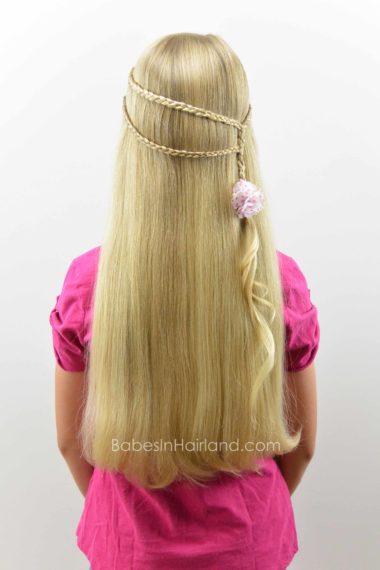
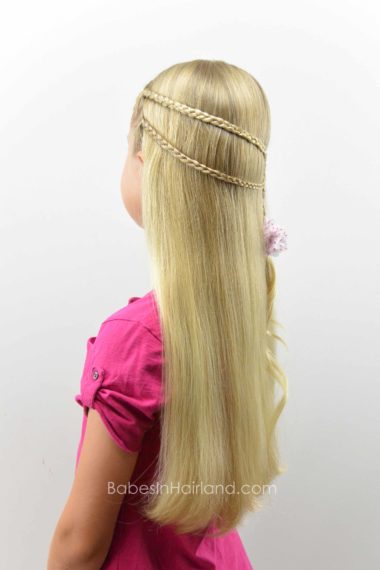
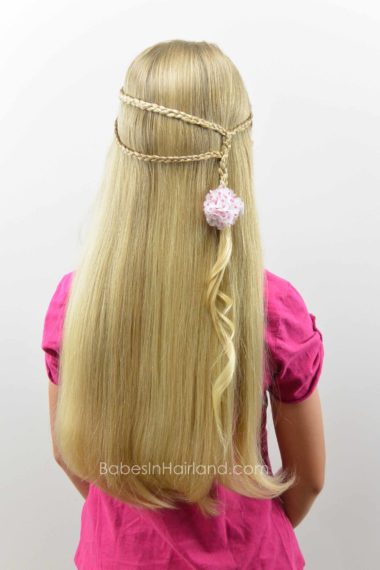
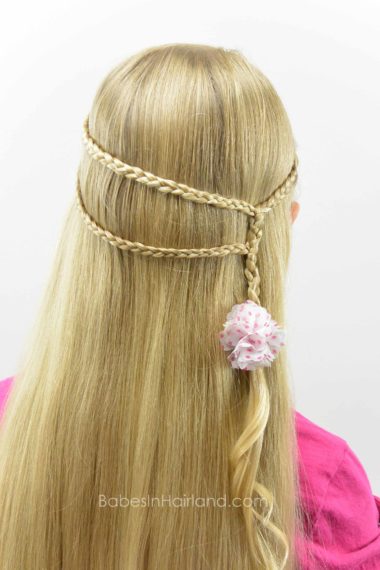
And here’s a fun comparison of the 2 styles from our archives, and from today. Both so pretty, don’t you think?
Please pin and share this pretty style! 🙂
