I’d wanted to get this post up sooner, but the girls have had a touch of the stomach flu here the last couple days & so, obviously, everything else has been put on the back burner. I think we are finally on the mend now though!
So in my last post I’d showed you this picture: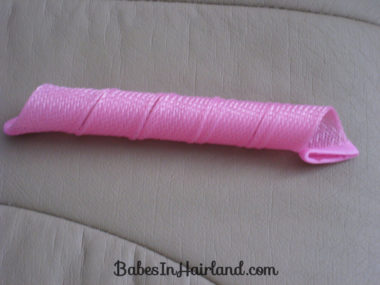
And most of you guessed it was some kind of curler. Well, let me tell you — this isn’t just any curler! This is a “Curlformer”. A couple weeks ago, Micki, from Micki’s Wing e-mailed me telling me about her amazing find — namely these curlers. It took me a while, but I finally made it over to Sally’s and bought some. I really debated at first though, because, well, yes …I admit it I’m a cheap skate. Really – had they been any price, I still would have thought about it, but that’s just my nature! Anyway, 1 package of these cost $11.99. They had 8 curlers in each and then on top of that you have to buy the hook with which you pull the hair through the curler. That was an additional $4, and I bought 2 packages of the curlers. (These come in several different lengths, colors and the ones that are for shorter hair are a bit wider than the ones for long hair — I think I bought the medium ones.) And as a side note, as I was reading about them a bit further, they come in 2 colors in each package, because 1/2 are meant to curl clockwise, and the other counter clockwise. Pretty cool. Anyway — so I gulped a bit at the price and bought them (remember I’m a cheap skate), but seriously ladies — these curlers are the bomb! I’m totally in love with them … I want to marry them! Ha just kidding. But they really are worth the price. So just to show you w/o step by step pictures on how this is done – here is a little video from YouTube that explains it all.
** Update – in 2011 we finally made our own videos & you can watch them HERE (how to put them in) & HERE (the results) **
This was our first attempt at these. And btw – my husband put about 1/2 of these in. HE wanted to try them out first before me. Can you believe that guy?! He said it’s only because he’s secure with his manhood that he could do these & be ok with it! LOL Anyway, so here I am with “my new toy” & he insisted on playing with them first! Ha ha! He seriously did & he thought they were pretty cool too & was surprised at how easy they were to put in. So ladies, if you aren’t around, even dad can do these & make your DD look fab-oo!
I found that it really works best on wet hair. And on a few sections that had started to dry by the time I got to them, the hair did not pull through easily at all, so I had to re-wet the section of hair. I should have bought the longer ones for her, but I figured I’d just touch up the ends with my little curling iron (yes, I know that defeats the purpose of these — but I know they’ll be perfect in Goose’s hair!
So she slept on them all night. I think they would have been fine, but she’s been fighting major allergies lately and so she was up in the night a couple times because she couldn’t breath & so the curlers only added to the drama. Otherwise, I don’t think there would have been any complaint since she’s slept in regular rollers before.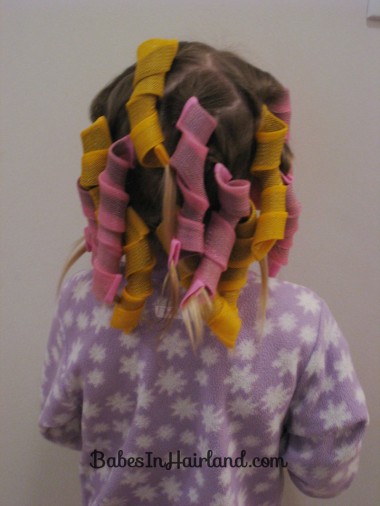
Once we pulled them out in the morning: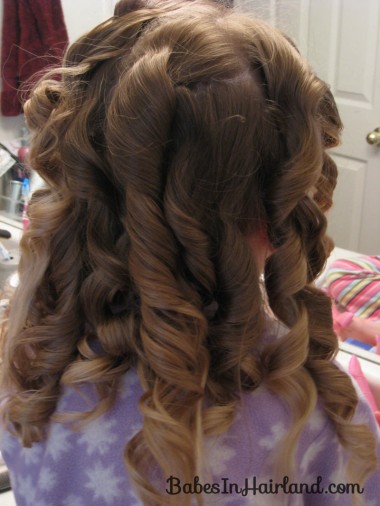
Then I touched the ends up so they weren’t straight. I put a bit of product in – whatever you want is fine.
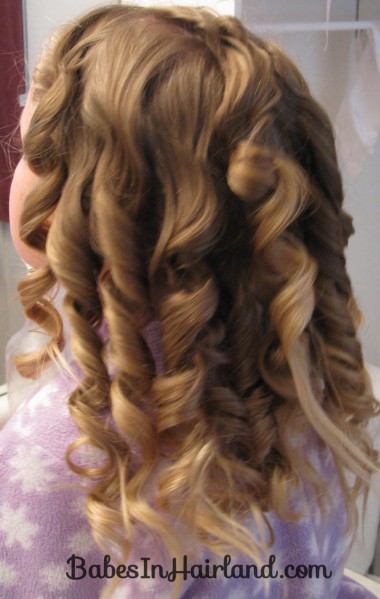
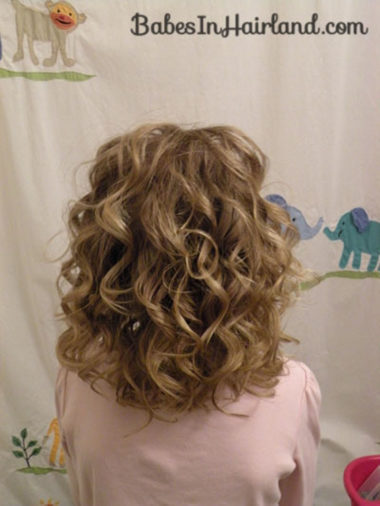
Then I kind of ran my fingers through them or my rat tail comb end. I sort of got rid of the ringlet look to begin with – but as the day wore on, they kind of all came back together a bit – it looked really nice.
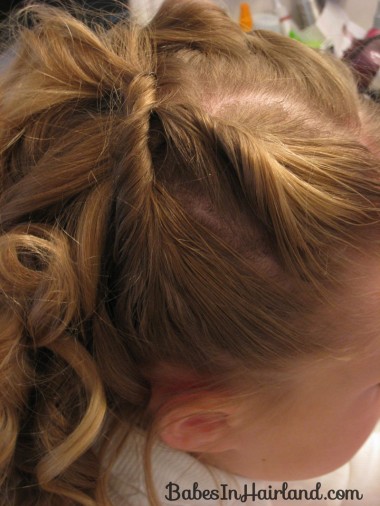
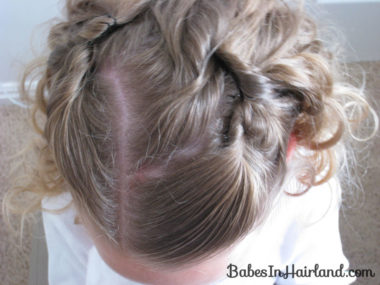
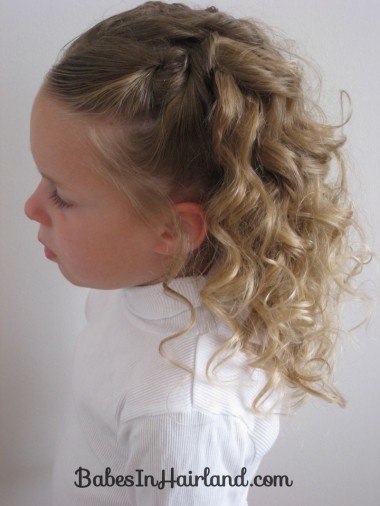
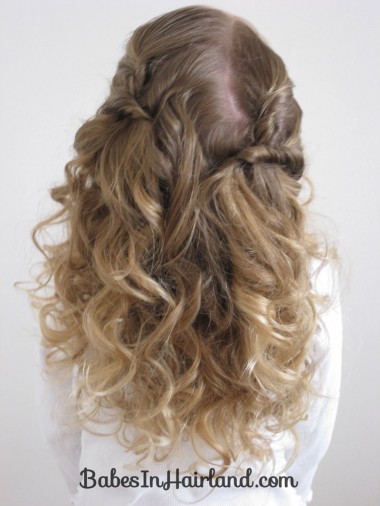
Then I just took a few sections from the front (sort of the way they were already parted off from having the rollers in) and gave them a few twists & secured them with bobby pins. Since I didn’t want to risk loosing any curl, I didn’t wet the hair up front, instead I misted the section I was twisting with a bit of hair spray to get rid of the fly aways and then I twisted it and secured it. I took 1 section closer to the center top of the head & twisted it. Then took a section from the side/ear area and pulled it up towards the top of the head and twisted it. I secured that one on top of my first twist to hide the bobby pin.
Sort of did the same thing on the other side of her head. I really didn’t do anything with exactness here, just a couple twists on both sides secured with bobby pins.
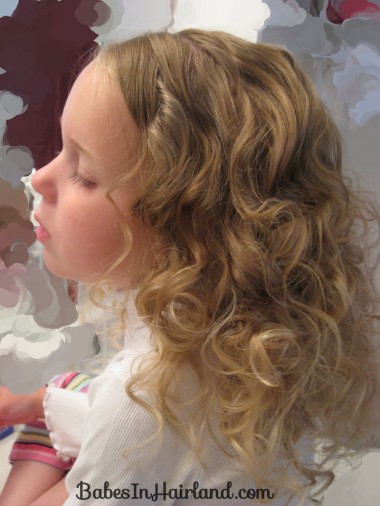
I left a little hair out up front by the ears too to have ringlets in front as well. She really was tired & a bit miserable the day we did this, so no huge smiles from her today.
A view from the side-
And the back. Like I said – I didn’t part anything, just kind of randomly grabbed the hair sections and twisted them up. Sorry for not having exact instructions to follow! With the curls I kind of let them dictate what I did!
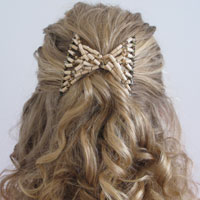
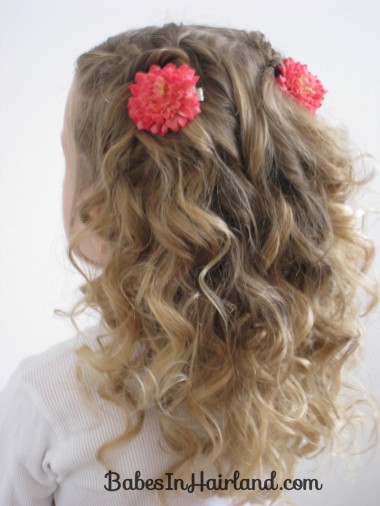
 We added a few clips for a splash of color ….
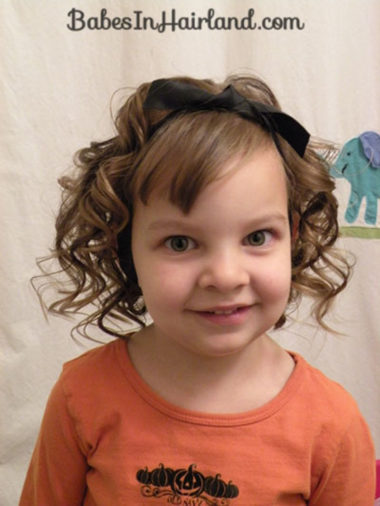
Now for the even cooler do’s. These pictures are from Micki – the one who introduced me to these curlers. These are her 2 darling girls – & I really love the way their curls turned out — better than mine. She used the same color of curlers that I did – & I think they worked much better on their length of hair. That’s why I can’t wait to try these on Goose.
 Aren’t those just awesome curls? The best part is – if you don’t like to use a ton of heat on your little girls hair with flat irons & curling irons – these are your answer for amazing beautiful curls.
She just simply added a headband on her girls & they look wonderful. With such wonderful curls as these, you really hate to pull them up and hide them in any fancy hairdo. They do enough by themselves, don’t you think?!
 Also, I didn’t realize it, but over at Kenny Do’s – she actually did a similar post on her blog with these a couple months back – but since I live under a rock & don’t get out much, I was just informed of her post after I’d posted the pic of my curler last time…. so I apologize if this is old news to you guys. Seems I’m on a roll lately in repeats. Sorry! 🙂 So if you want to see her post, go here – and if you want to see a few other pictures of Micki’s experience with them, go here. Oh, and btw – Bug had this hair do on a rainy muggy day and at the end of the day she had just a bunch of plain ringlets in back — they had stayed in all day despite being out in the rain a bit.
So all in all — my review is simply — GO BUY THESE! Save your $$ if you have to – ask for them for Mother’s Day (you can use them on yourself too you know), go gather up all your couch change, because these ROCK!!!
