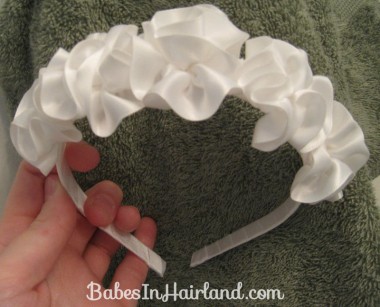
Just about the time Goose got baptized, I got this darling new headband from Jen at All Things Ribbon. It is simply the prettiest thing ever. My silly girls thought it looked like she’d taken a can of whip cream and made little dollops of whip cream across the headband to make it! It simply is that “yummy!” They are actually called ribbon blossoms – which is obviously far cuter sounding than whip cream dollops — that’s why Jen is in the bow making business & I do hair!! LOL Anyway you can see all of her new Ribbon Blossom collection in their darling glory HERE. Anyway – I thought it’d be fun to try something out with this beautiful headband since it looked so pretty with Goose’s baptism dress. Welllllll ….. Goose has a larger than average head I think … and has since birth – a lovely trait she gets from her dad! And so I didn’t think the headband looked the greatest on her worn as a regular headband. So we changed things up a bit — placing it on her head more like a tiara or something like that. So here’s a new way to use a headband without it sitting the “normal way” on your head!
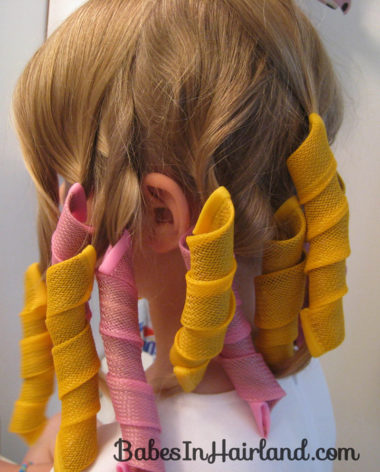
You’ll want to start with curled hair. Use whatever method you prefer to get them. We, of course, used our Curlformers. Keep in mind – we only have 16 of these and I got all this curl with just that many! I do, admit, however, I need to buy more because it’s pushing it with that few!
I didn’t want them close to her scalp since I knew I was going to be pulling her hair up onto the top/back of her head, so I mainly wanted the ends curled. Obviously if they were on clear up to the scalp the ends of her hair would be sticking way out of the Curlformers! So if you use a curling iron or some other type of curler – don’t curl clear to the scalp.
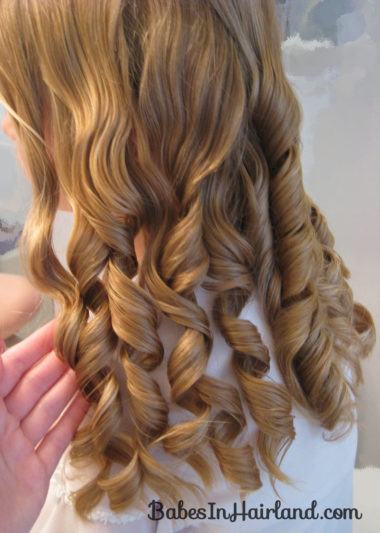
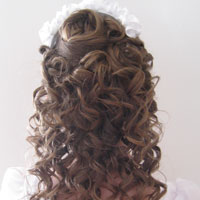
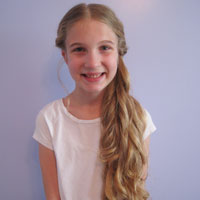
The result the next day – beautiful curls in the bottom portion of her hair.
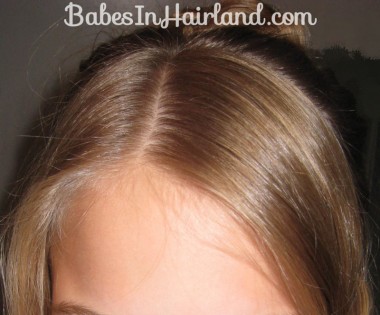
When I put the curlers in the night before, I’d purposely made an off-center part up front so I wouldn’t have to worry about re-parting her hair. So make an off center part, and then part it from ear to ear so the hair in back is separated a bit.
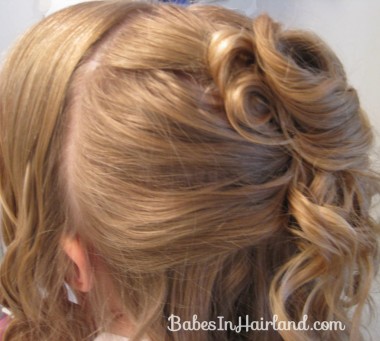
Gently gather some of the hair around the crown of the head to gather into a twist or loose French twist. You don’t want all the hair behind the ear – just the hair on the back/crown of the head. Watch in this old tutorial THIS VIDEO to see how I did the twist in back – except obviously I was working with curly hair.
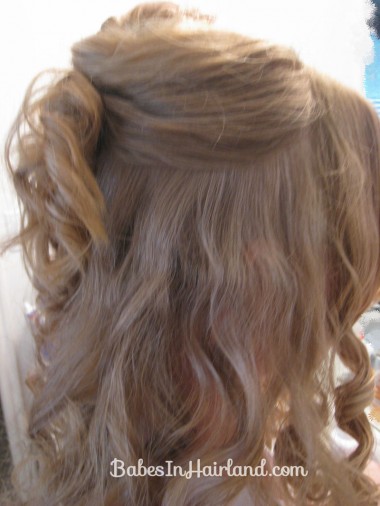
I simply wrapped the hair around my fingers a bit – like in the video, and stuck a few bobby pins in to secure it. I just let the curls land wherever as I twisted them – and this is what I got.
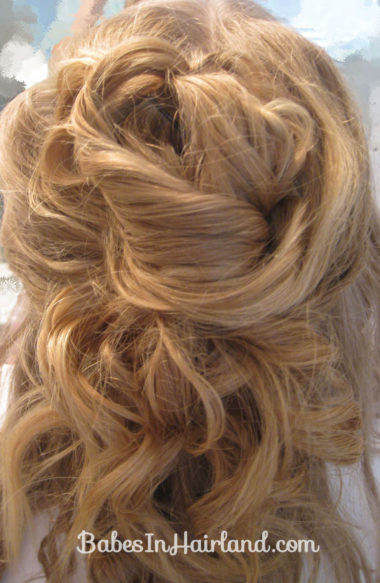
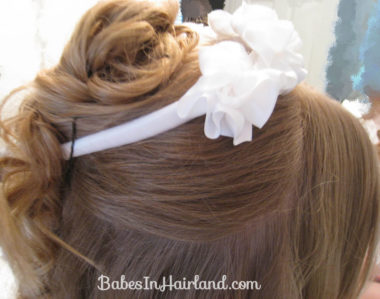
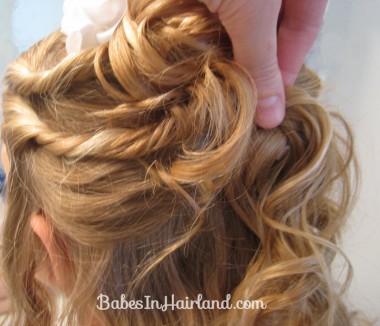
A view from the back – although you may not be able to make anything out too well! Be sure to get this far enough up on the top of the head. Otherwise there will be a big gap between the headband and the pile of curls you’re in the process of making.
Enter darling white Ribbon Blossom headband (cue the music!)
Once you’ve got the twist secured on the crown of the head – add your headband (or a tiara if you have one.) Position it behind the part that goes ear to ear. I angled it so the sides of the headband were angled into the twist. You’ll eventually cover all that up.
Secure both ends of the headband with a bobby pin or two since it’s just perched precariously on the head at this point!
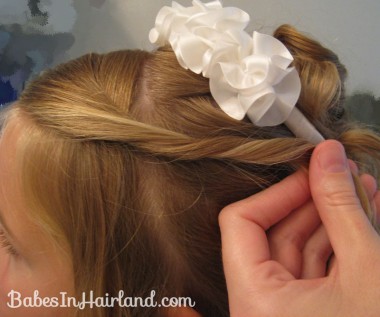
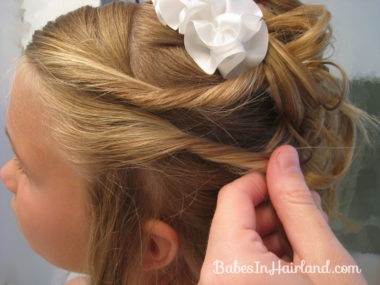
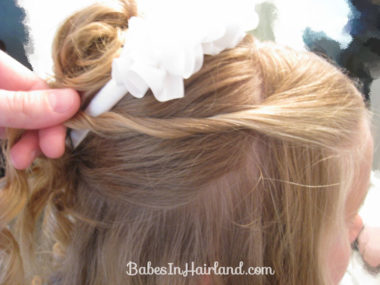
Once the headband is semi-secure start on the left side and take a section of the hair up front by the face and twist it inwards towards the head. You can do this as loose or tight as you wish. Pull it back towards the headband.
Pull it over the headband and secure the curl with a bobby pin.
I took the rest of the curl and just arranged it around and pinned it again to cover more of the side of the headband. Sorry this isn’t “exact” – it’s just about arranging curls to cover headband at this point!
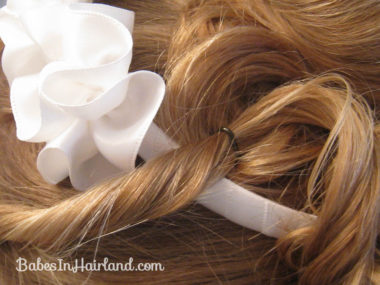
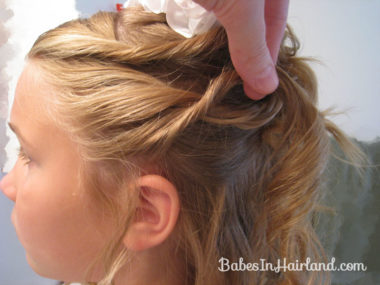
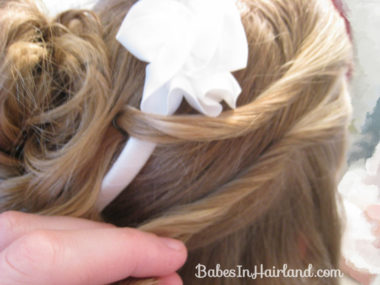
Take another section of hair below your first twist and repeat the process — twisting and pulling it back towards the “pile of curls” you’re starting to make.
Secure the end with a bobby pin somewhere back in the curls – covering up more of the ends of the headband.
Take the last bit of hair hanging down by the hair and twist it, bringing it upwards while twisting. (I left a little hair down in front for a bit of a ringlet by the ear – that’s optional.)
Bring that 3rd twist up towards the top of the curls to anchor it with a bobby pin. At this point, hopefully you’ve been able to hide the whole left side of the headband that doesn’t have the ribbon blossoms on it. If not, mess around with the curls, arranging and pinning them until you can hide it!
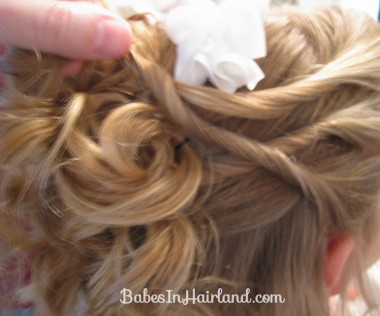
Move to the right side and repeat the process. Pull your first section of hair back from hair in front of the ear. Twist it back & secure it so it starts covering up the headband. Loop the curl around as needed to make things symmetrical, etc.
Make a 2nd twist, continuing the process.
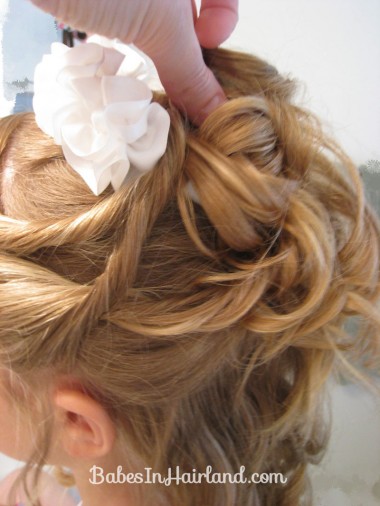
And again, a 3rd twist – leaving a bit out in front of the ear. Hopefully you can see how I’ve just randomly arranged curls and pinned them to cover the end of the headband.
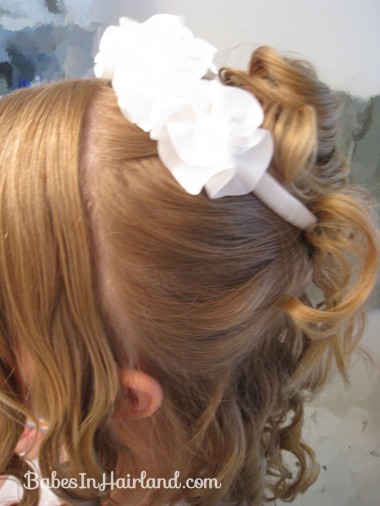
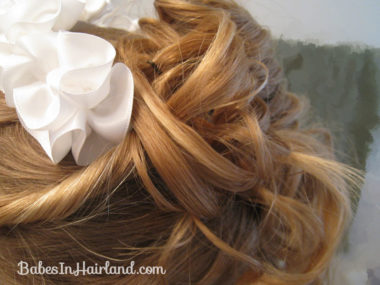
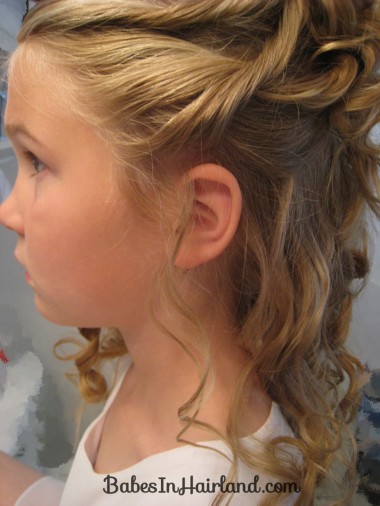
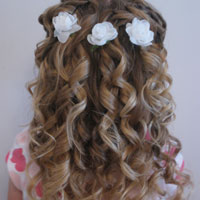
So when all is said and done – you should have a nice pile of curls on top of the head, with beautiful curls hanging down in back as well. The “pile” won’t be as full if you don’t do that twist or something similar in back to begin with. With that as the “center piece” and placing curls around on each side to cover the headband it makes a really nice arrangement of curls.
I also thought about reversing this & putting the ribbon blossoms on the underside of it all – so it’d be running around the back/crown of the head….. maybe another time!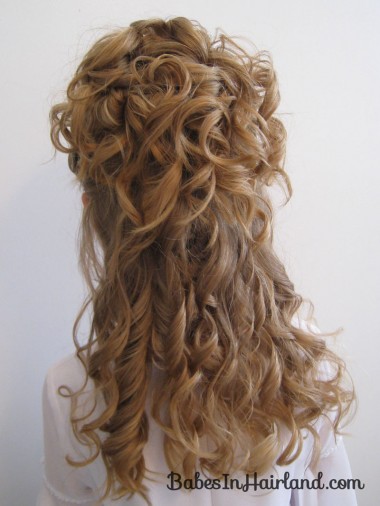
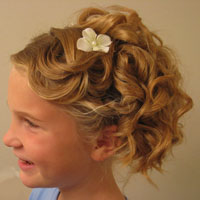
Here’s left & right views. I promise she’s not annoyed here – I just tell her to have a “natural look” on her face and it ends out looking more like an annoyed or “less than impressed that you’re making me do this” look! Oh well!
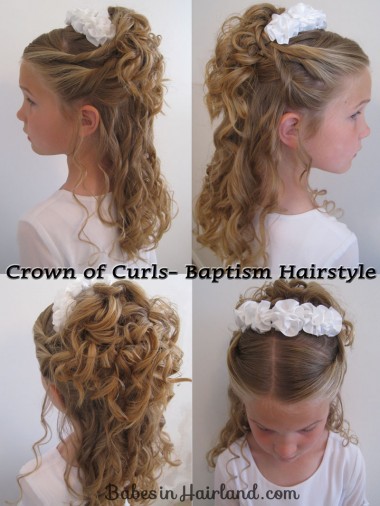 I realize this may be similar to some of my past hair do’s, but this turned out simply gorgeous. We had so many compliments at church about it. People couldn’t believe it was a headband – they thought we’d clipped flowers into her hair or something! Someone even said she looked like the Princess Bride! This do is a keeper for sure! And thanks to All Things Ribbon for the beautiful headband too! We love it!
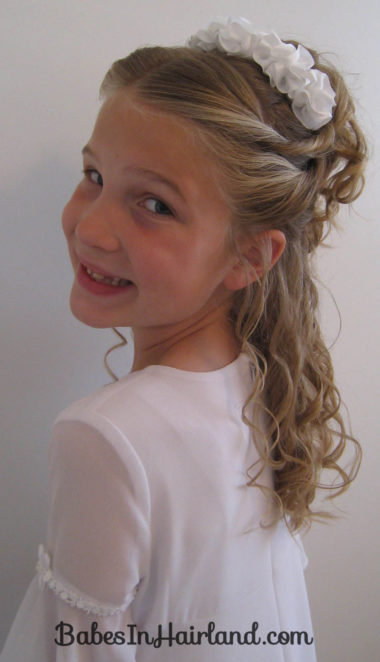
You’re sure to turn heads with this one! With the perfect headband, tiara or other accessory this is perfect for any wedding – for the bride or flower girls. Or better yet, for prom or some fancy dance.
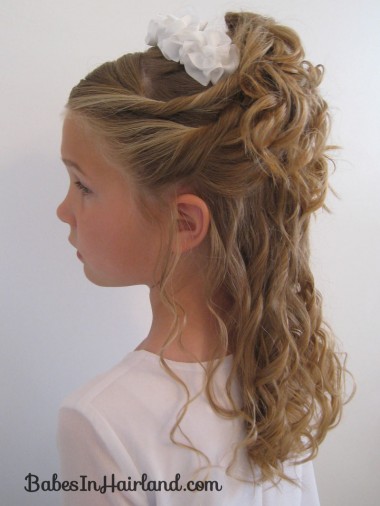
Soooooooooooooooooooooooooooooooooooooo cute!!!!!!!!!!!
I will totally be trying this!!!!!!
Hello I ordered the Curl Formers, is there a trick to gettting them to curl. Hair wet, damp, let stay in hair for several hours, spray with a little hair spray before putting in. I can get a few pieces on the sides of her head but the back syays straight. I’m putting in damp with small sections and using alot all over. Any help PLEASE!
Sorry I haven’t been by my computer much. I’ve had sick kiddos. The Curlformers should have come with instructions — but if they didn’t – feel free to watch my videos showing how we put them in & the steps I take to prep the hair! hth
http://babesinhairland.com/more/tips-and-tricks/curlformer-how-to-videos/