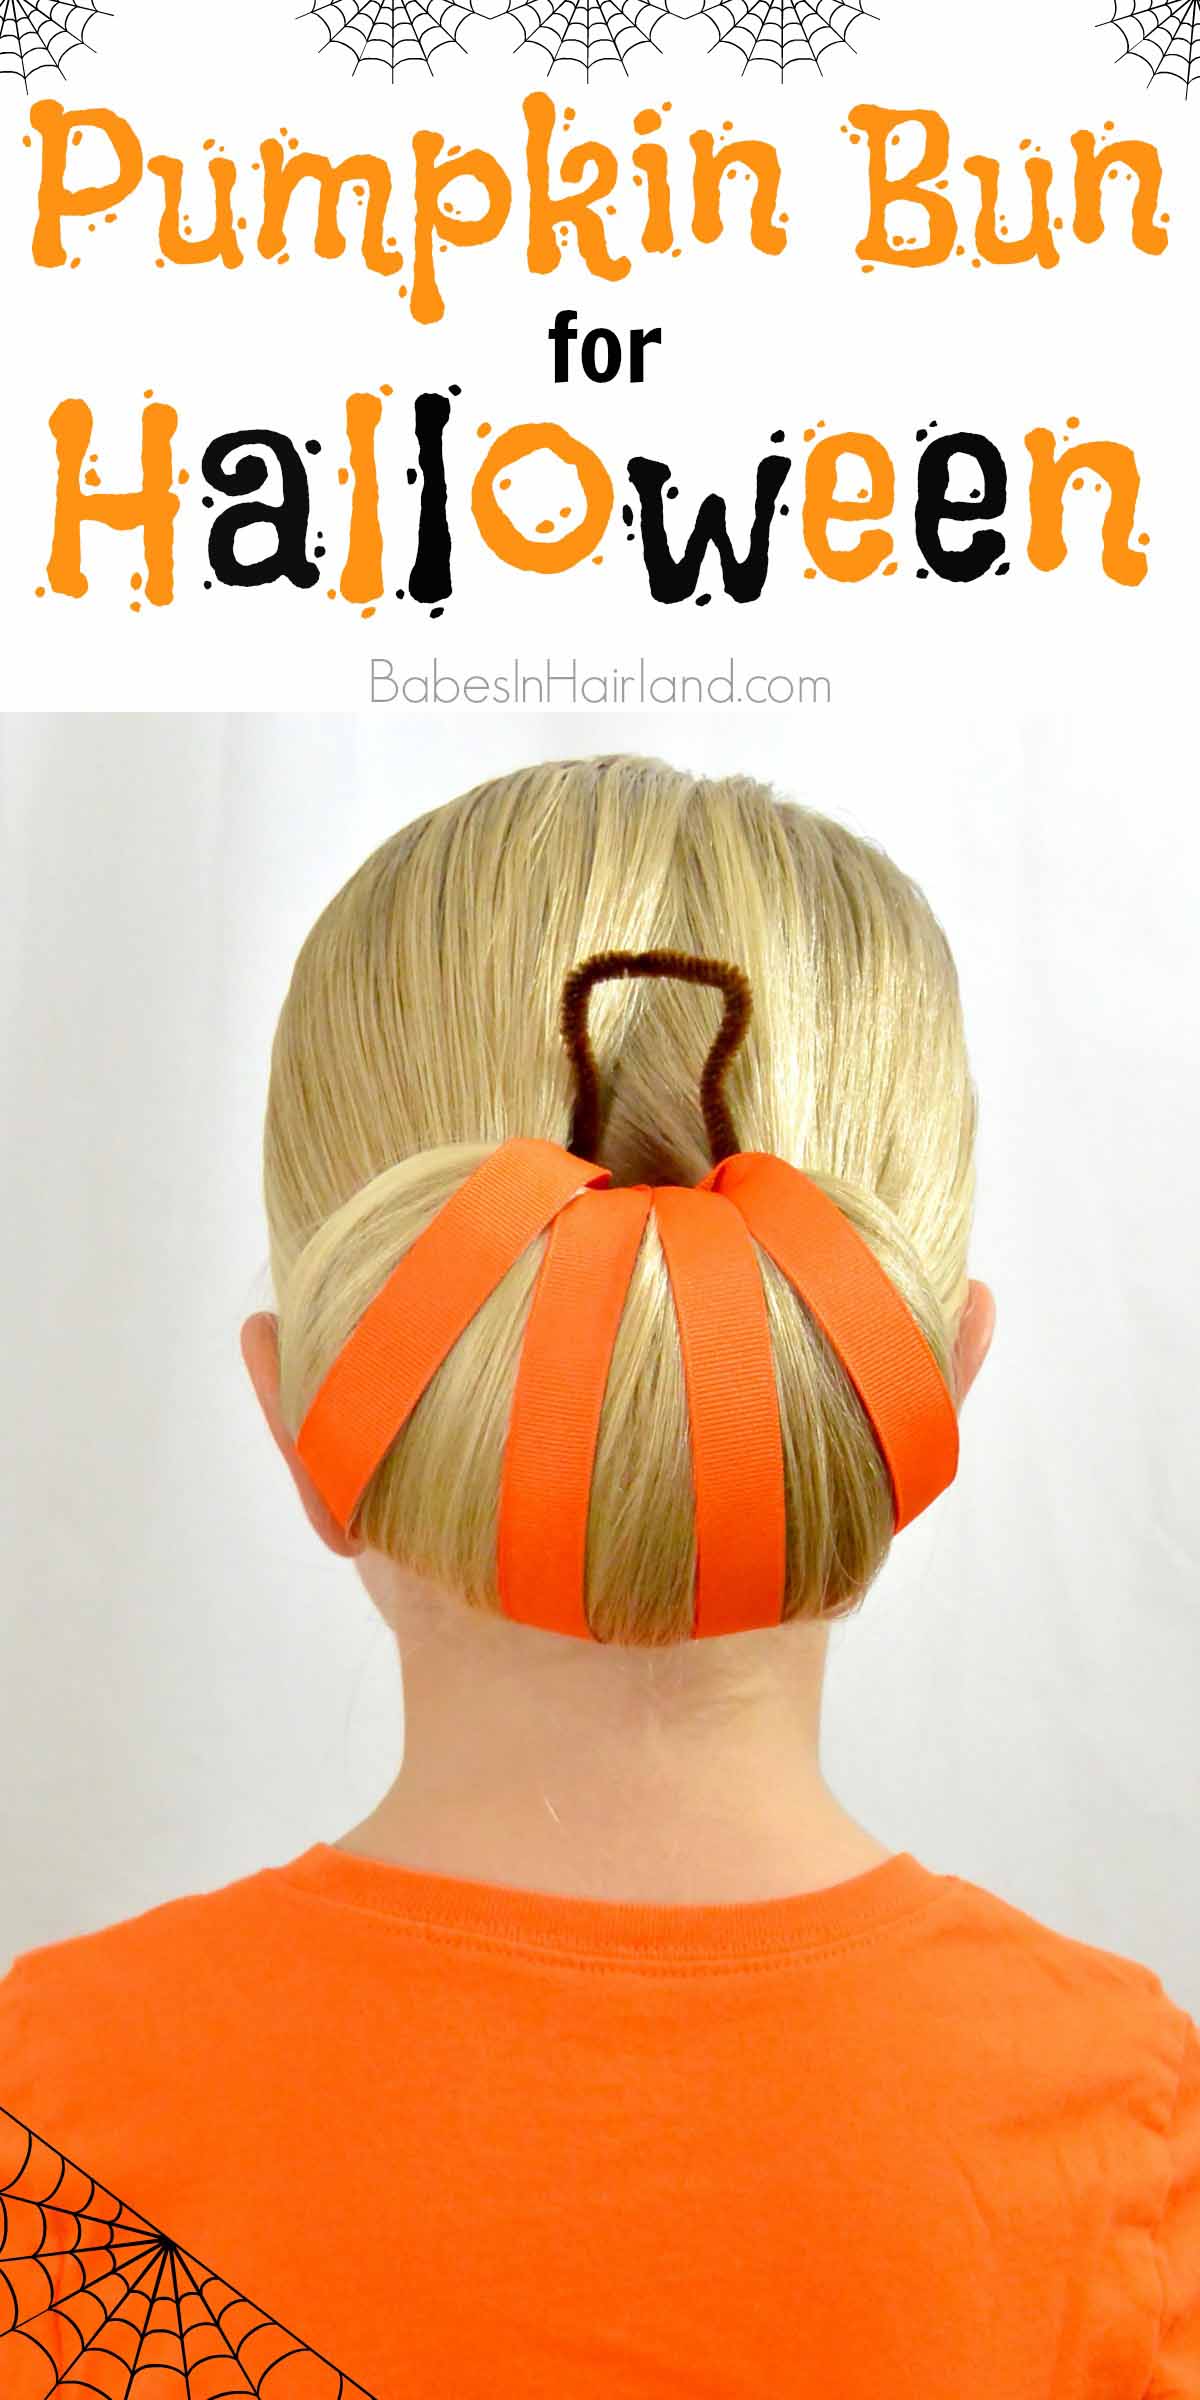
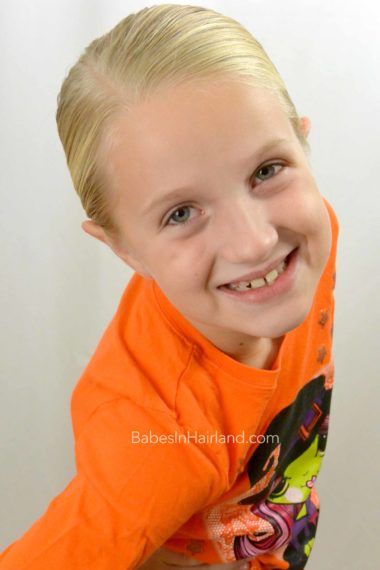
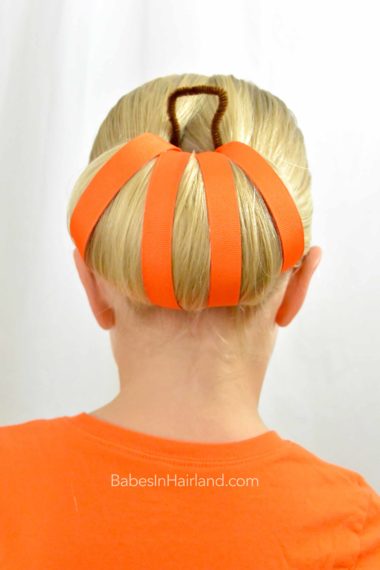
This style is actually one I created a video for last Halloween, but with Bee’s hair being as long as it was, it just didn’t turn out like I wanted, so I never posted it. I thought I’d revisit it this year now that her hair is shorter and I think it turned out much better. Years ago we did a Jack O’ Lantern Bun with a cute face on it, but I really love how this basic pumpkin bun turned out.
This will work in longer hair too, so don’t let that deter you, but you may want to stick a hair sponge or sock bun/donut bun maker
under the bulk of the ponytail to be able to get a better shape and to add volume. I don’t mean make an actual sock bun though!
Step 1 – Make a loose ponytail & secure with an elastic
Step 2 – Flip the ponytail
If you have a Topsy Tail, stick the pointed end through the hair against the scalp underneath the ponytail and out the top. Flip the ponytail so it is like a cascading ponytail over the top of your elastic. If you don’t have a Topsy Tail
you can do this using your fingers. It’s just easier with a bigger amount of hair to use a Topsy Tail
if you have one.
Step 3 – Back comb the ponytail to make it thicker/poofy. Smooth top layer of hair.
Step 4 – Gather the ends of the ponytail and wrap a small elastic around the bottom
Step 5 – Draw the ends of the ponytail upward so you’re tucking them underneath the thickness of the ponytail
Step 6 – Secure bun with bobby pins as needed & spray with hairspray to maintain smooth shape
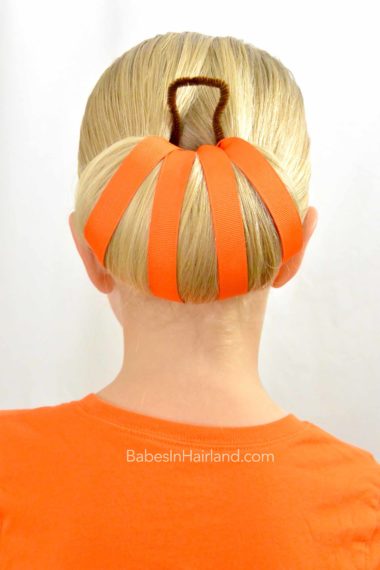
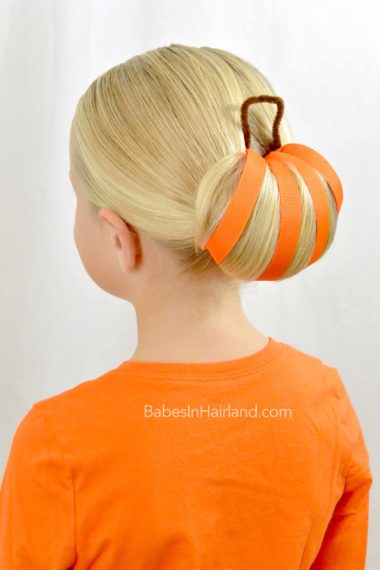
Step 7 – Take ribbon and bobby pins and make “stripes” on the bun
Starting underneath the bun, take the end of your orange ribbon and secure it under your bun with a bobby pin. If you are using a thinner ribbon, you may want to make more “stripes” or lines on top of your bun. With thicker ribbon make fewer. Anchor the ribbon on top and beneath the bun with bobby pins or hair pins.
Step 8 – Cut off extra length of ribbon if needed
Step 9 – Create the “stem” and anchor in the center of the pumpkin
We used brown pipe cleaner to create our stem, but you could even use some brown ribbon anchored to a hair pin if you prefer. You could also use green pipe cleaner or ribbon if you want that instead.
FINISHED!
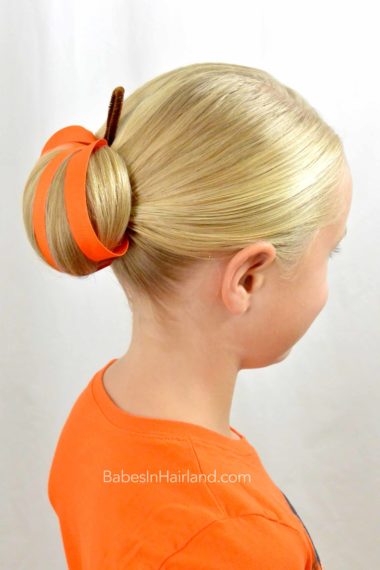
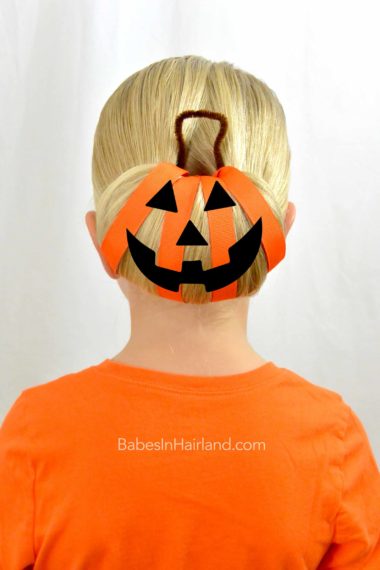
 And if you want to turn it into a Jack O’ Lantern bun cut out desired shape and anchor with hair pins. (I just added a cute little graphic to the picture below — but just in case you wanted to see how it’d look!) Fun & festive, right?! 🙂
We’d love if you tried this one & shared it with us on our Facebook page or tag us on Instagram (@babesinhairlandblog). Hope all your Halloween preparations are coming along and you’re getting costumes and everything figured out!
Also – Don’t forget that I’m teaching a class at this year’s Pinners Conference again. My class is scheduled for Saturday Nov. 8th, and we’d love to see you there! Be sure to use my code babesinhairland to receive $5 off your ticket purchase. We’ve got some great SWAG lined up (including some copies of our hot off the press BOOK!) so you’ll want to be sure to attend our class! The conference is going to be amazing and there are so many fabulous bloggers scheduled to present – you DON’T want to miss this! For more information check out my post from a couple weeks ago. Go to Pinners Conference website to register for tickets.
 **Disclaimer — This page contains affiliate links. If you click on an item and purchase it, we receive a small % of the sale price. This does not change the price of your item. By purchasing these items it’s like saying a little “thank you” to us!

Love this! I can’t wait to try. I started following you last year after I saw the spider braids. My DD b-day is Halloween so we are always looking for cute halloween things. I can’t believe it has been a year. Thanks for a year of cute hair. You have definitely inspired me to keep trying new things.
Oh I’m so glad you found us last year! Yes, time does fly quickly doesn’t it! I’m glad we’ve been able to help inspire you guys with our hairstyles! Thank you so much for taking the time to comment. 🙂
Cool. Really liked the steps as the steps, the steps are easy to follow. Thanks for sharing.