One of my favorite things to do w/the girls hair is to tie knots. Yes, knots. The fun thing about them, is there are so many different ways to work with knots. There are ones that actually make a knot, other ones that you don’t pull tight all the way, or ones that have the look of a chain – but can look so different depending on how thick you make them. Anywho — They can be turned into fun/spunky, or fancy schmancy. They are just so versatile – I’m almost in love with them! 🙂 I’ve linked a few of my favorites above, but in my “what are you in the mood for menu” in the right column, there are plenty more options to choose from.
Anyway, one of my favorite do’s from Hair 4 My Princess is where she took & made the knots/chains around the front of her DD’s into a 1/2 pony. That’s one that is just a people stopper! I decided to add a little something to it for this do! If you frequent all us hair bloggers, the first steps may be old hat — but for you newbies, you can see it all!
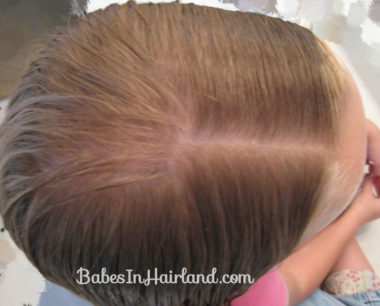
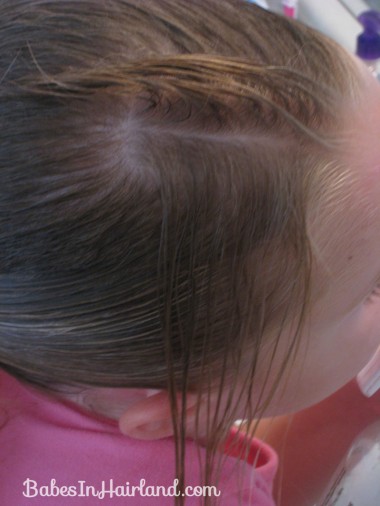
Part the hair off center. Not too far back – just a small part.
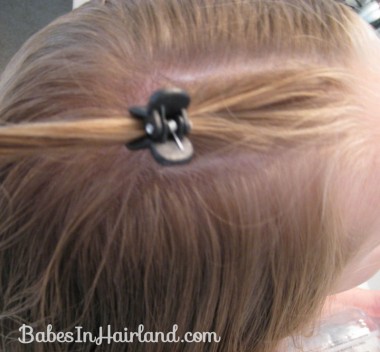
Sorry, some of my pix this time are blurry! Just below the 1st part, make another one, and then clip the hair off for later.
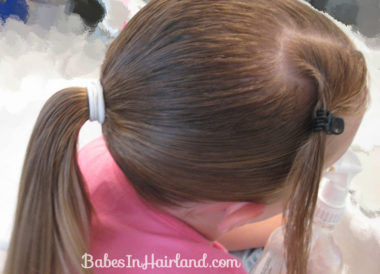
With that little bit of hair sectioned out, pull the remaining hair into a ponytail and secure with a rubber band.
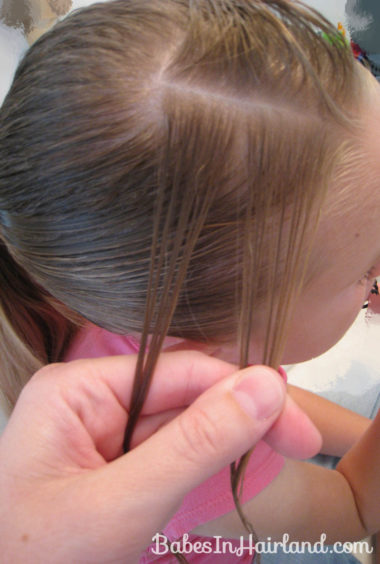
Now it’s time to use the hair you had in a clip. Divide that hair into 2 sections. TIP: These work the best if the hair is very wet – or with gel or product in them to hold their shape & keep the fly aways away.
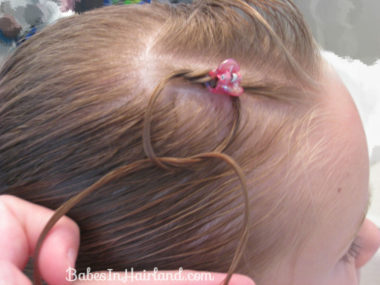
Now divide one of those sections into 2 parts – like you’re going to tie your shoes. All these are, are shoe string knots – not pulled tight – well except the beginning one.
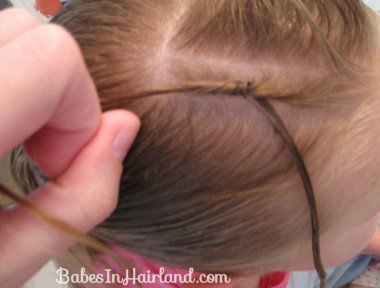
Now take those 2 sections of hair and tie it like you’d start tying your shoe. Pull it tight.
You can either have your DD hold her finger on that or secure it with a little clip. You want this beginning knot to stay put. Once you’ve secured that first part, repeat, like you are going to tie another knot. Right over left and pull it through. But DO NOT pull it tight. Pull it into a circle like this:
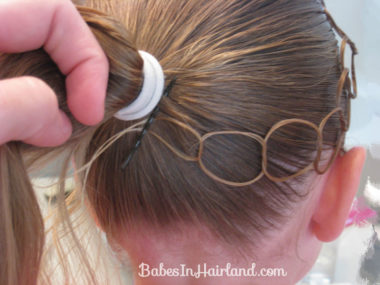
Repeat making circles until you reach the end of the hair. Carefully pull the chain of hair back towards the ponytail and secure those tiny ends with a bobby pin temporarily.
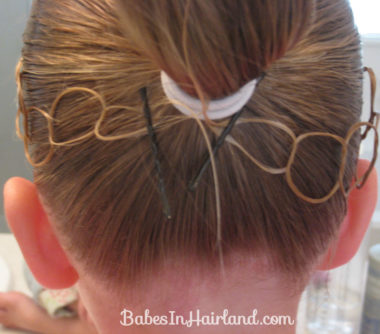
Repeat on the left side and secure those ends with a bobbypin. The hair is so thin on these ends, I’ve found nothing else will hold them there!
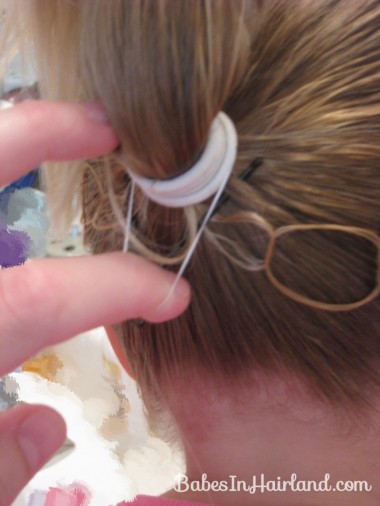
Then I take a thin rubberband and wrap it around the base of the ponytail, including those tiny whispy ends of the chains into it as well. Now you can remove the bobby pins safely, without the chains coming undone.
Now for my addition to the hairdo!
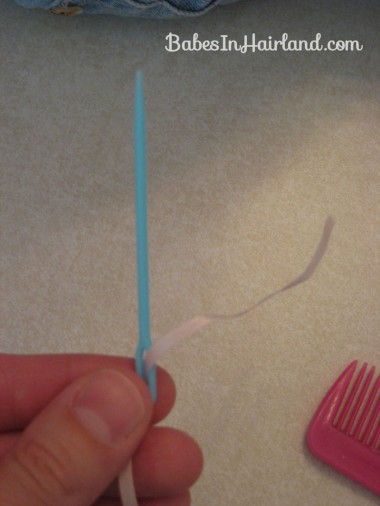
I bought these “child friendly” needles recently – for the sole purpose of using them in hair! I’ve used a safety pin in the past to help lace ribbon through, but they don’t work for everything – especially for this idea. So these came in handy. I got these at Wal-Mart in their yarn section for less than $2. They come in 2 packs or 4 packs.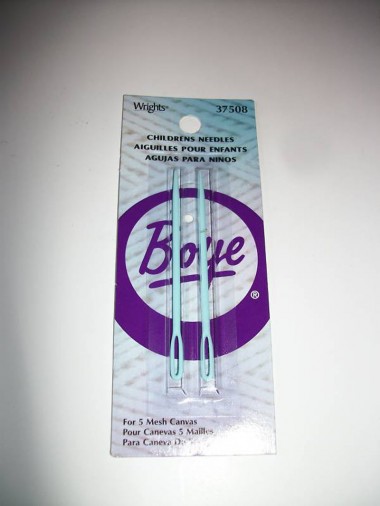
Cut the amount of ribbon you think you’ll need and & thread it through the eye of your needle. I used a rather thin ribbon for this – I’m not sure how a thicker one would go passing through the “fragile-ish” state of the chains.
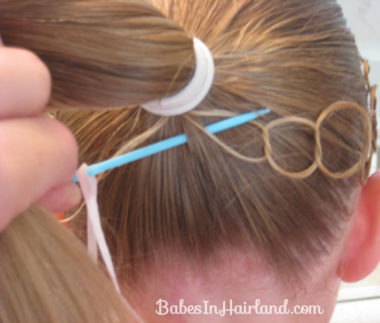
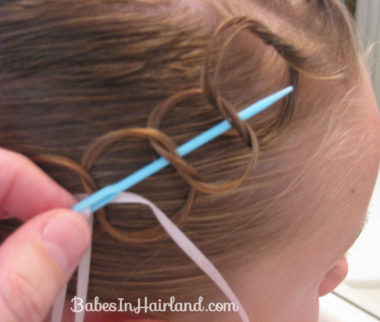
Starting on the right side, underneath the ponytail, poke your needle through the hair and out the 1st link of the chain.
The key to doing this is to do it gently (which I’ll say a lot) – because I learned if I tried to go too fast, it messed my links up! So take my word!
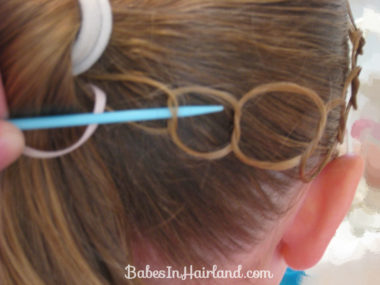
Now, carefully pass the needle THROUGH the middle of hair where the hair crosses to actually make the link. It looks like I’m just going underneath the chain, but I’m really going through the hair.
Gently pull the ribbon through the center of the links.
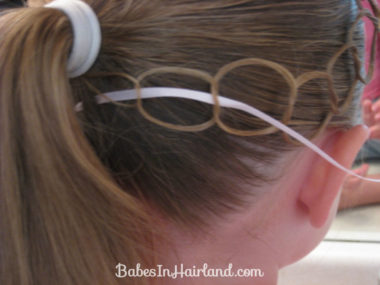
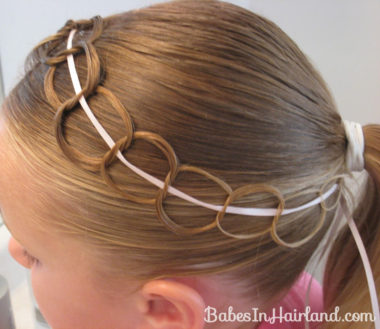
Continue this around the head. I’d go through a couple links at a time, and then slowly & gently pull the ribbon through. You may have to press each link to the head a little as you lace the needle through the center part of the link. Again, it helps to have the links rather damp so you can mold & move them around as you need without hairs flying everywhere.
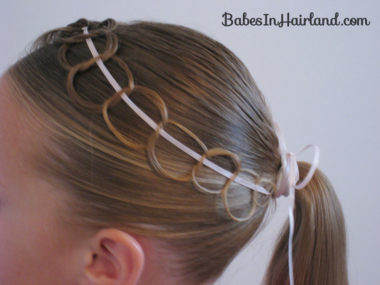
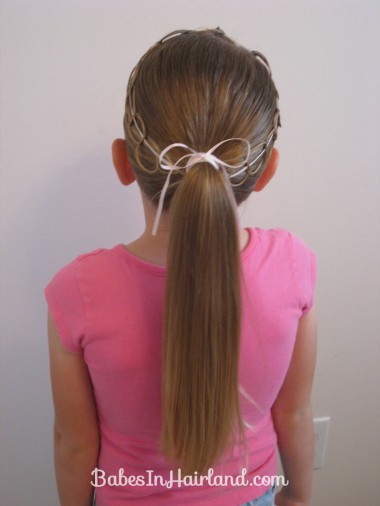
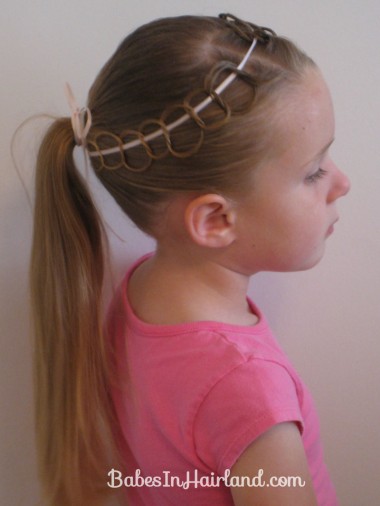
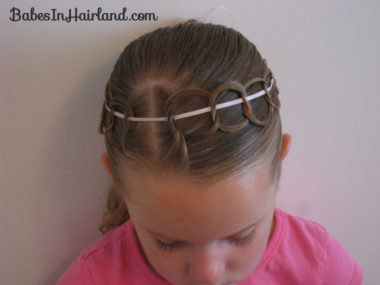
Once you come back around the left side and back underneath the ponytail, gently wrap the ribbon around the ponytail and make a bow on top. Be sure you wrap it gently and don’t pull to hard, because it’ll mess with your chains! I’d wanted these to be a bit lower down around the head, more like a headband, but I didn’t cut off enough ribbon and so it pulled the chains up a bit higher on her head.
Here’s a look from the front. As you can see, I just passed right over the part, and went down the other side of the links with the ribbon. One full swoop around the head!

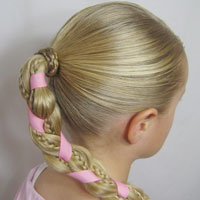
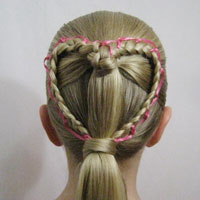
Wish I could do this, but I got my hair cut short before Christmas 2011 3: *sigh*
wow you are truly an inspiration. and a genius!!!
Awww! Thanks! You’re too nice! 🙂