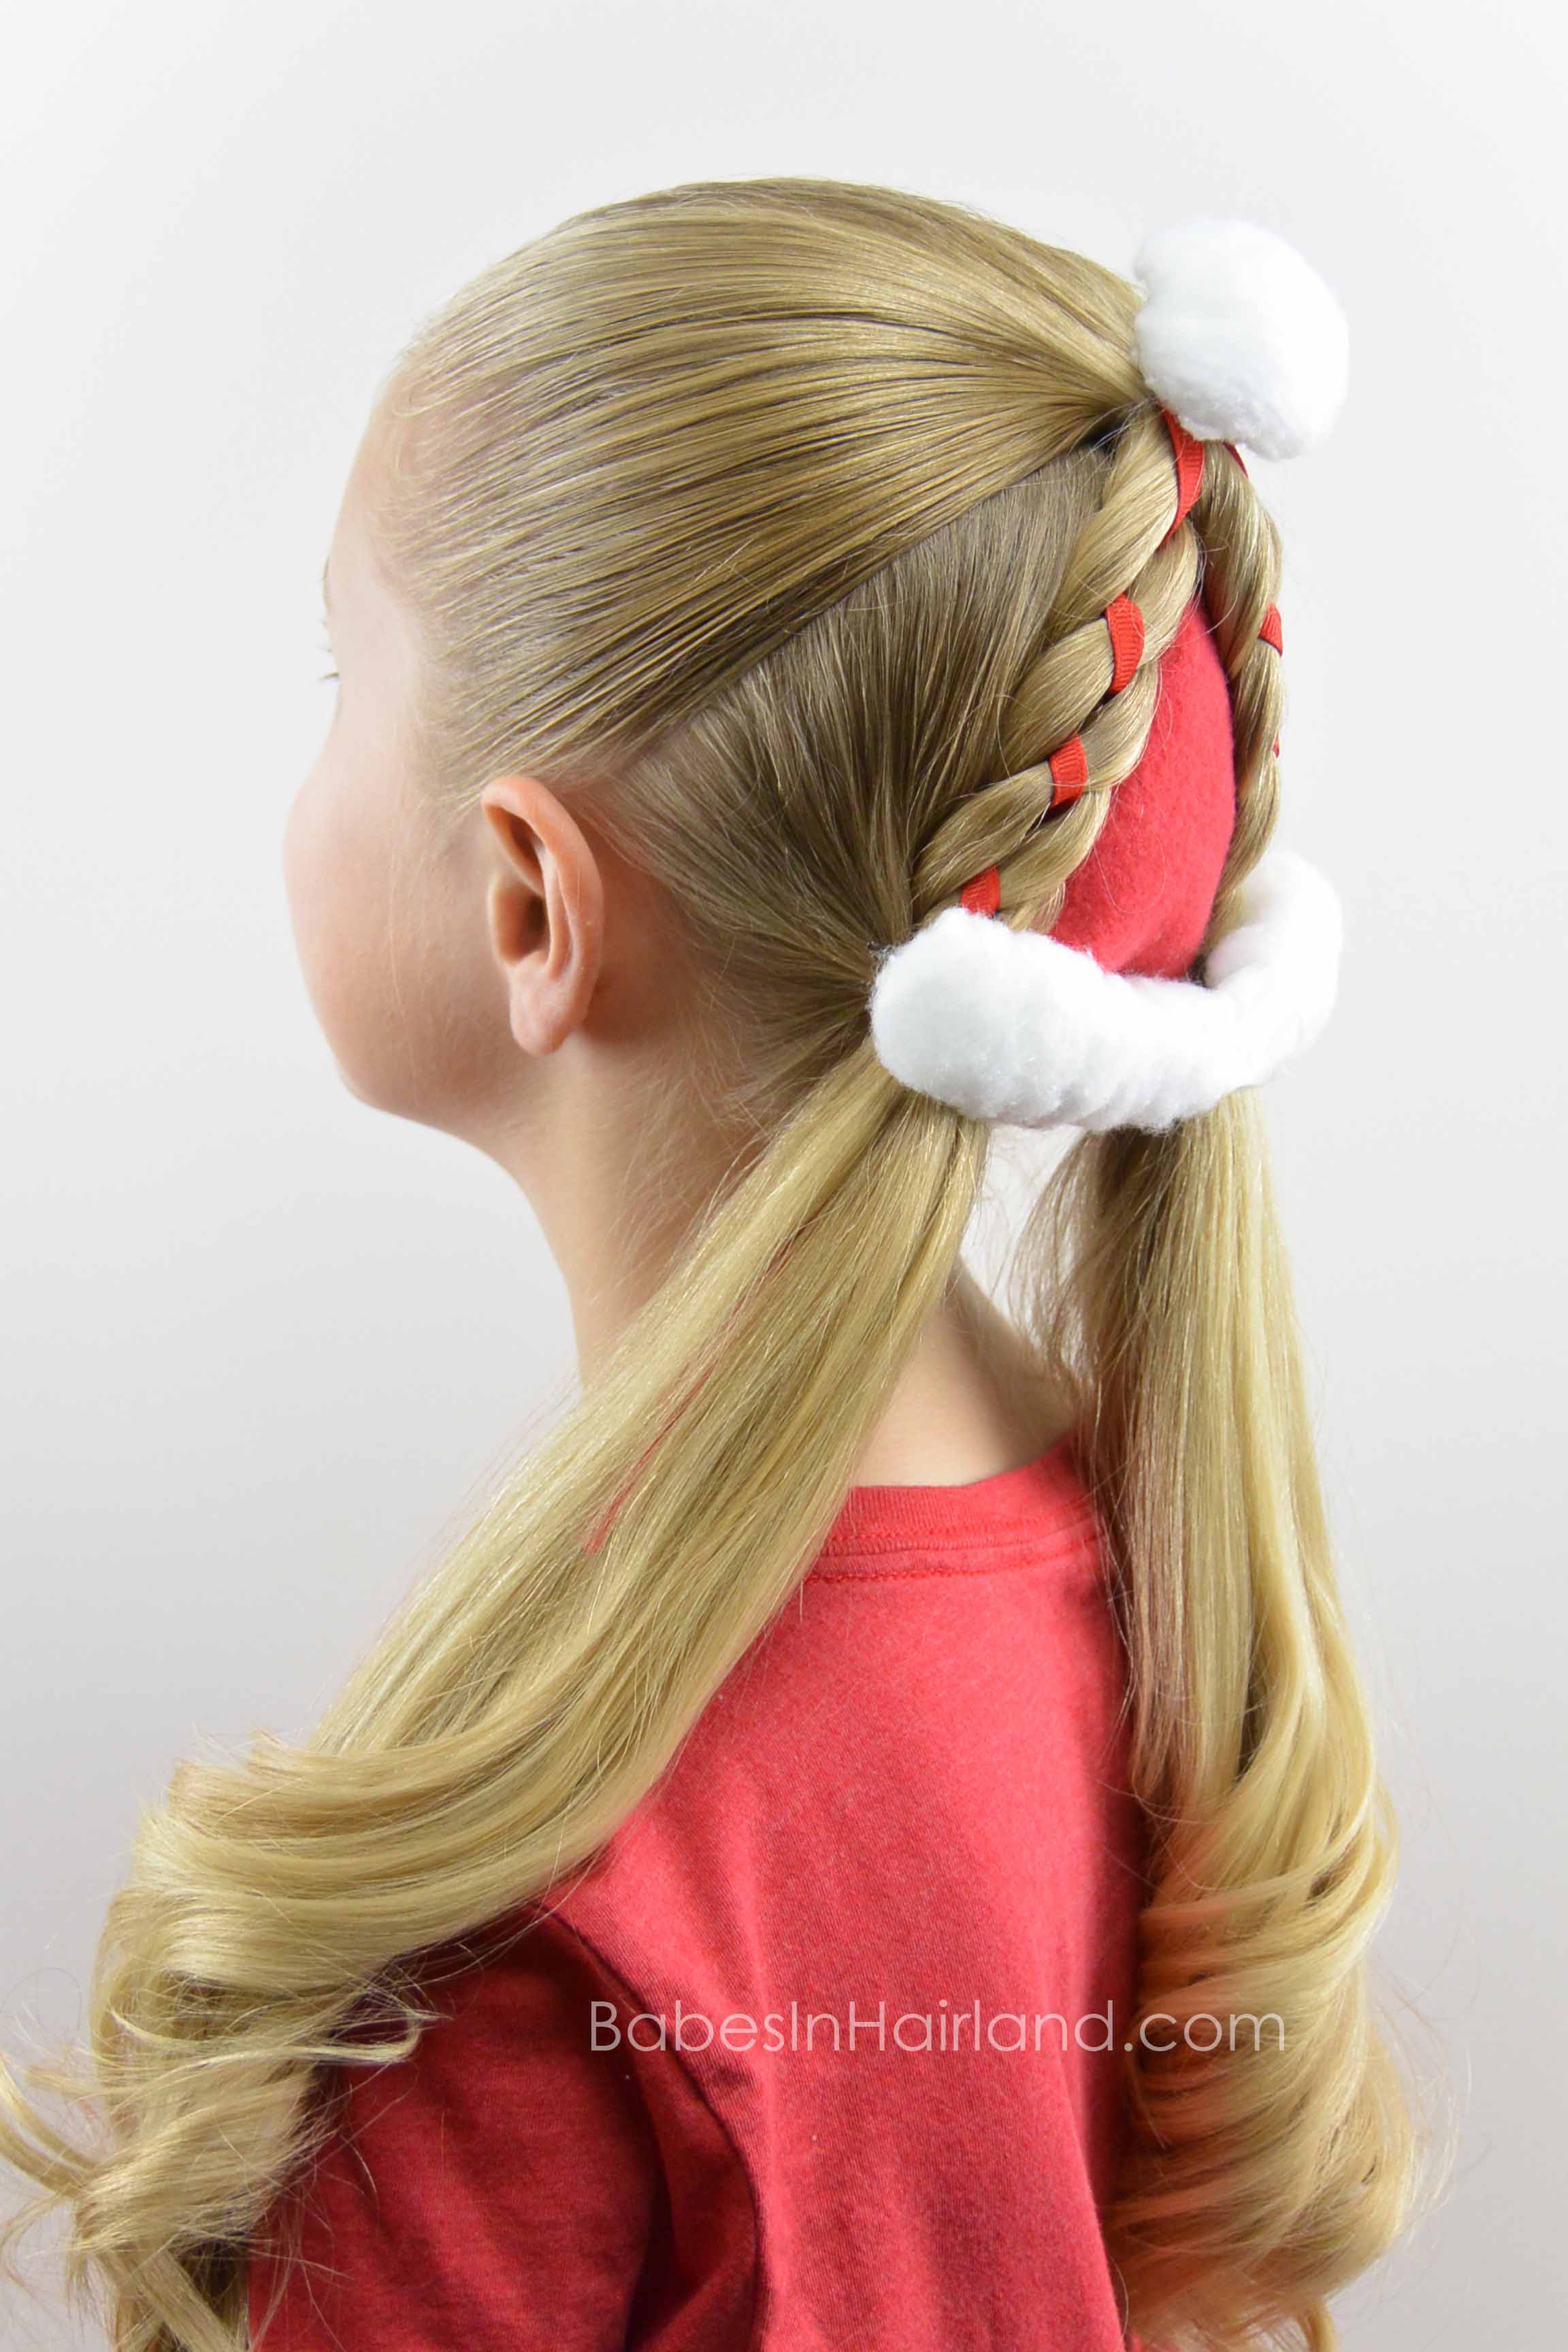
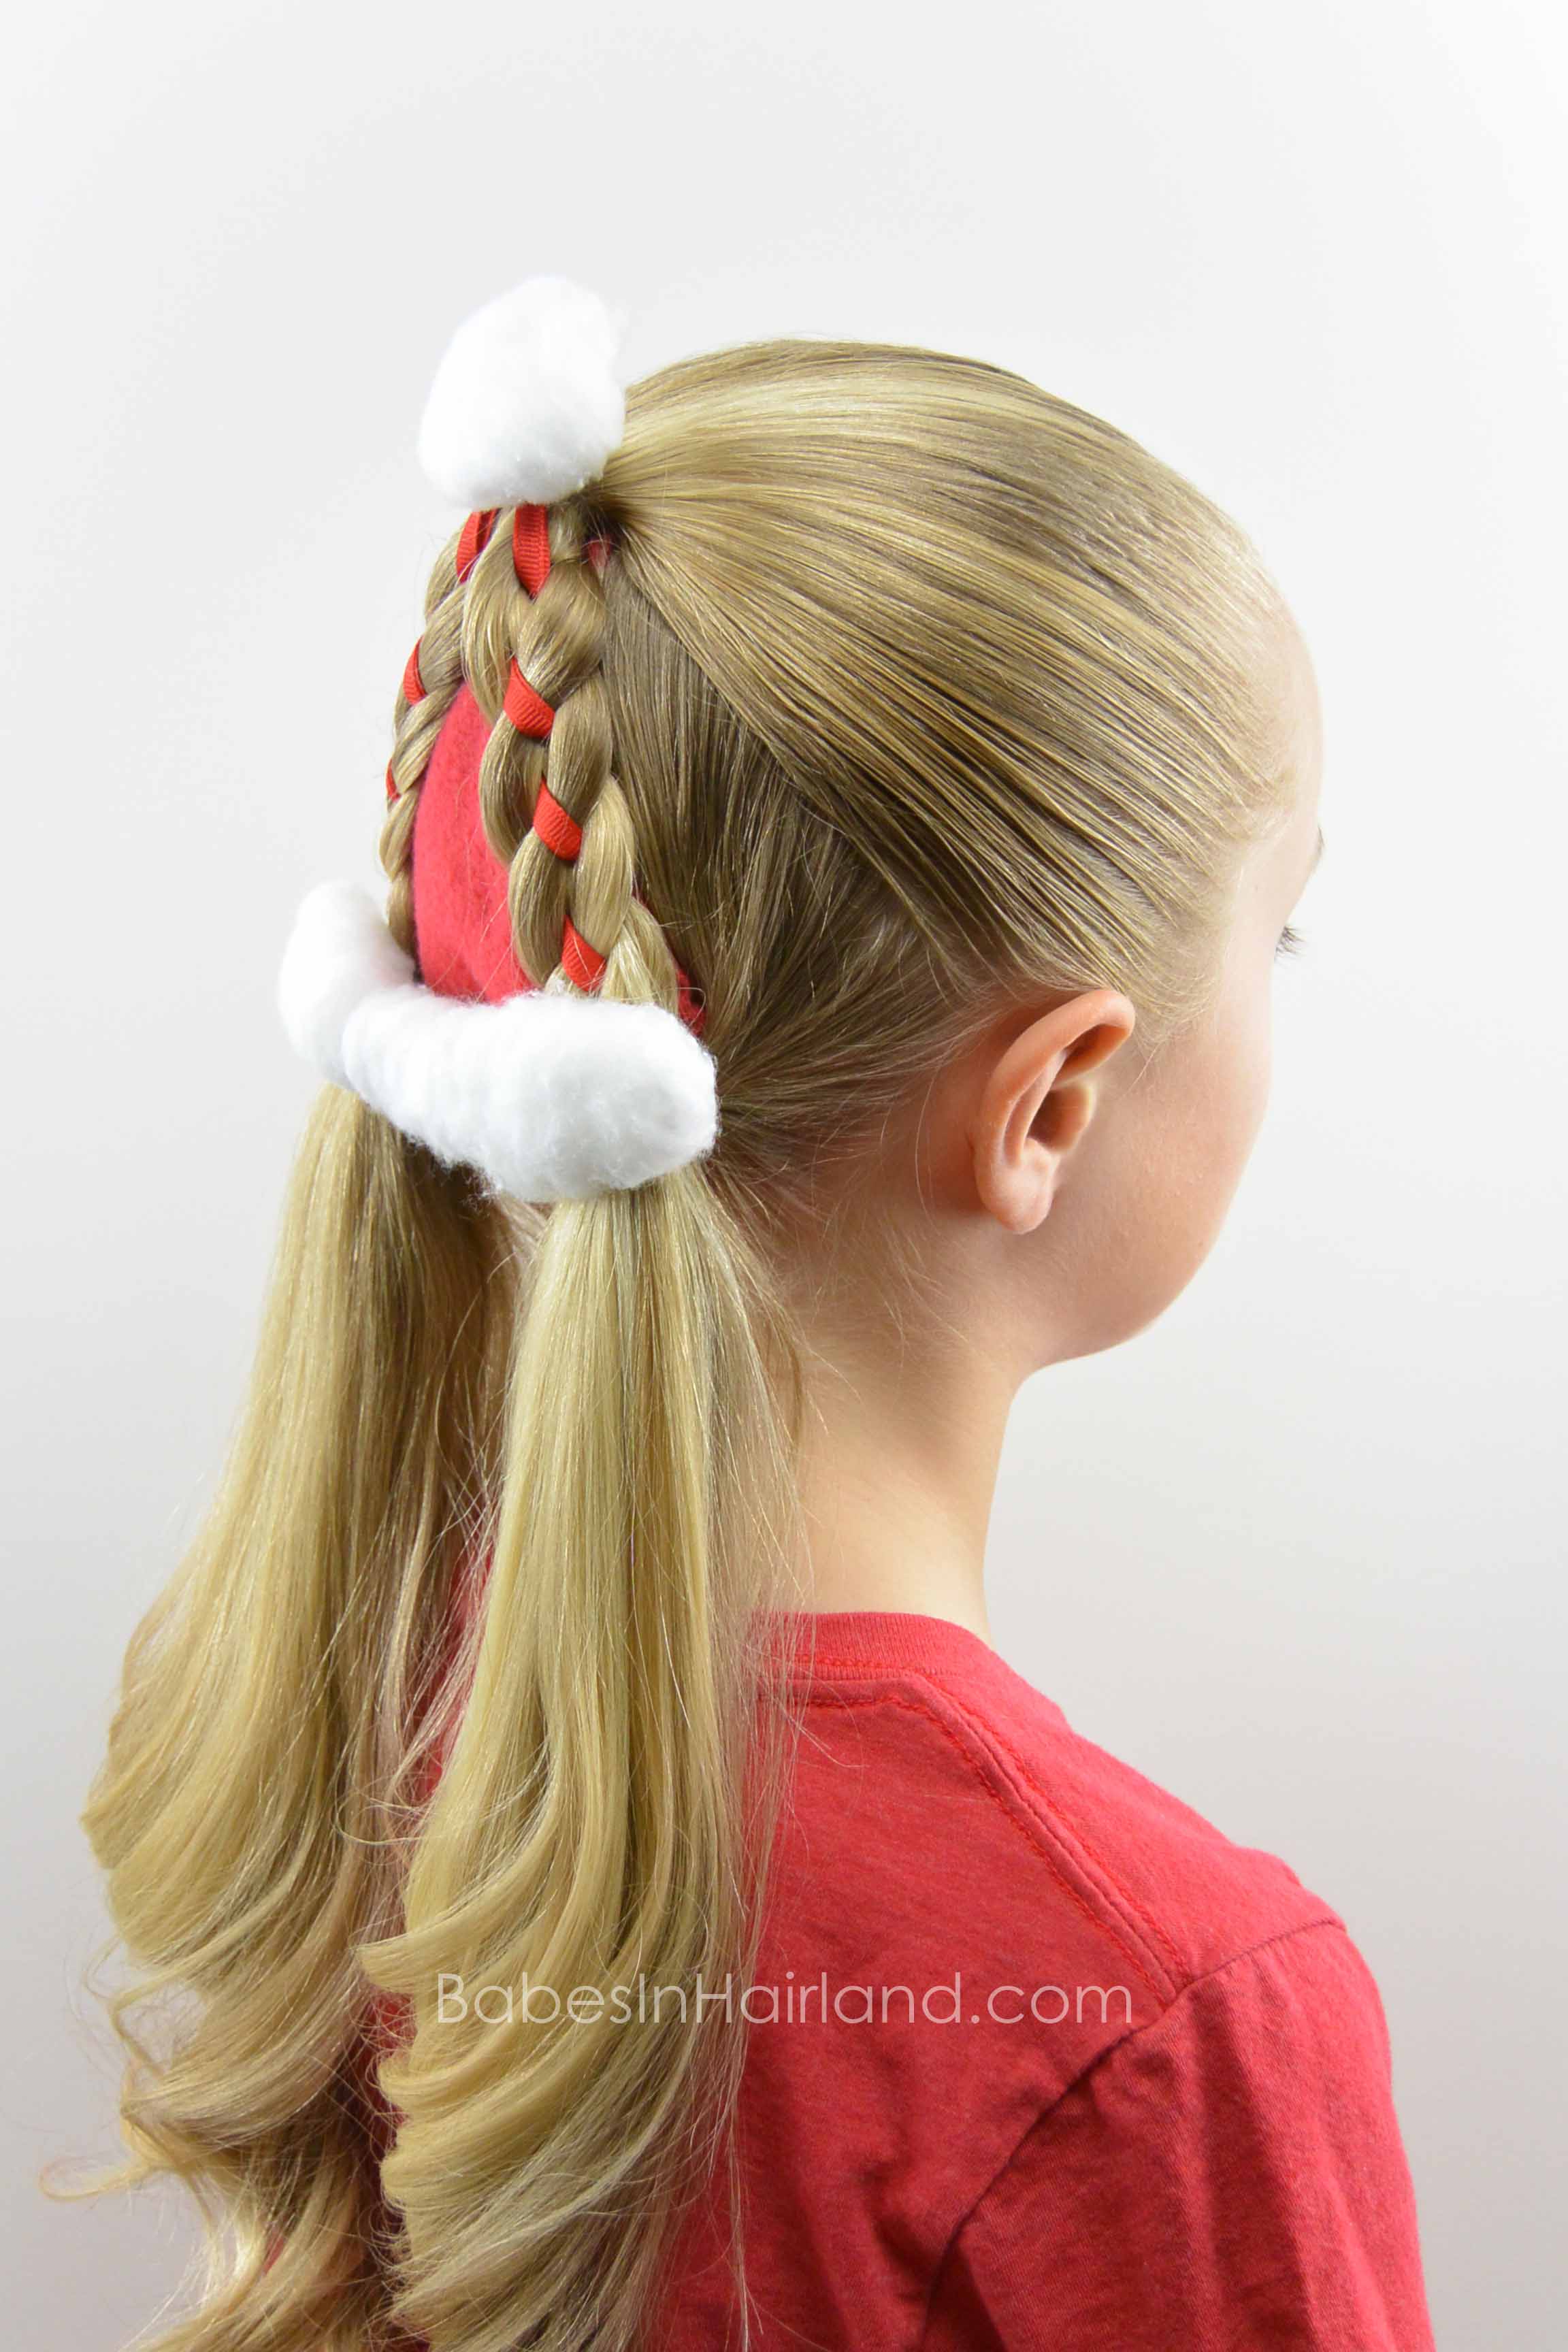
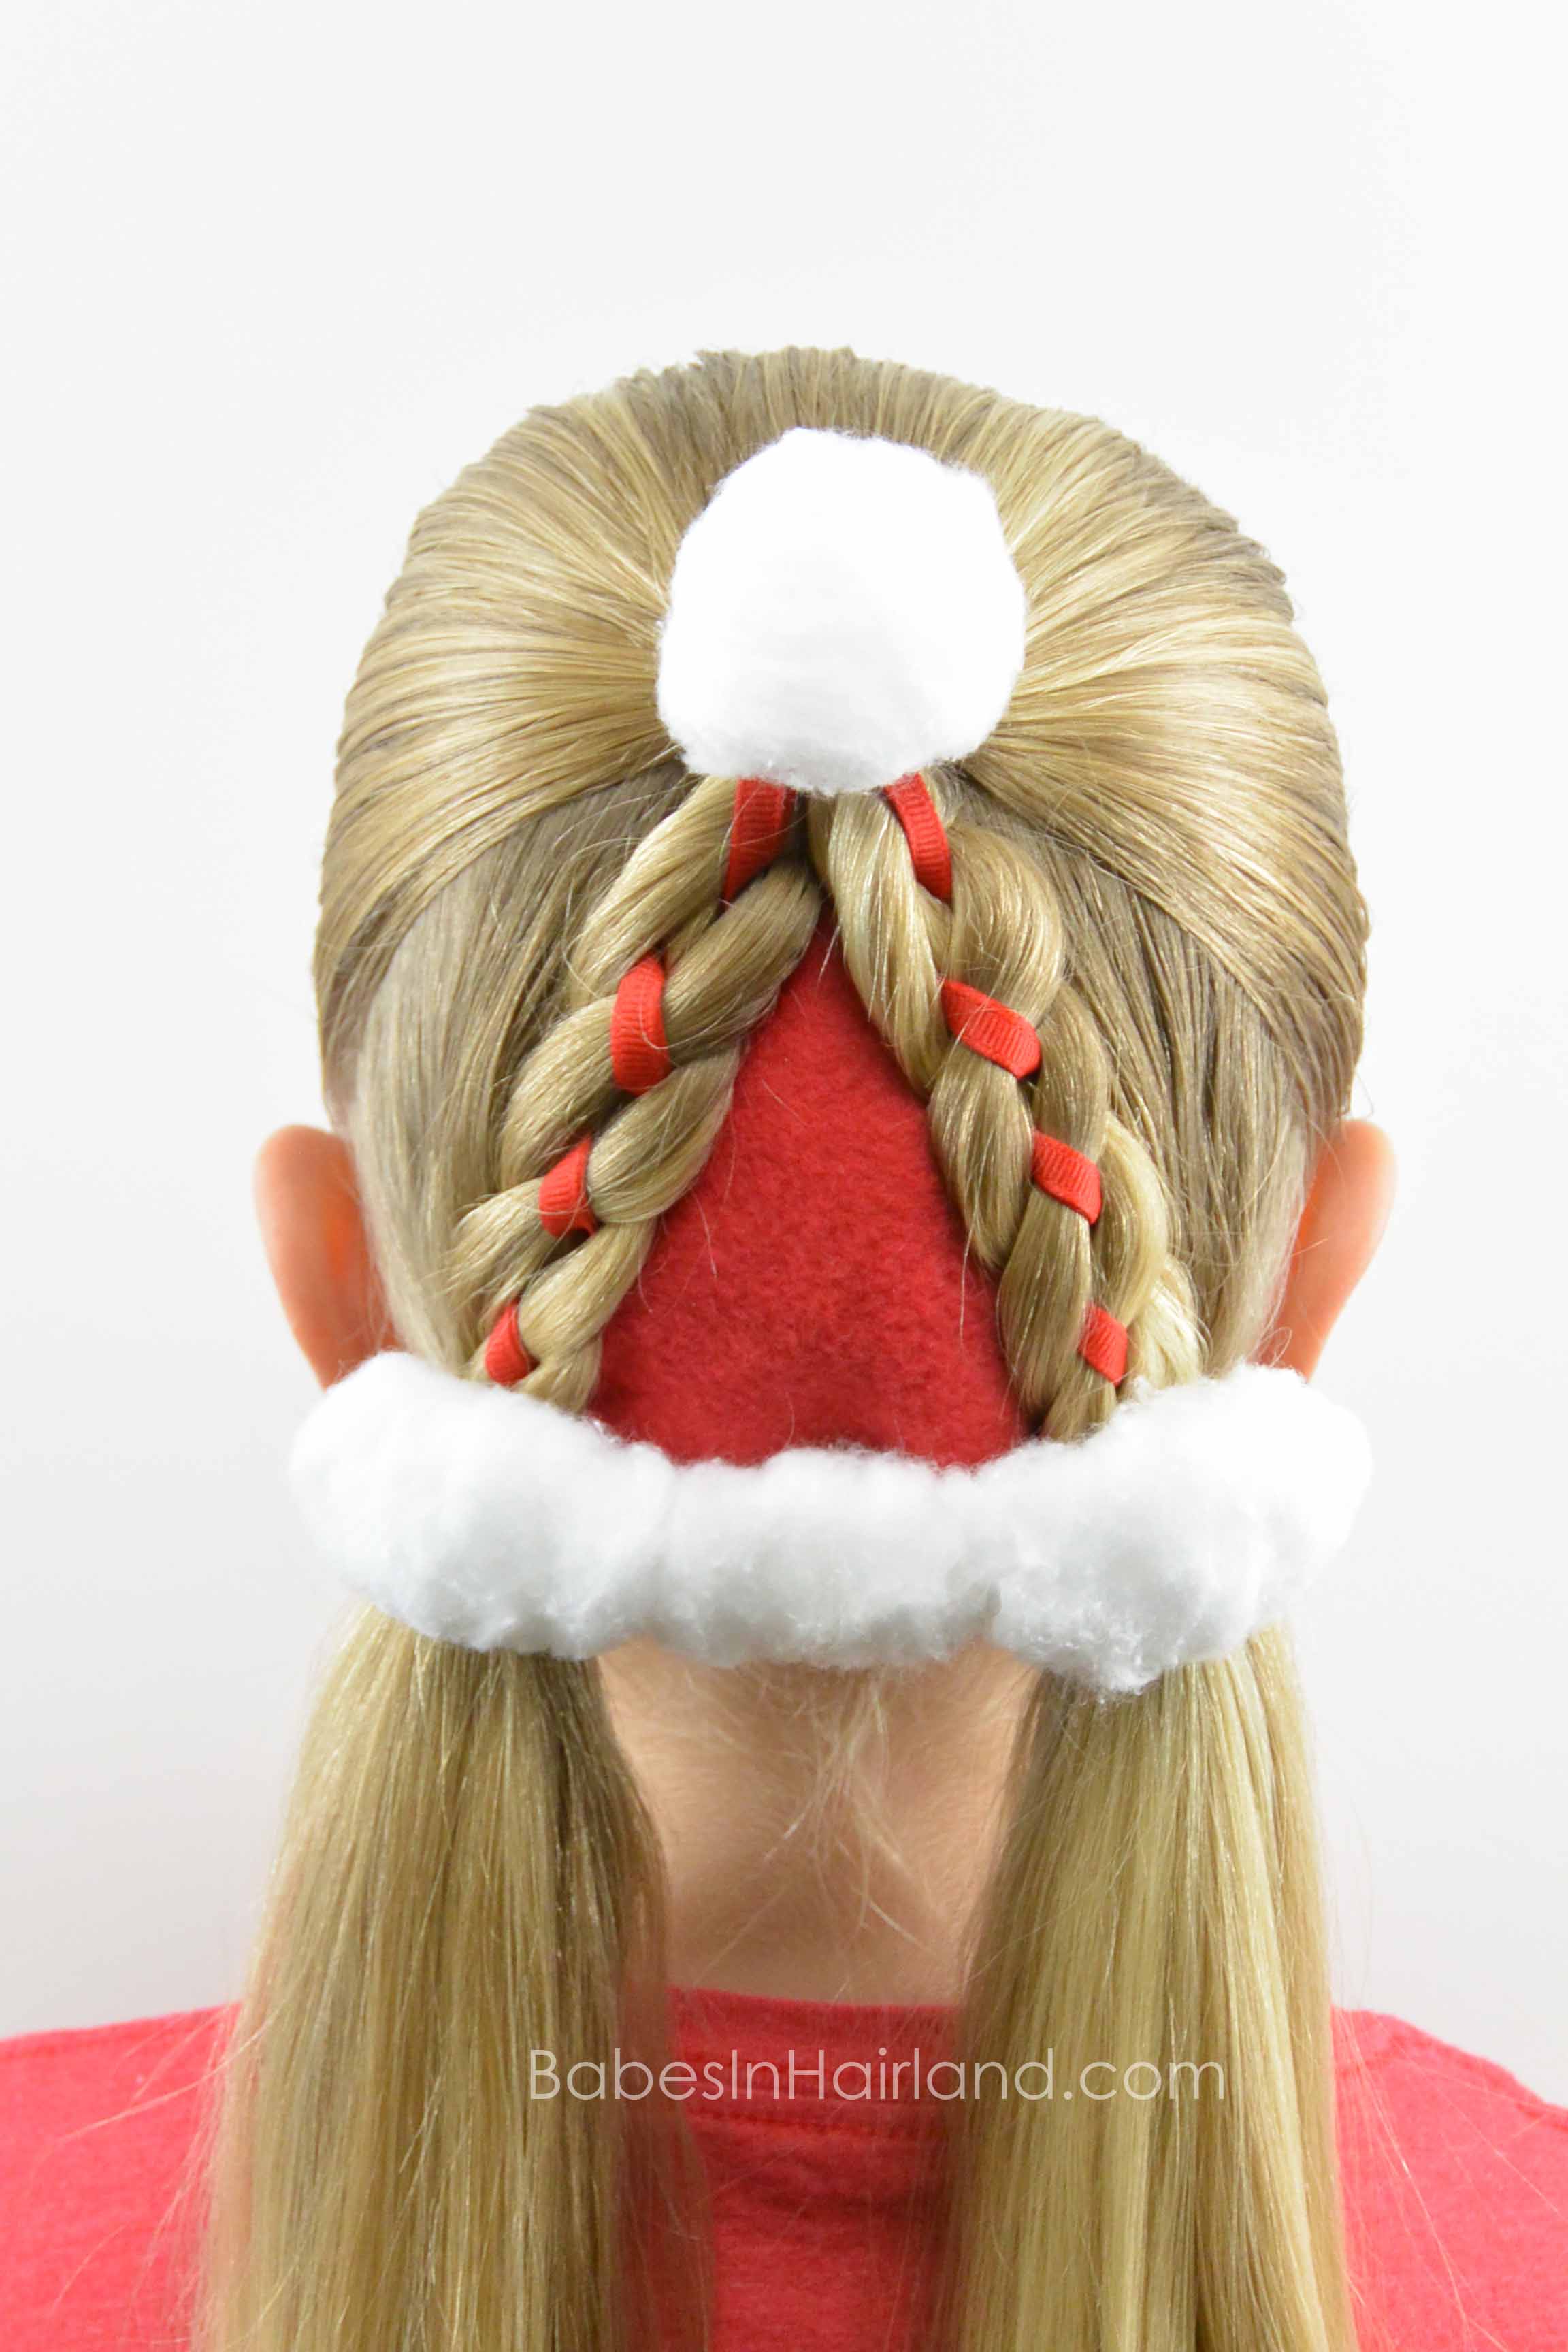
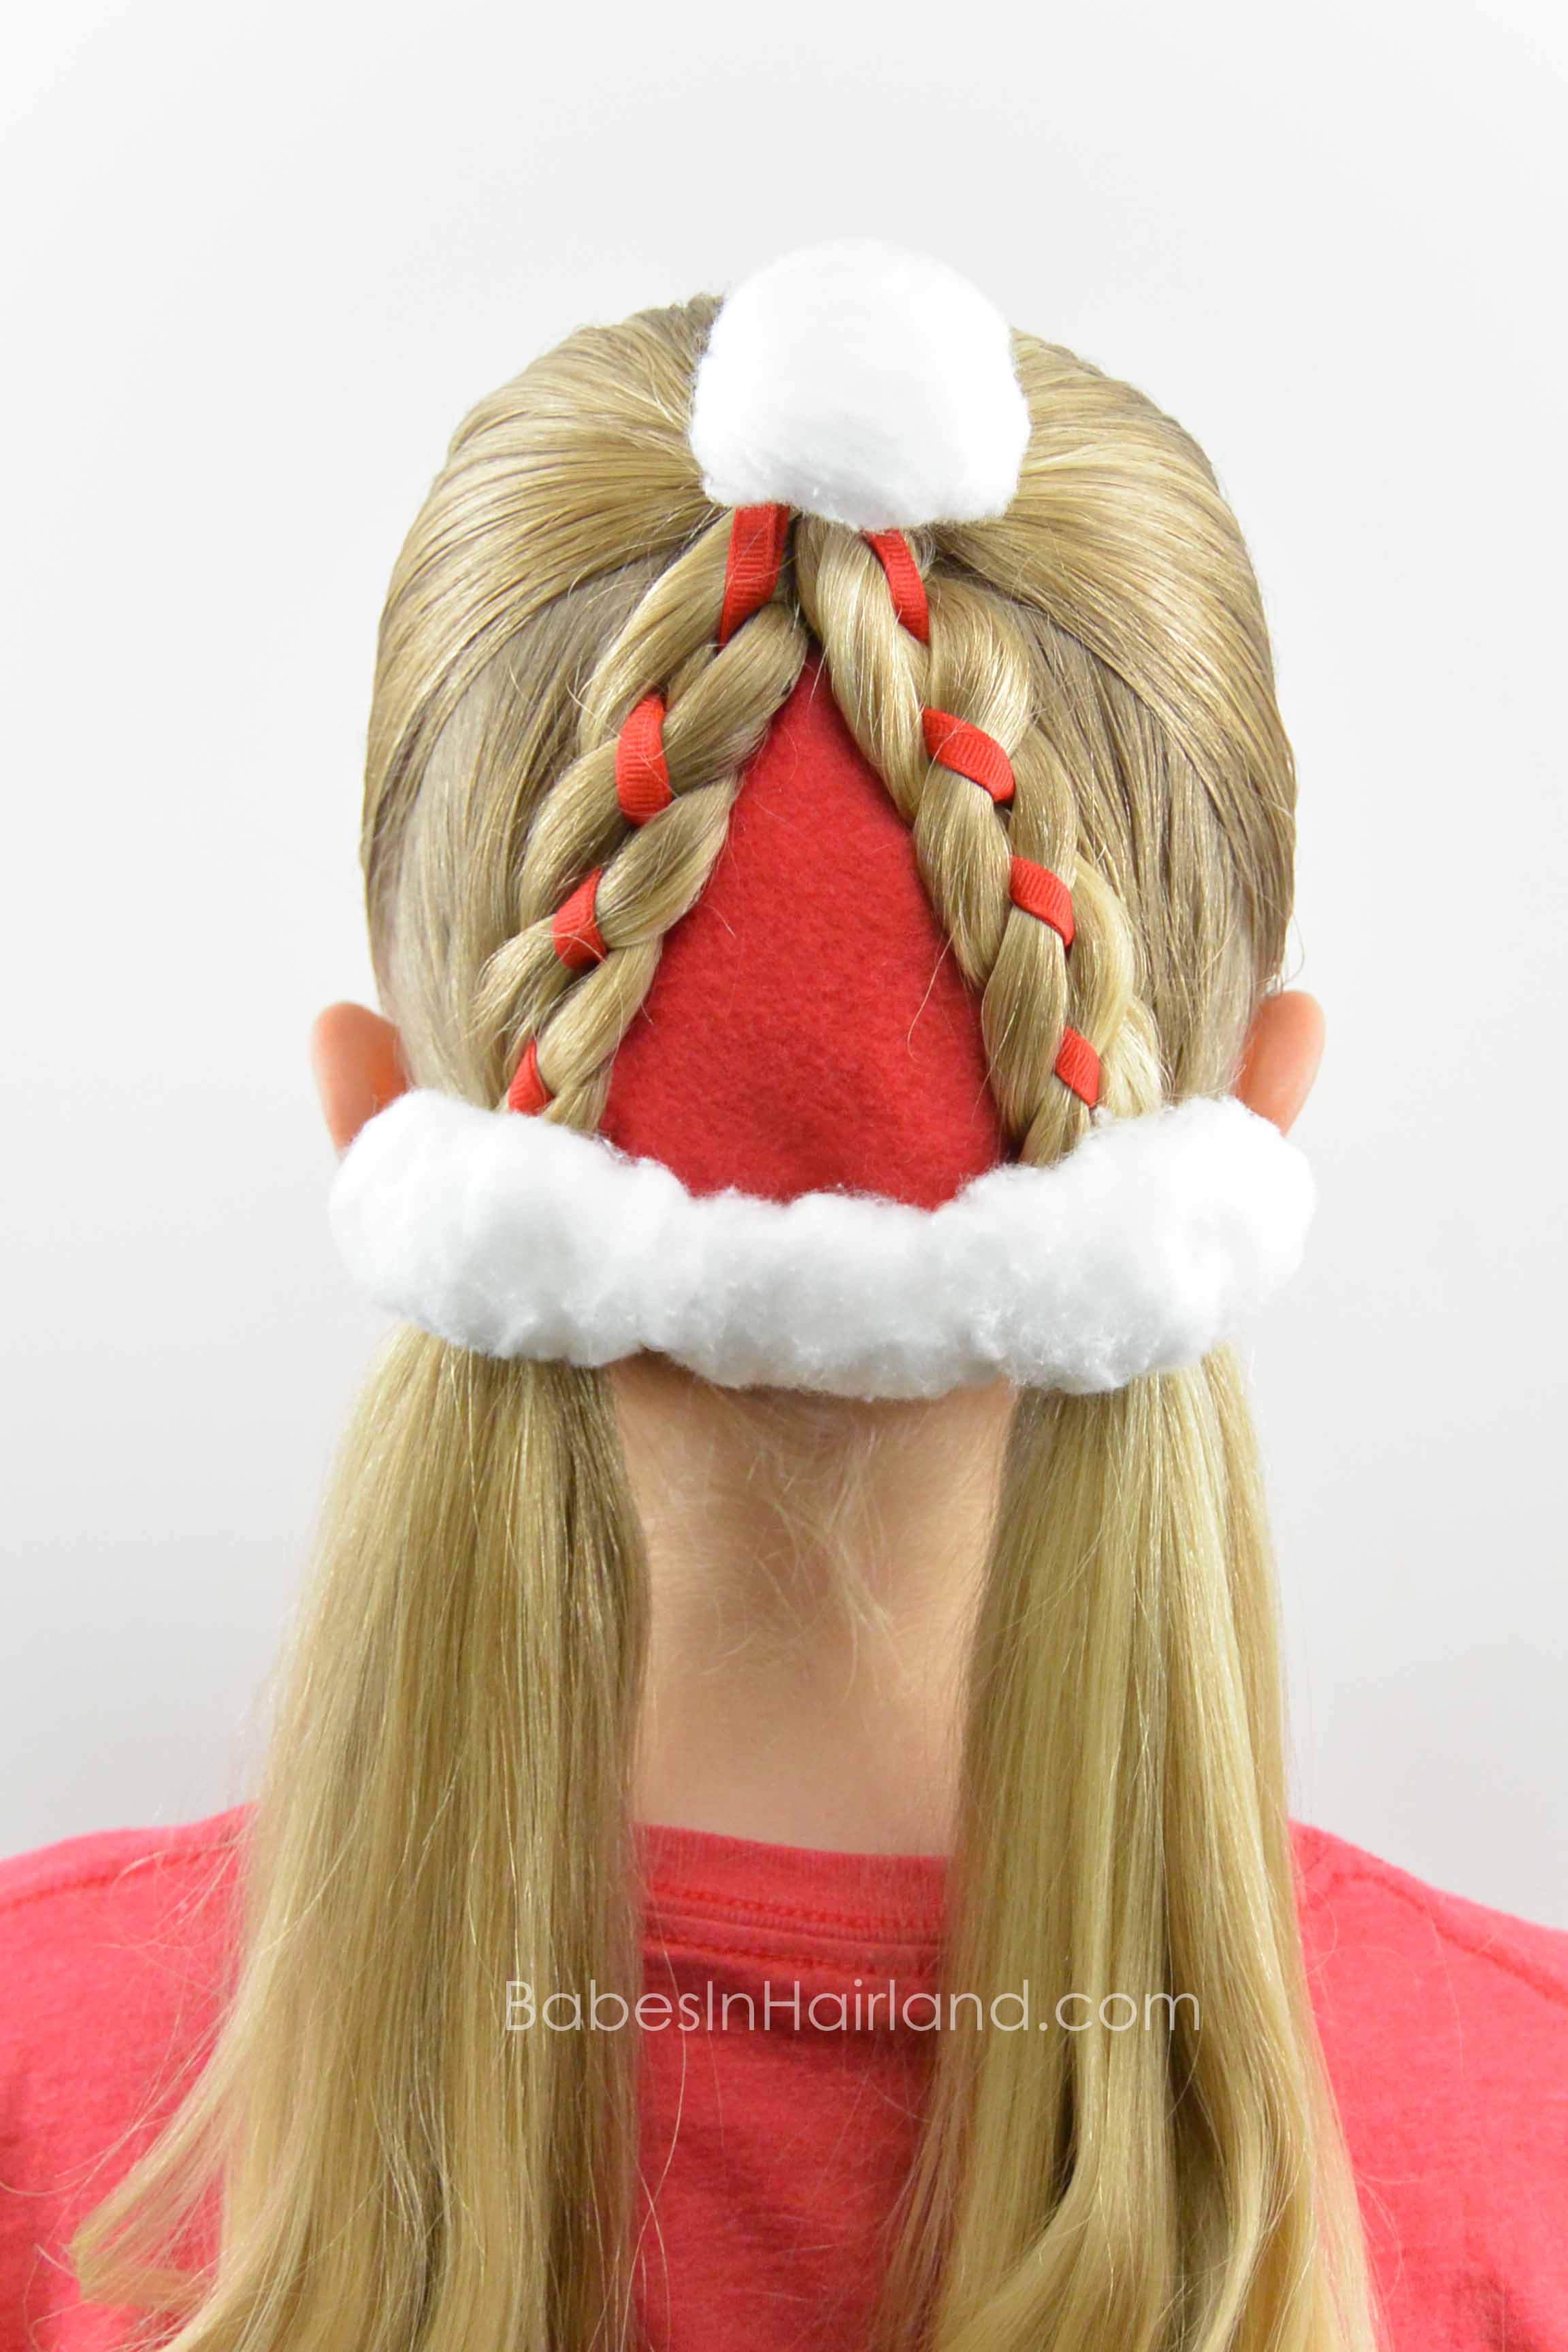
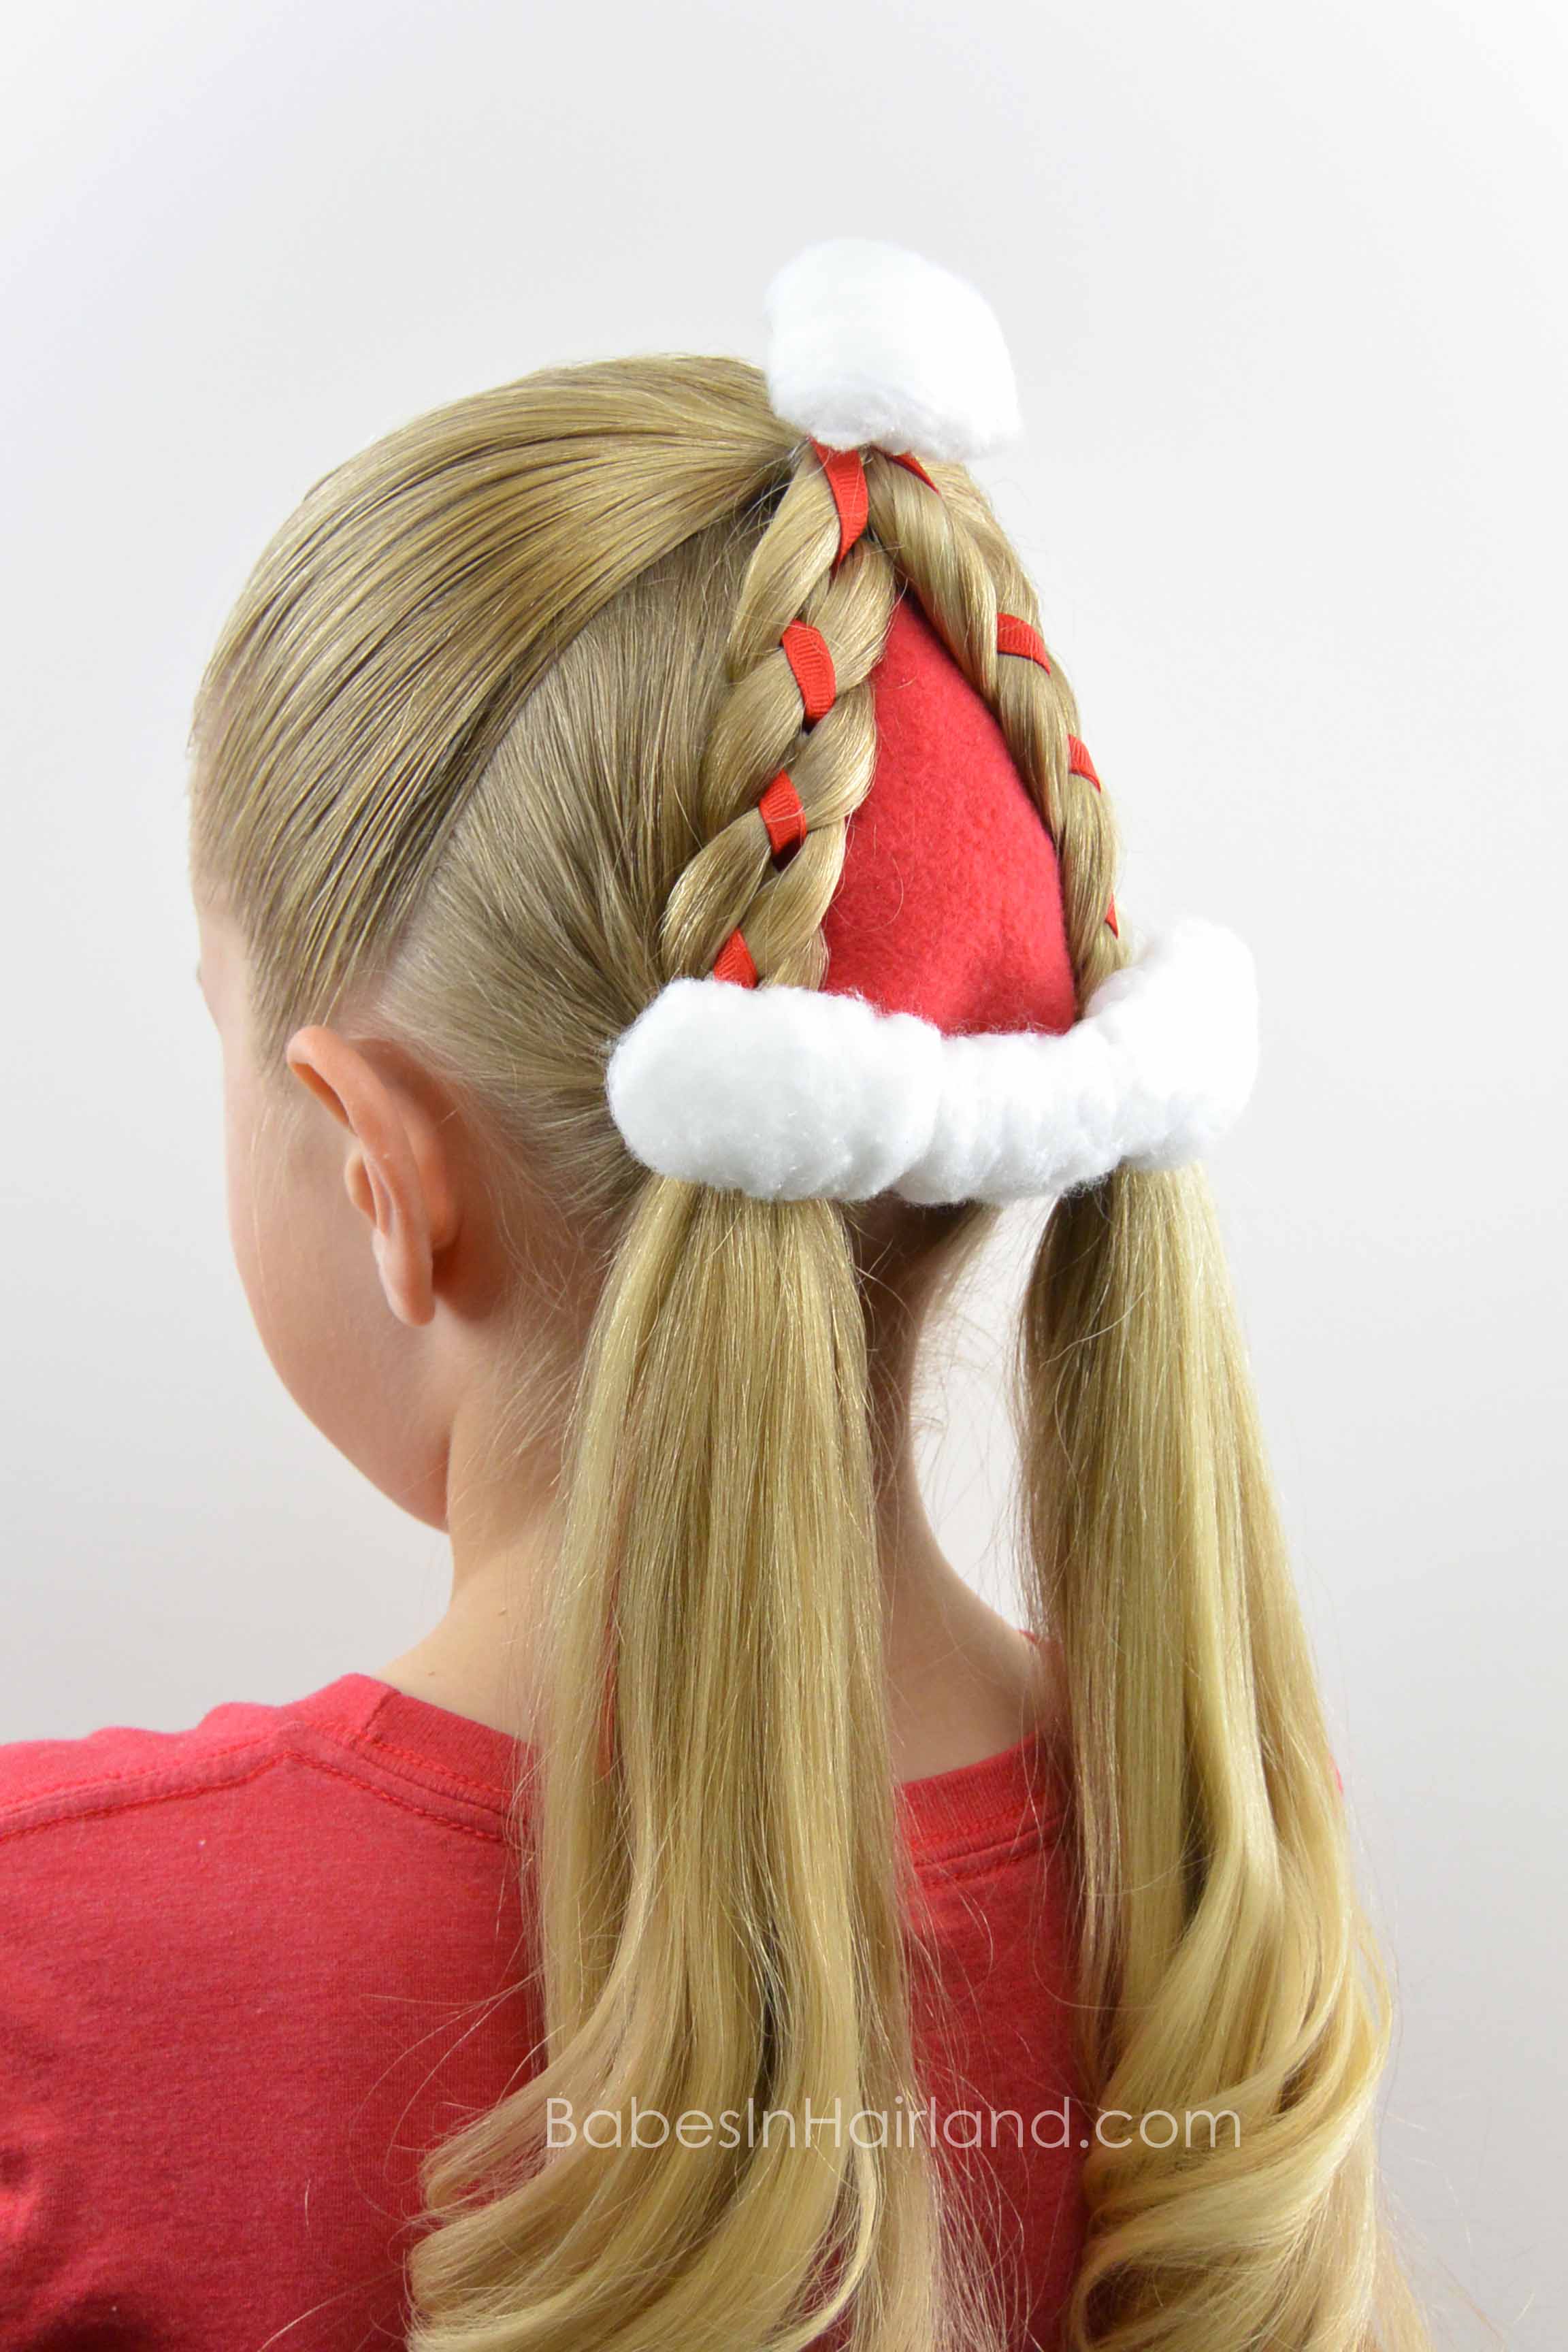
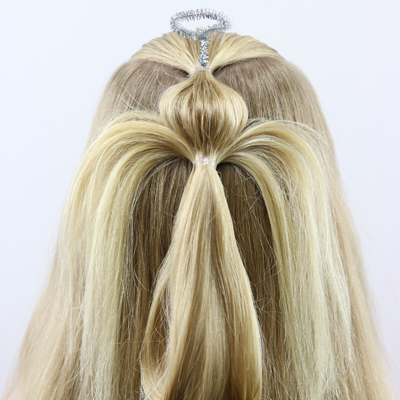
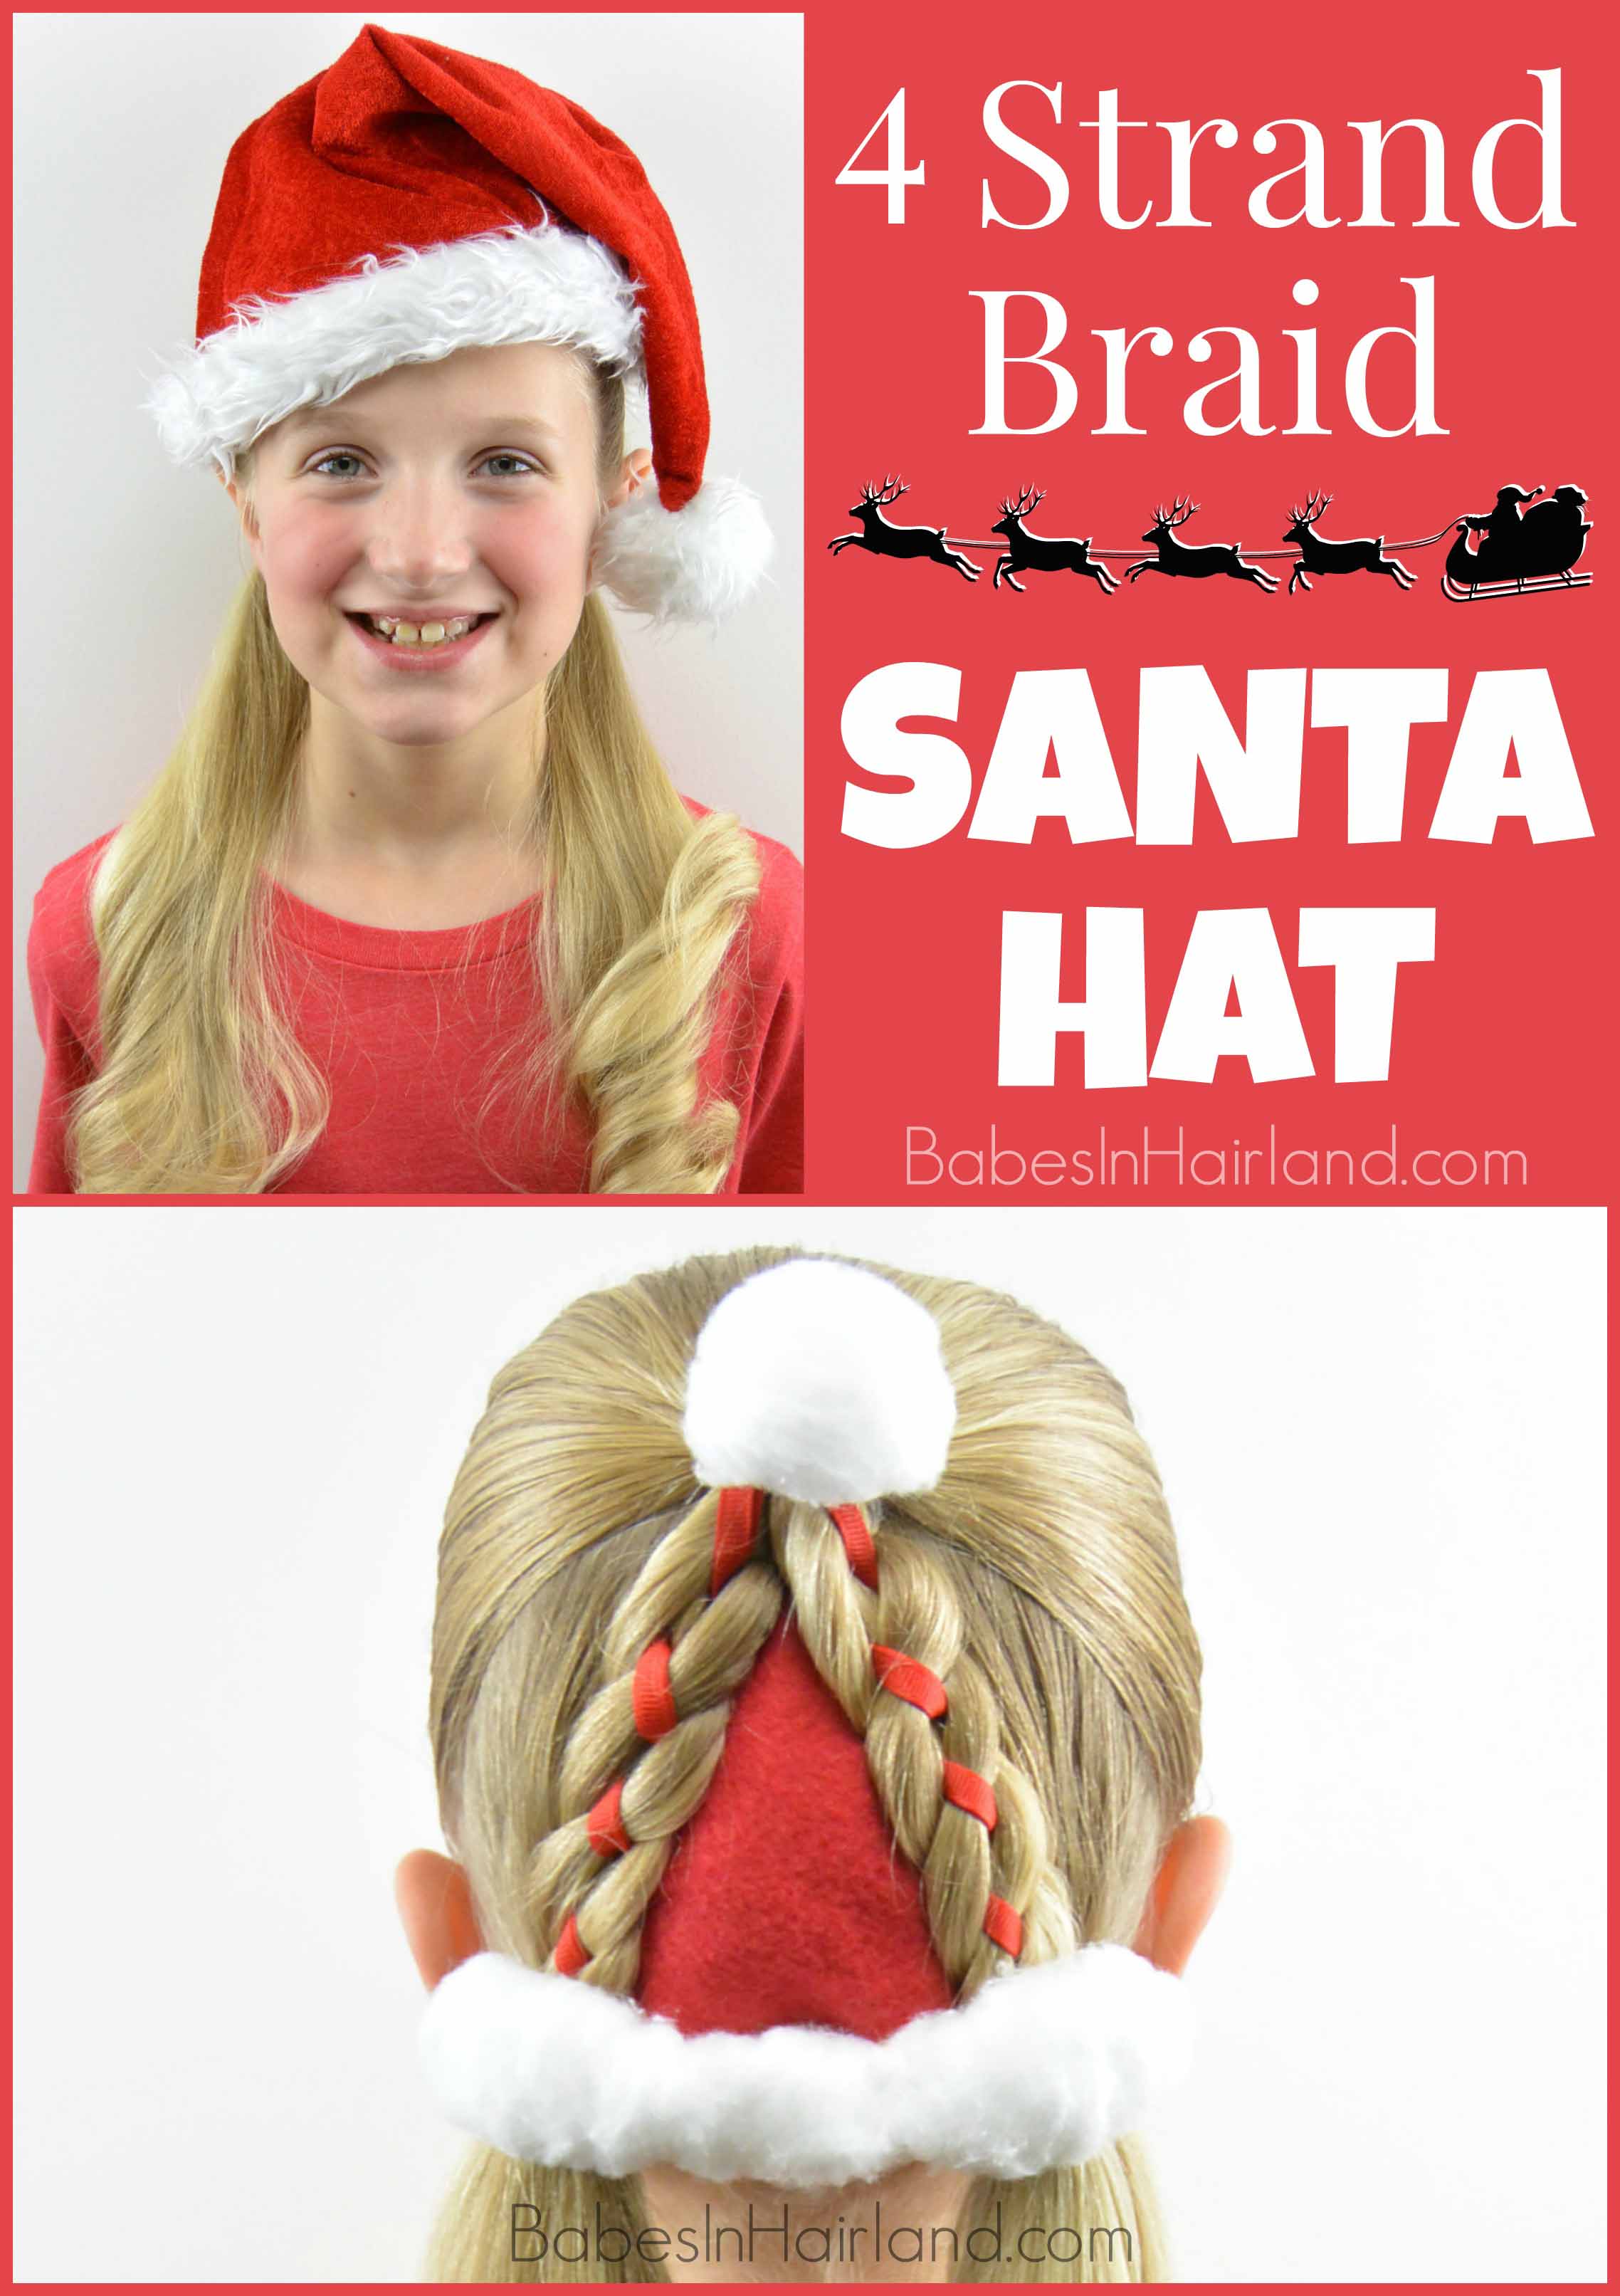
 I realized that up until this year, despite all these years of blogging, we’ve never really posted festive Christmas hairstyles! It’s not that we’ve not done fun things over the years, it’s just that I’ve never posted them. So I hope that you won’t mind another one today! I’ve actually got a couple more, but with Christmas being next week, they might have to wait until next year!
This week’s style again, isn’t anything overly complicated, but it’s fun & festive just the same! 🎅🎅
For this style you will need a few supplies:
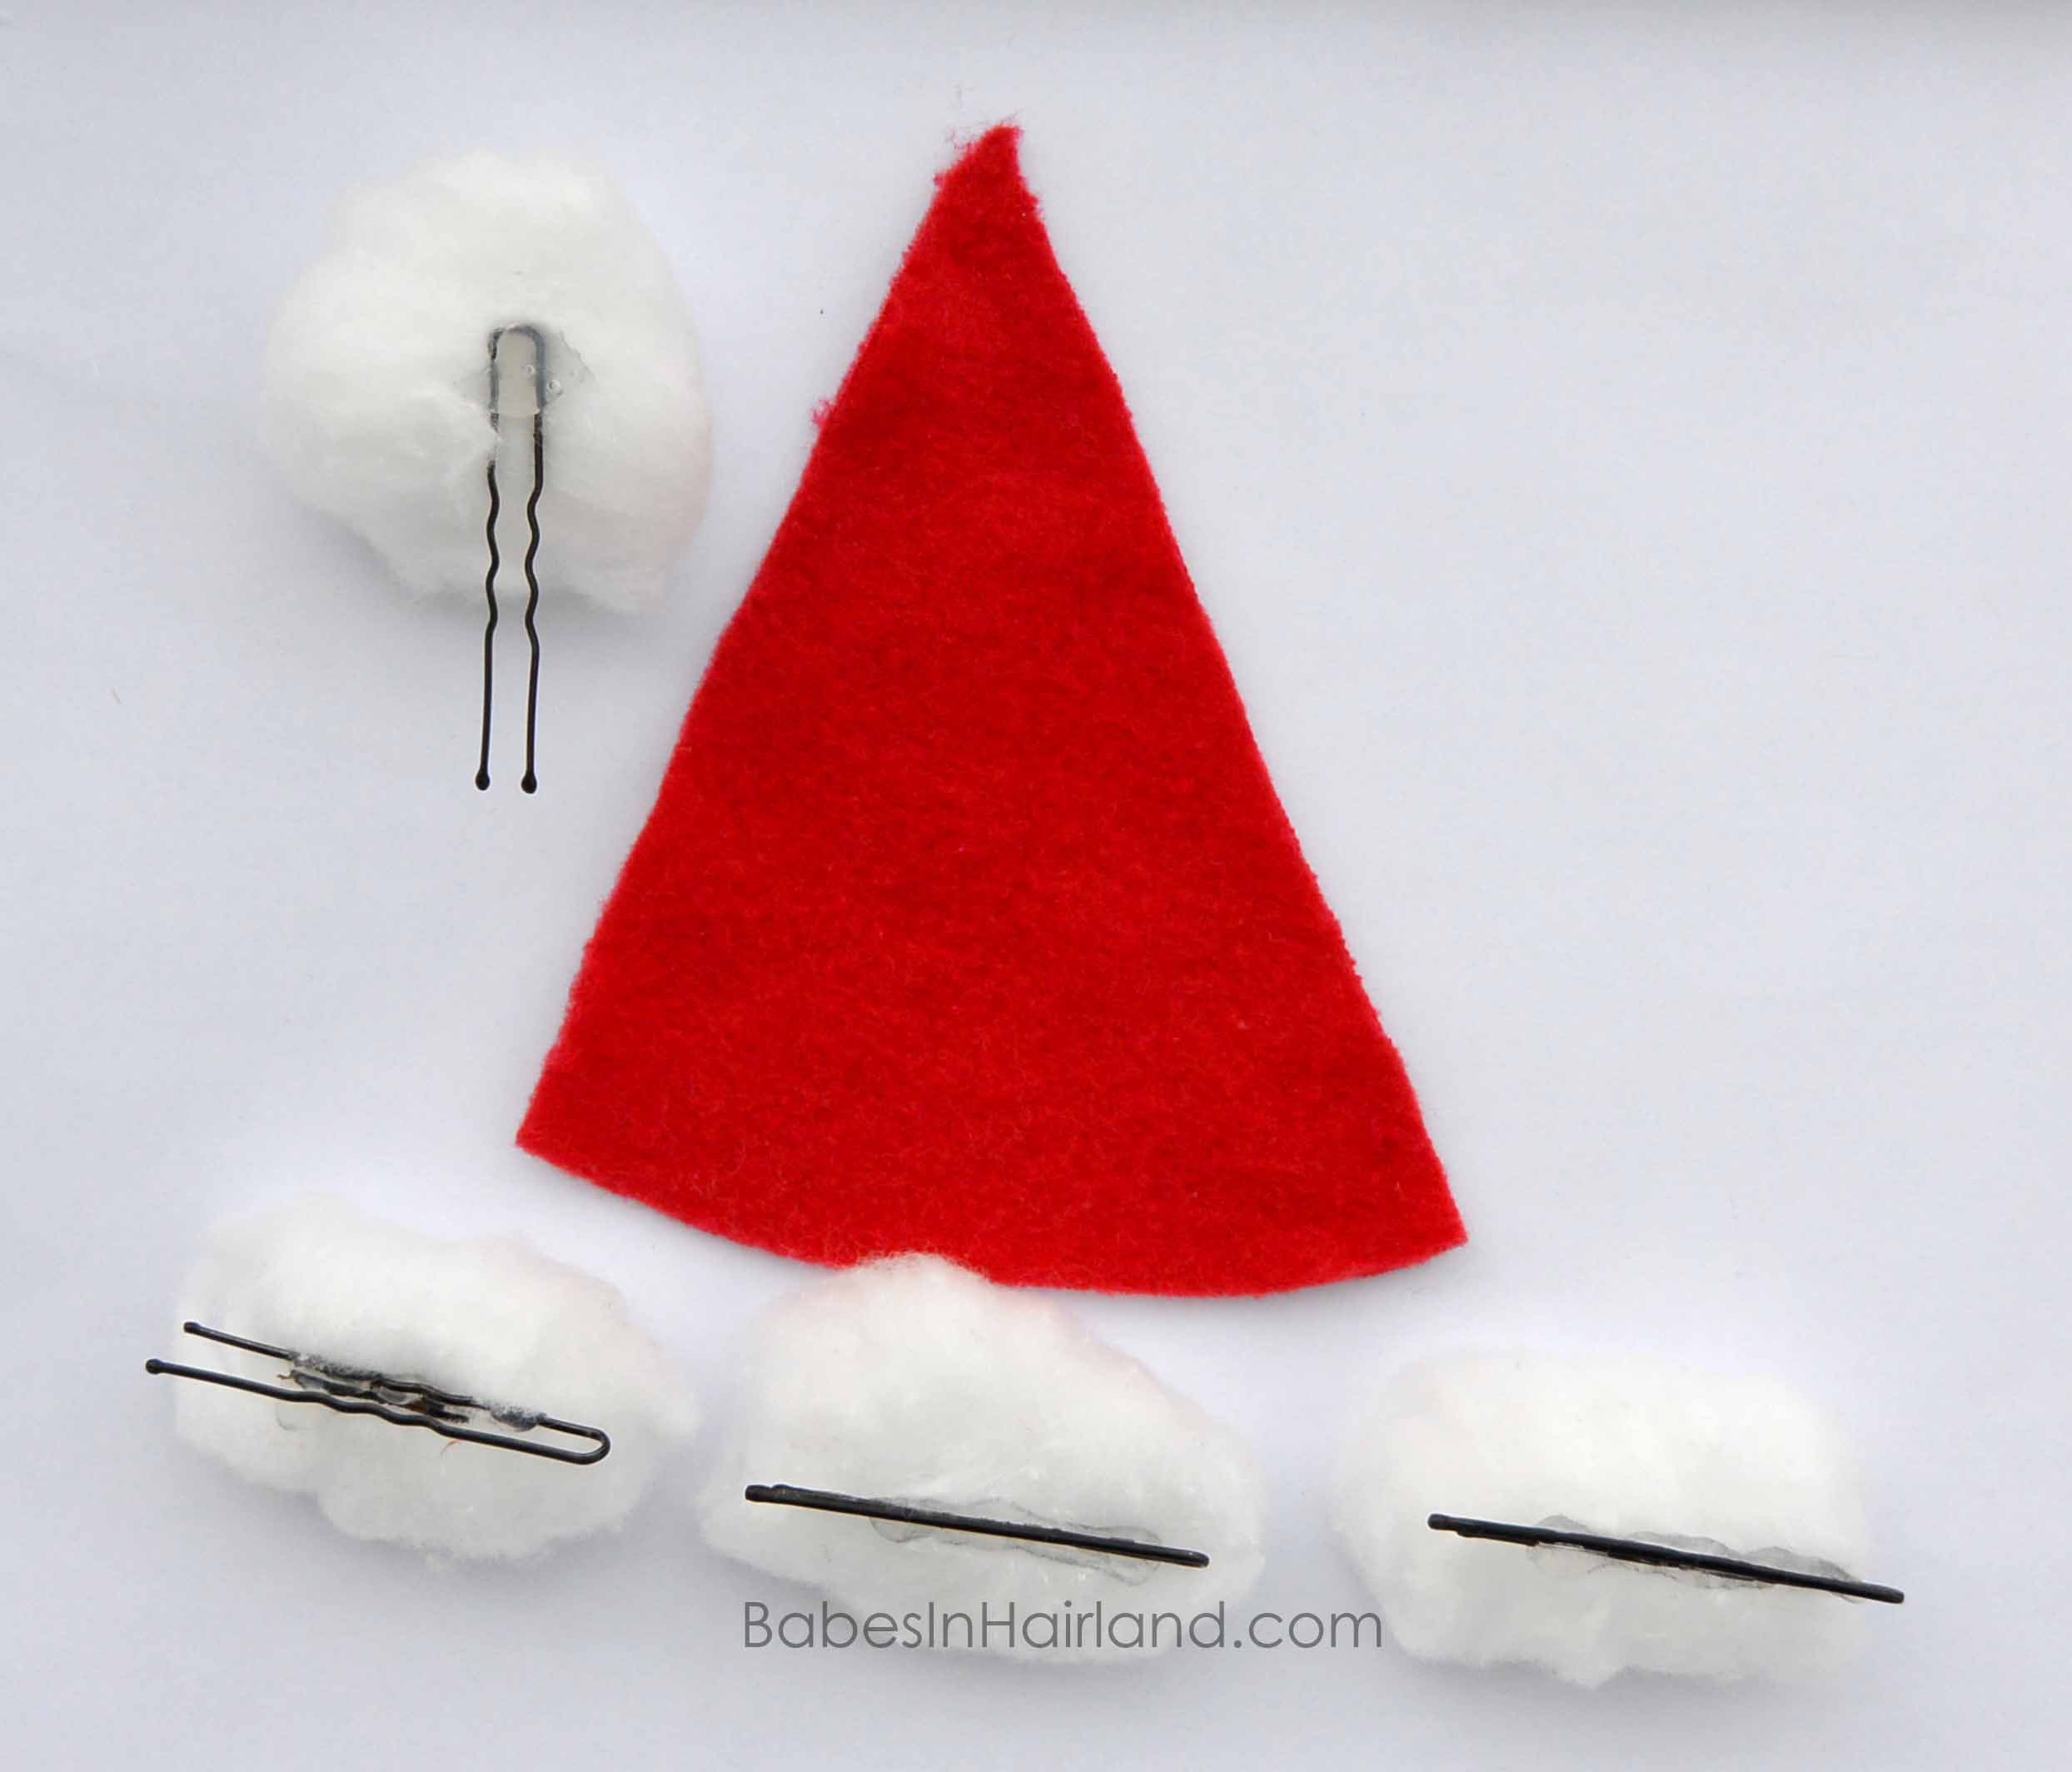
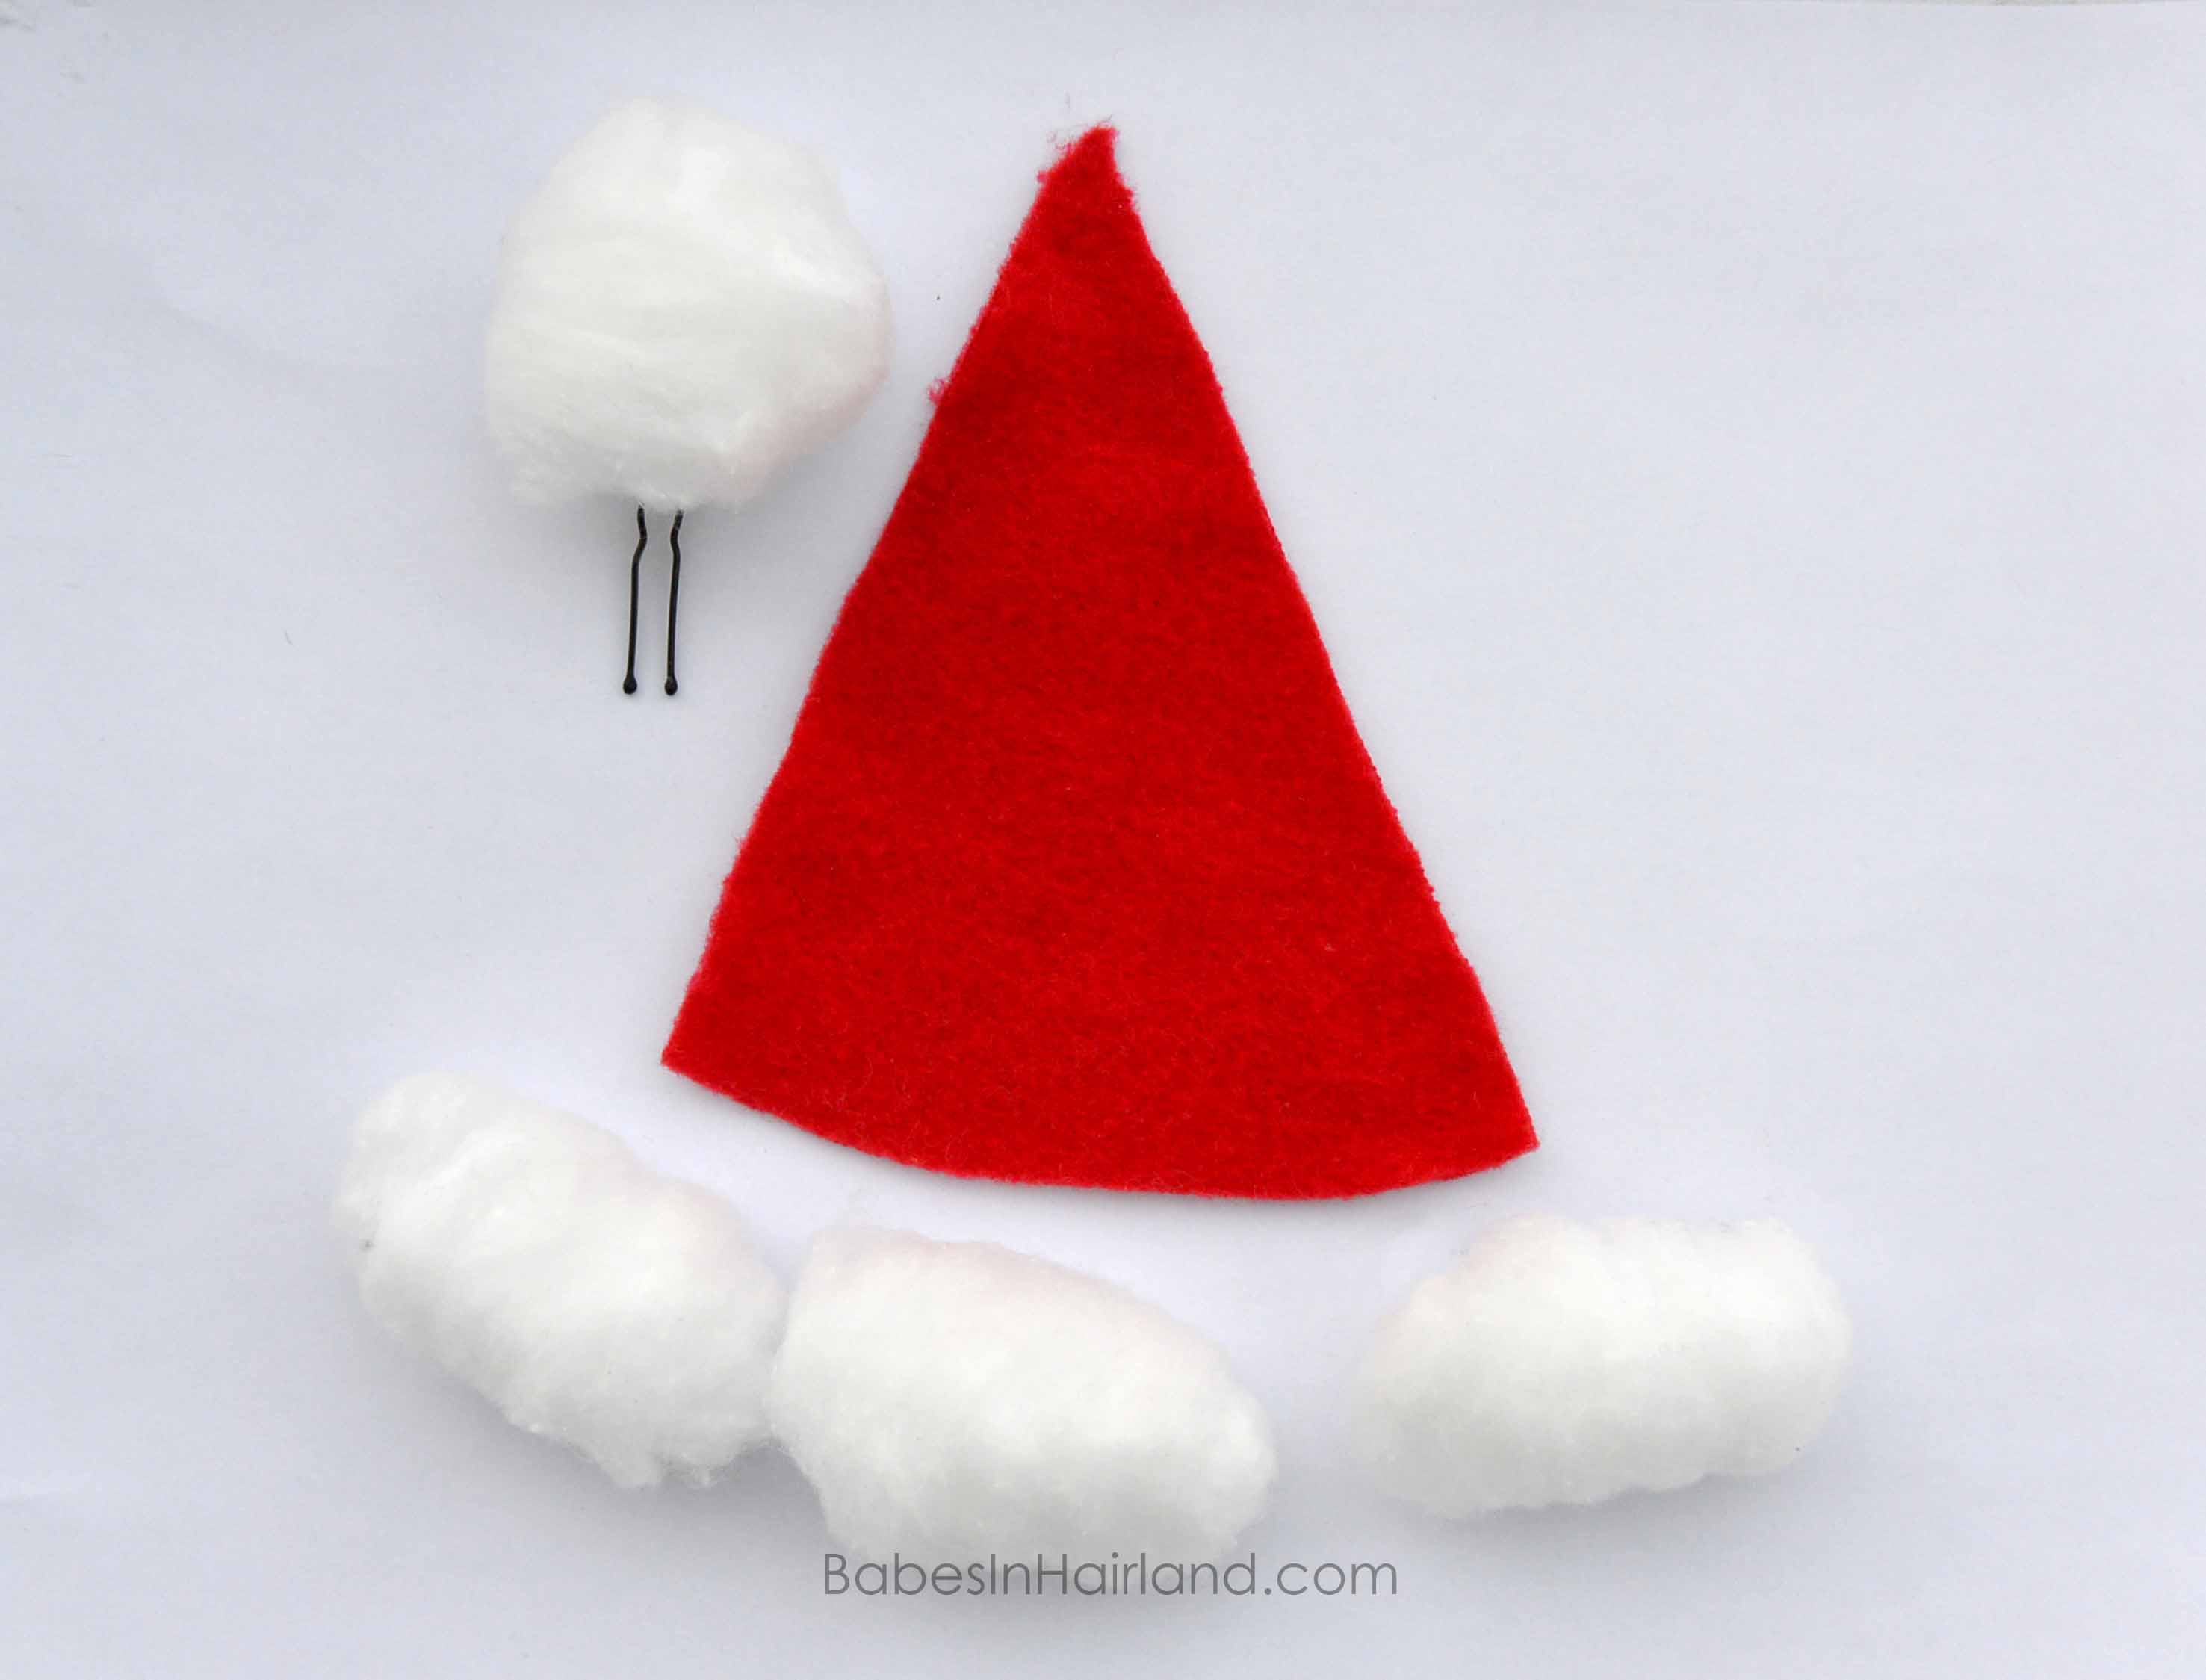
** clear elastics, red ribbon, bobby pins or hair pins, cotton balls, and if you want to fill the middle of the santa hat in, you’ll need some red cloth
Step 1 – Part the hair from ear to ear
Step 2 – Near the crown, combine all that hair into a half pony and secure with a clear elastic
Step 3 – Part remaining hair in back down the center of the back of the head & temporarily secure each side out of the way with a clip
Step 3 – Slip 2 red ribbons under the elastic of the ponytail and make sure they are about as long as the ponytail
Step 4 – Divide the half ponytail into 2 even sections – a left & a right section
Step 5 – Create a 4 strand braid with the section on the right
Position the ribbon as the 2nd section for the braid. So from left to right there is a section of hair, the ribbon, another section of hair, and another section of hair. By having the ribbon in the 2nd position, it will run right down the middle of the braid. For a more up close look on How to do a 4 Strand Braid – watch THIS video.
Step 6 – Starting on the right side, pass the right section over the section of hair just to the left of it, and then under the red ribbon
Step 7 – On the left side, pass the left section of hair under the hair to the right of it, and then over the red ribbon
Step 8 – Continue the braiding process – Over Under (from the right side) and Under Over (from the left side)
Step 9 – Continue braiding until the braid can reach the nape of the neck & temporarily secure end of braid with clip
Step 10 – Gather all remaining hair on the right side into a low ponytail at the nape of the neck & add the braid into it securing with a clear elastic
Step 11 – Repeat Steps 6-10 on the left side
This is where the supplies come in:
If you want to fill in the center of your Santa hat, cut a piece of red felt, fleece, or other fabric into the approximate size of your upside down V that you created in the hair. For the trim, use hot glue, secure the bobby pins or hair pins to the cotton balls. **Note: I left the cotton ball for the top of the hat as a big fluffy ball, but for the trim on the bottom of the hat, I stretched the cotton balls out so they were longer & thinner. **
Step 12 – (Optional) Add the red fabric to the center or you can leave it empty as shown below
You could even weave some ribbon through the center if you don’t have red fabric on hand. However, I wanted a more solid pop of color, so I opted for the red fleece. Here it is without the color in the center, and while it looked cute, I felt it was more of a “party hat” and I wanted that solid red color to make it more “hat” like!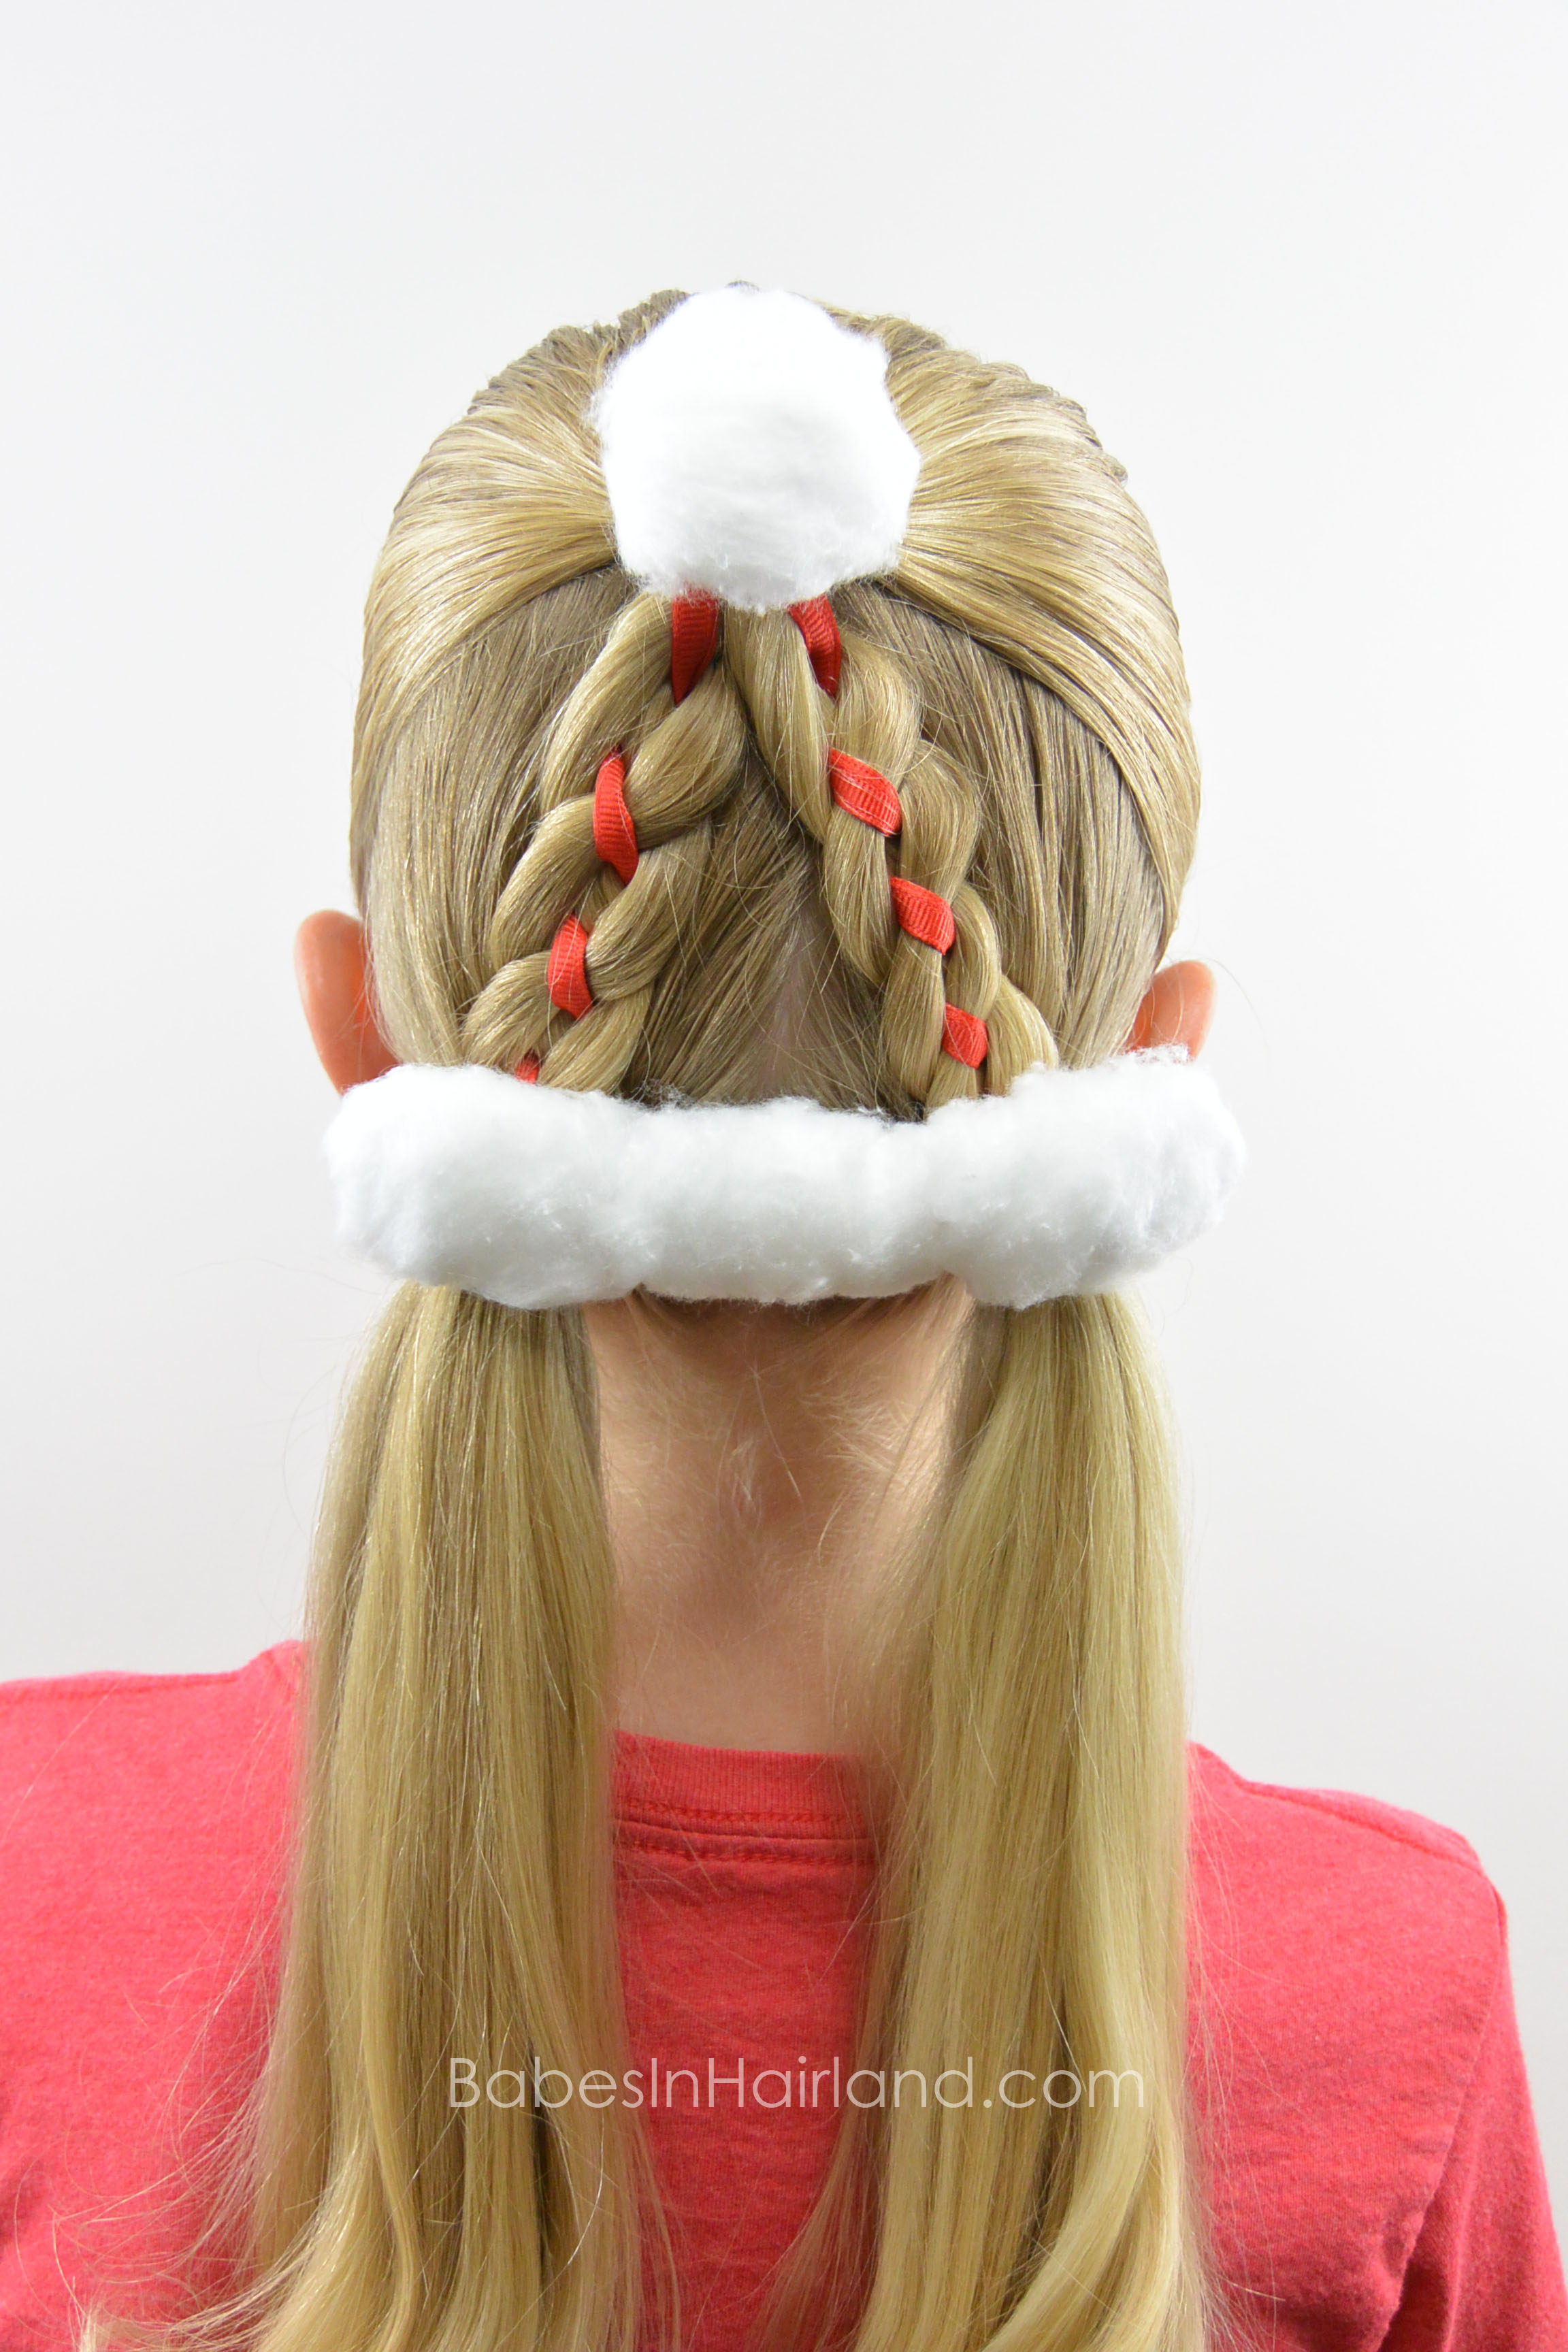
To add the fabric to the center, simply use a rat tail comb to push the fabric up underneath the braids. I didn’t secure the fabric to her hair with anything else, it sat pretty snug under the braids.
Step 13 – Add the cotton ball trim
You may need to adjust the cotton balls a little bit so they over lap and don’t look like individual white sections. Pull and stretch on them gently until it looks like one solid piece of fluff across the bottom of the hat.
FINISHED!
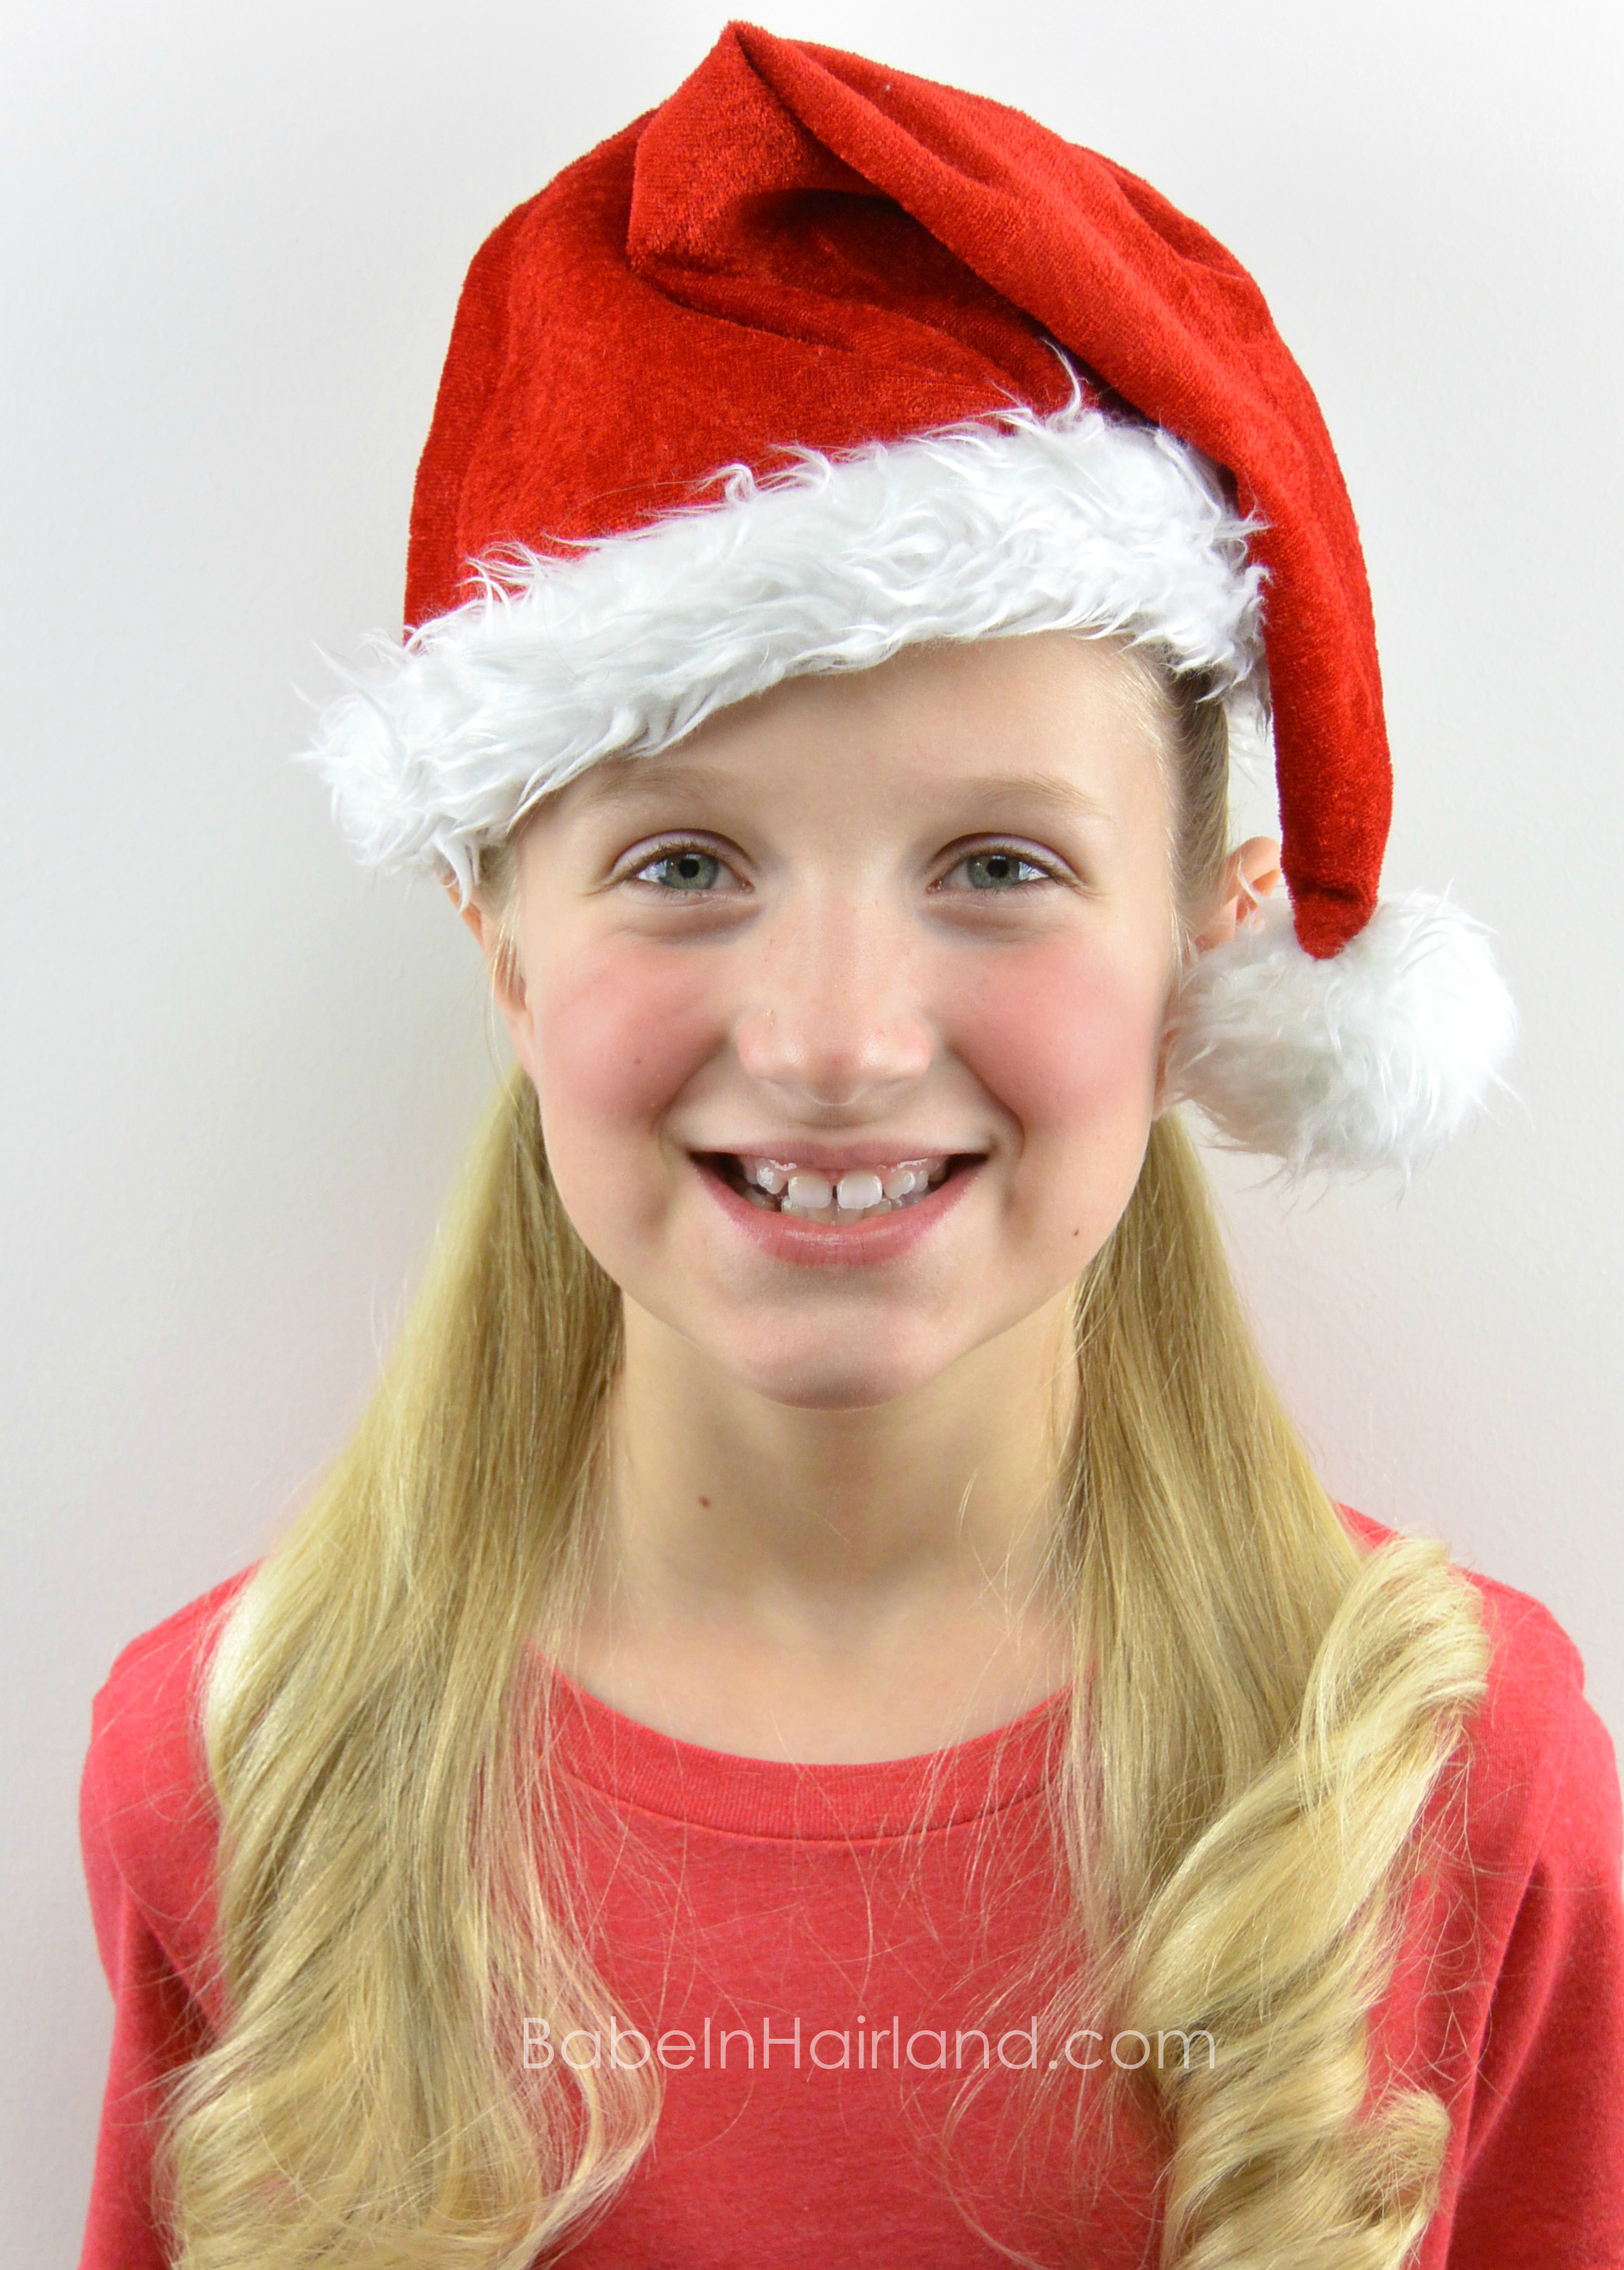
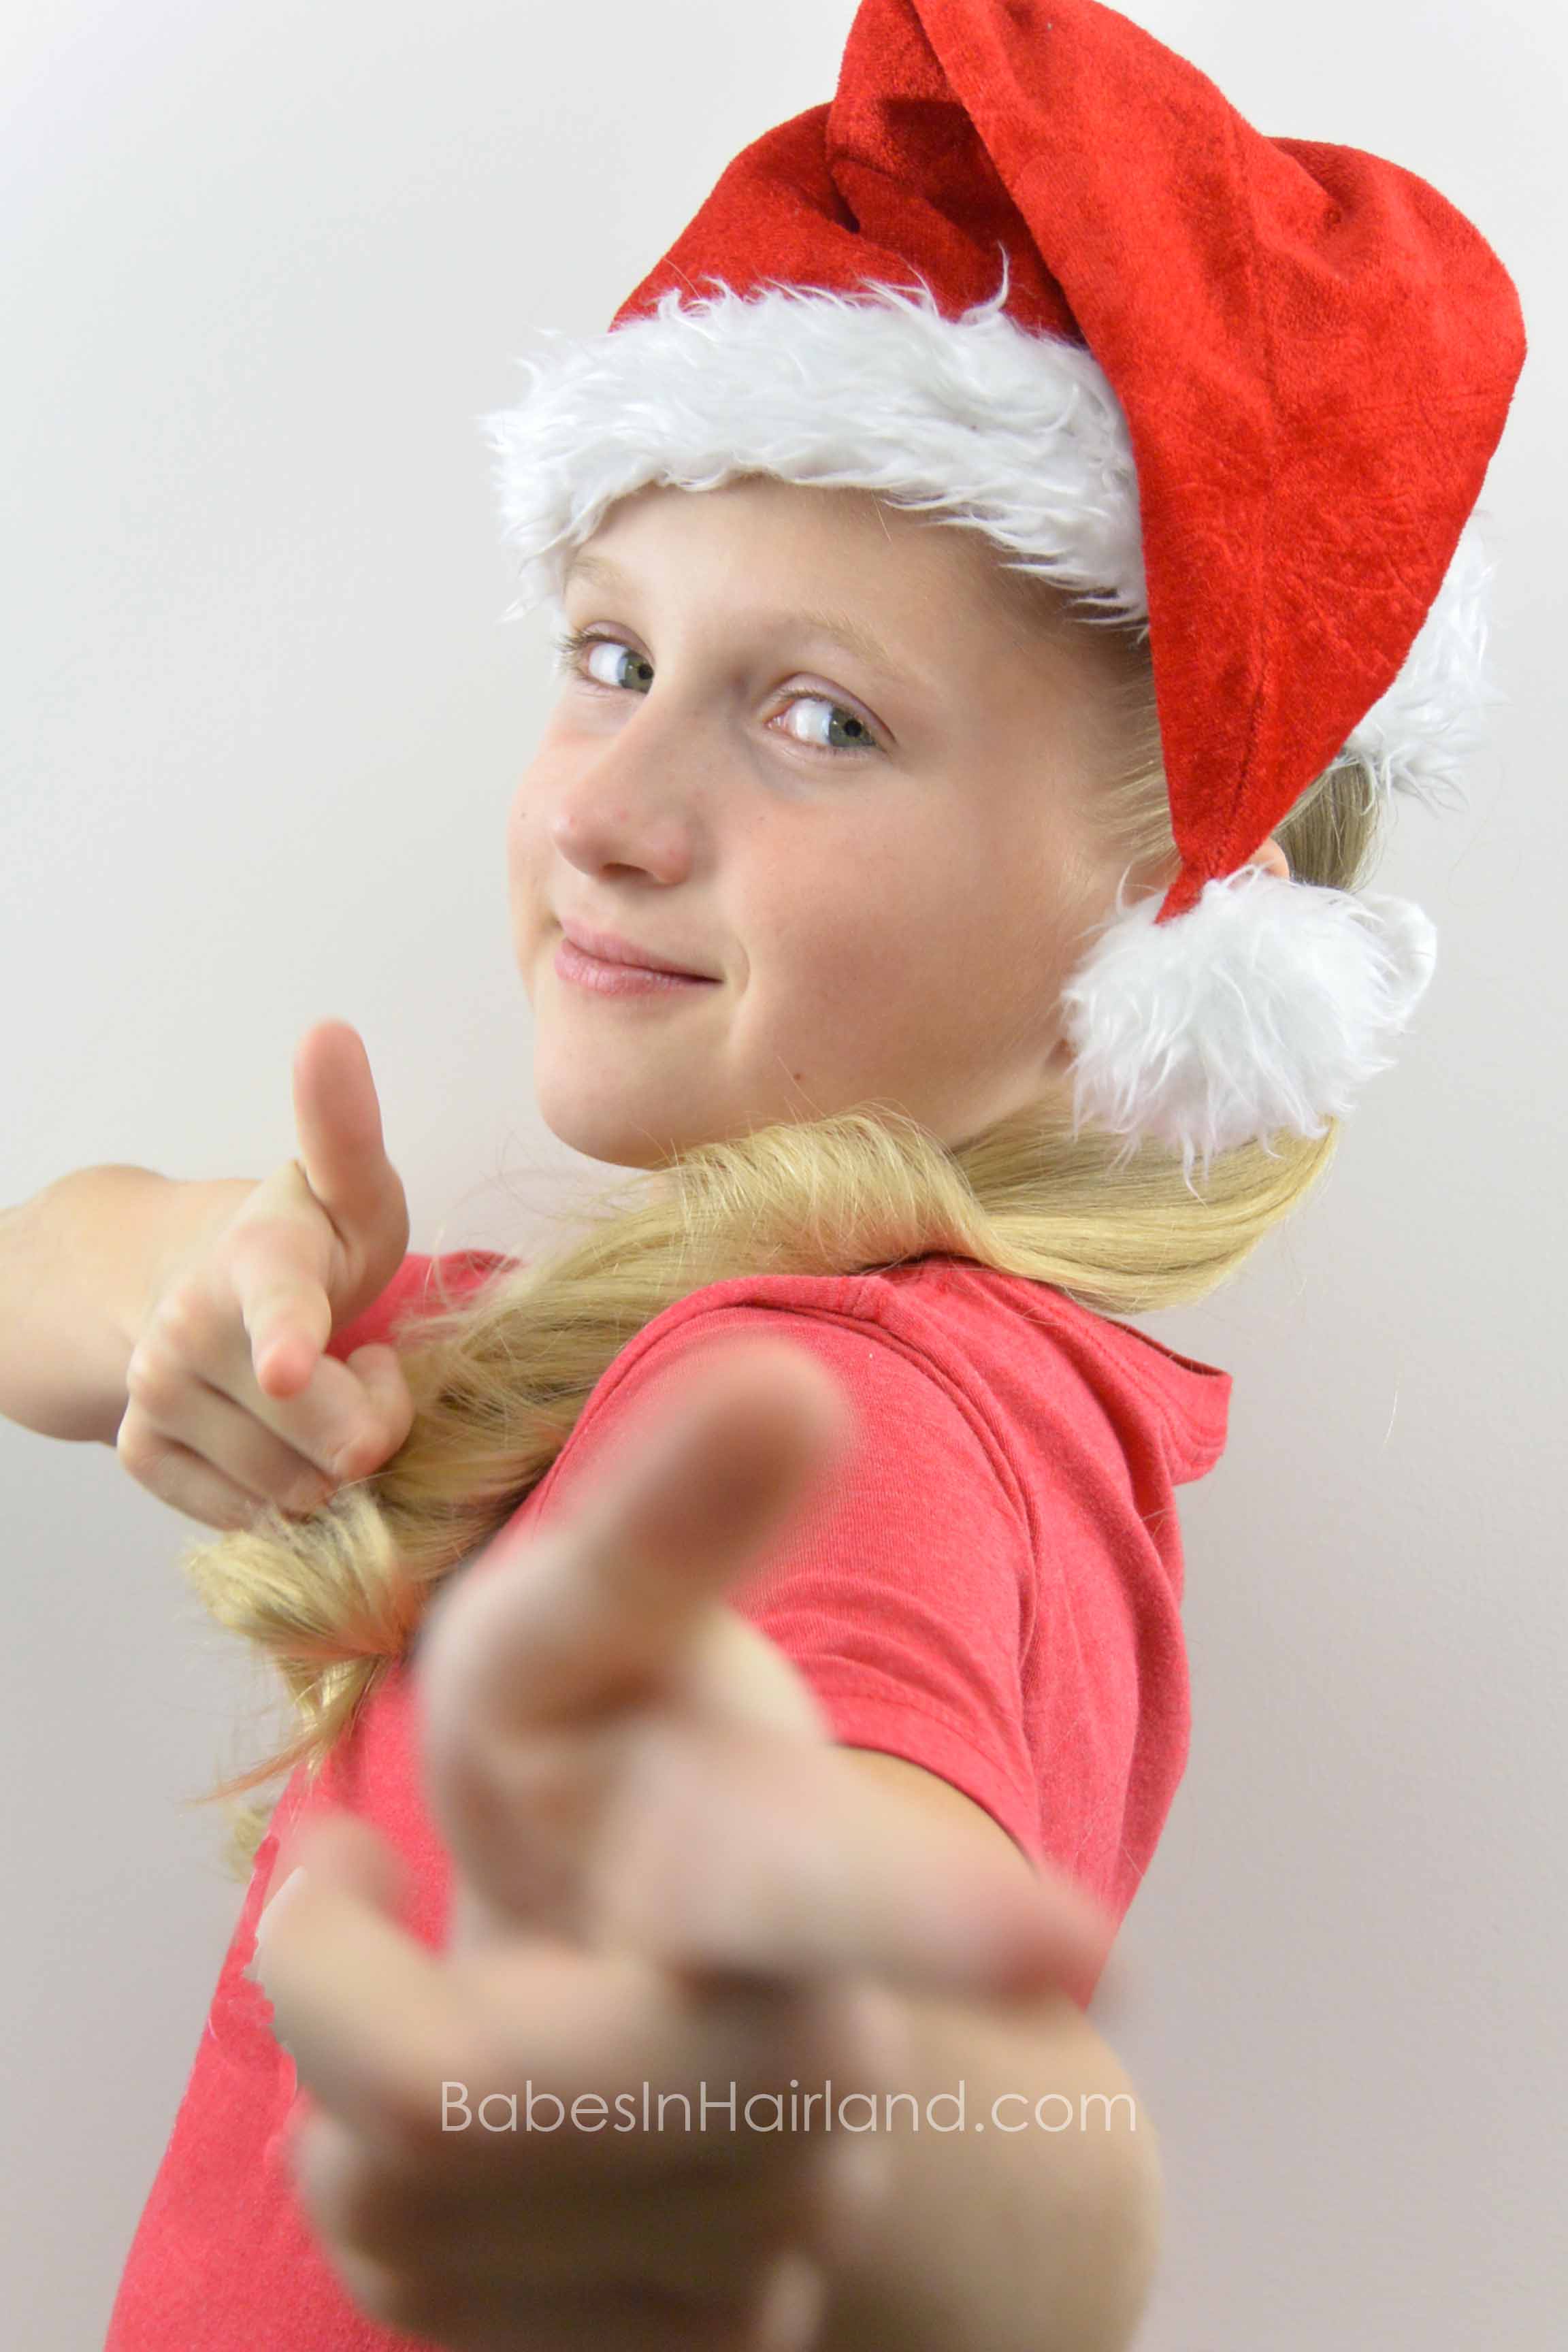
She had a fun time with this style as you can tell from the next couple pictures! She loves her Santa hat, and was even more excited about her Santa hat hairstyle!
And of course, what would a Santa hat be, without a silly Santa beard PhotoShopped onto her face! 😉
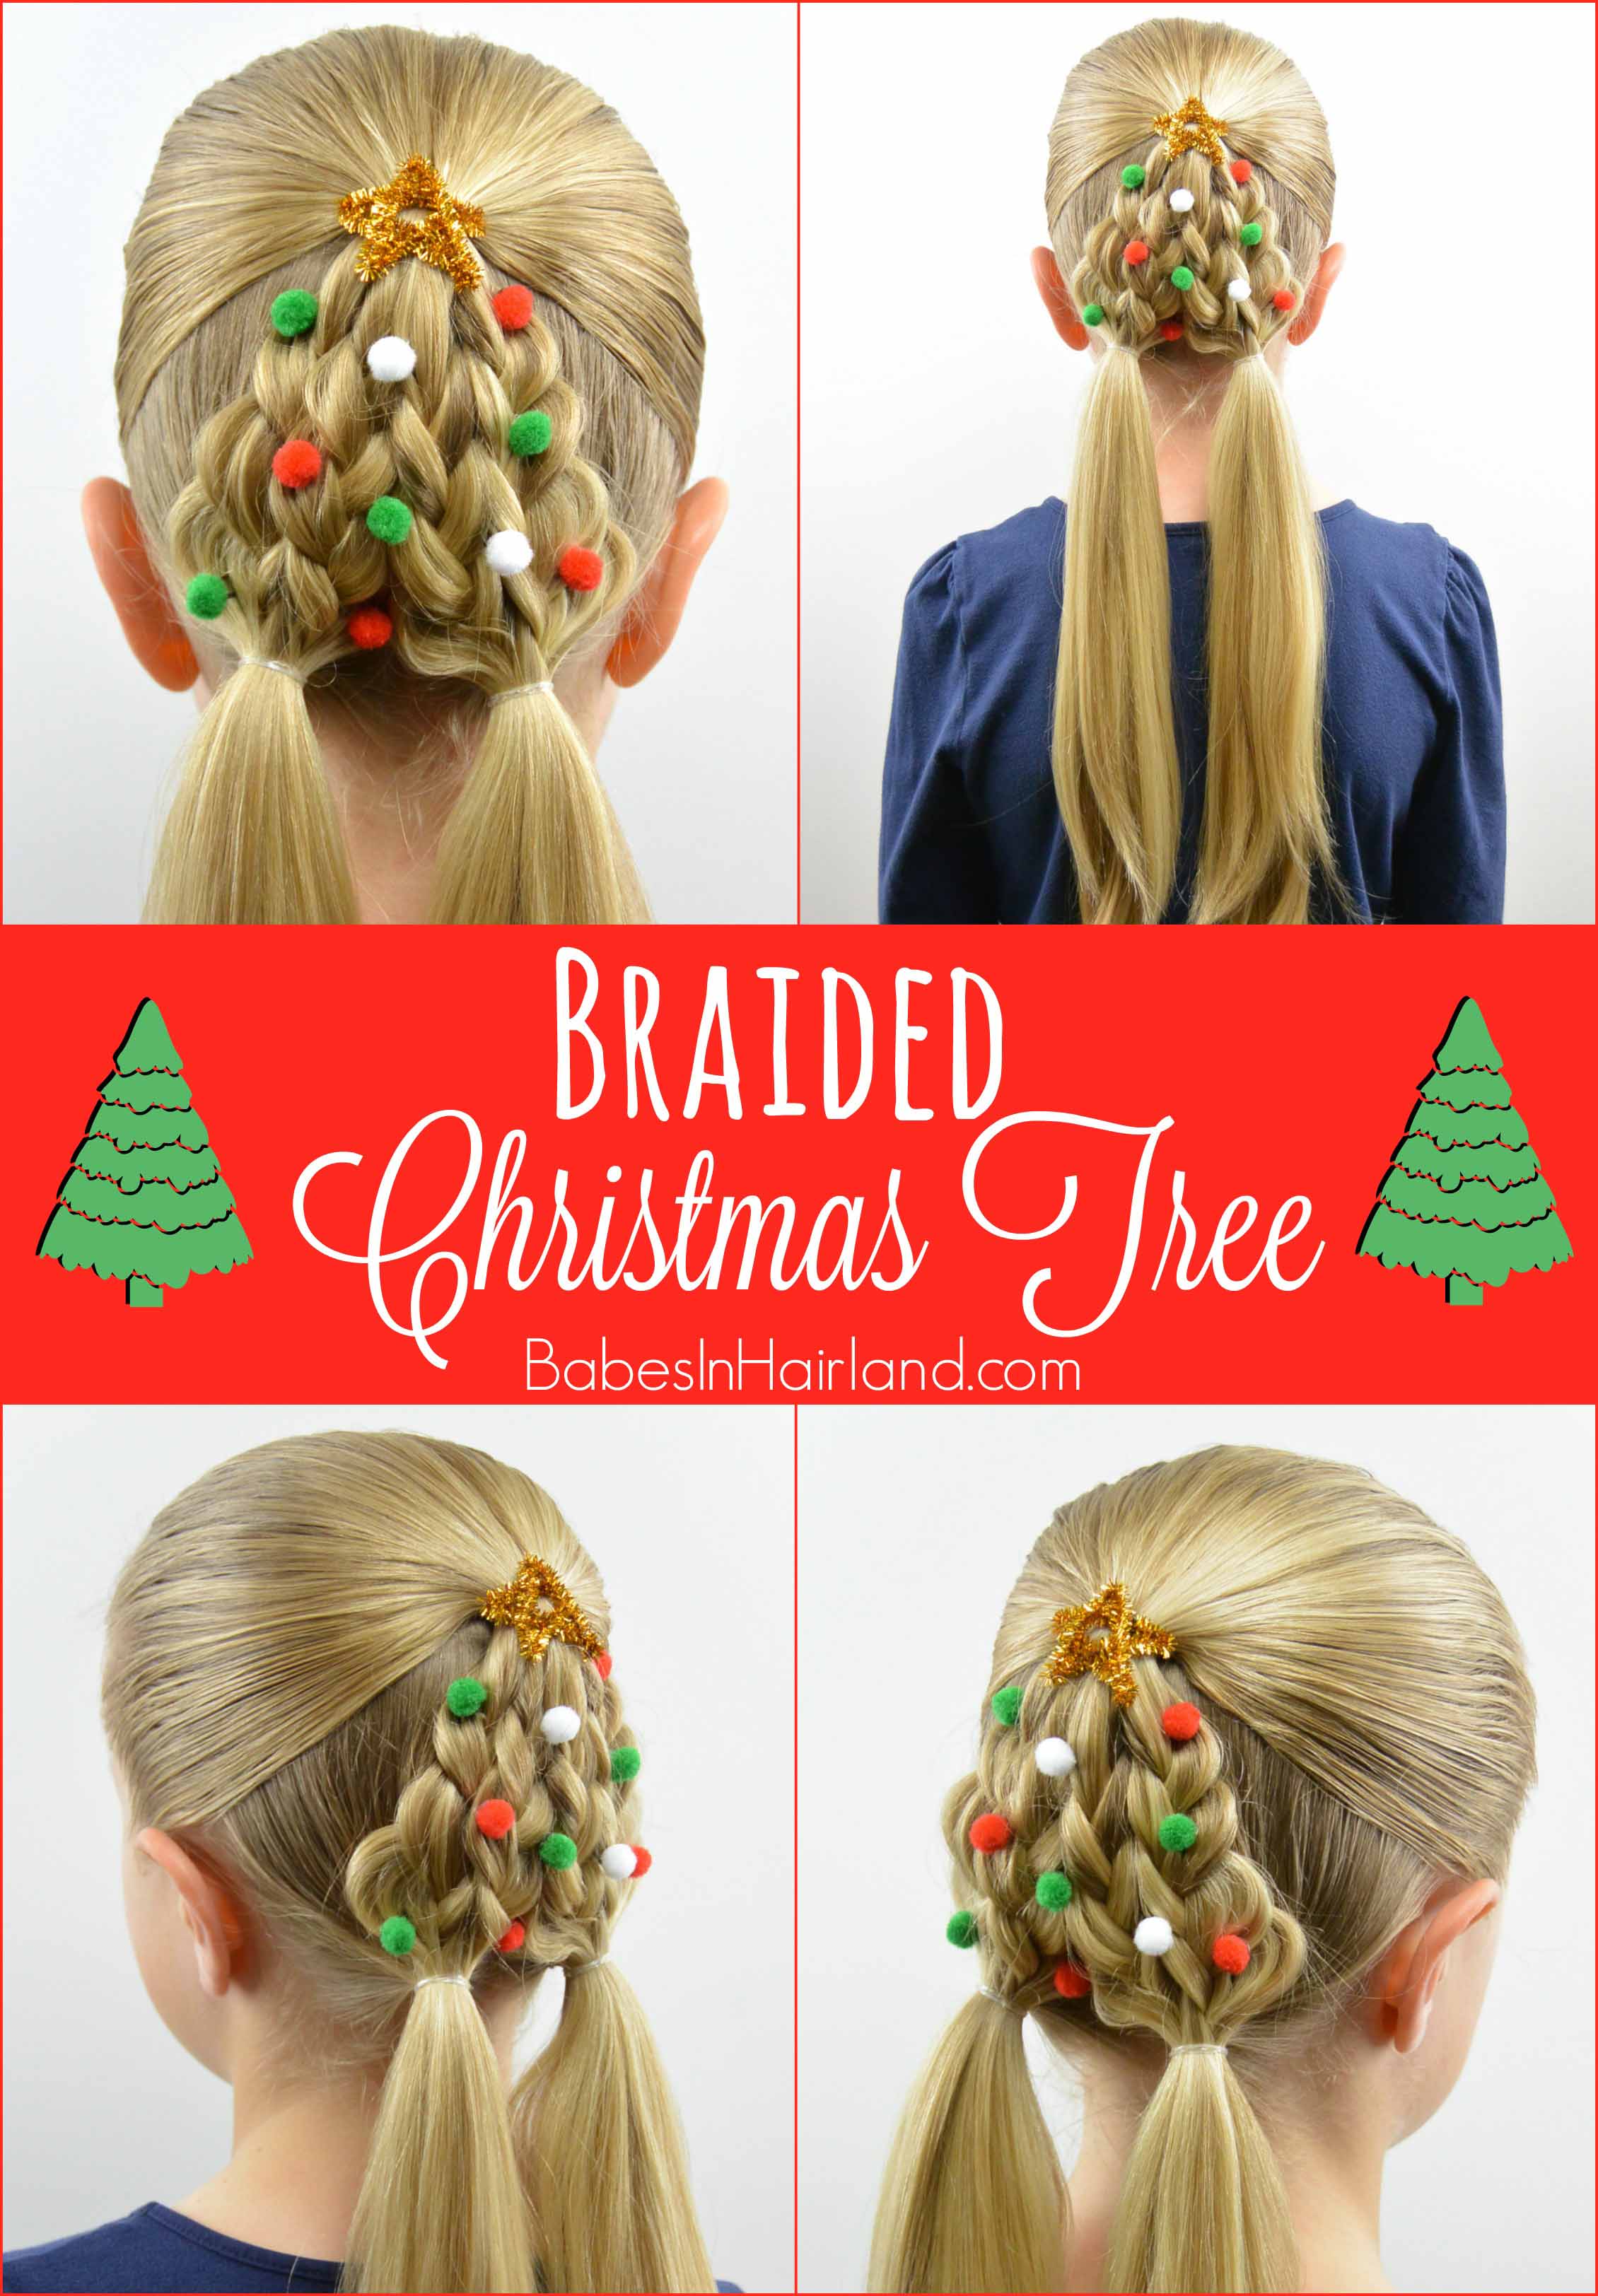
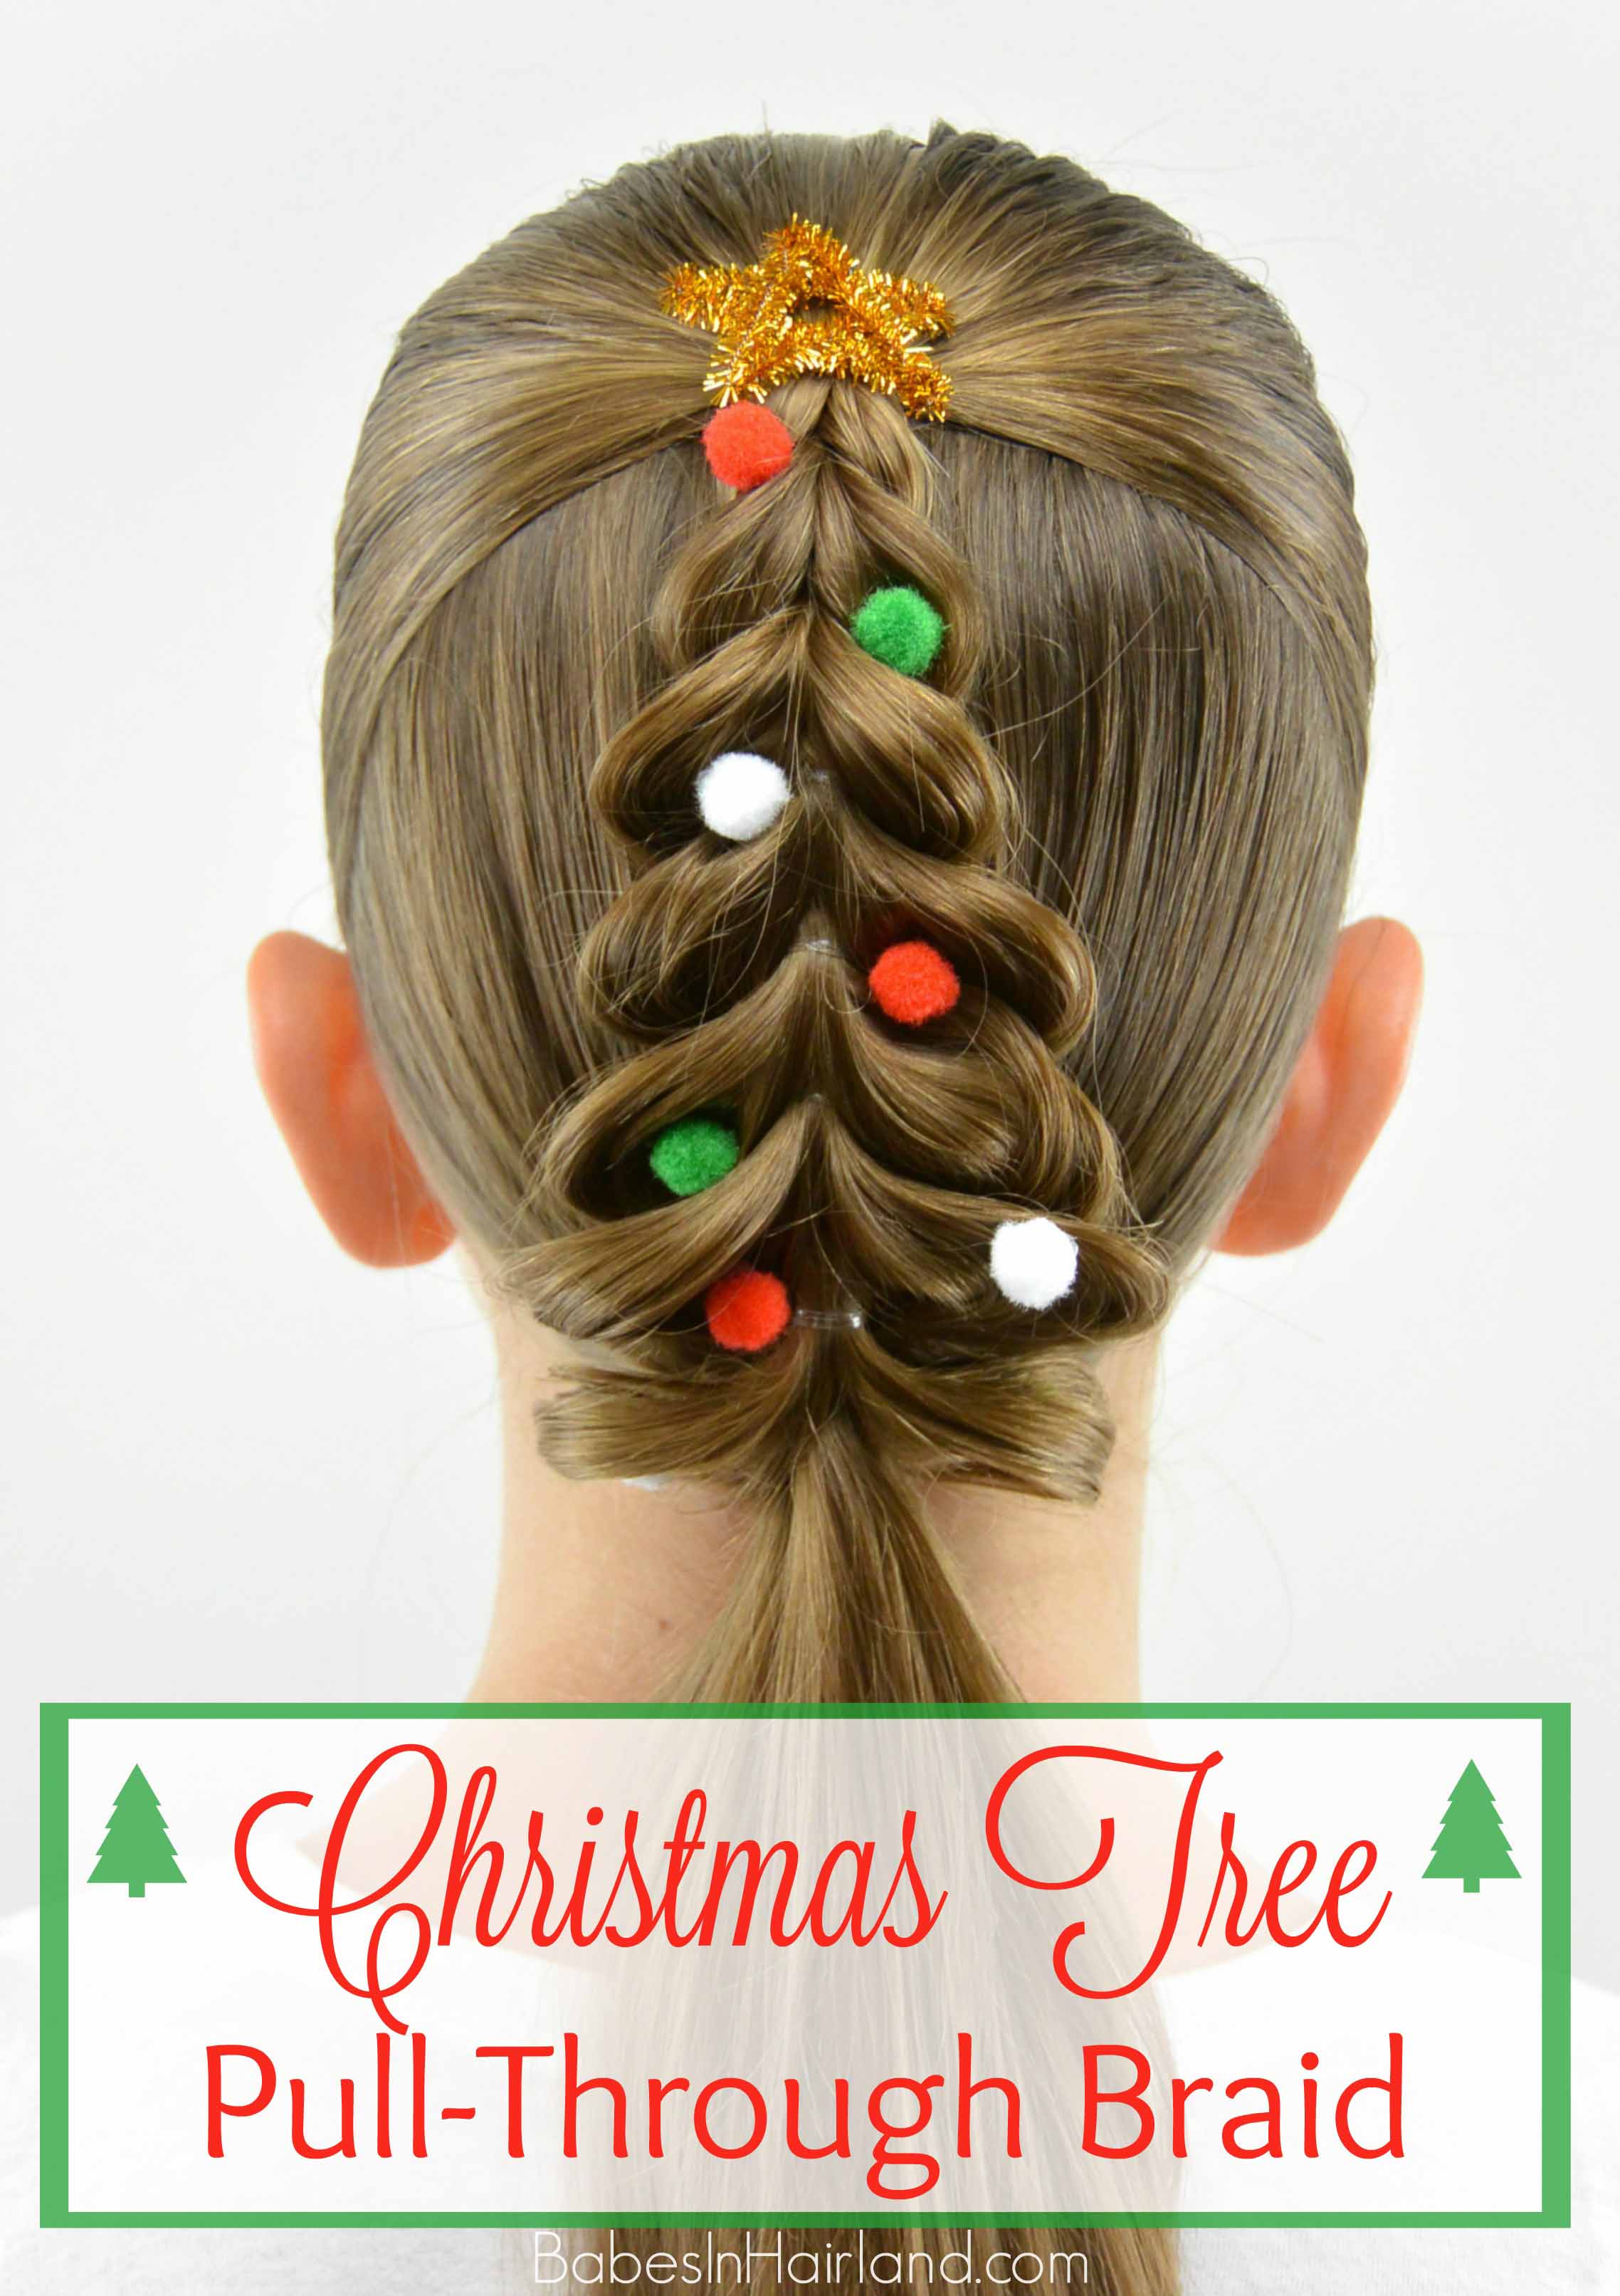
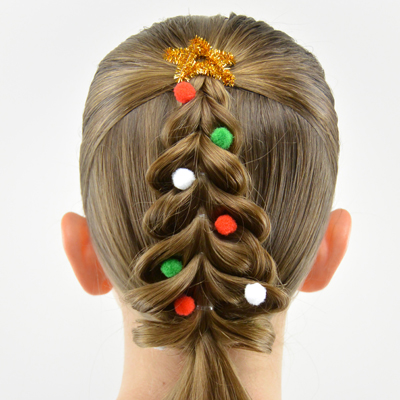
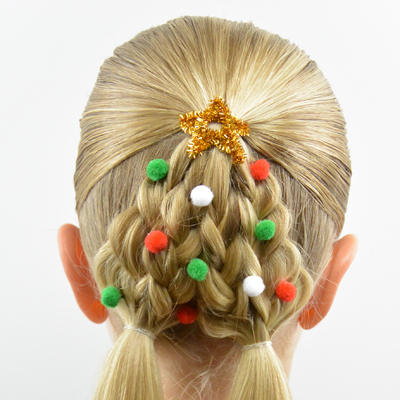
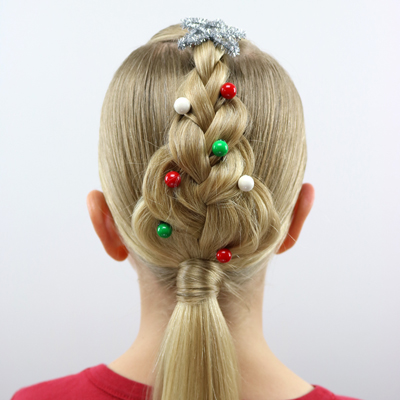
Don’t forget our 2 Christmas tree hairstyles as well! If you haven’t, you can click on the names below and go to those tutorials.
Click HERE for our Braided Christmas Tree
Click HERE for our Christmas Tree Pull-Through Braid
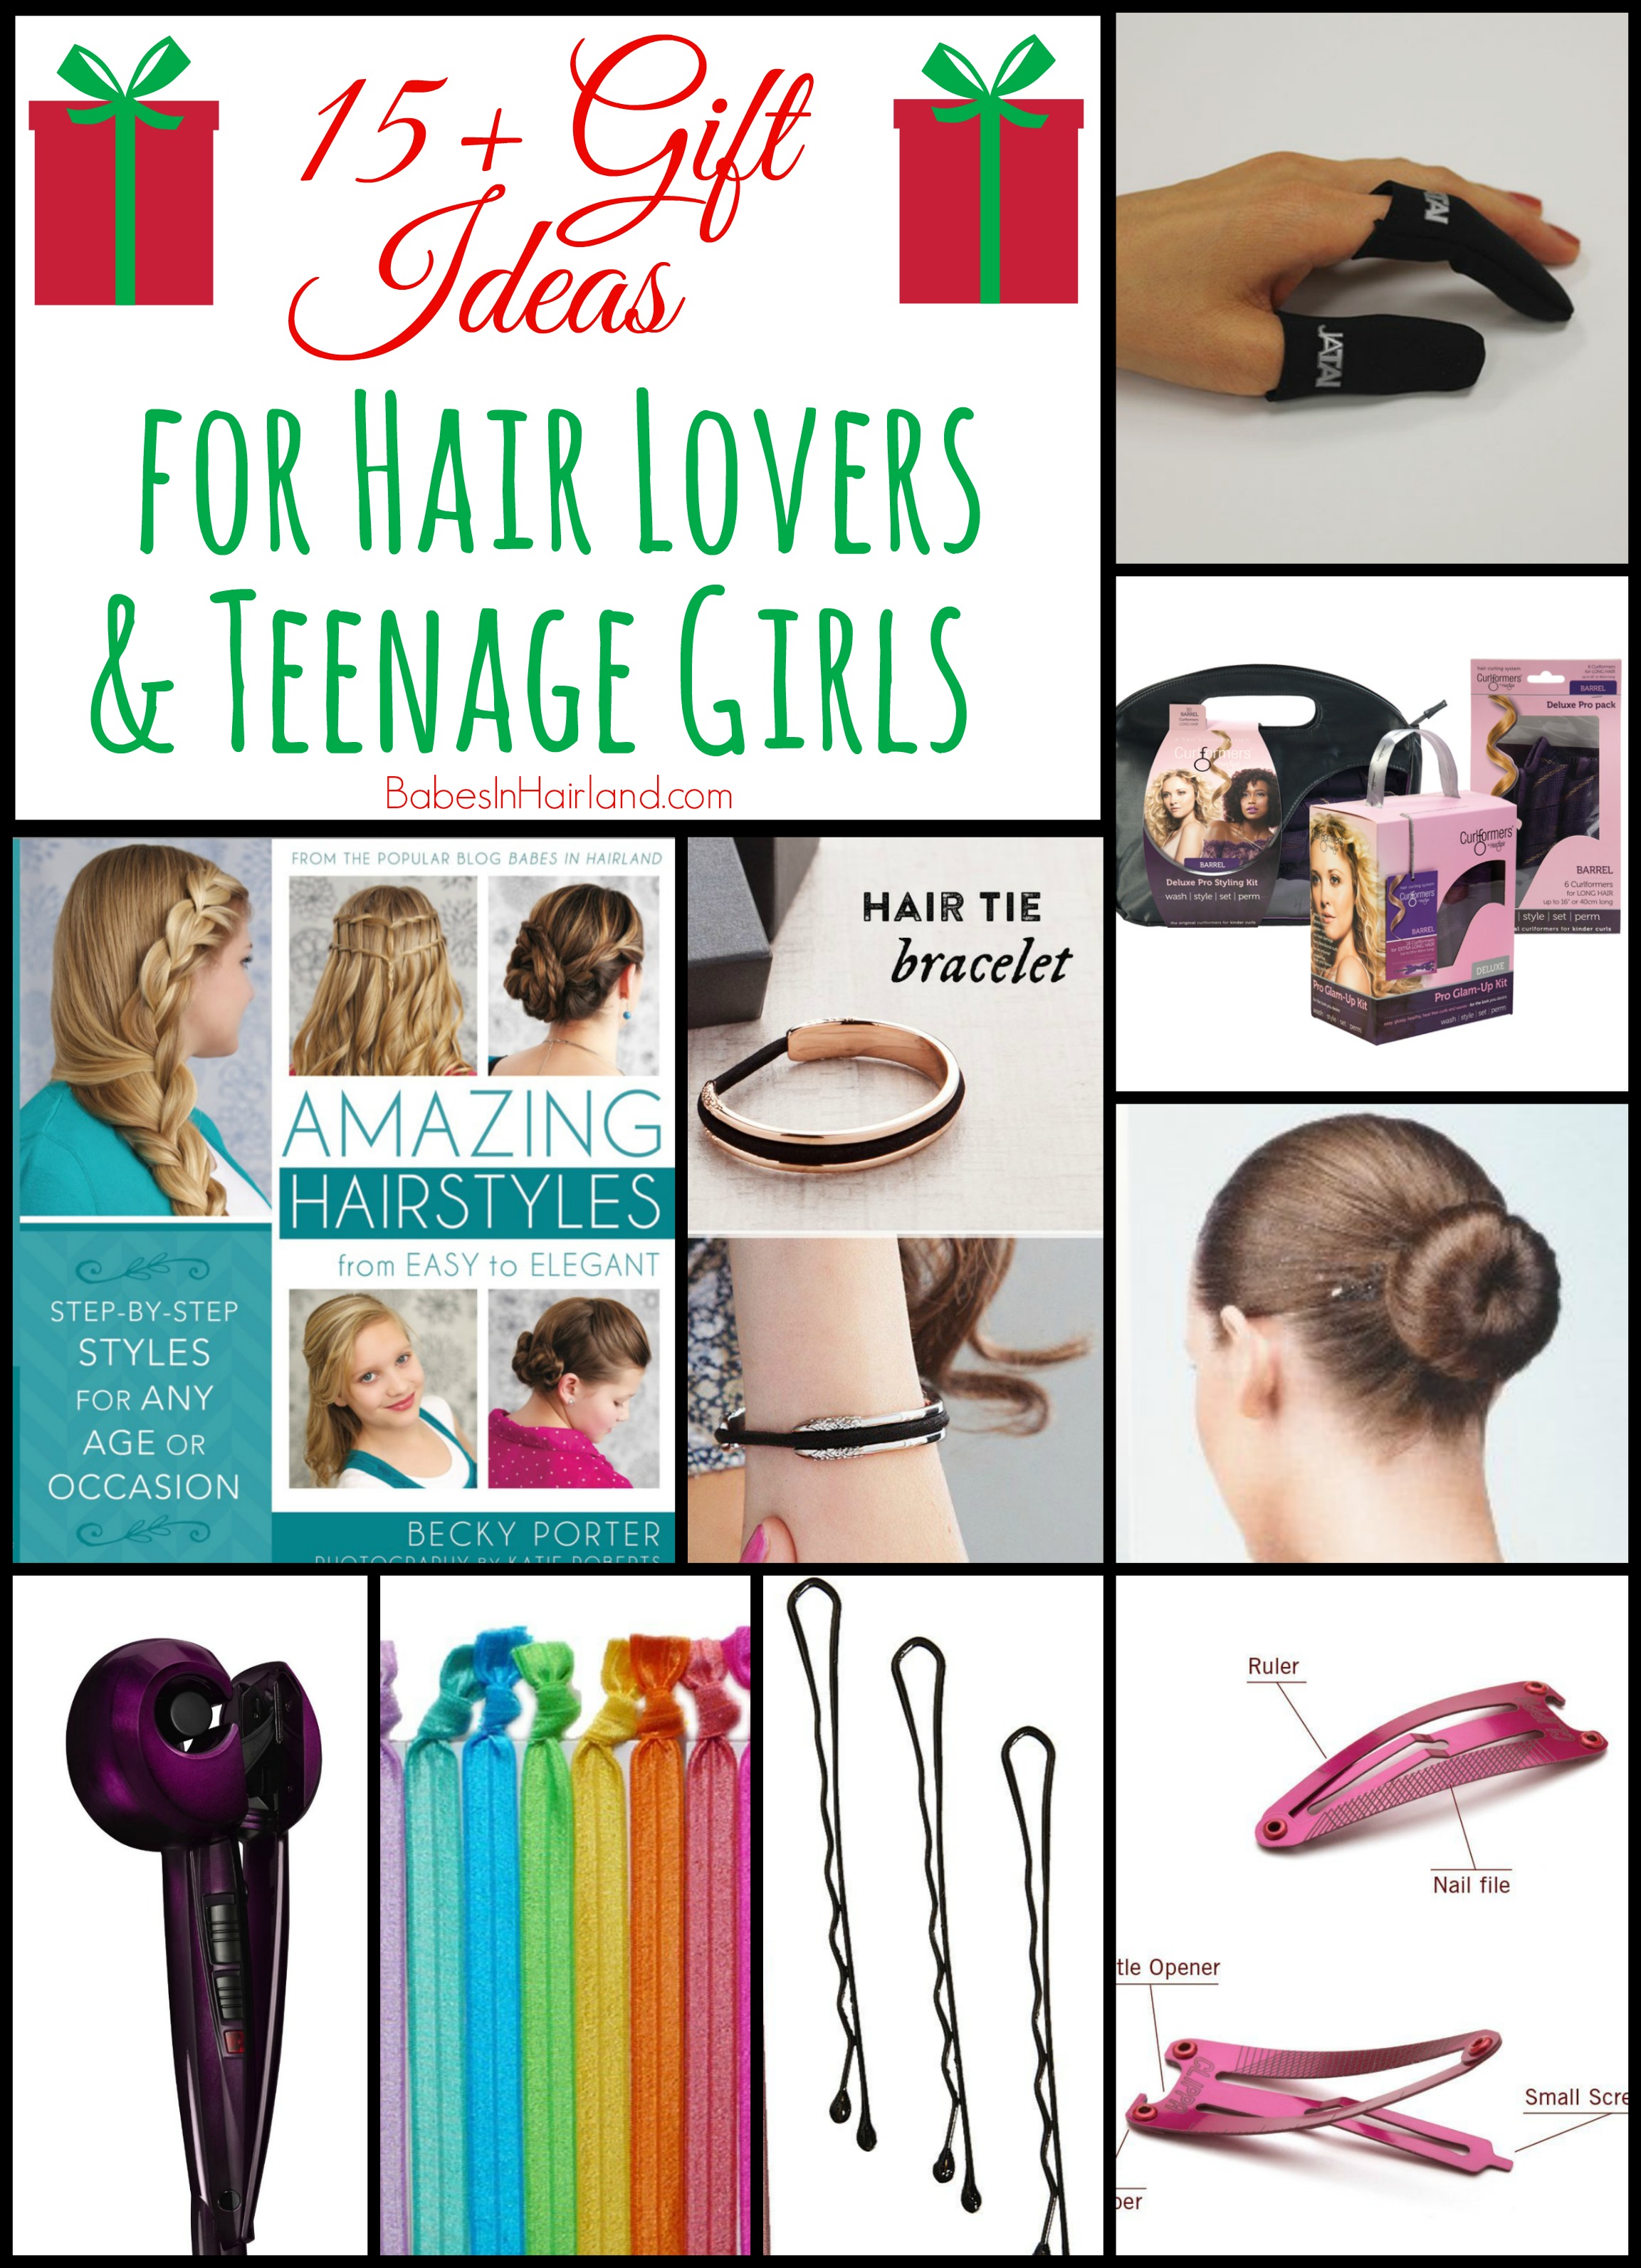
And if you’re still in need of some ideas for Christmas presents, it’s not too late! Be sure to check out our 15+ Gift Ideas for Hair Lovers & Teenage Girls over HERE.
And don’t forget to pin & share today’s fun tutorial! Comment and let us know which of our 3 Christmas styles are your favorite! 🙂
