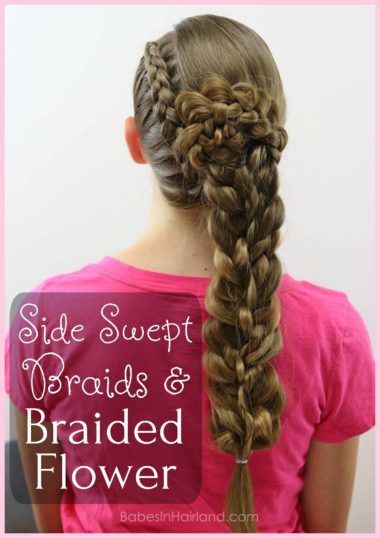
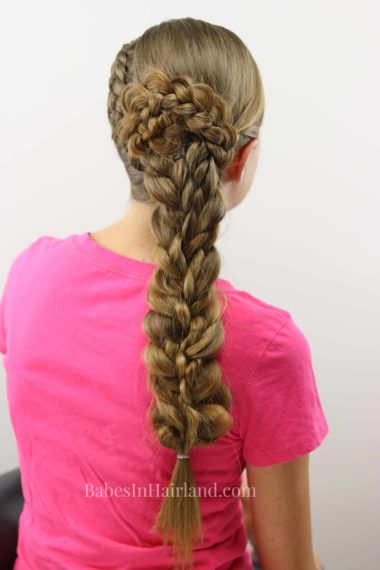
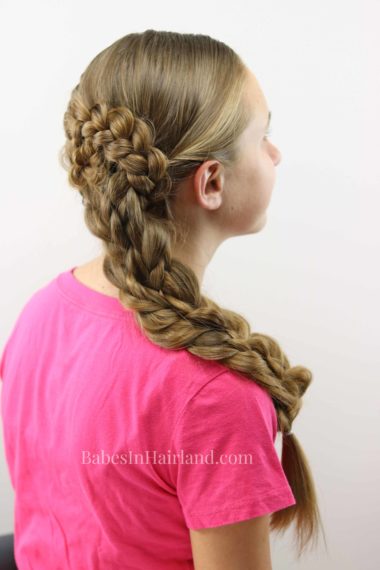
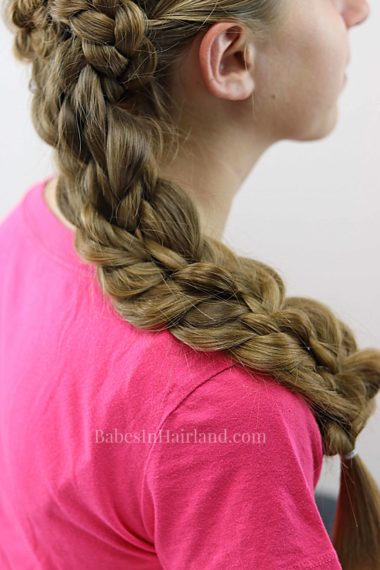
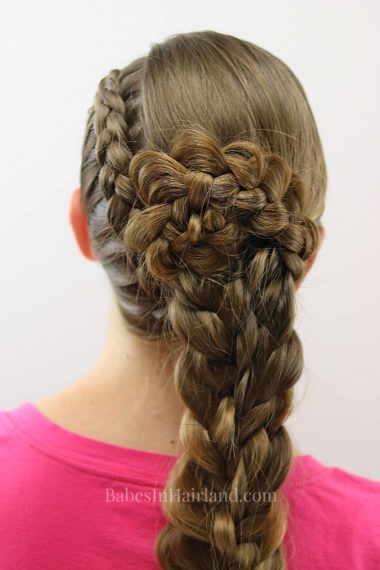
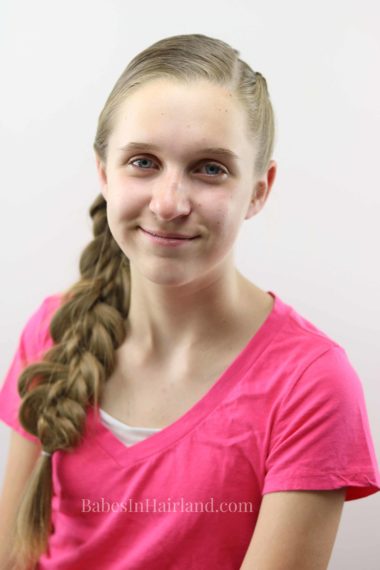
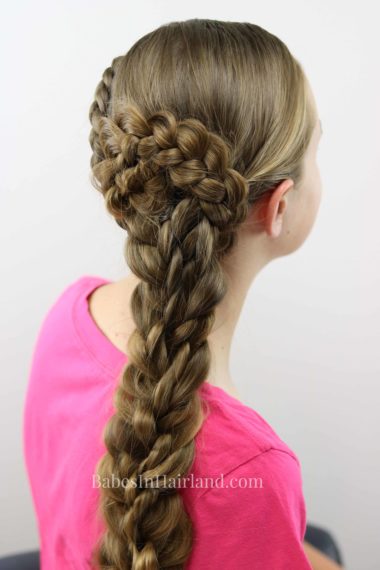
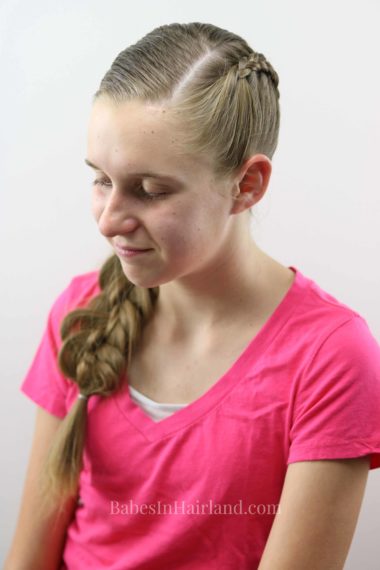
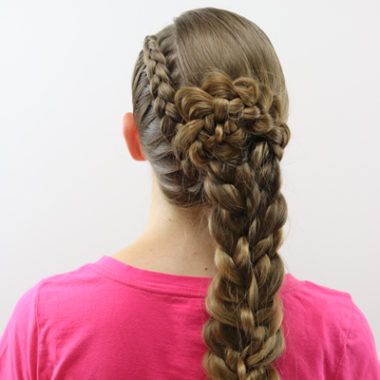
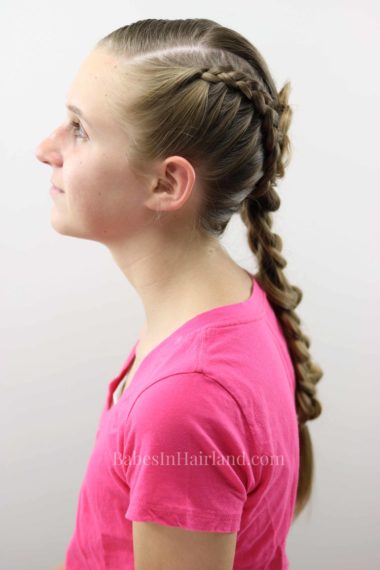
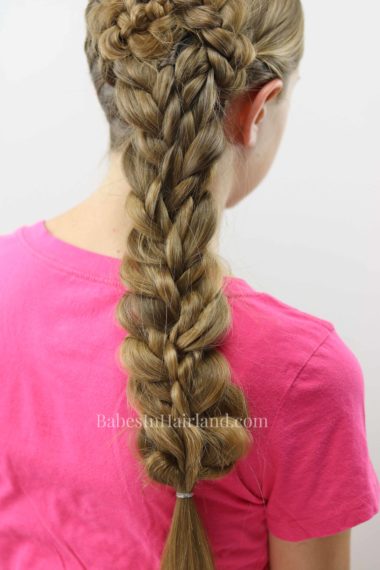
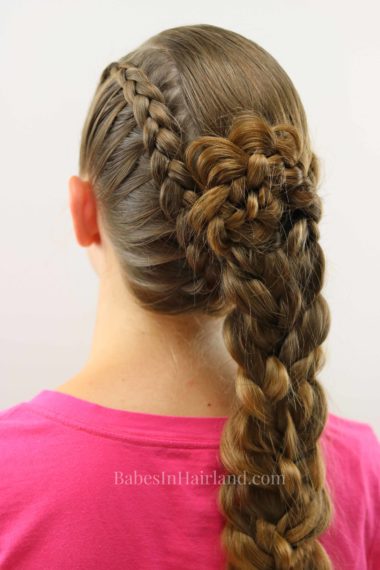
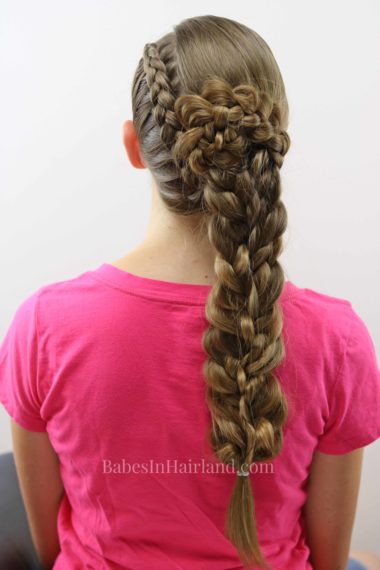
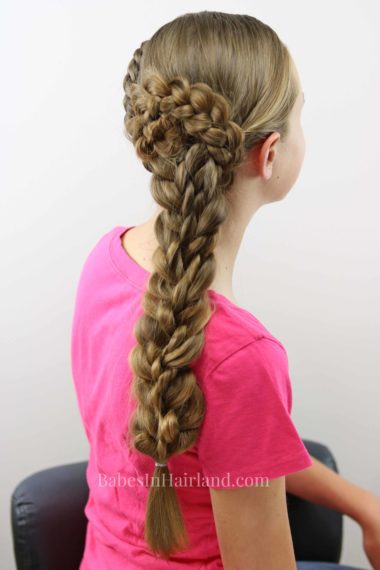
Today’s braided hairstyle is one that I started thinking it would look a certain way, but it turned out totally different. I am in love with how it turned out. It’s one of those hairstyles, however, that I think pictures and video don’t do justice to! With all the braids, if seen from the left side, it looks a bit edgy. But from the back and right side, it looks very elegant. So it’s got a little bit of everything for everyone! We hope you like this one as much as we do!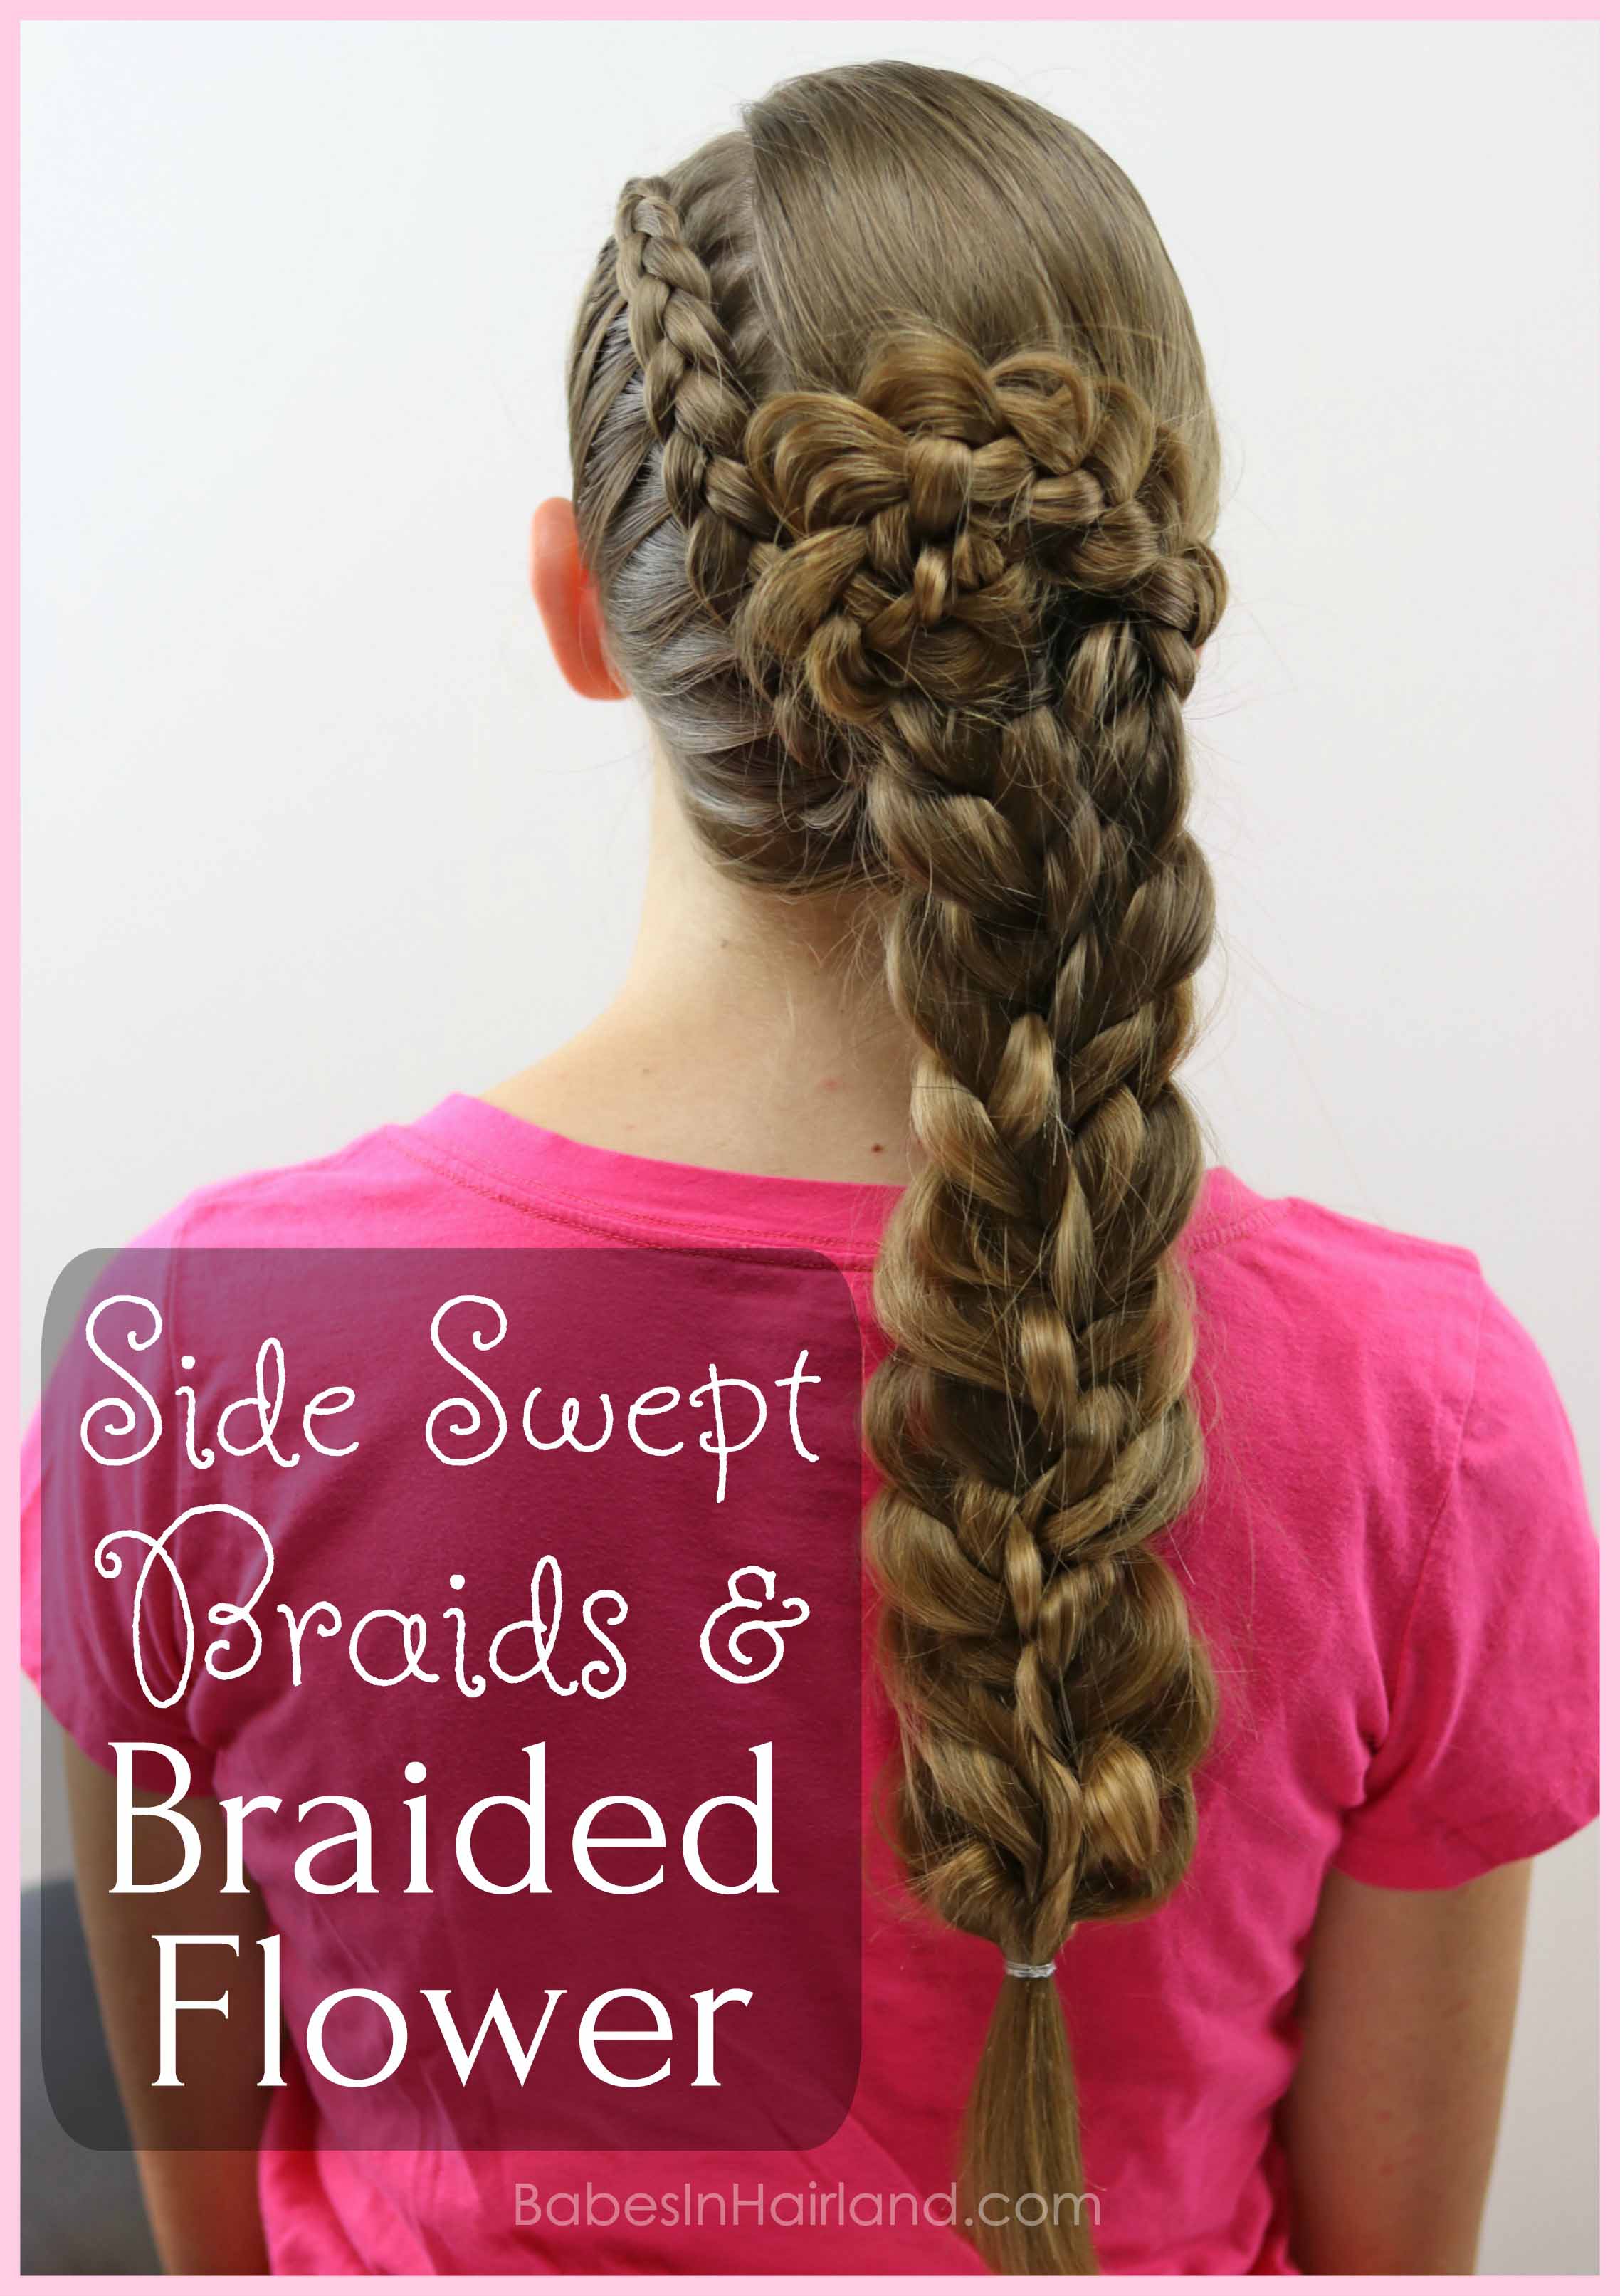
Watch our video showing how this beautiful braided hairstyle is created. If you’re having issues viewing it on our site, go HERE to watch it on our YouTube channel.
1 – Part out about 1/3 of the hair on the left side of the head. Begin your part from the left temple back to the center nape of the neck.
Your part should go back on a bit of an angle. So don’t make it straight back from the temple to the left side of the neck, it should hit the center of the neck.
2 – With the rest of the hair on the right side of the head, divide it into 3 even sections.
3 – With each section, make a regular 3 strand braid. Gently pull on the edges of the braids to pancake them and make them wider. Temporarily secure each with a clip.
4 – Back on the left side, near your part, begin a Dutch braid (inside out French braid.)
If you need help with Dutch braids, watch THIS Dutch braid video by my teenage daughter.
5 – As you braid, be sure to keep your Dutch braid tight, and as close to the part as possible.
6 – Once you can no longer add hair to your Dutch braid, continue braiding to the ends of the hair.
7 – With the left side of this braid, pull on the edges of the braid to make them scalloped. Stop the scalloped edges before you reach the neck. Secure the end of the braid with a clear elastic.
8 – Draw this braid to the right, and under the 3 braids from Step 3. For now, just leave it draped to the right side of the head, under those braids.
9 – With the 3 braids from Step 3, braid them together in a loose regular 3 strand braid. Go back and pull on pieces of the braid to mess it up and pancake it a bit. Secure all 3 braids at the bottom with an elastic.
You want to pull and pancake these braids as much as needed so that you can’t tell it’s just 3 braids braided together!
10 – With the braid from Step 8, draw it upward and back toward the center/left side of the head. Coil it up to create a flower. Position the flower so the left edge of it touches the Dutch braid running down the left side of the head. Secure with bobby pins as needed.
11 – Go back and pull on the edges of the flower braid until it looks like you want. Adjust the braids from Step 9 as needed as well. Spray with hairspray to secure.
FINISHED SIDE SWEPT BRAIDS & BRAIDED FLOWER
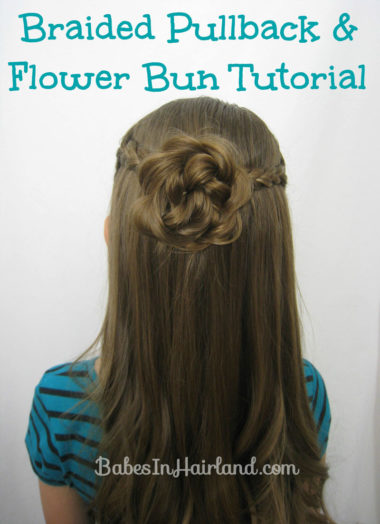
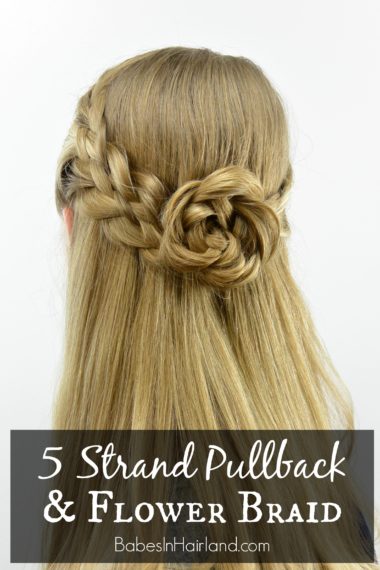
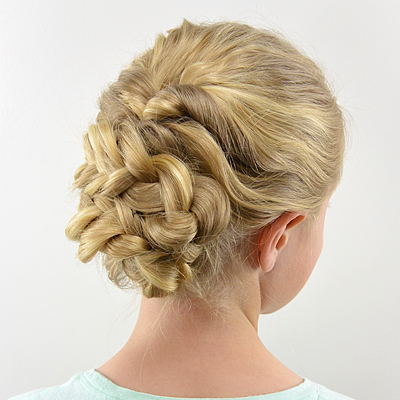
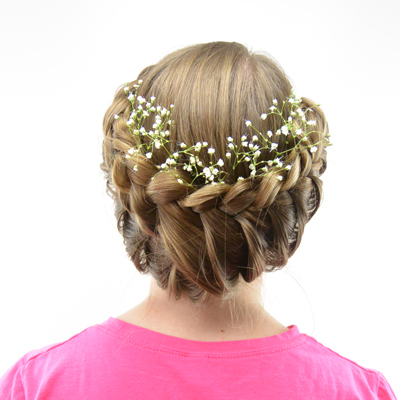
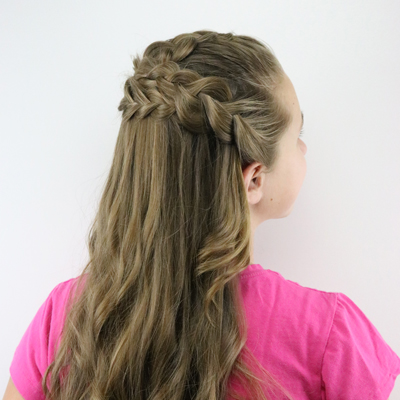
 Here’s a few other hairstyles we’ve done with Braided Flowers. They are so pretty, wouldn’t you agree?! Click on the name of the hairstyle to go to the tutorial.
5 Strand Pullback & Flower Braid
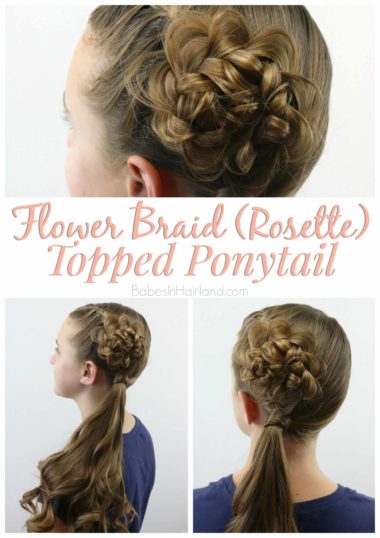 And of course, today’s braided style:
Please PIN and SHARE this beautiful style! Comment and let us know if you like this one! Thanks for stopping by!
