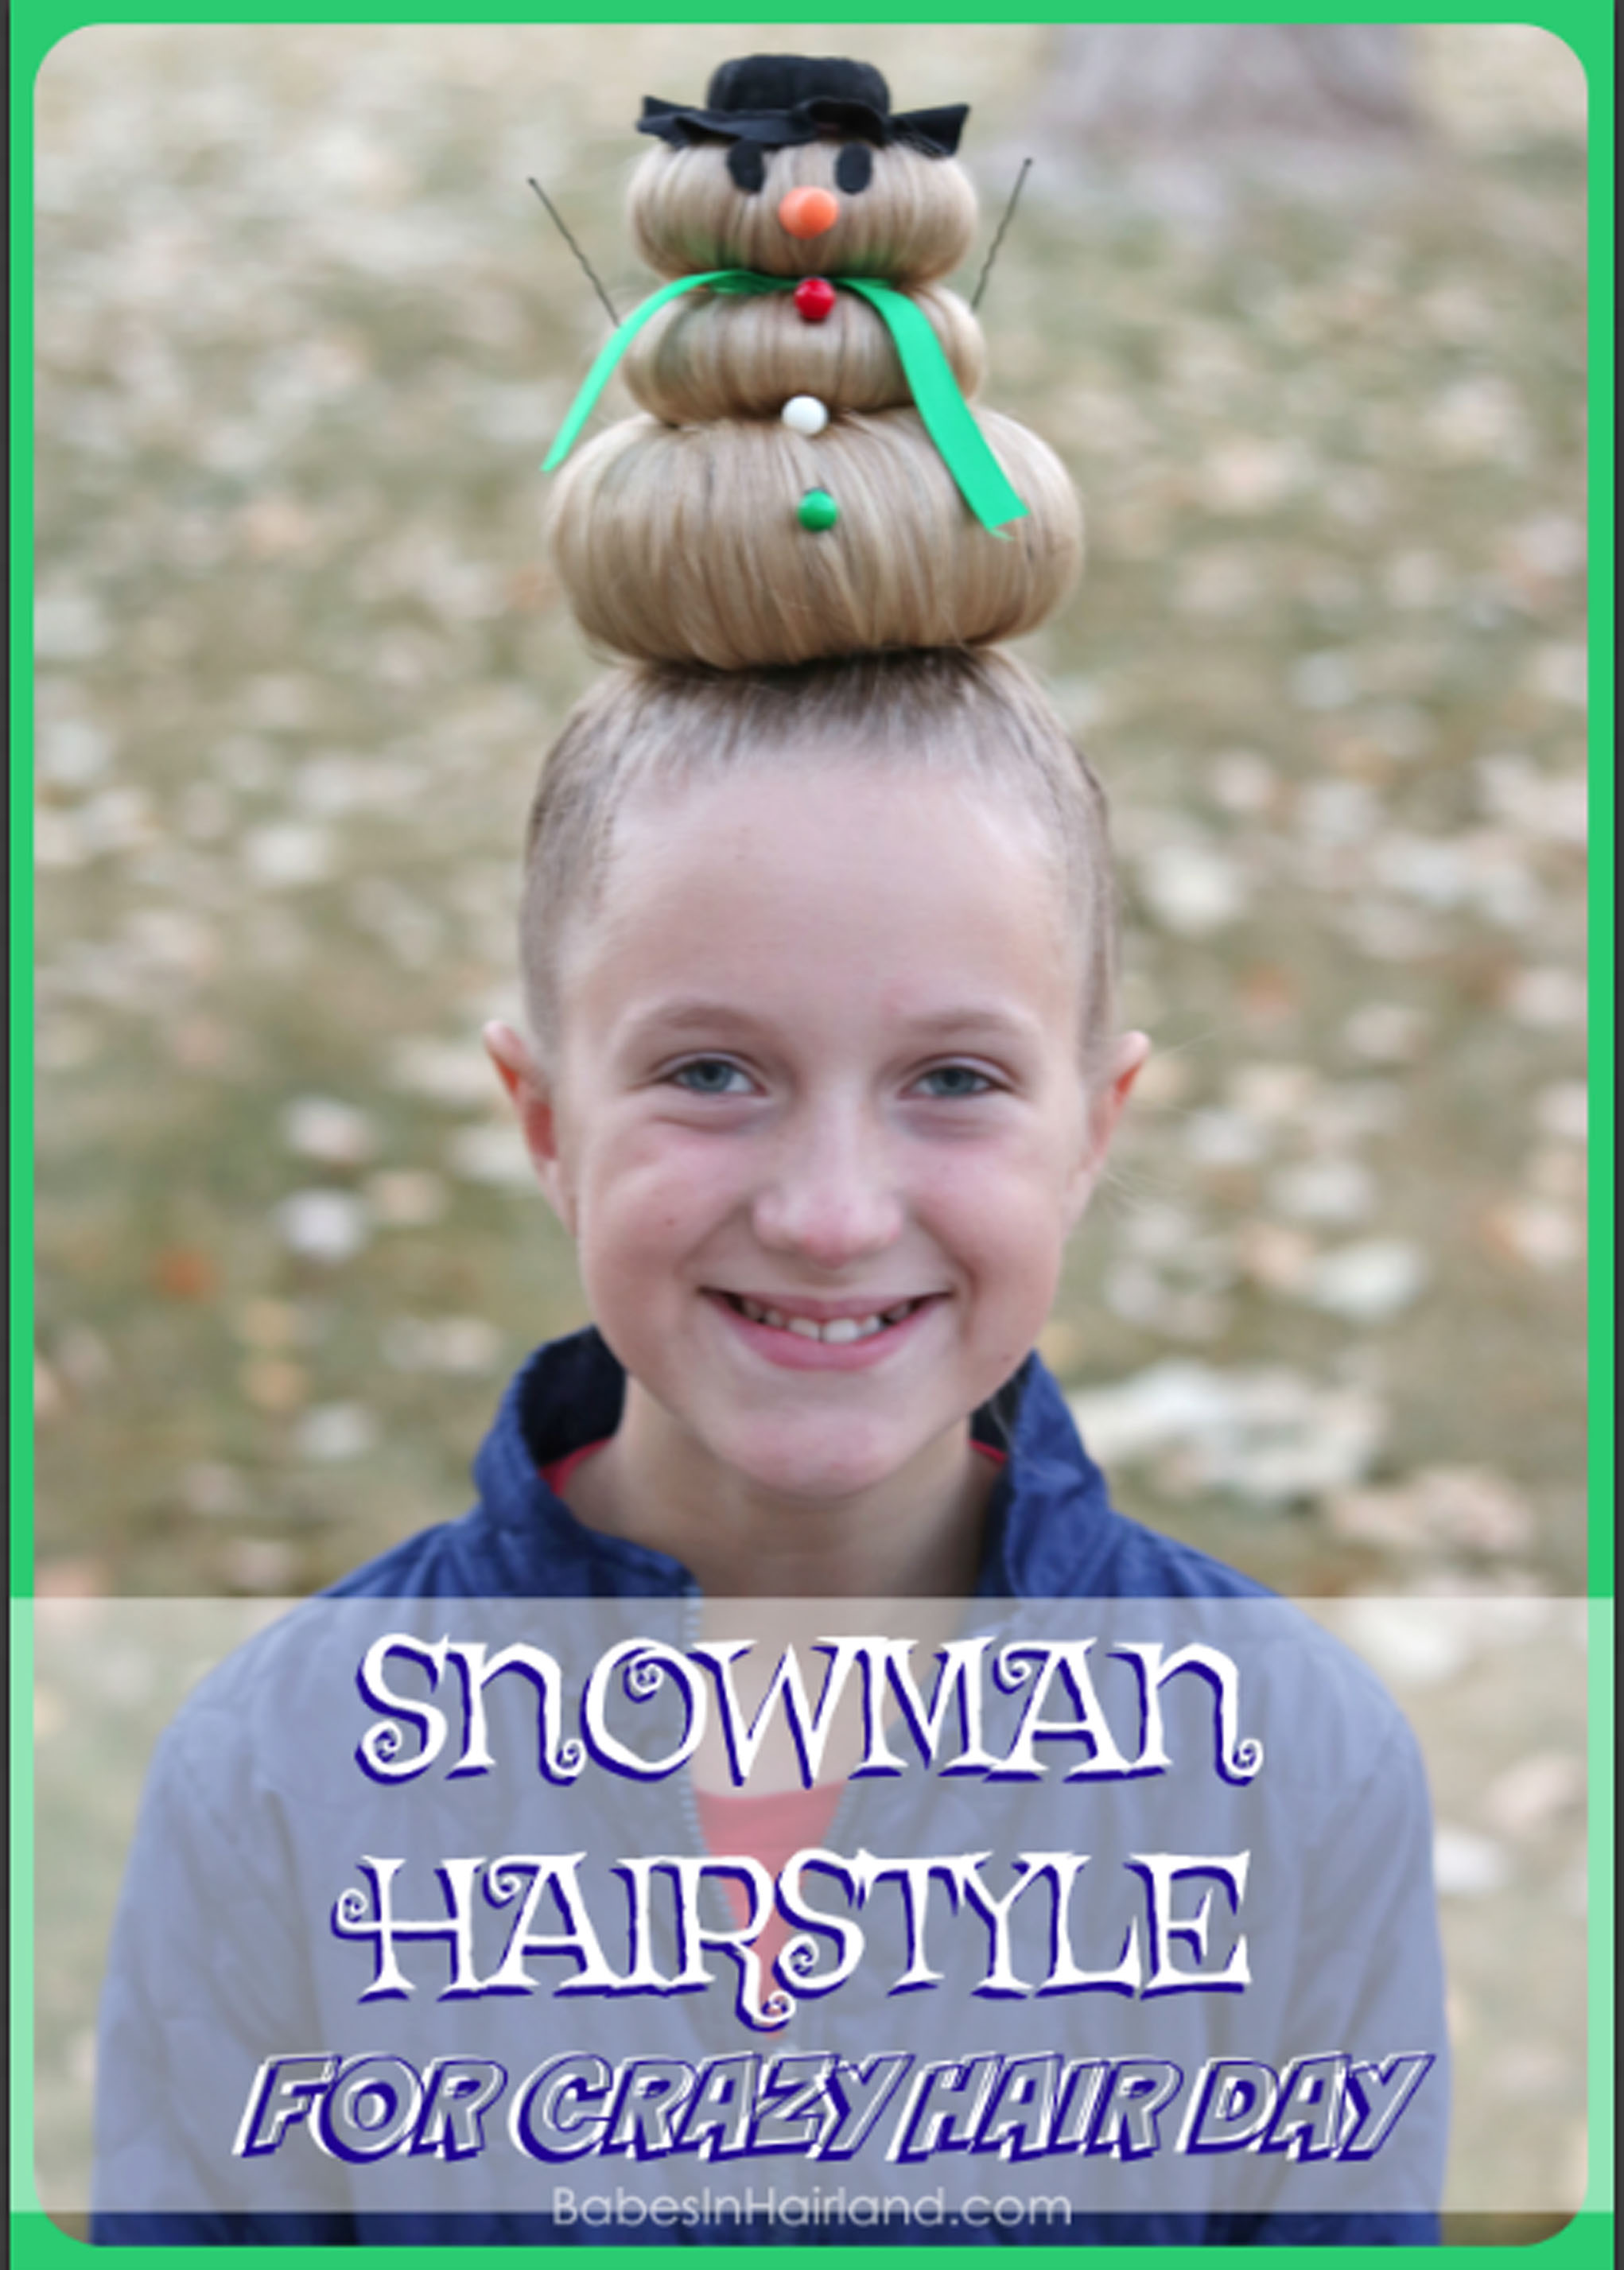
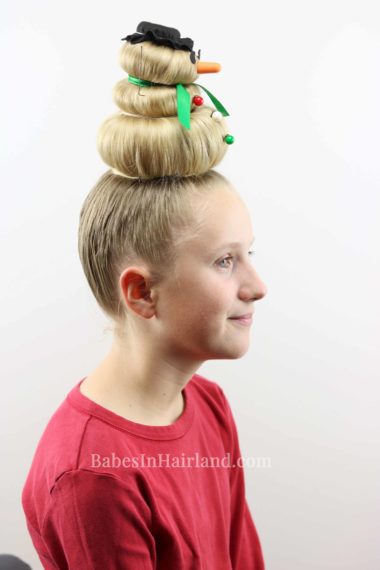
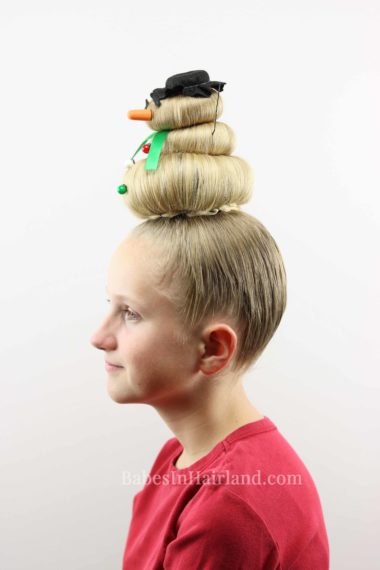
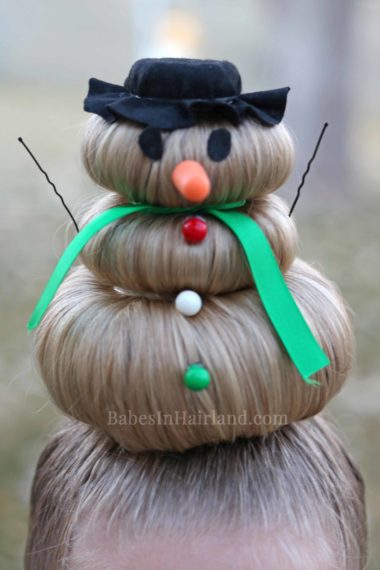
Today’s silly (and might I add totally crazy) hairstyle is one that Bee actually dreamed up on her own for crazy hair day. Recently her school had a week full of things like “crazy sock day” and “school color day,” and at the end of the week was “Crazy hair day.” She debated if she wanted to do something for that day. She is a “cool 5th grader” now, so she was a bit unsure if she wanted to participate! haha I assumed she didn’t and totally forgot about it. Well, the morning of crazy hair day she informed me she wanted a snowman in her hair. Yes – a Snowman hairstyle for Crazy Hair Day!
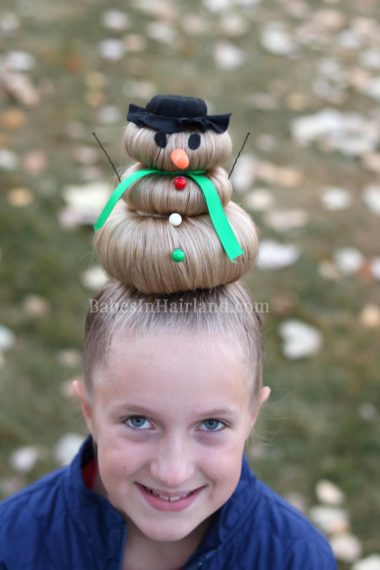
I assumed we’d do a few buns down the back of her head and decorate it accordingly. Nope. That’s not what she had in mind. She wanted the snowman ON TOP of her head! I didn’t have a ton of time and had no idea if it would work, especially since I hadn’t had time to “plan” anything. I dug into our hair stuff, and in the end it turned out AWESOME! She LOVED it — as did everyone else that saw it. She even won 1st place for craziest hair in her grade! (I had no idea there was even a contest!)
Anyway, because it was such a hit, we of course, have to share. The day she wore this, we had all kinds of after school things going on, so she was seen all over like this. People stopped us all wherever we went to have a look and pay her compliments! It held up to a full day of school and other activities which made me happy too! It was a major hit! This would also be great for any crazy Christmas party you have coming up for the holidays.
For this Crazy Hair Day Snowman you will need the following supplies:
- 3 different sizes of donut bun makers – or 3 different sizes of socks with the toe cut off and rolled up.
If you need donut bun makers – buy a 3 piece donut bun making kit HERE. You can find different colors depending on your hair color. Make sure you buy the spongy ones or this won’t work!
- clear elastics – Our favorites are THESE clear elastics from Goody.
- bobby pins & hair pins – THESE are the bobby pins we use for everything. They are definitely superior to any other I’ve used over the years.
- decorations for your snowman.
Watch our video to see how it’s done, and then below are the step-by-step instructions and more pictures – so KEEP SCROLLING!
1 – Make a very high ponytail on the top center of the head. It should be closer to the forehead than the crown.
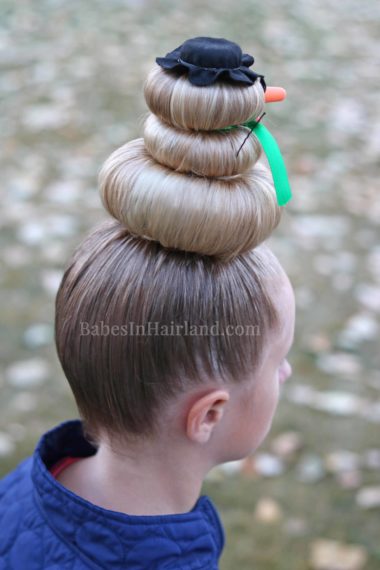
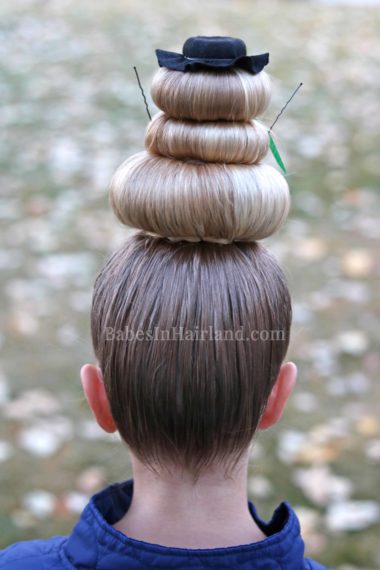
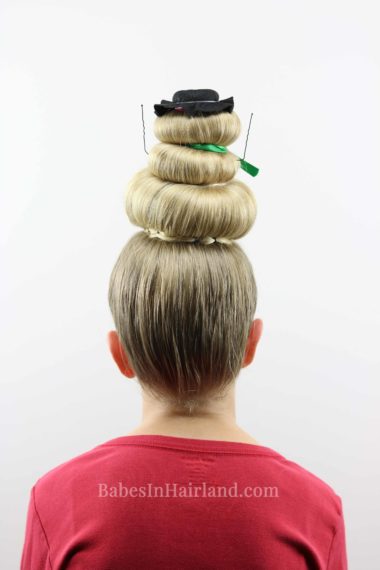
2- Pull the ponytail through the center of all 3 donut bun makers. Stack them putting the biggest one on bottom and the smallest on top.
3- Let the ponytail cascade down over all 3 bun makers. Smooth the hair down and wrap a clear elastic around the top bun maker. This makes the head.
4- Take a second clear elastic and wrap it around the 2nd bun maker to create the middle section of the snowman.
5 – Use a third clear elastic to go around the bottom bun maker so it pulls the hair in tight around the base of the snowman.
6 – With any remaining hair that sticks out out underneath the bottom of the snowman, use bobby pins to secure the hair so it hides underneath.
7 – Adjust your snowman as needed before adding any of the decorations.
8 – Decorate your snowman so he looks nice and cute!
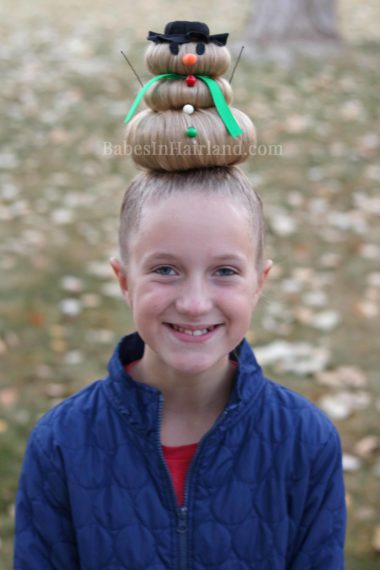
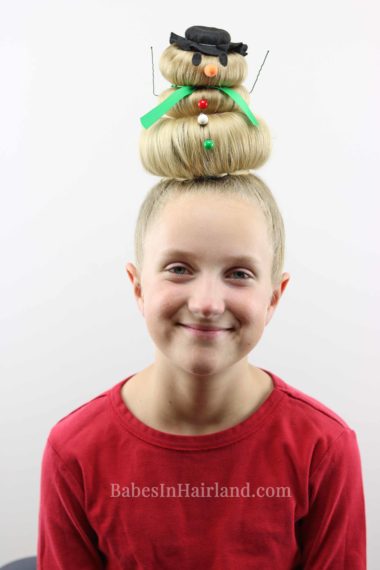
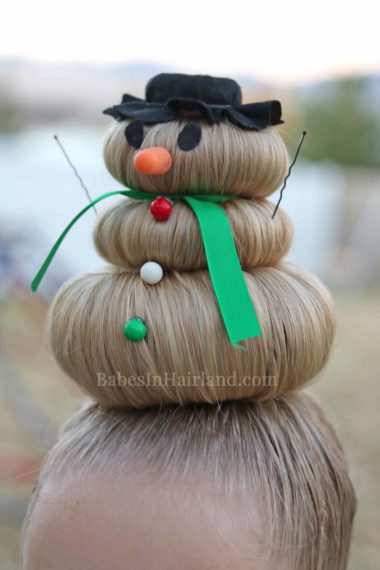
Here’s what we used to decorate our snowman:
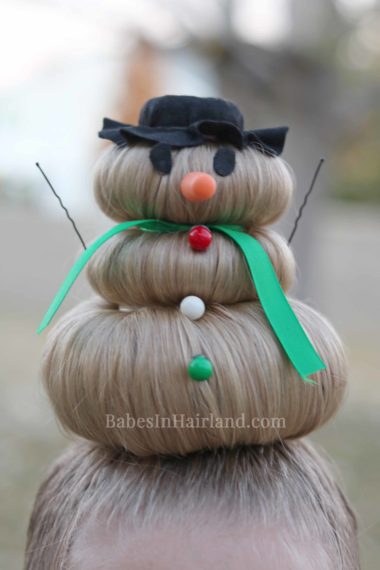
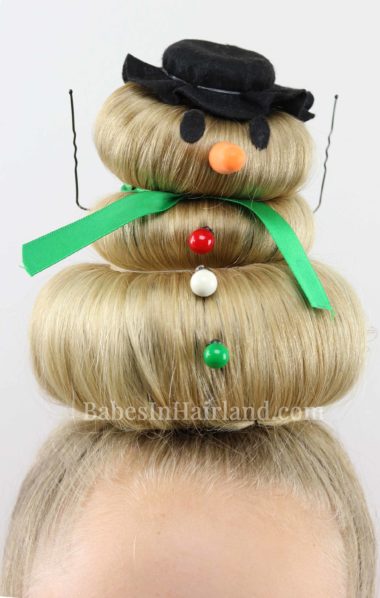
Hat: A hard plastic pin Barbie thing we had on hand that was about the size of a milk lid. I covered it with felt and I wrapped a clear elastic around it to keep the felt in place. Then I stuck hair pins through the felt to secure it to the top.
Eyes: I used the felt eyes attached to hair pins we used for our Ghost Ponytail.
Nose: I used an orange ear plug! I straightened out a hair pin and stuck it into the center of one and then into the middle of the snowman’s face.
Mouth: We debated about putting one on, but in the end there wasn’t much room, so we left it off. It’s up to you if you want one or not!
Scarf: Green ribbon, but you can use any color or some felt if you want.
Buttons: Ornaments we’d used in past Christmas Tree Braid tutorials. You could glue some real buttons to hair pins as well.
Arms: For the stick arms, I straightened a few hair pins out a bit and stuck them into the snowman’s sides.
Anyway, that’s basically it! I realize this isn’t something you’ll use more than on a crazy hair day or for Halloween or maybe around Christmas time, but we guarantee it’ll be a show stopper!
FINISHED SNOWMAN HAIRSTYLE for CRAZY HAIR DAY!
Like I mentioned above, this could easily be used for any Christmas festivities you’ve got coming up as well! So whether it’s for crazy hair day, or some fun Christmas party – this Snowman Hairstyle will be a crowd stopper! 🙂
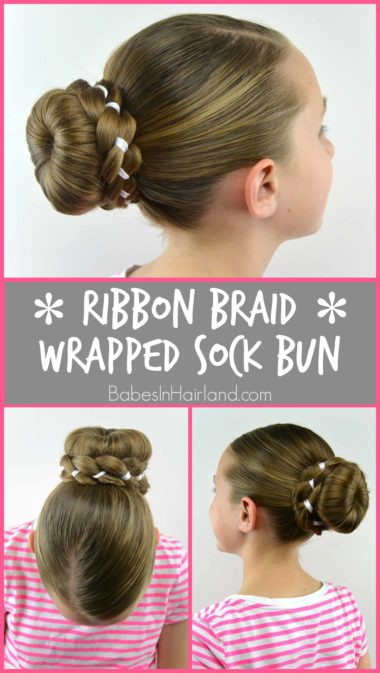
If you like using sock/ donut buns, but not planning on a snowman hairstyle anytime soon, try our Ribbon Braid Sock Bun:
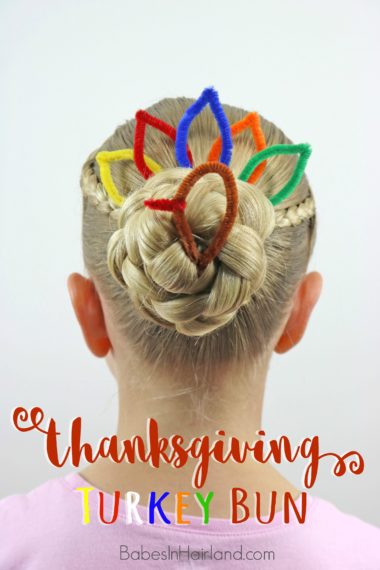
Also, with Thanksgiving just around the corner, last year we shared our fun Turkey Bun for Thanksgiving – so go HERE for that tutorial.
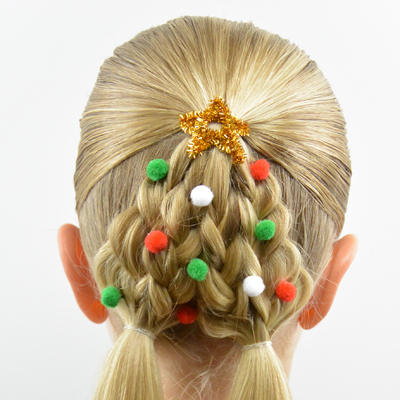
And speaking of Christmas, don’t forget our Christmas hairstyles. The Christmas Tree Pull-Through Braid is one of my favorites. Or check out ALL our Christmas hairstyles HERE.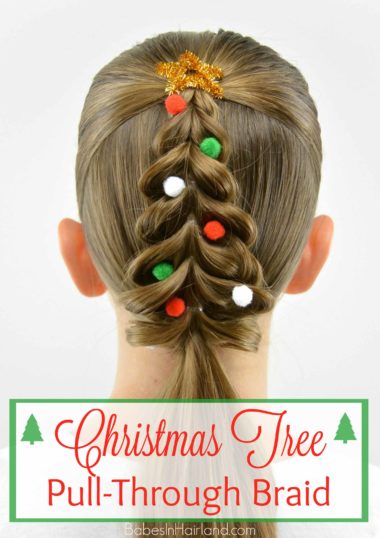
Thanks again for stopping by & be sure to pin this for your next Crazy Hair Day!
