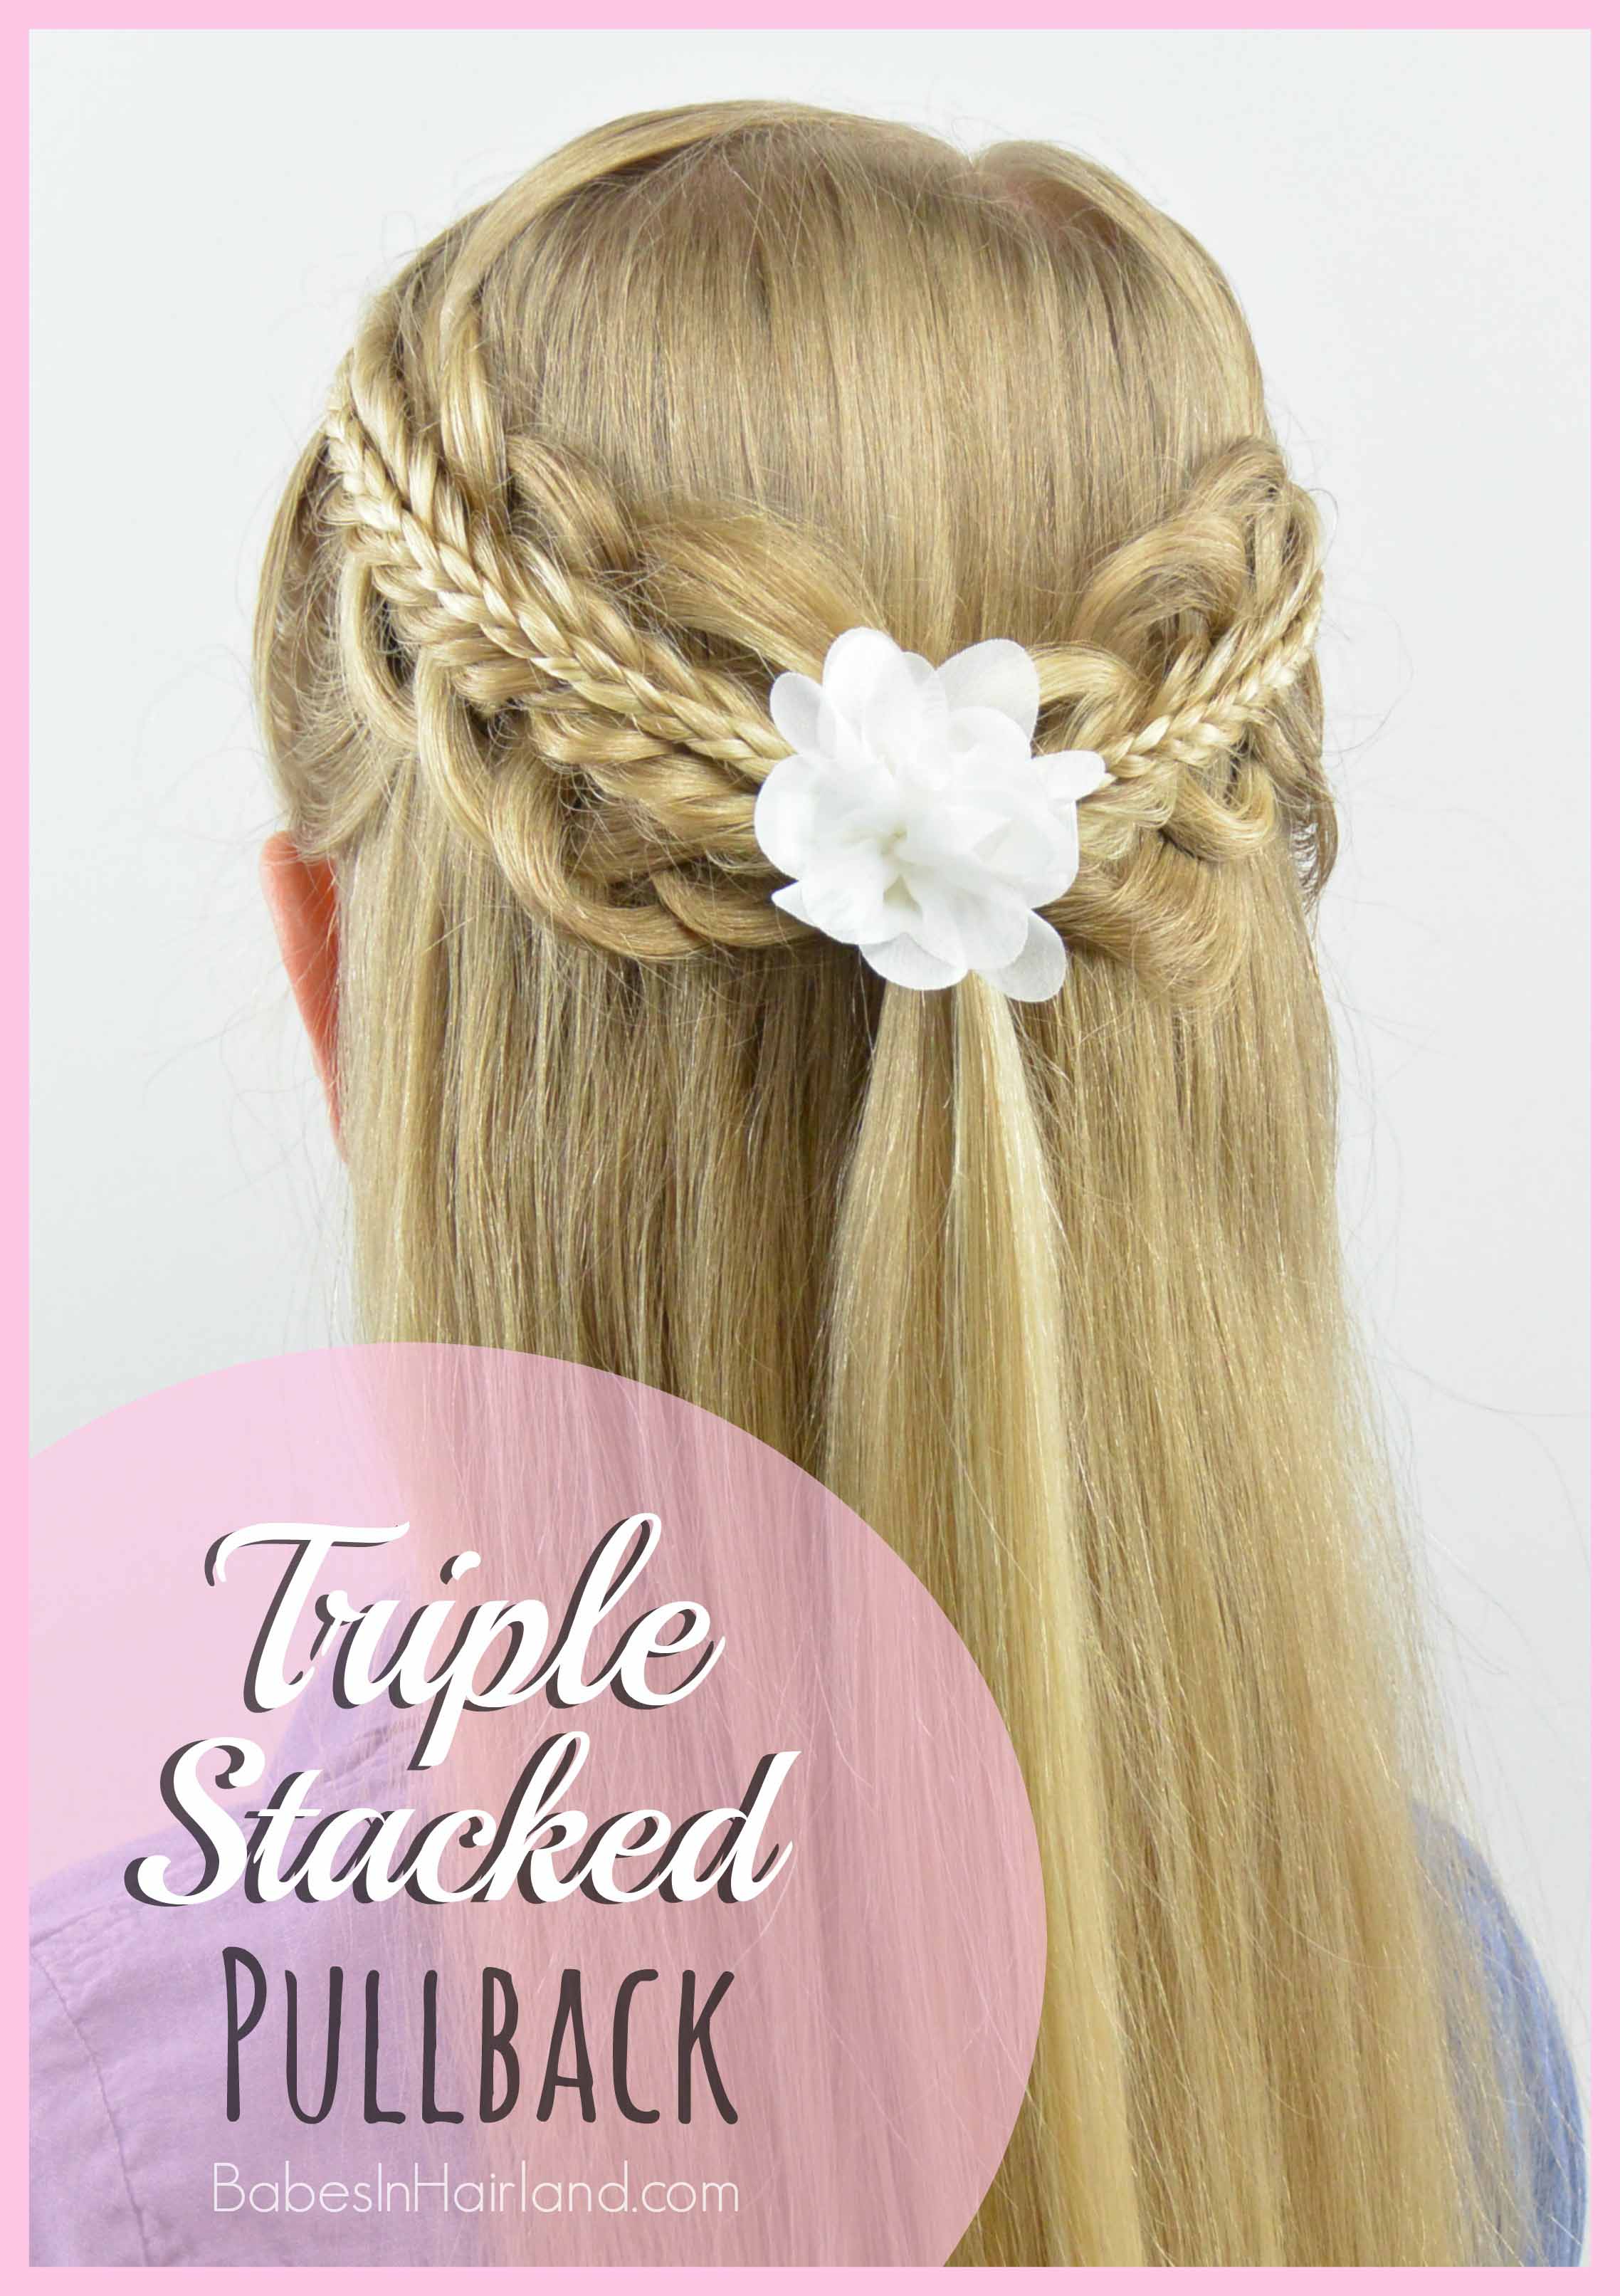
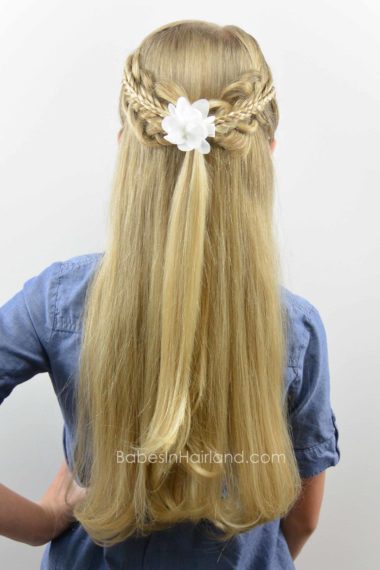
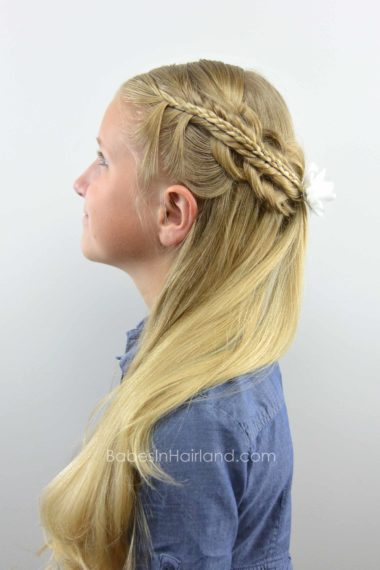
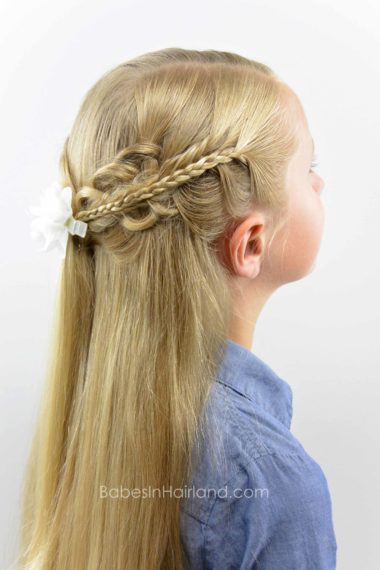
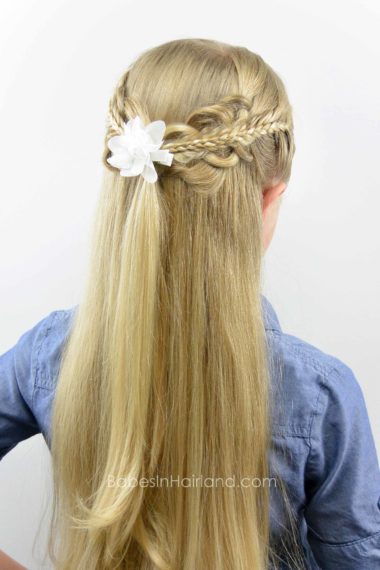
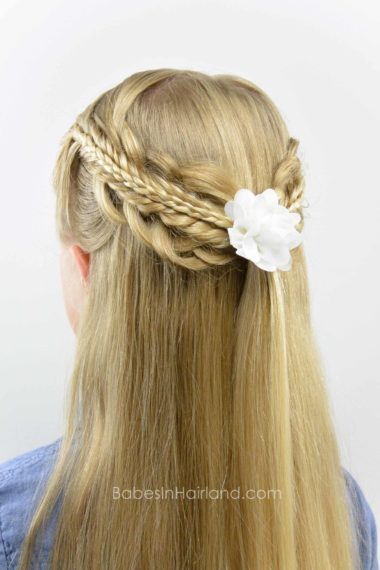
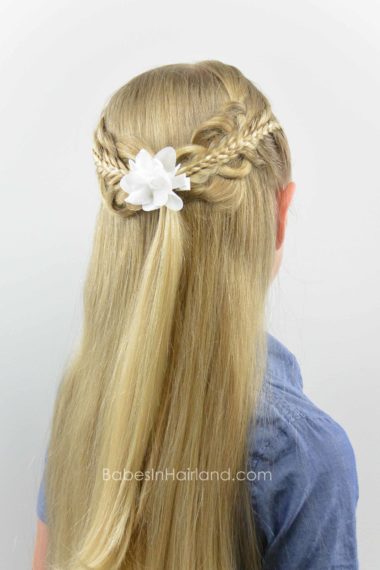
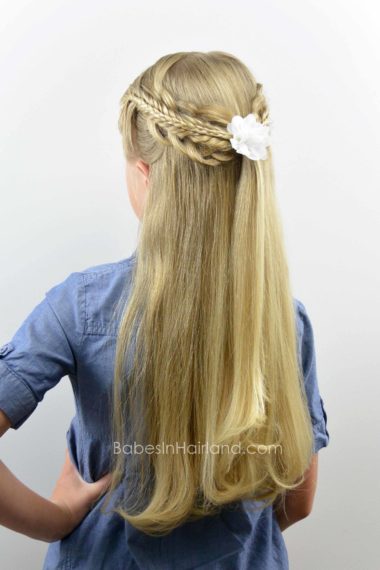
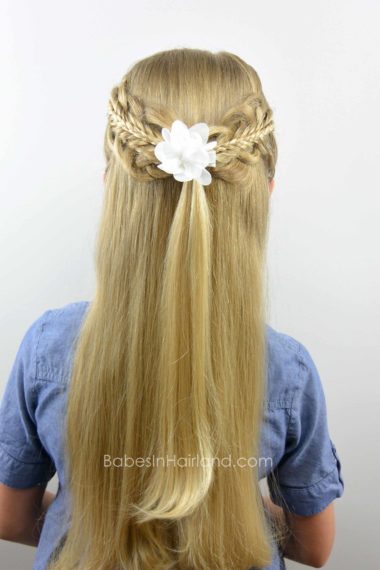
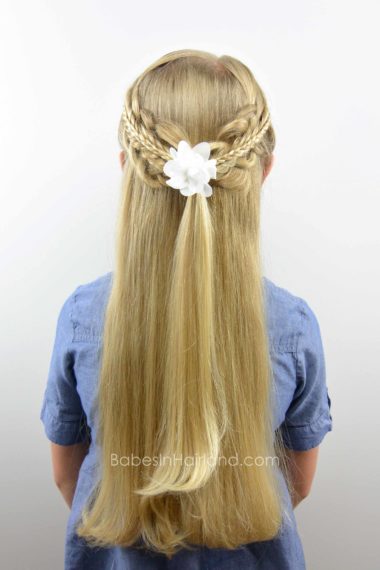
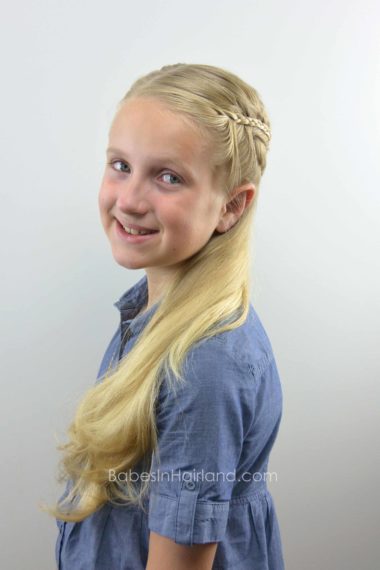
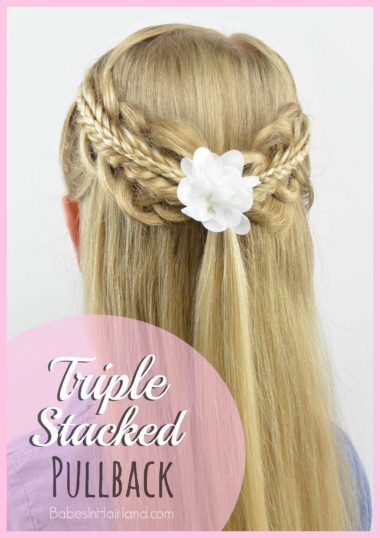
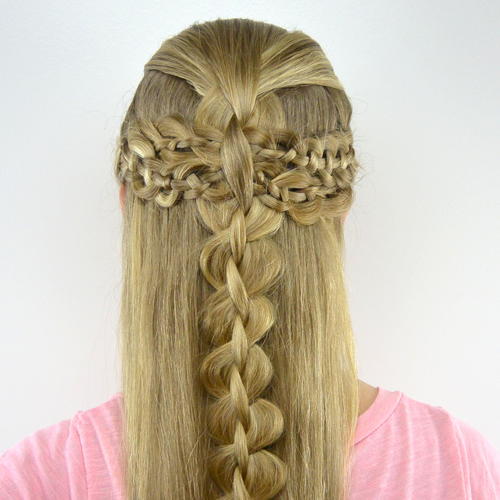
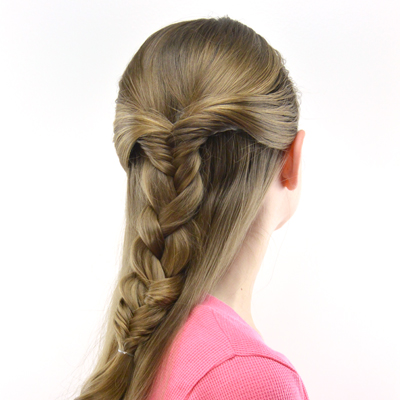
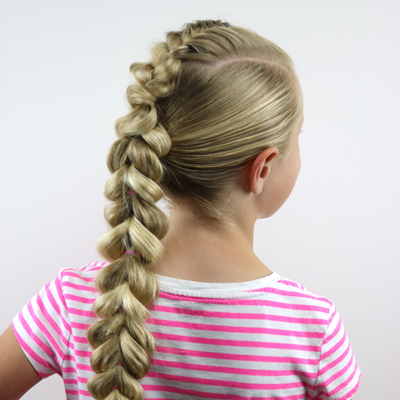
This is such a pretty style, and you can even mix it up a bit, if you choose to do this style using different braids. Either way, if you know how to make a few different kind of braids, you can easily make this style.
Here’s our video showing how it’s done and below that, our step-by-step instructions. Don’t forget to check out all the beautiful pictures of the finished hairstyle below!
Step 1 – Make a part on top of the head. You can have it be dead center, or more of a side part. We made a side part.
Step 2 – Part the hair from ear to ear across the head.
Step 3 – On the left side, you will want to divide the hair in front of the ear into 3 sections.
Step 4 – The section closest to the ear should be the thickest section, the middle section should be a bit smaller, and then the section closest to the face should be the smallest section of hair.
Step 5 – With the thickest section create a 4 strand braid & temporarily secure the end
If you need help with 4 braids, watch our 4 Strand braid video. Braid until it reaches the middle of the back of the head.
Step 6 – With the center section of hair, create a fishbone braid
Watch our Fishbone Braid video HERE. Again, braid until it reaches the center of the back of the head & temporarily secure the end with a clip.
Step 7 – With the smallest section of hair close to the face, make a small tight 3 strand braid (aka micro braid) that reaches back to the center of the back of the head
Step 8 – Do the exact same thing on the right side of the head starting with Step 3
Step 9 – Now, starting with the 4 strand braids, join them together in the center of the back of the head & secure with an elastic
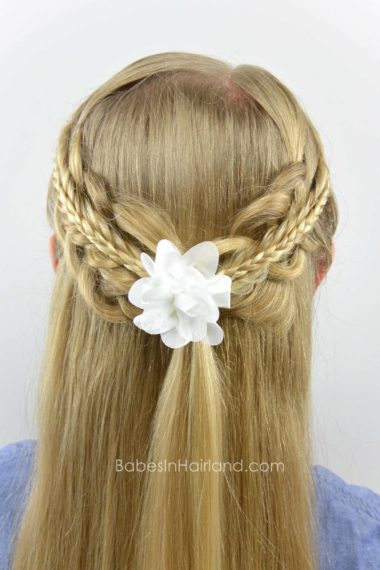
Step 10 – Gently pull on the outside edges of the 4 strand braid to pancake it and make the braid much more “loop” like
Step 11 – Next, draw the 2 fishbone braids back toward the center of the back of the head so they lay on top of the 4 strand braids.
The fishbone braids should lay right down the center of the 4 strand braid. Pancake the fishbone braids just a little if needed, but you just want them to cover up the center straight section of the 4 strand braid – not much more.
Step 12 – Secure the fishbone braids with a clear elastic, right on top of the one from Step 9.
Step 13 – Lastly, draw the micro braids back so they lay on top center of the fishbone braids
Step 14 – Secure micro braids with another clear elastic right on top of the elastic from Step 12.
Step 15 – Adjust braids as necessary, and make sure the loops from the 4 strand braid can be seen well. Use bobby pins if necessary to keep braids laying stacked on top of each other.
Step 16 – Optional – curl remaining hair in back and add an accessory to cover the elastics
FINISHED!
Please comment and let us know if you like stacked braid styles. There are so many ways you can do these, but we love how this one turned out! Don’t forget to share, and pin for later!
