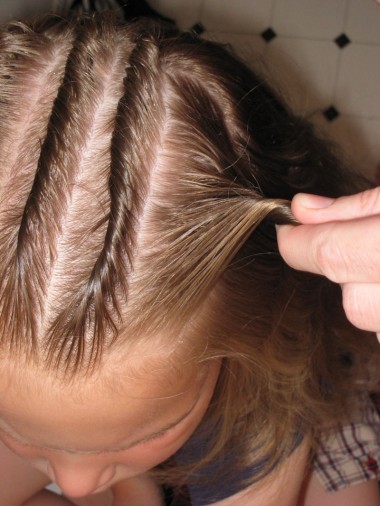
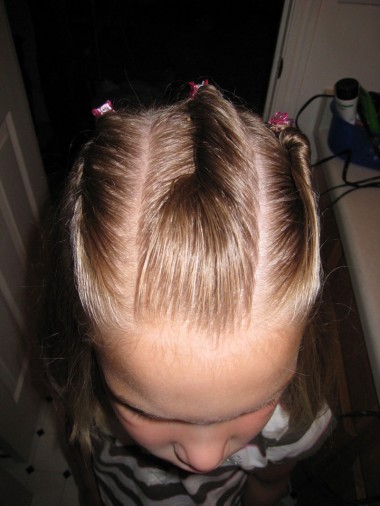
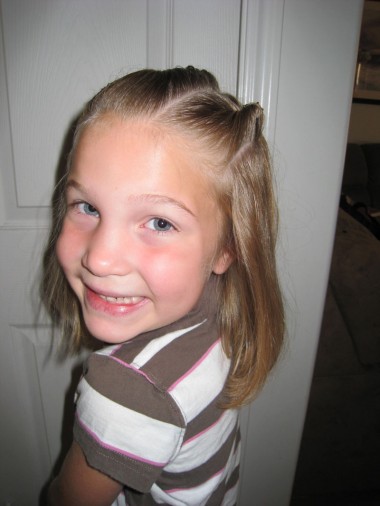
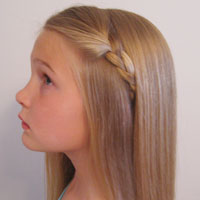
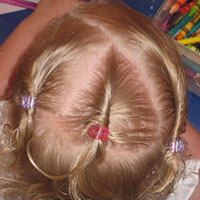
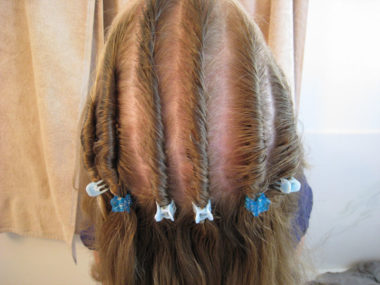
 When I think of cornrows I think of braided rows of hair, but these are just twists in rows. I don’t know if in the “official world of hair” if these can be considered cornrows, but for my purpose we will say they are!
Step 1 – Begin by parting the hair into small sections.
Part from the forehead backwards. I always start in the middle of the head and work my way out from there making as many as you want. Oh, and always – keep the hair damp for a smoother look – I’m all about no fly aways!
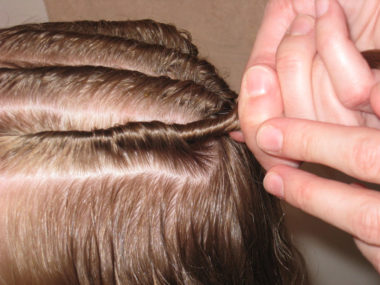
Step 2 – Hold the hair out from the head and start twisting
I twist to the right (since I’m right handed). I do it from the middle of the section – not necessarily from the front up by the forehead.
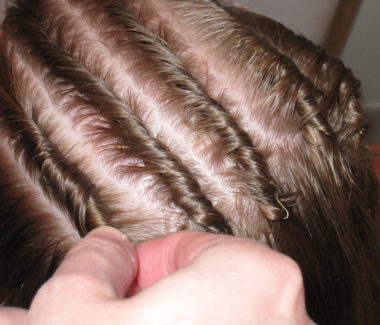
Keep twisting and then start moving the twist in the direction away from the front of the face heading backwards -(so you’re not going to be pulling it straight out from the head anymore.) Sorry if that doesn’t make sense. I’m finding it hard to describe in words how I do some of these things! The tighter you twist the better it’ll look.
Step 3 – Secure the twist with bobby pin
To ensure they don’t come unrolled I secure them with a bobby pin, and then add a little clip. It can be done without the bobbypin if your clips have a good strong grip. Watch our bobby pin video to see how we do it HERE
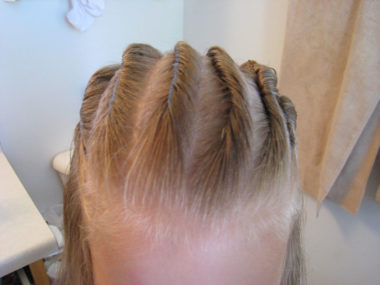
I’ve also done it with 3 rows instead of 6, but I like the the smaller rows because they twist better they stay in better too.
Goose was still way tired in this picture before she went to school, so she’s got tired eyes going on!
You could also part a section the whole length of the head and continue the twist on down instead of just staying on the crown of the head, but I like the look these give just on top.
