")
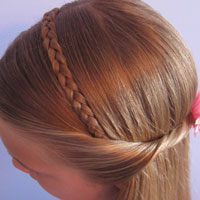
This twisted knot hairstyle is one that really can work for any age, as long as you’ve got enough hair to pull back & make the knot, but it’s definitely great for your tween or teen!
Step 1 – Part hair
Make an off-center part on the top of the head and then part from ear to ear.
")
Step 2 – Twist the hair
Starting on the left side, take the hair in front of the ear & twist it inward toward the head.
")
Step 3 – Secure twist temporarily
Because this isn’t a rope braid, the hair will untwist immediately unless you secure it. Simply take a small clip and secure it to the hair in back temporarily.
")
Step 4 – Make another twist
On the right side, repeat step 2, twisting the hair inward – toward the head.
")
Step 5 – Cross the twists
Carefully remove the claw clip from the left twist and cross the right twist over the left one to start making a shoe string knot. This part may be a little tricky to keep the hair twisted while forming the knot.
")
Step 6 – Make a knot
For this part, it really helps to have the hair damp to reduce fly-aways. If you want a messier look, skip that part! Just like tying your shoe, pass the right twist up under the left twist and pull tight.
")
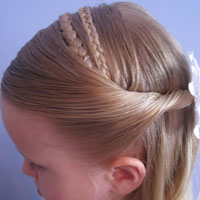
Step 7 – Finish the knot
Repeat step 6, crossing the right twist over the left & pull it through so you’ve created a nice big knot.
")
Step 8 – Pull knot tight
")
Step 9 – Secure knot
Right below the knot, secure it with a small rubber band.
")
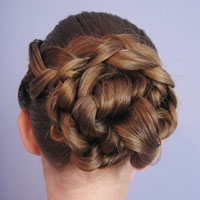
Finished!
When I did this, we set the knot slightly off-center to the left, but you can position it wherever you like on the back of the head.
")
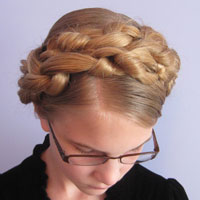
This is a quick & easy one & looks great for any occasion. You could always make more than 1 knot down the back for a pretty look too!
")

It’s so pretty!!
Thanks so much Jakie.
Oh my gosh! Her hair is beautiful! So is the knot, very clever! 🙂
Your creativity amazes me.
your whole blog is so beautiful and the girls have such a gorgeous hair
So beautiful I love it so much!
Glad you like this. It’s one of our fav’s too!