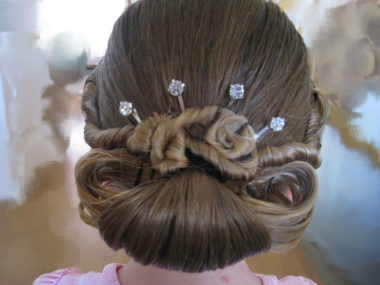
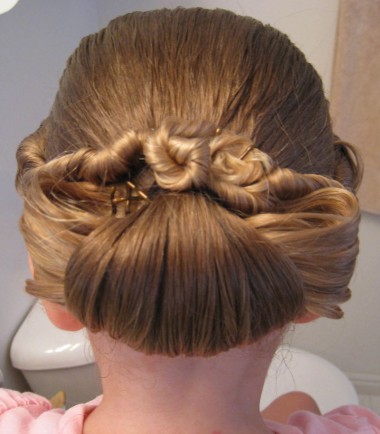
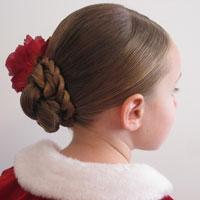
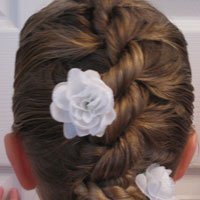
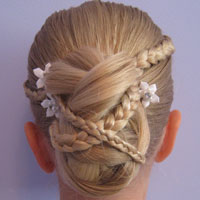
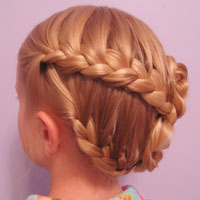
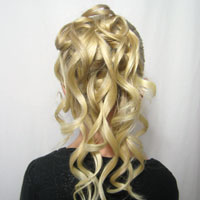
Yeah, ok, dumb name – but I don’t know what else to call this one! And if you’re wondering why all this extra fancy-schmancy do’s I’ve been having lately … it’s because a friend of mine has asked me to do her hair for her upcoming wedding and it’s put me into panic mode of what to do. I think she’s decided on this one – my first ever post – but it’s still had me looking around online & in books, trying new things — all to the chagrin of my dear little Bug! We’ll probably do a bit different stuff in the front for her wedding, but the back will most likely that updo. So hope you don’t mind all these fancy ones. If you do – let me know and I’ll stop! This one sort of combines several of the things I’ve done in the past, so if you need refreshers, I’ve linked those tutorials if you wish to go back.
For this you will need: A good heavy duty ponytail holder (not just a little rubber band), but you will need 1 little rubber band too, plenty of bobby pins, water to mist the hair, your favorite comb, and of course hairspray.
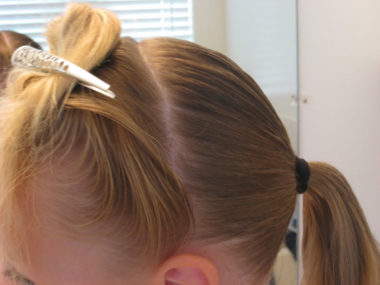
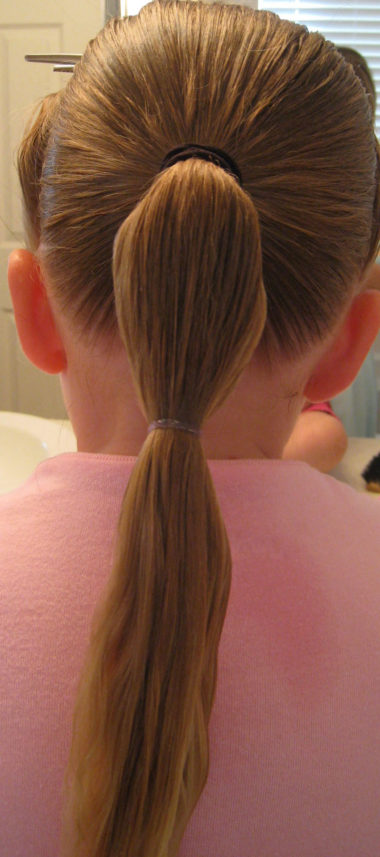
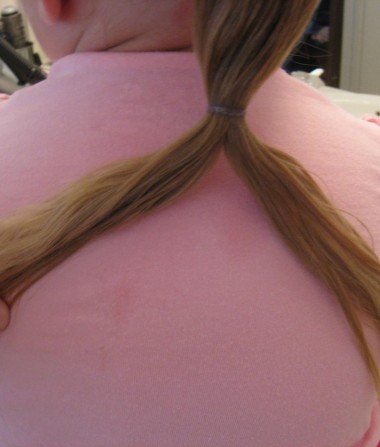
Start by parting the hair from ear to ear and just clipping it up on the top of the head out of the way. Then comb the remaining hair into a ponytail close to the nape of the neck. (I made mine a bit higher because I wanted as much length from the front hair as possible for the twists) If you are working with really long hair, you can put it at the base of the head.
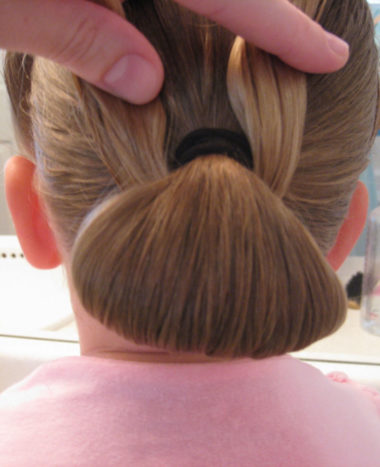
Once you’ve got the main ponytail made, put the small rubber band several inches below the first one. (You’re going to kind of be making a doggy ear to begin with) Once again, depending on the length of hair you’re working with, you can move this up or down a bit.
Then with the hair below the little rubber band divide it into to sections.
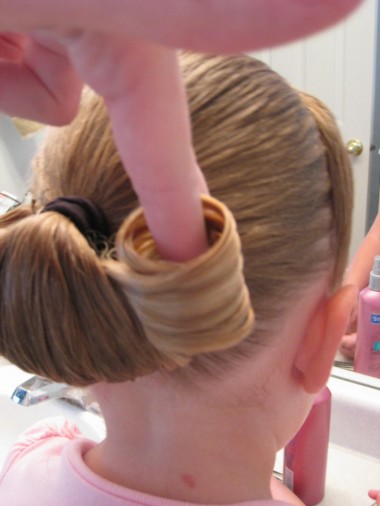
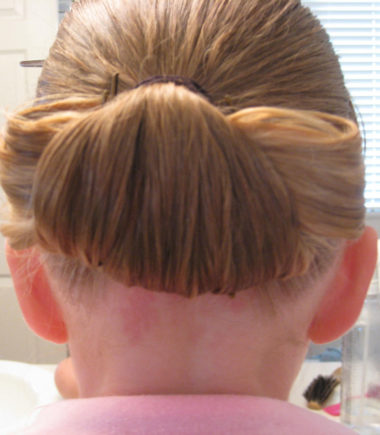
Pull the hair inwards towards the head so that the little rubber band is up underneath the big rubber band to form a loop or doggy ear like is pictured below. You’ll want to secure the hair to the head with bobby pins at this point. (Kind of like in this post)
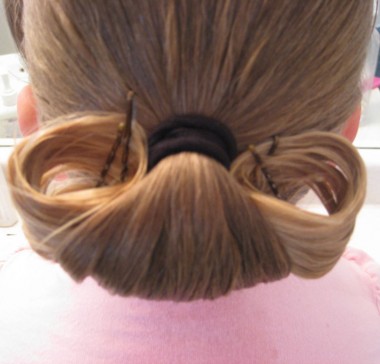
Once you’ve got the hair secured underneath you’ll work with those 2 pieces of hair on the sides. You can either roll it downwards into a loop and pin it there next to the main doggy ear or I took it more directly to the right of it rolled it inwards. Fasten it on the inside with bobby pins. Do the same thing to the other side.
So below is how it will look. I got some new bobby pins and they weren’t like the old ones I’d been using, and I had a harder time using them for some reason. They were so stiff I couldn’t get them positioned how I wanted. So try to look past all the bobby pins in this one! Sorry.
Depending on where you fasten the side loops it can look a bit different. She’s just got such fine ends I wanted to keep it all together and as close as possible.
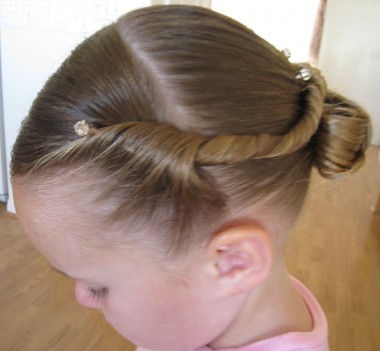
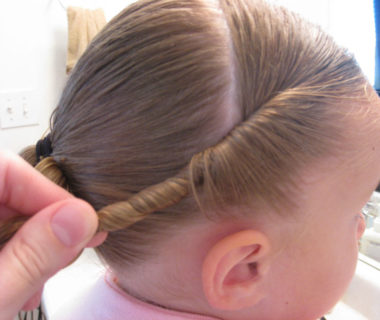
Now it’s time to work with the hair in front. Part the hair down the center so it’s divided down the middle. I always start with the right side. I started twisting sort of like on my Dorothy braids I did a while back. I did start a bit higher on these twists, however.
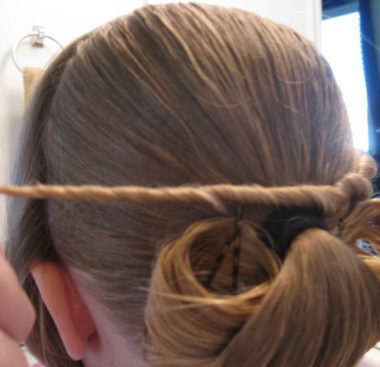
Keep twisting until you get to the very end of the hair. As you twist, pull it over the top of the bun. On top of the ponytail holder you’ll want to secure the twist with a bobby pin.
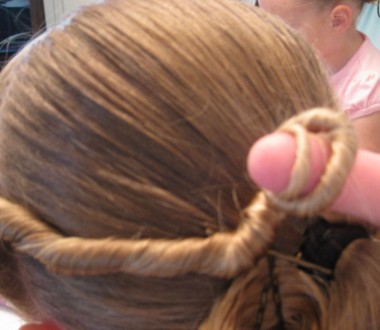
Then you’ll want to take the twisted hair and twirl it around your finger to make a coil of sorts. Be sure to keep the hair twisted while you coil. Once you’ve coiled until you are out of hair, push the hair off your finger and fasten to the head. If you’re DD has enough hair you should be able to make almost a snail like coil and fasten it down with bobby pins. It could look like a very lovely cinnamon roll of hair! 😉 Can you picture it?!
Unfortunately, Bug was done sitting at this point and so mine turned more into the worm/snake look on top of the bun. I also did this with fresh clean hair, so her thin ends were slipping through my fingers and the bobby pins. Darn.
But there you have it. If you DD has a bit thicker and longer hair than Bug, the coils should turn out nicely and hide all the other bobby pins below. Just ignore mine. I added some fancy pins I picked up later in the day, so the twists were even looking crazier than they did when I’d first finished. Hopefully you get the idea though.