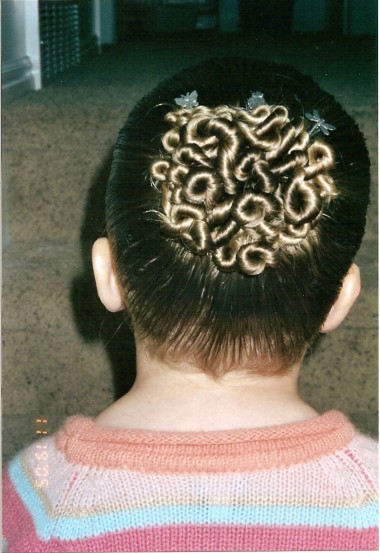
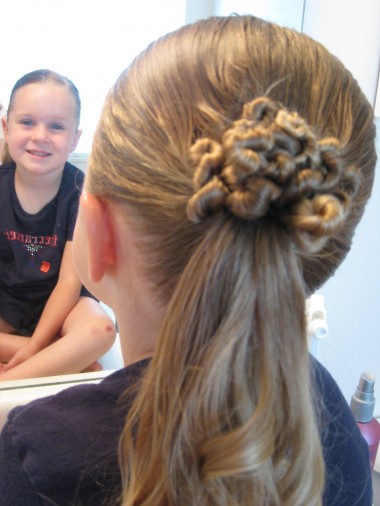
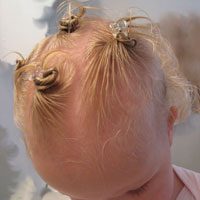
 The reason for the name of this one is rather self explanatory. The girls love this one because they like to tell people they have worms in their hair. The above picture, unfortunately, was taken on Goose a couple years ago so I had to scan it in. I didn’t do the full bun of them very often because it did take a while to make all the twists – so I had to dig through some old pictures to find it!
**** WARNING —- Since posting this, I’ve had several people e-mail me on the “after results” of this hairdo. It CAN cause lots of knots from the twists and major ‘fro head afterwards! My suggestion is do this hairdo on a day that you know your DD will be getting a bath once the day is over. Work the twists undone with your fingers, a wide toothed comb or pick – that helps. But working them out in the bath is helpful too, rather than trying to undo it the next day in preparation for your next hairdo. This is what I do, so hopefully it will help you too! *******
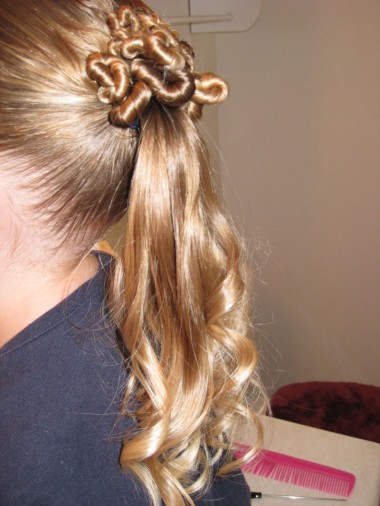
Doing a bun with snake twists is one option with this fun style, or the one we do more often is just a few on top of a pony tail (depending on the thickness of hair you may need more or less.) In the nature of jazzing up ponytails – here we go again!
Step 1 – Make a ponytail
To begin, just make a regular ponytail where ever you want it on the head. Lately, I’ve been offsetting them to one side or the other, also with a side part.
Step 2 – Take small section and start twisting and twisting
Pull small sections of hair from the top of the ponytail and get it quite wet (especially if your girl has some layers to her hair.) Start twisting.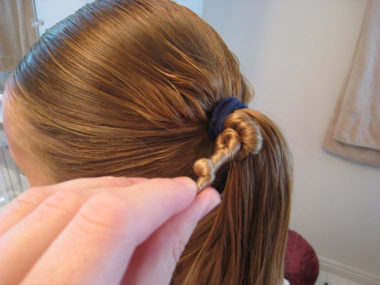
Twist and twist and twist until it starts curling up on itself like so. Sorry if these pix are a bit blurry, my left hand isn’t as steady!
Step 3 – Secure end of twist with bobby pin
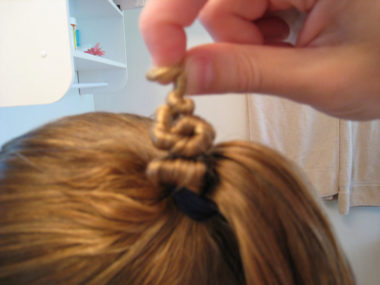
Once I get the desired tightness of the twist I kind of wrap the end around my finger to make a circle and then take that circle of hair and pin it down on her head with a bobby pin. (That’s the little circle of hair between my thumb and pointer in the picture below.) It just gives the bobby pin more to grip onto then just a little wisp of hair.
Step 4 – Make as many twists as you prefer
With each twist, I kind of loop them and “snake” them around the other ones so they are kind of intermixed. Place bobby pins wherever you think they are needed to keep those little worms in place! And there you have it!
Yes, finally a smile! Told you she likes worms in her hair!
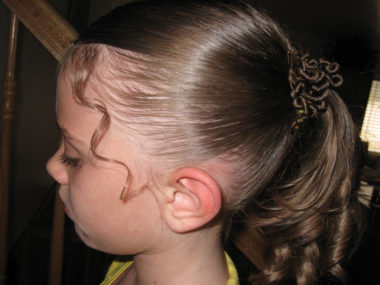
The girls friend was over the other day too, and she wanted wanted worms in her hair too! Her hair is a bit shorter than Bugs and has some layers, but it still worked out ok as long as I keep the twisted hair very wet. She usually wears her hair down & when I pulled her hair back away from her face, she thought she might “look like a boy” as she put it, so we put a few ringlets in the front and the pony on the side so that she could see it and then everything was ok! 😉
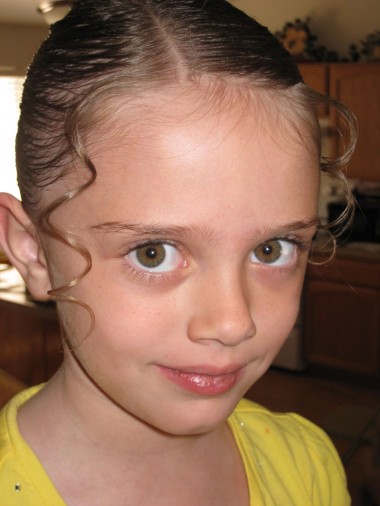
I just loved this picture of her. She has amazing eyes!
I guess after thinking about it – you best call this “snakes” so your kids don’t go around telling anyone that “they’ve got worms!!” 🙂 LOL!

I did something like this in ’06 for my best friend for Prom. I have a picture if you want to see how we made it a little more updo
Awesome! Yes, we love seeing pictures! Feel free to share them on our Facebook page, e-mail them to me or send them in a message on FB!