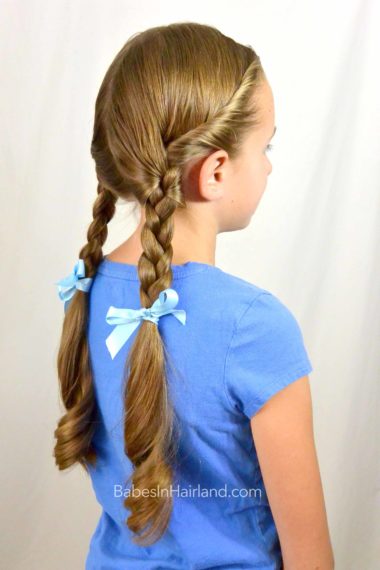
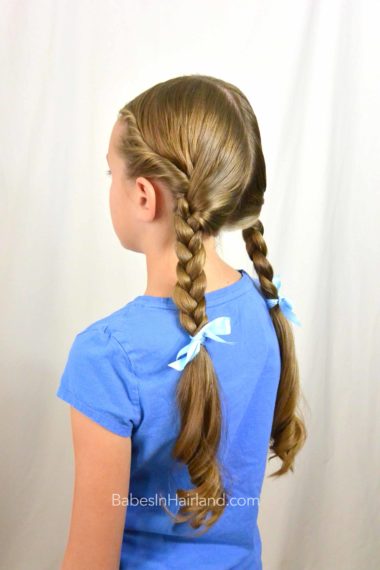
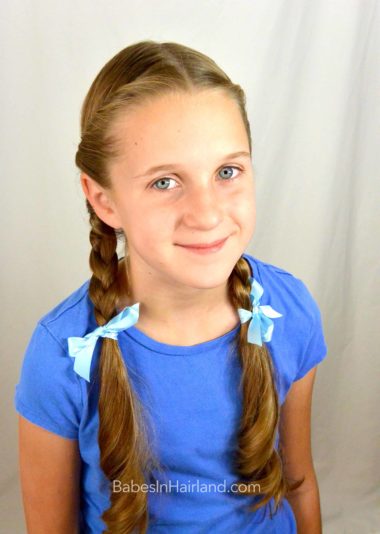
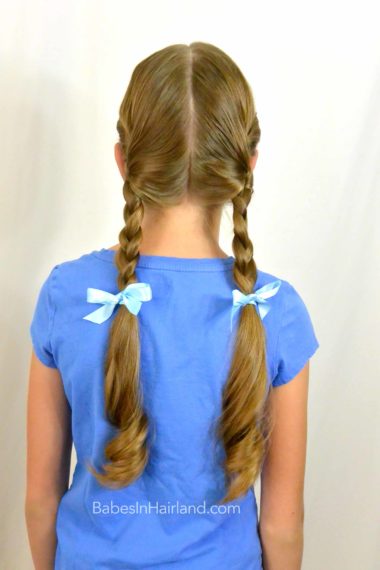
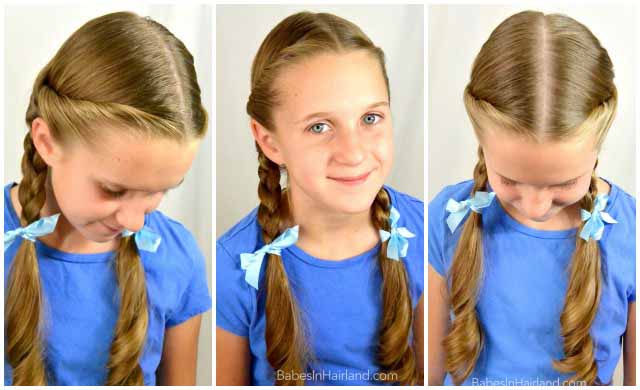
We’ve got another cute tutorial for those of you that are thinking about being Dorothy from The Wizard of Oz for Halloween. We did this as a pic-torial on Bug clear back in 2008 but thought we’d try again and shoot a video this time.
I’ve seen so many girls be Dorothy for Halloween and they simply have 2 regular braids, and while it looks cute, there is just a little more to the style than plain braids. It doesn’t take a whole lot more effort to create the actual look, and that’s what we’ll show you in our video today.
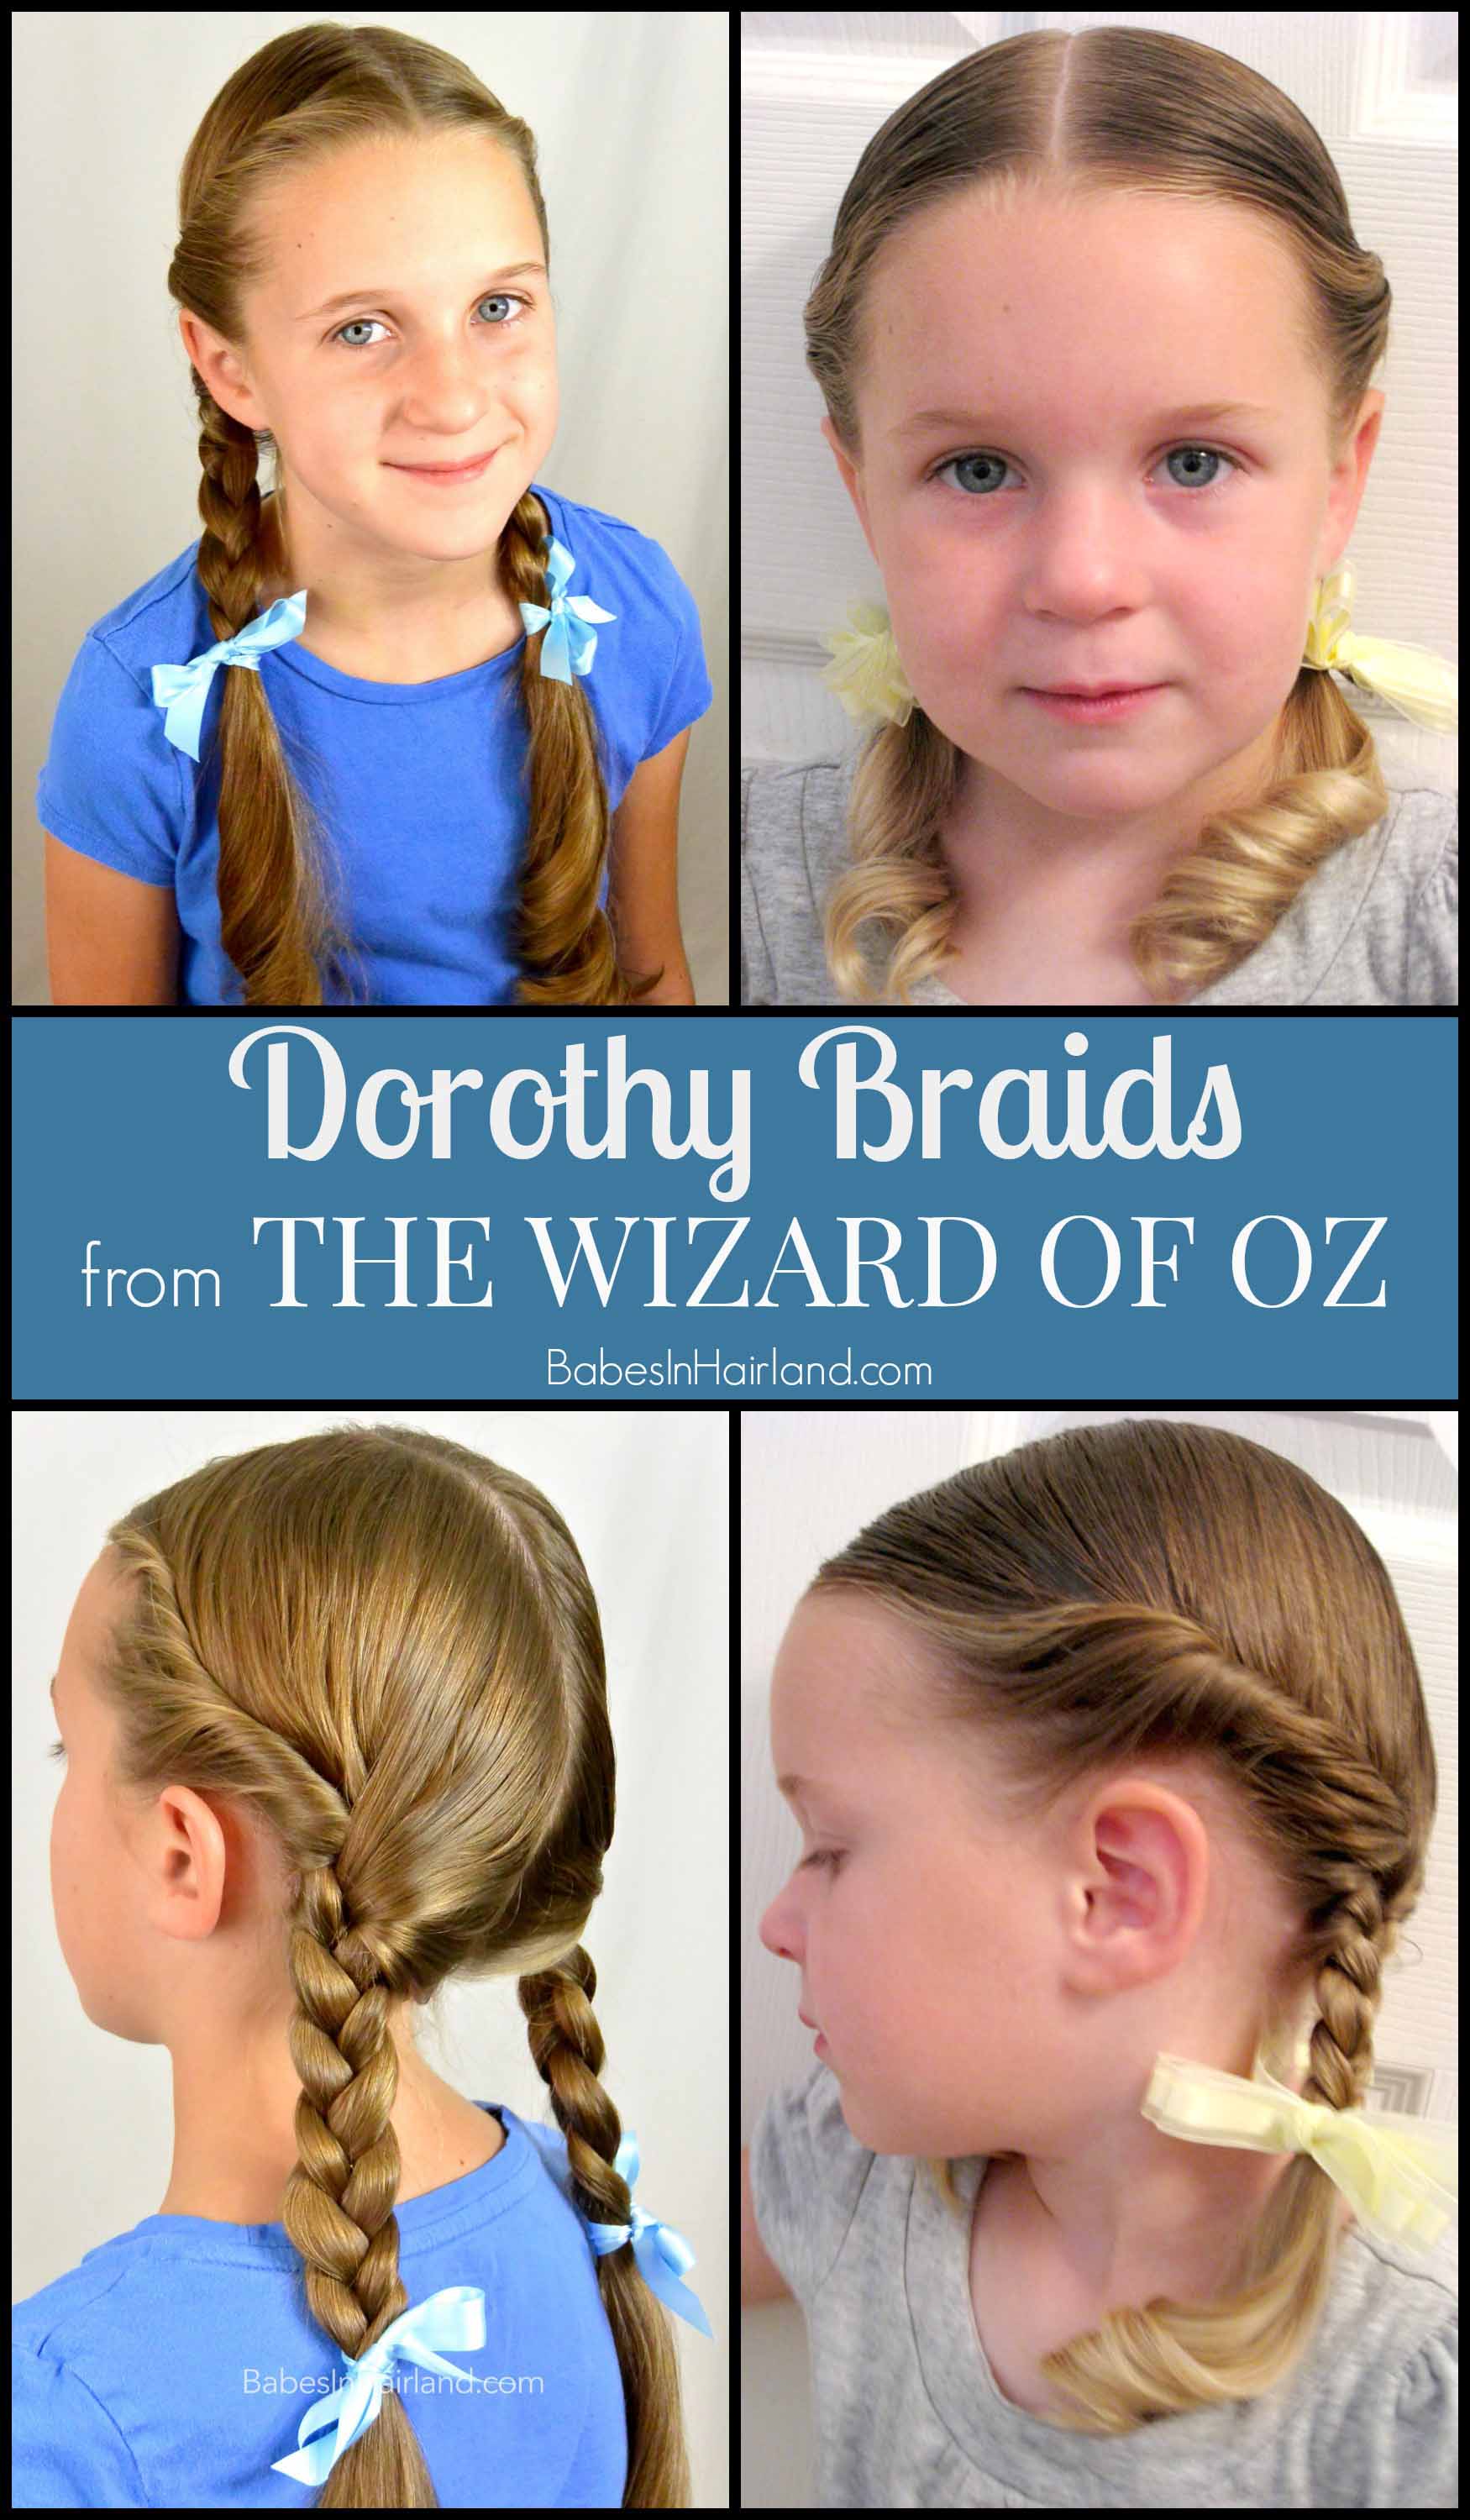
Step 1 – Part hair down the middle from forehead to nape of the neck
Step 2 – On the right side, starting at the center part, twist the hair backward along the face
Step 3 – Twist hair along the face until you are just past the ear
Step 4 – Gather remaining hair on the right side and divide in half
Step 5 – Cross the twist over the first section of hair so it becomes part of the braid
Step 6 – Create a regular 3 strand braid being careful your twist doesn’t come undone
Step 7 – Braid about half way down and secure the end with an elastic
Step 8 – Curl the ends of the braid
Step 9 – Tie a bow with some ribbon to hide the elastic
Step 10 – Repeat on the left side
FINISHED!
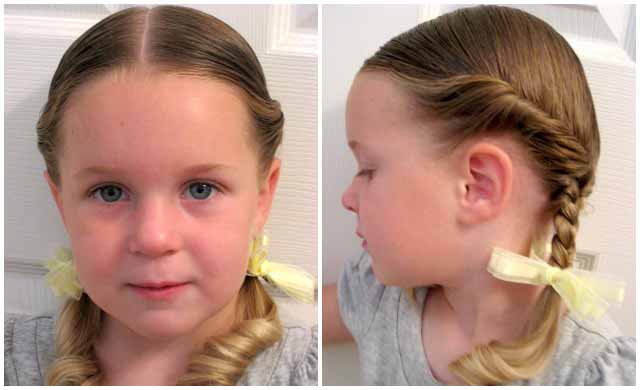
If you’d prefer to check out our step-by-step “pic-toral” of our Dorothy Gale Braids click the picture below. All that’s missing is her Dorothy costume, Toto in a Basket and the Ruby Slippers
!
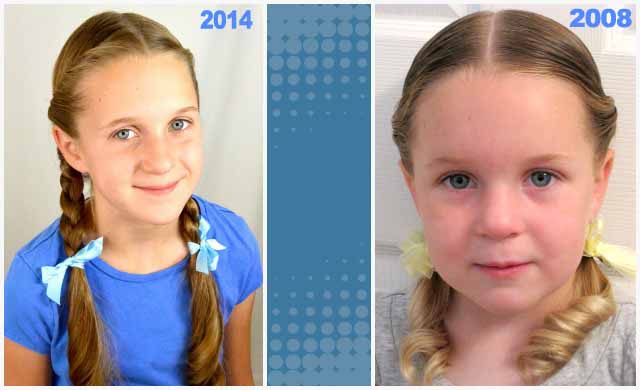
I just can’t get over how time flies — She still looks pretty much the same, don’t you think?!
 What are you planning on being for Halloween this year? Be sure to check out all our other Halloween Hairstyles for fun styles before Halloween as well as ones for the big day!
