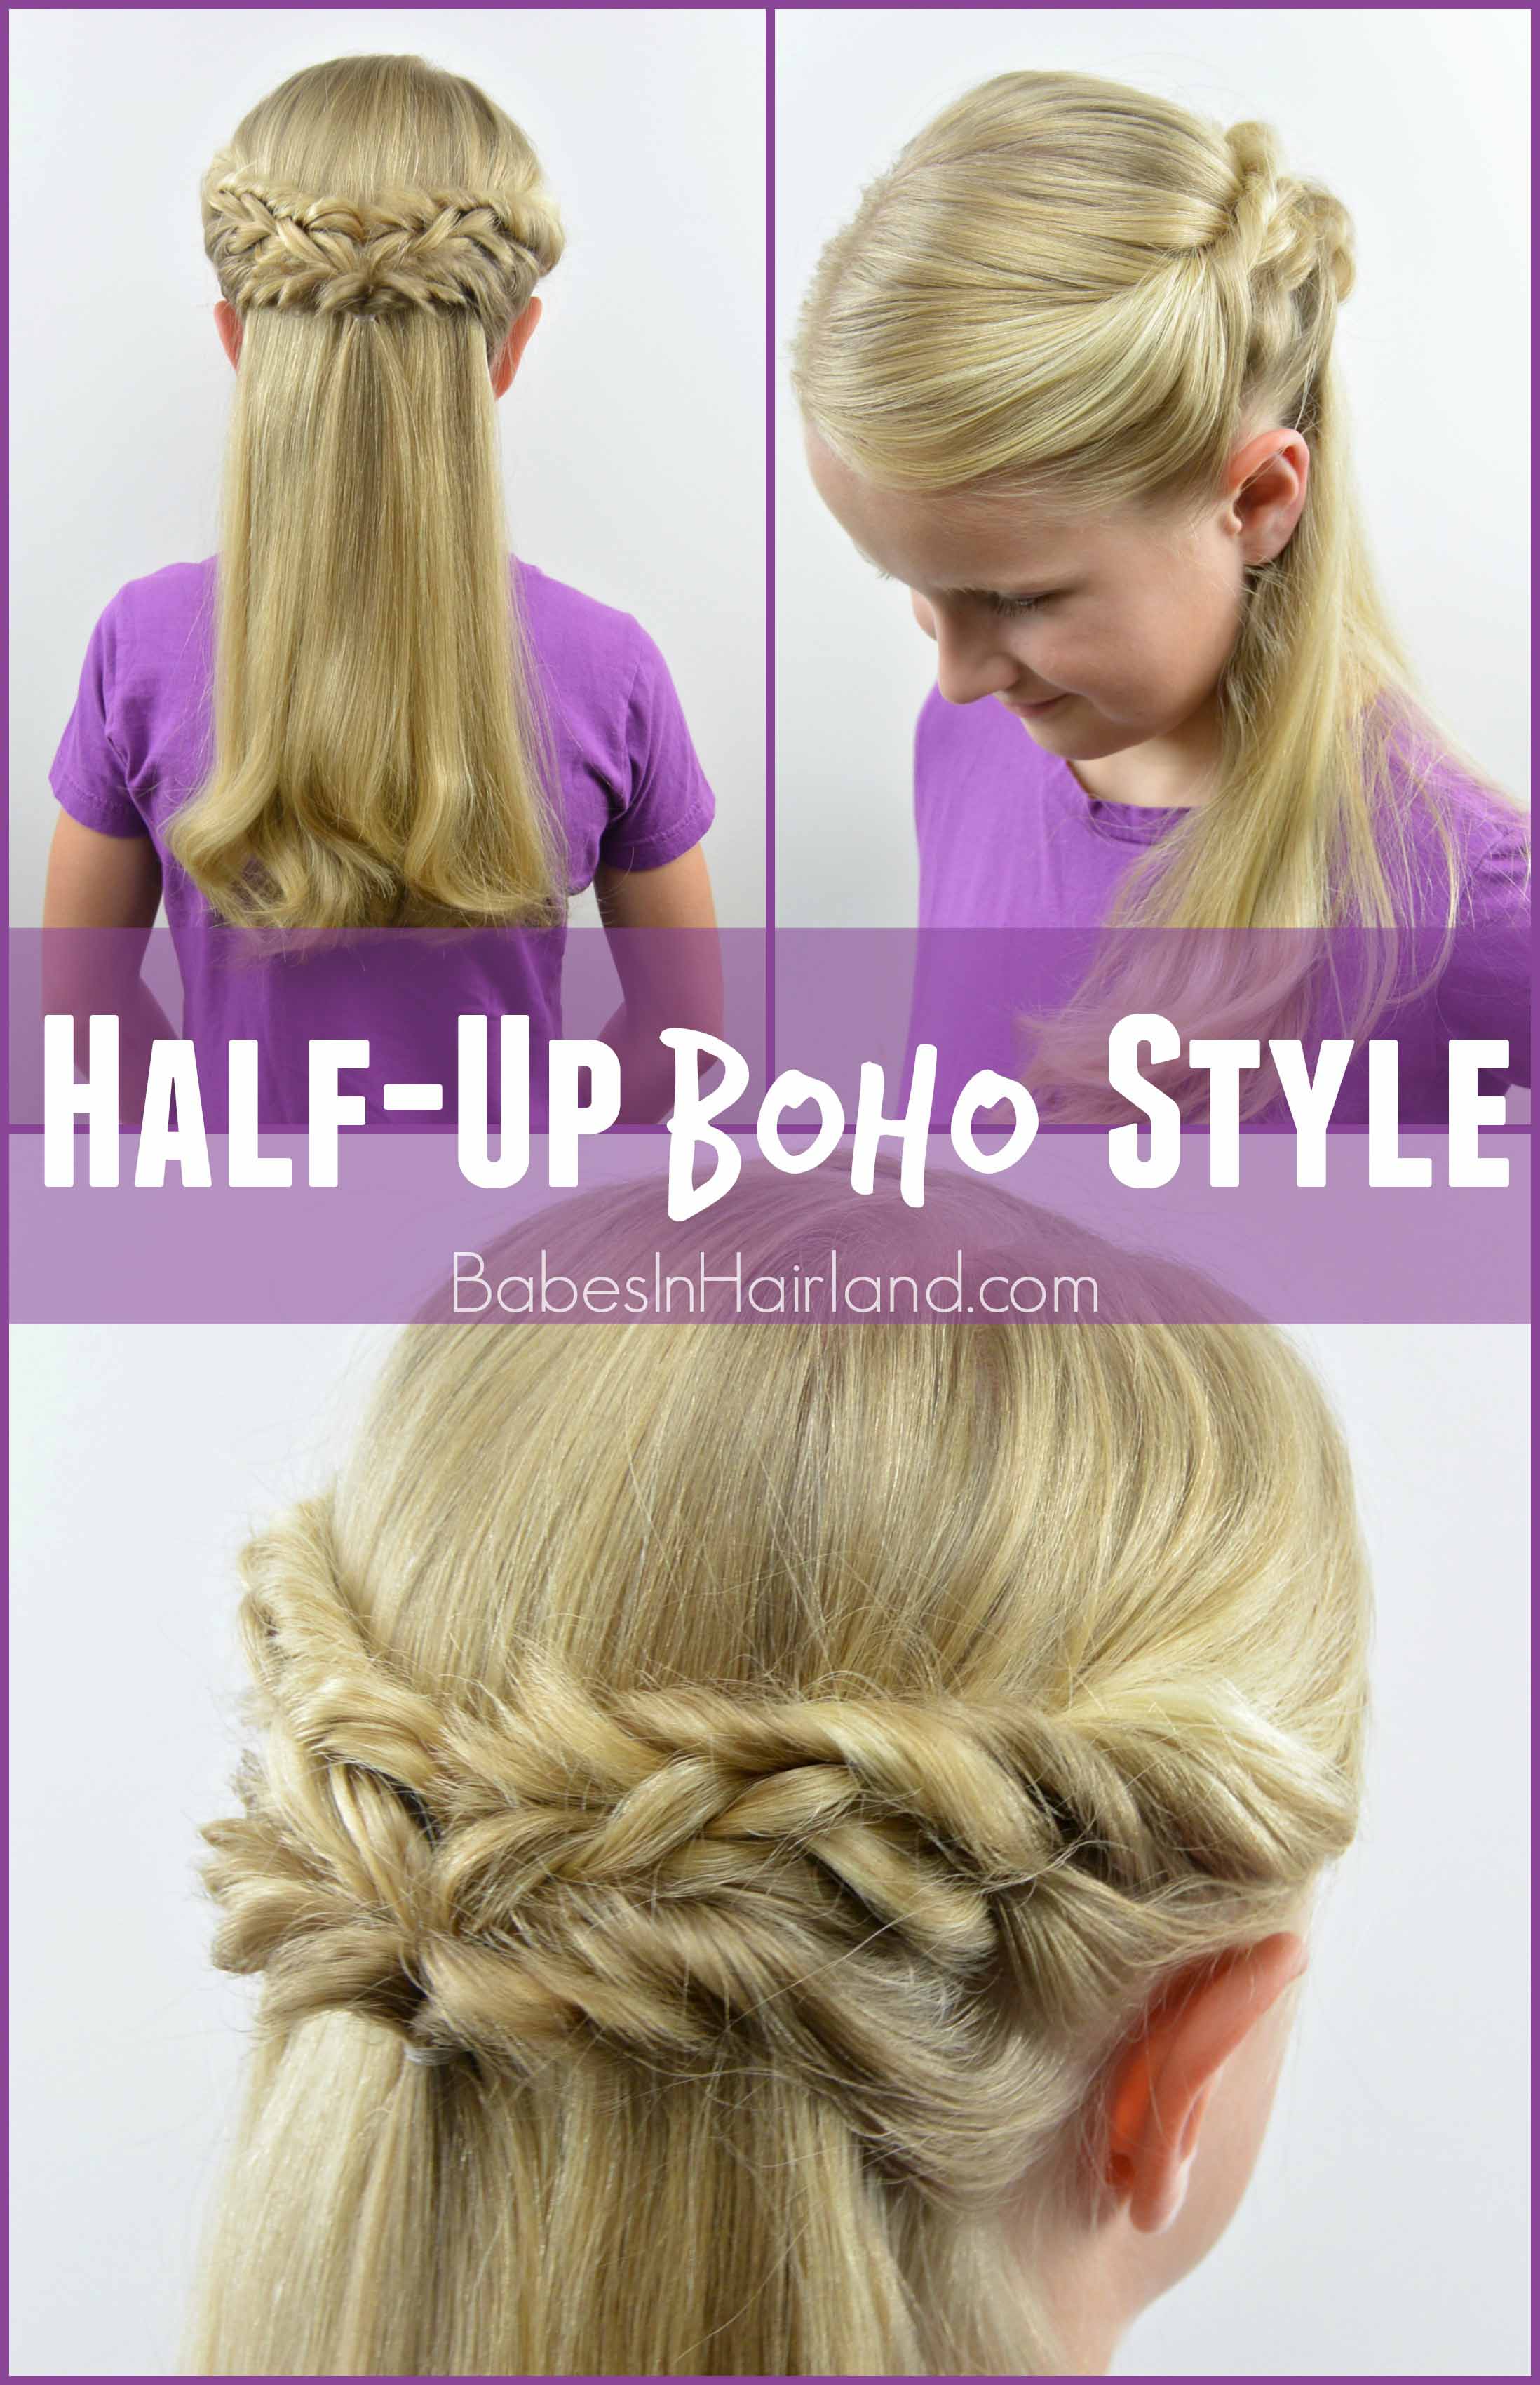
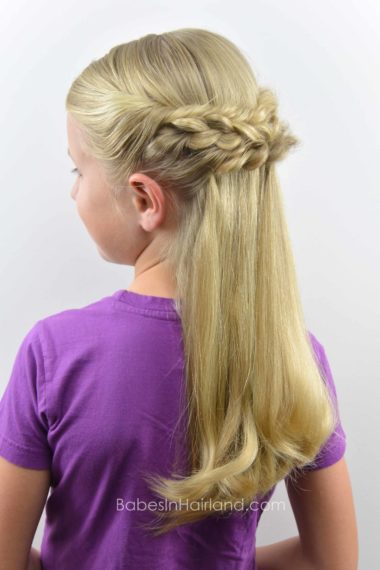
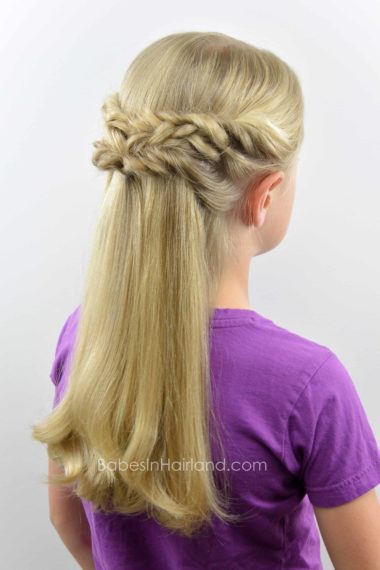
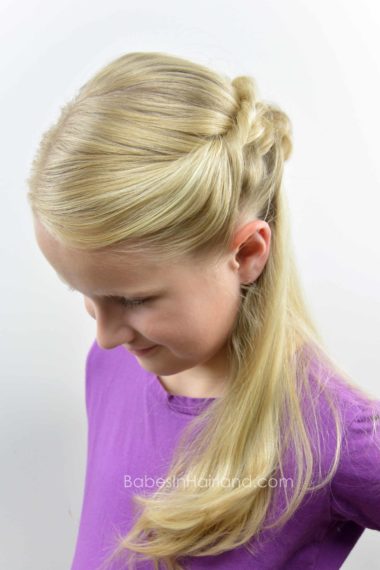
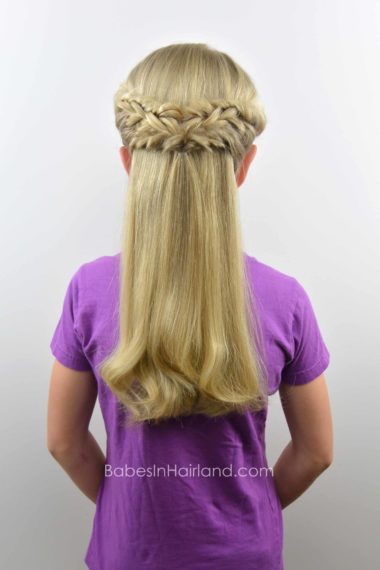
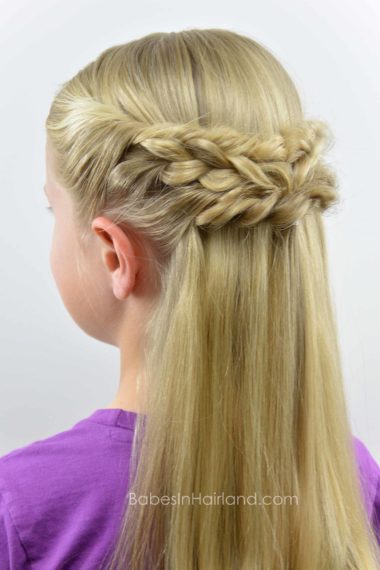
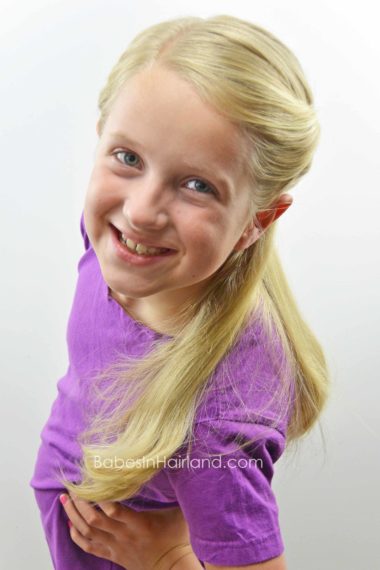
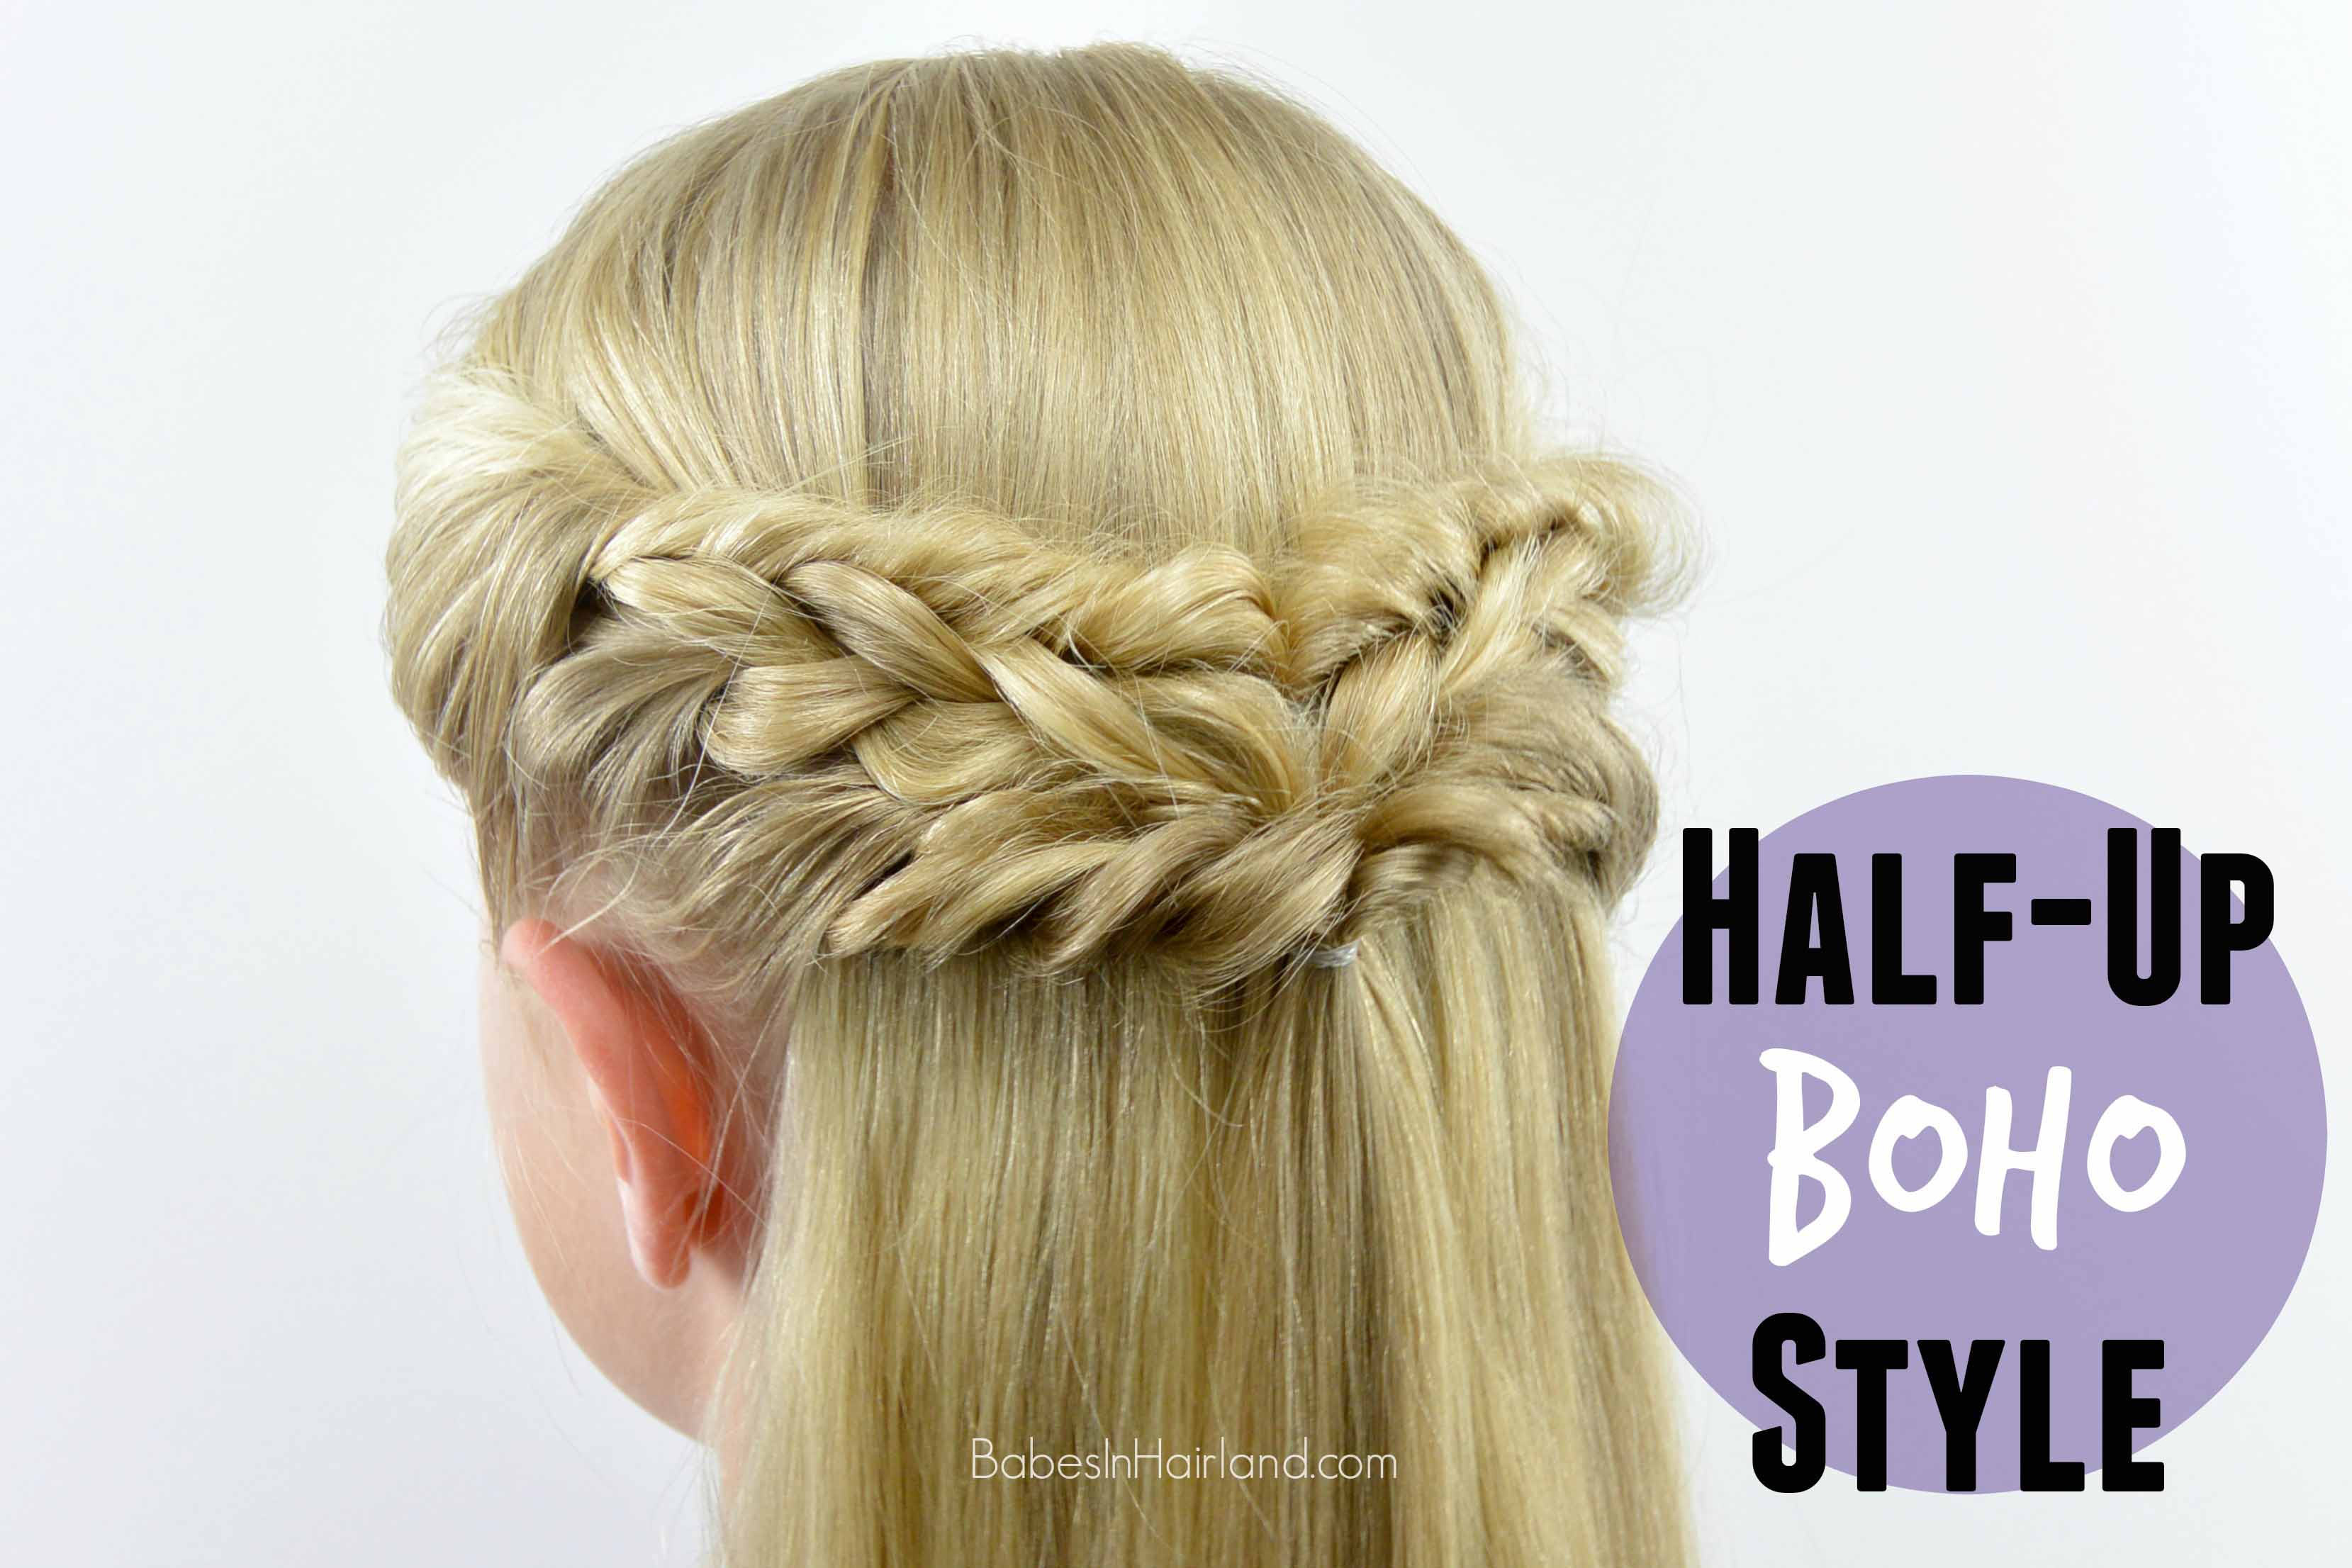
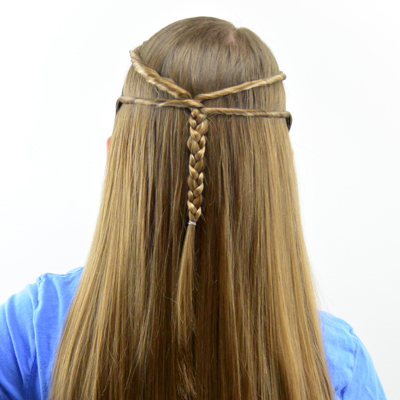
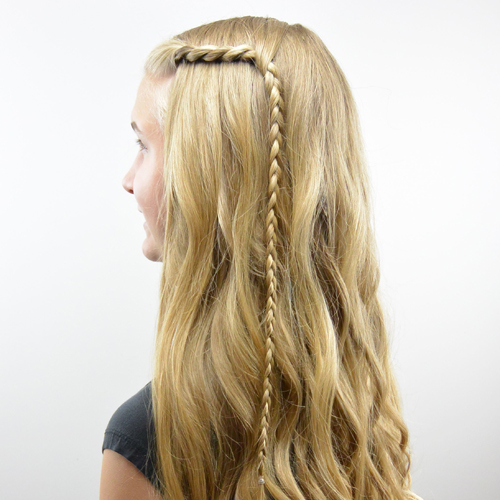
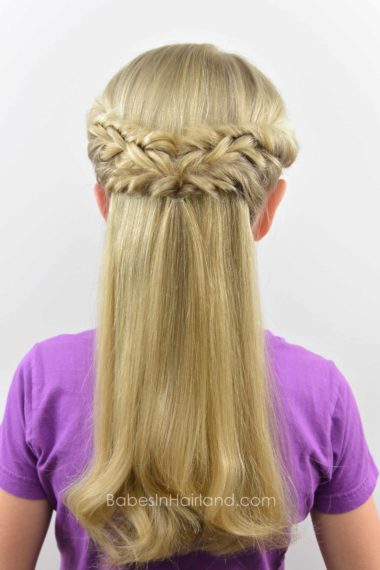
I love this style we’re sharing today because it has a bit of a messy look, but yet is still “neat” and tidy. You can make it a bit “tidier” for a younger girl, or really mess it up and give it a lot of texture for someone older. It is sort of combines 2 hairstyles we did in the past – it’s sort of a cross between our Quick & Easy Back-to-School Style, and then we use a similar technique as we used in our Messy Side Swept Faux-hawk to get the “messy/boho” look for this style. Bee has worn this to both church as well as school, so it can be dressed up or casual depending on what you are wanting to use it for. Maybe we should just call this style “A Pretty Little Mess!“
Watch our video, or follow the step-by-step instructions below. This style really is not not hard, and if you can make a braid and a ponytail, you can do this style!
Step 1 – Part out hair near the face and temple on both sides of the head
Step 2 – Draw those 2 sections of hair back to the middle of the back of the head
Step 3 – Join the sections of hair together with a clear elastic
Our favorites are from Goody. You can get Goody Clear Elastics with 3 different sizes HERE.
Step 4 – Flip the ponytail 3 times
Bring the ponytail up and over the elastic and back down 3 times, so it makes the sections of hair you’ve pulled back twist up fairly snug.
Step 5 – Gently pull on twist to mess it up
Step 6 – Pull on twist until it is as messy as desired. Cinch elastic from time to time so it doesn’t get too loose.
Step 7 – Behind the ears and below the twisted sections, part out small sections of hair on both sides of the head
Step 8 – Make a regular 3 strand braid with each section and join them together in back with a clear elastic below the one in Step 3.
Gently pull on edges of braids to mess them up and loosen them. Cinch the elastic as needed to keep it close to the elastic in Step 3. Make the braid as messy and loose as preferred, but keep it close up underneath the twists so they sort of “blend” together.
Step 9 – Below the hair in step 7, section out another small section of hair on each side of the head
Step 10 – Join these sections of hair with a clear elastic just below the elastic from the braid above
Step 11- Flip the ponytail 2 times
Bring the ponytail up and over the elastic and back down only twice this time. This makes the hair twist, but not so snuggly as the one in Step 4.
Step 12 – Gently pull on the twist to mess it up and loosen it
Pull as much on the twist as you wish to mess it up until it is to your liking. Cinch the elastic as needed to help it cover the one from the braids. Mess the twist up enough that it touches the braid so you almost can’t tell where it starts or stops. It should all look like it’s one “pretty mess!”
**Note – this is one of those styles that you might have issues removing the elastics due to the “cinching” up and messiness that will surround the elastics. If you missed it, be sure to check out our “hair hack” post where we share 5 Tools that Easily Remove Elastics.
FINISHED!
See? All 3 “layers” just sort of melt together, so you can’t quite tell there is a braid in there, but yet it seems more than a twist! Just what we wanted!
 Let us know if you try this one! You can tag us on Instagram @babesinhairlandblog or with either #babesinhairland or #babesinhairlandblog so we can see your recreations! If you don’t follow us yet – check us out on Instagram HERE. Use the social media buttons below to share this as well or pin it for later!!
