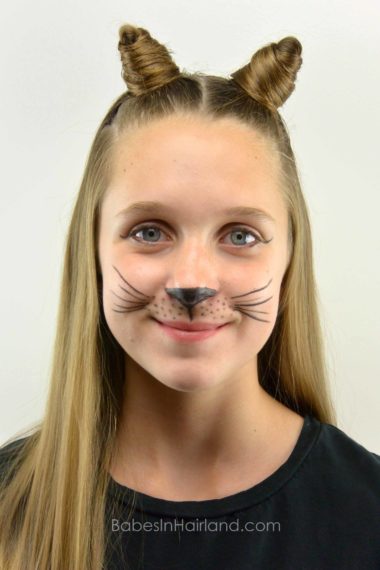
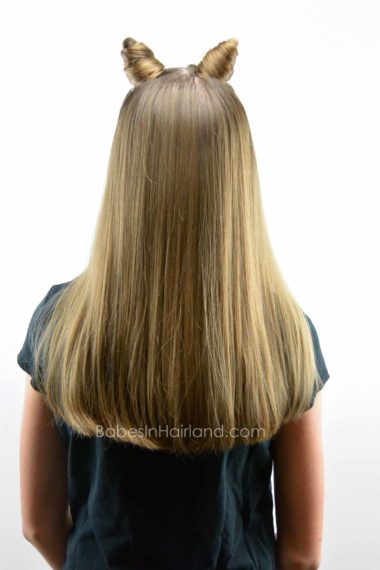
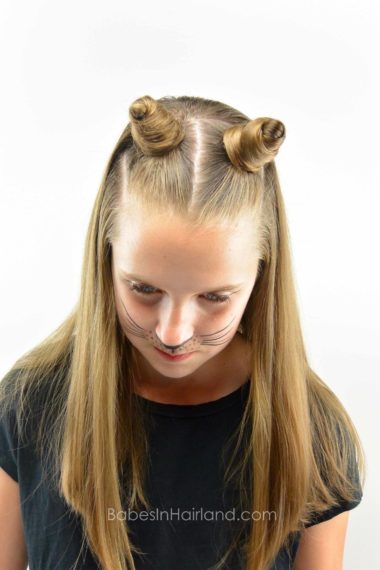
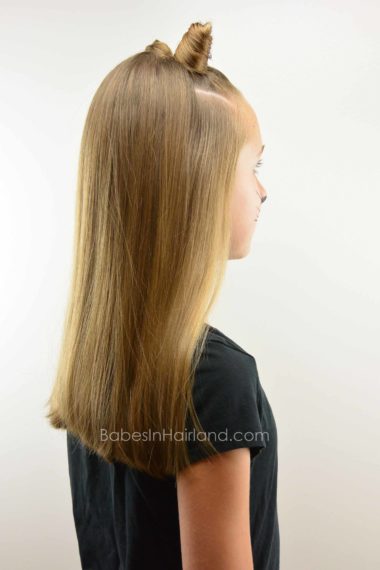
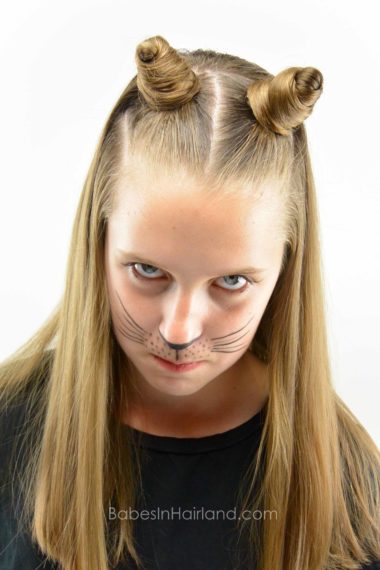
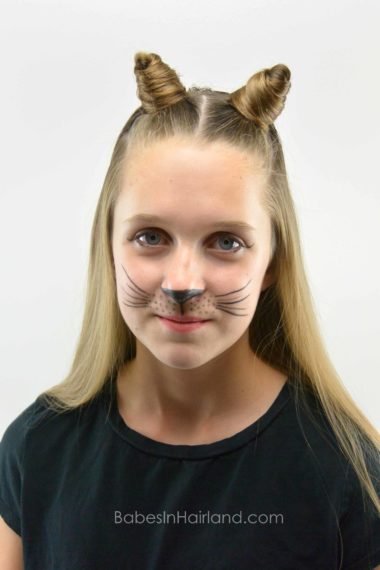
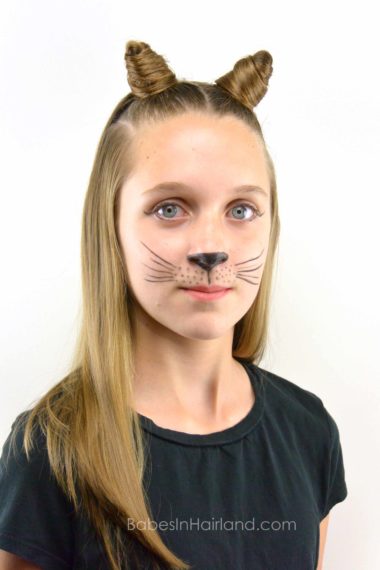
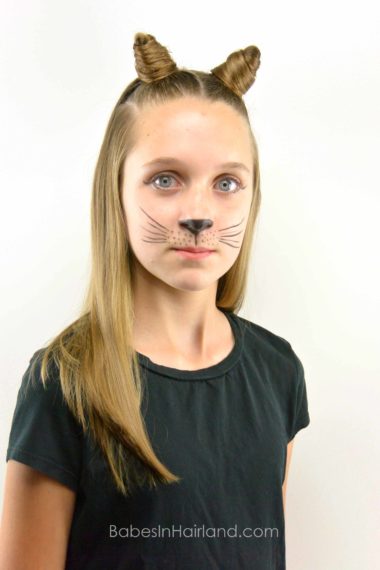
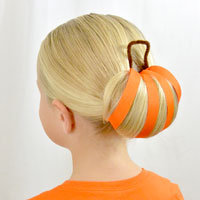
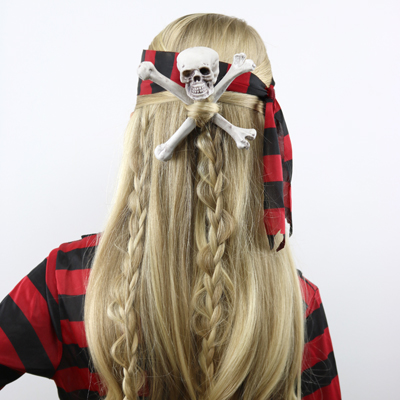
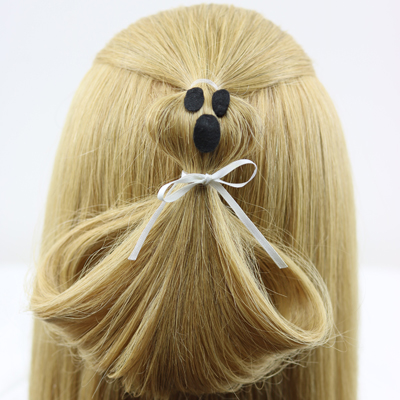
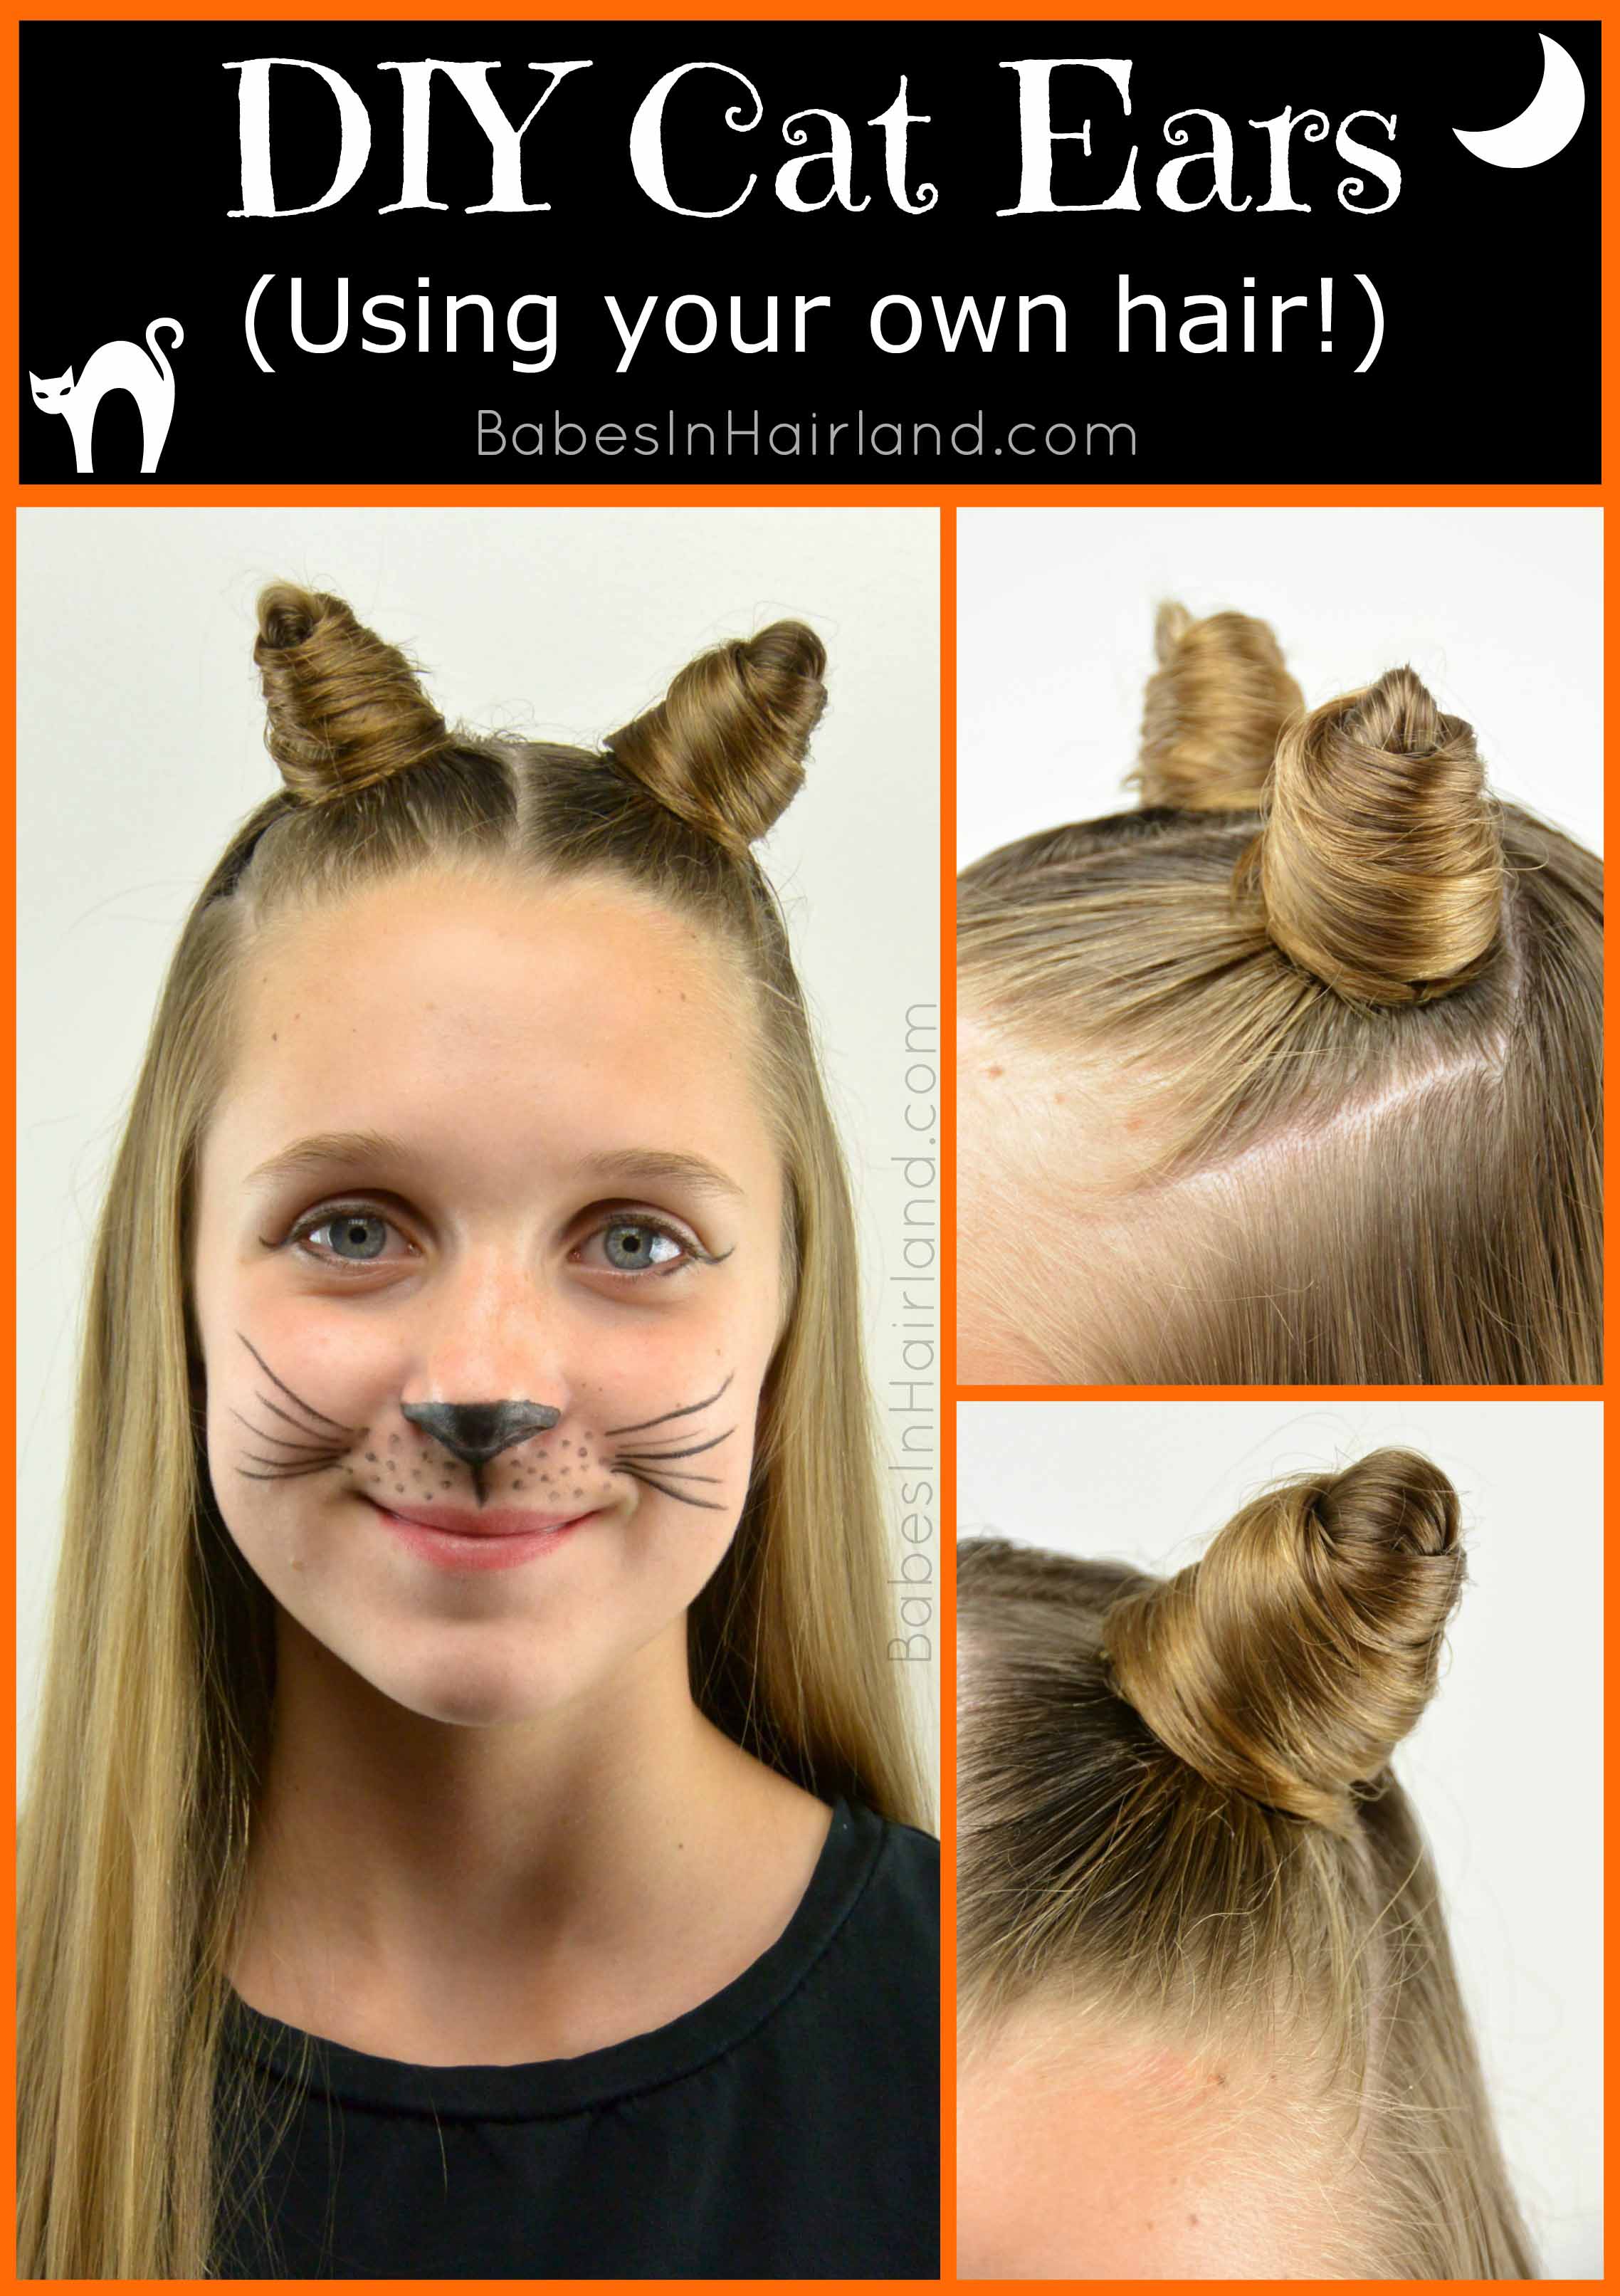
 So this style, as silly & crazy as it is, was so fun to create, and Bug agreed it was probably one of her favorites tutorials we’ve done for Halloween. Clear back in 2008 when we first started blogging, we made cat ears on Bug using pipe cleaner and we braided her hair around it, then bent it into the shape we wanted. Our cat ears w/pipe cleaner can be found HERE. Sometimes it’s so fun to see the comparison after all these years! 😉
I’m seeing Halloween hairstyles popping up all over the place, and for some reason I have the hardest time shifting my thoughts to the upcoming holidays! We’ve got so much going on here at our house these days, I’m in denial the holidays are already upon us!
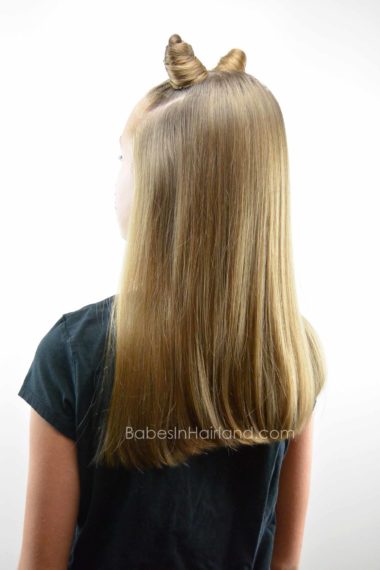
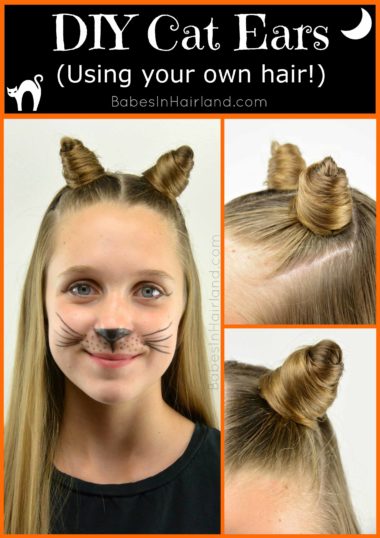
This style doesn’t require pipe cleaner, just a few small bobby pins and some ponytail holders. It worked well with her shorter hair too. These also could be considered “devil horns” but since I’m not one to like that kind of stuff, we stuck with the cute cat ears idea!
Step 1 – Part the hair from the middle of the forehead back to the crown
Step 2 – Make another part running parallel to that part back from the temple to the crown so you have a long rectangular section parted out
Step 3 – With a ponytail holder create a high ponytail
Step 4 – On the last wrap of the ponytail holder, don’t pull the hair all the way through the ponytail holder so it forms a loop
Step 5 – Mist the hair with water or with hairspray to get hair to “form” easier
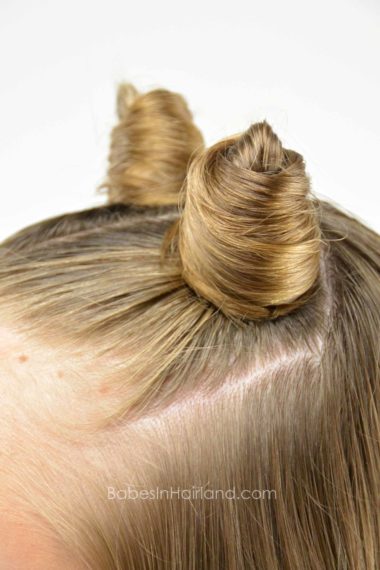
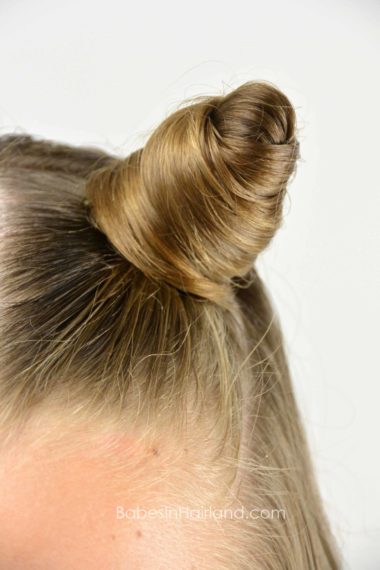
Step 6 – Wrap the hair in counter-clockwise direction around the base of the ponytail
You can twist the hair a bit and then begin wrapping, or just simply wrap the hair so it is more flat as you wrap. I did it both ways the couple times we did this and either works fine. I preferred the flat wrapped hair look a bit better because it made the ear look “smoother.”
Step 7 – Continue wrapping the hair up to almost cover the tip of the loop
Step 8 – Gradually work your way up and back down the “ear” until you almost run out of hair
Step 9 – Wrap the ends of the hair around the very bottom of the “ear” so you can tuck them in and hide them
Step 10 – Secure hidden ends under the “ear” with small bobby pins
If you use big bobby pins they will most likely stick out the sides of the cat ear, so the little ones work best. If you need small bobby pins, you can buy some HERE.
Step 11 – Spray extremely well with hair spray to ensure things stay in place
Step 12- If you want a more pointed look to the cat ear, simply pull on a little bit of the loop that sticks out of the top of the wrapped hair.
Step 13 – Repeat all the above steps on the opposite side of the head.
FINISHED!
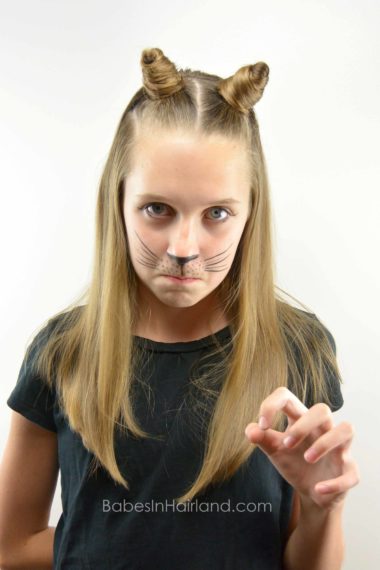
She was trying to play the part & claw at me as I took pictures!
She wanted to also look a little menacing and not as cute for this one – so here you go!
Let us know what you think! Do you like this one!? You could even use it for a crazy hair day at school too! If you’re looking for other Halloween tutorials – look no further! We have many Halloween hairstyles right HERE!

