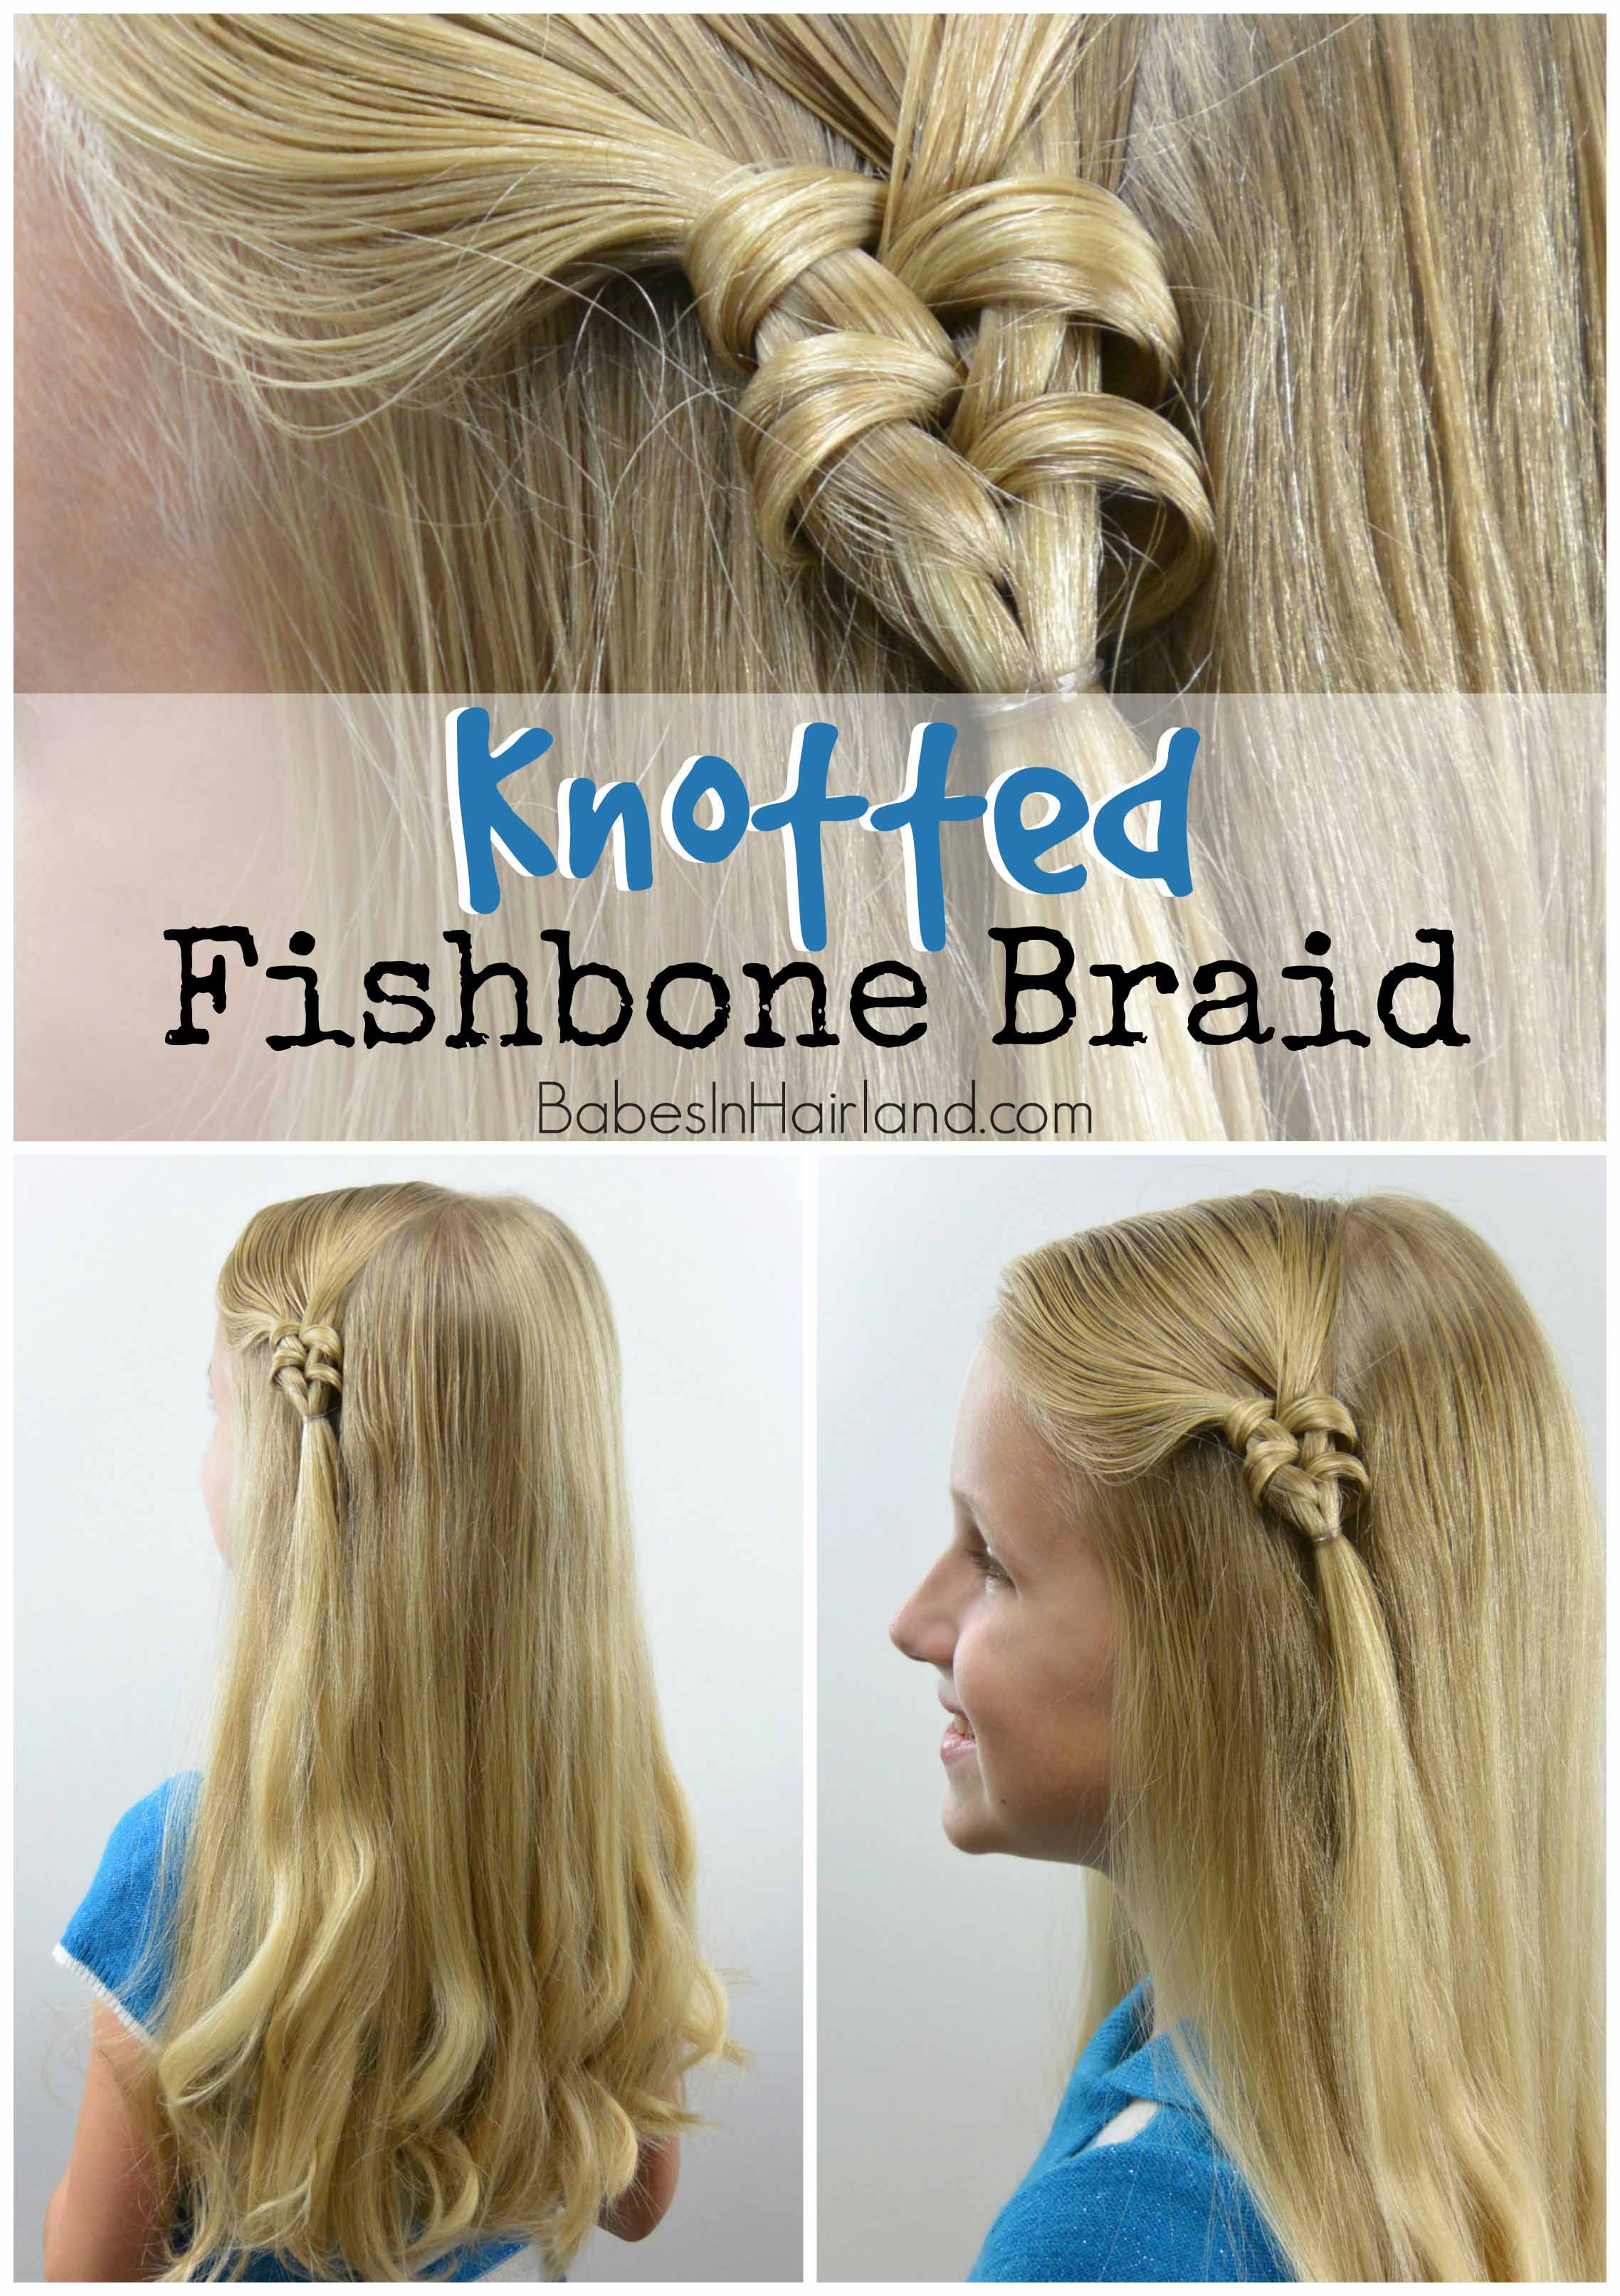
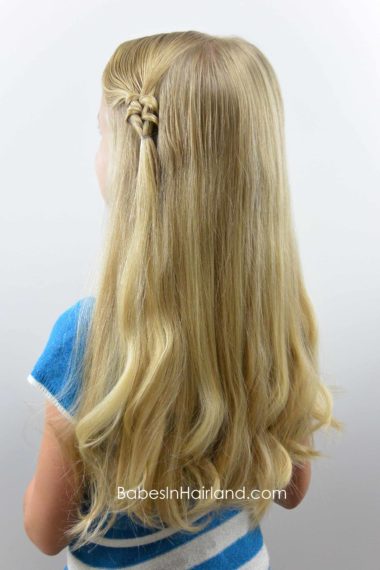
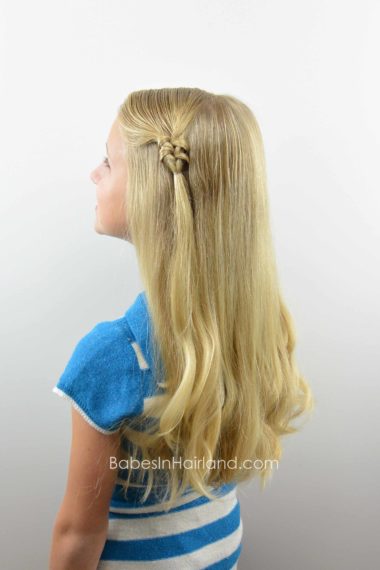
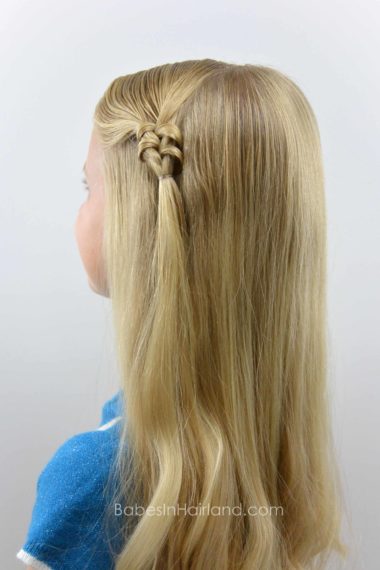
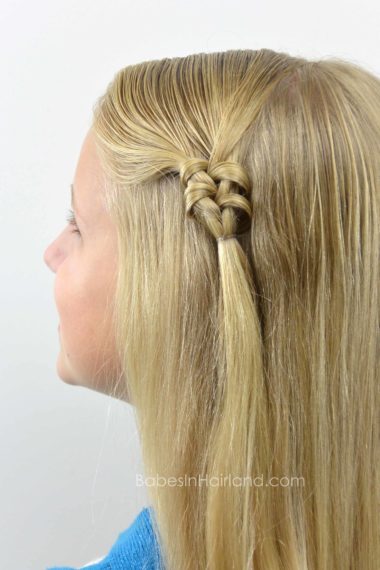
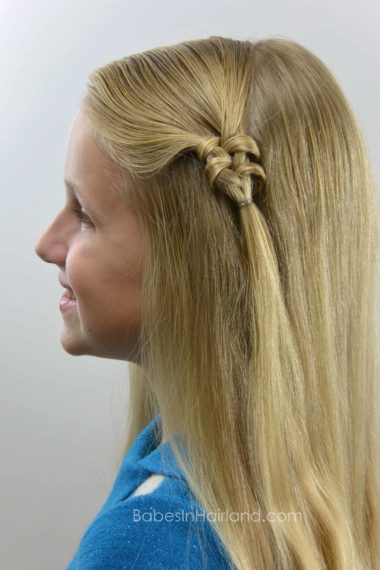
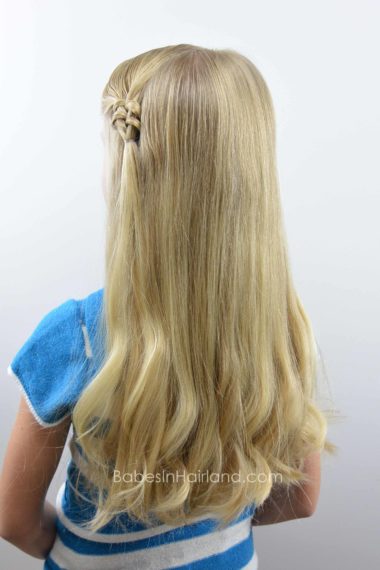
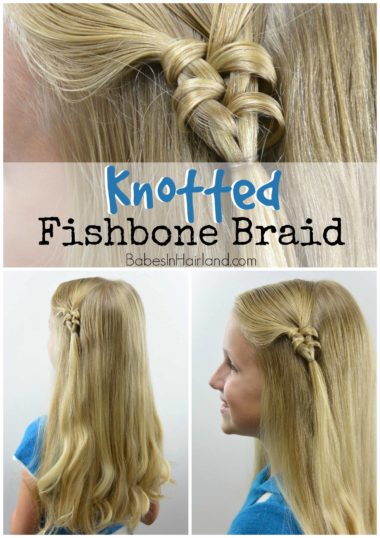
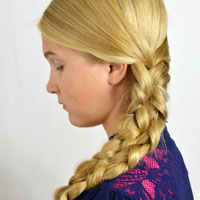
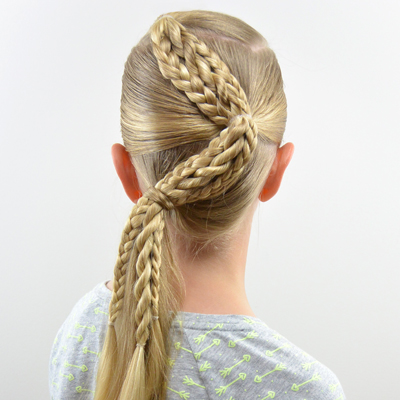
Today we’re excited to share with you this fun new technique and quick hairstyle. We actually first shared it in the hair class we taught a couple weeks ago at Pinner’s Conference. Today we’re just sharing the basic technique to show how it’s done. However, we’ve got some upcoming styles we’ll be sharing that take the technique a little further, so stay-tuned! The way you do this resembles how you create a fishbone braid to some extent, hence the name! This could also be called a looped fishbone braid, but because we like knots, we’ll go with Knotted Fishbone braid!
Step 1 – Divide out a section of hair near the left temple.
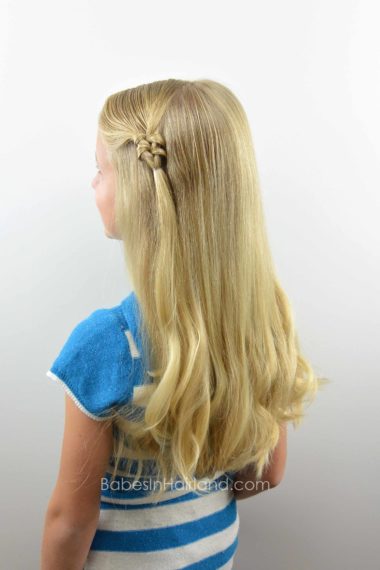
We parted an off-center part on the right side of the head, then branched off that down the left side of the head and near the left temple. You can use more or less hair for this if you desire. We just wanted a simple style to keep the hair out of her face, while leaving the remainder down in back.
Step 2 – Divide hair in half so you have 2 even sections.
Step 3 – Like you would in a fishbone braid, draw a small amount of hair from the far right side of the right section of hair. Bring it over to the left section of hair.
Step 4 – Do not add it to the left side though. Bring that small amount of hair from the right side, under and then up & over the top of the hair on the left side.
Step 5 – There should be a “hole” in between the 2 sections of hair now. With fingers from your right hand, pull this small section of hair through the hole to create a “knot” or loop around the left section of hair.
Step 6 – Add those ends back over to the right section of hair again.
Step 7 – Next take a small amount of hair from the far left side of the left section of hair and pass it over to the right section of hair.
Step 8 – Pass it under and then up & over the top of the hair on the right side.
Step 9 – With the fingers from your left hand, pull this small amount of hair through that center “hole” drawing the small amount of hair back to the left side.
Step 10 – Repeat steps 3-6 to make another knot/loop on the right side, and then repeat Steps 7-9 to create another knot/loop on the left side.
Step 11- Secure all the hair together just below with a clear elastic.
Step 12- Optional – curl remaining hair in back.
FINISHED!
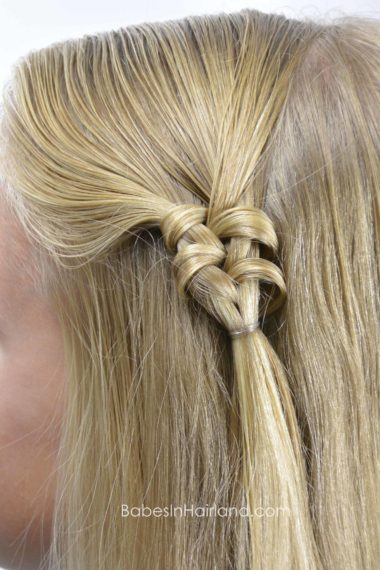
Here’s a nice up-close shot of the knotted look. You could repeat this a few more times before securing with an elastic, but doing this just a few times adds a cute and unique look.
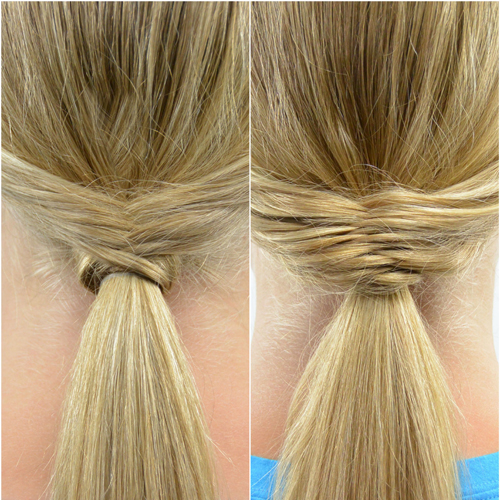
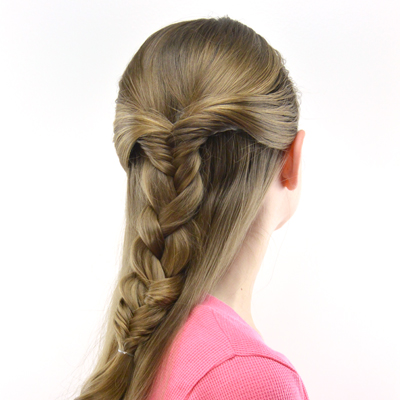
COMMENT below & let us know what you think of this fun technique. Don’t forget to check out all of our fishbone/fishtail braid styles HERE. Or if you still are trying to master the basic fishbone braid, watch our “How to create a Fishbone Braid video HERE. Fishbone braids are so versatile and can be used in casual or elegant styles, and this fun new “twist” to the standard fishbone braid is a fun way to mix things up!
