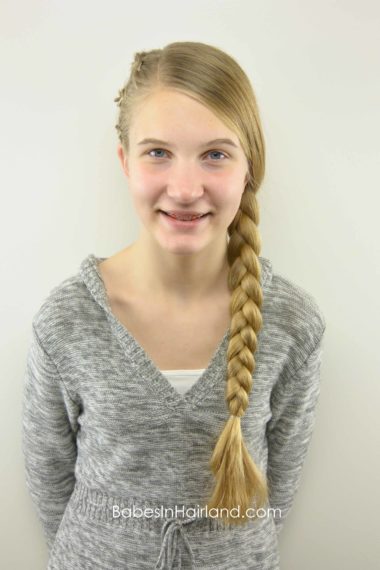
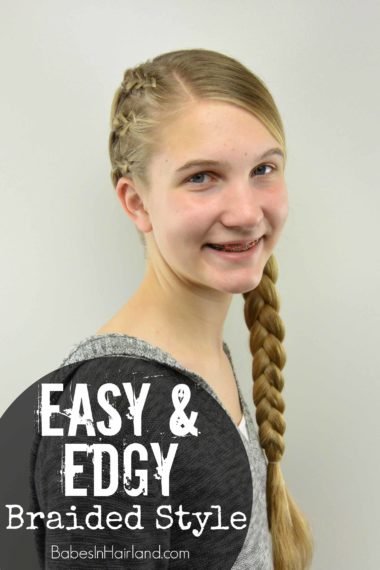
Happy New Year! Crazy that it’s already January, and my kids are back in school once again. Be sure to check out our Look Back at 2015 video from last week. There might be a few styles you missed throughout the year or ones you might want to try again! We hope your holidays were wonderful and are ready for a new tutorial! This one is great for teens and older girls – or anyone wanting a bit more of an “edgy” braided style. This style is inspired by a style I saw on CSI: Cyber several months back on the character “Raven.” She’s probably in her 20’s on the show, & we love how it turned out on my teen. Even better, this is one she can do on herself as well! It’s pretty easy and straight forward, so we hope you like it as much as we do!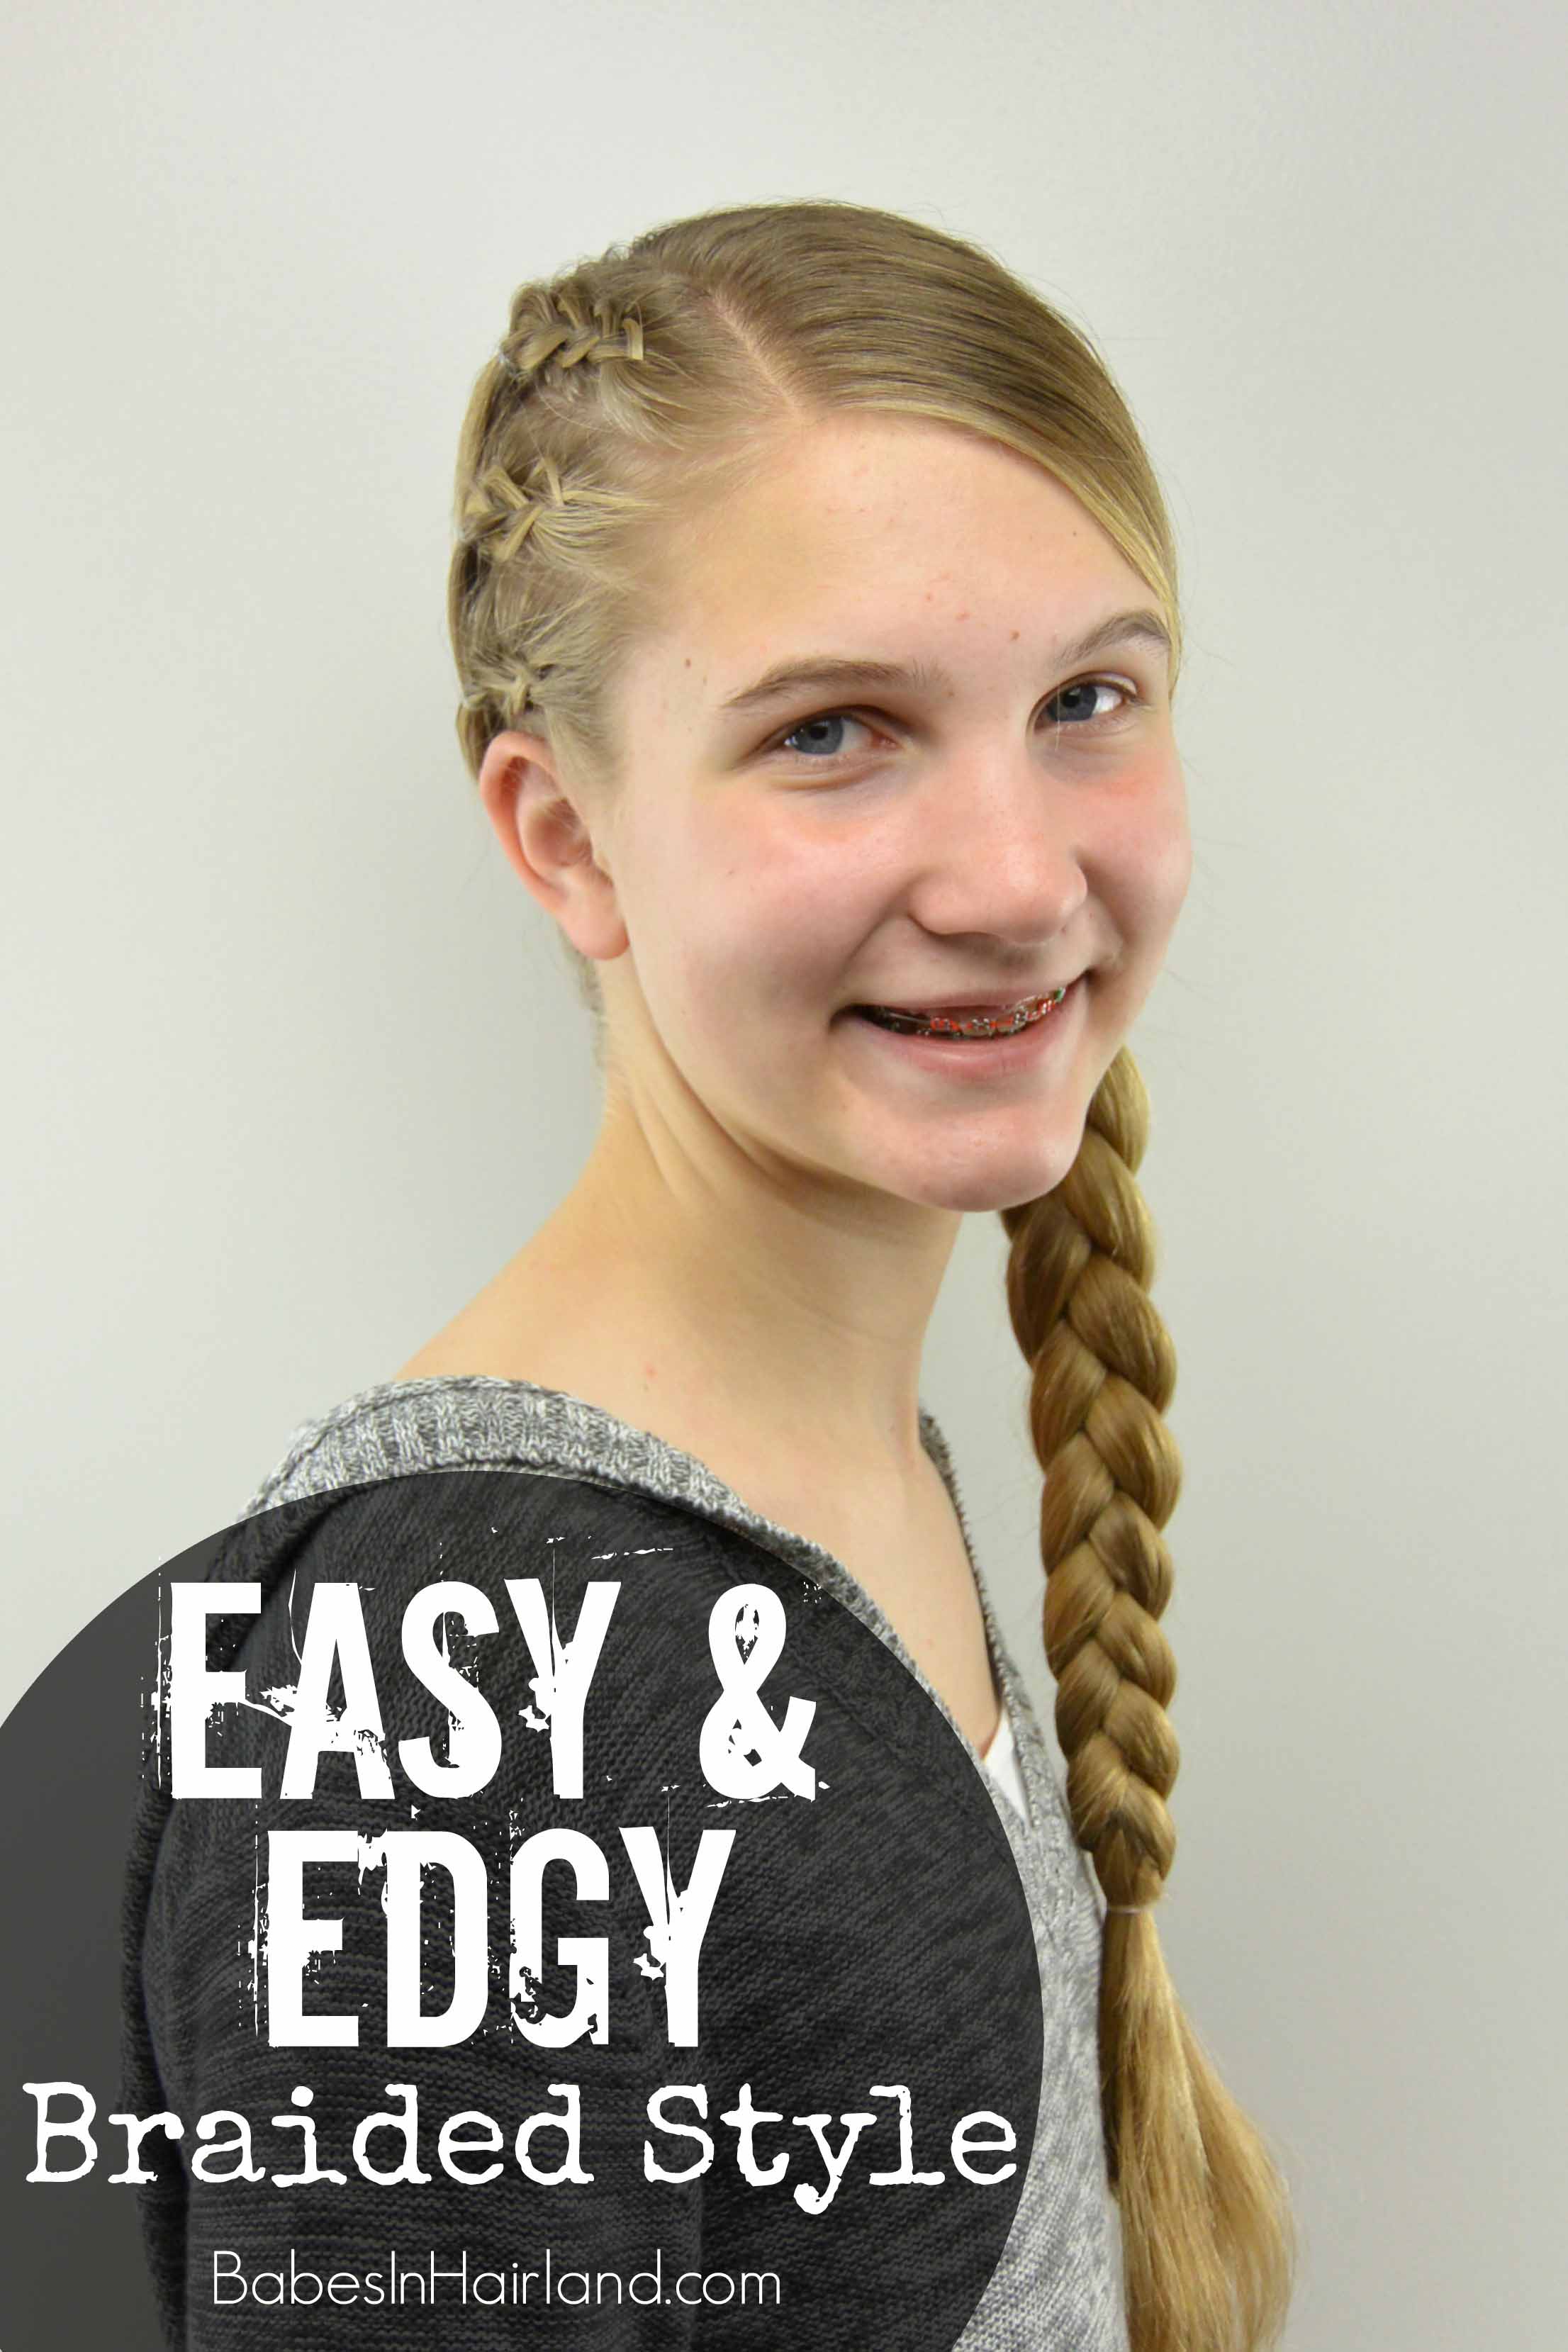
You can watch our quick video or the step-by-step instructions and more pictures are below.
Step 1 – Make an off-center part on the right side of the head
Step 2 – From the crown, part down to the right ear & move remaining hair out of the way
Step 3 – Make a horizontal part about an 1.5 inches above the ear, that goes from the face back to the part from Step 2
Step 4 – With this small amount of hair, create a Dutch French Braid
Remember, a Dutch French braid is done by passing the sections of hair under the middle section of the braid. By passing the outside strands under the middle strand, the braid is “inside out” and will sit on top of the head.
Step 5 – Braid, adding hair to the Dutch braid until you reach the part
Step 6 – Stop braiding & secure the braid with a clear elastic
Step 7 – Make another horizontal part about 1.5 inches above the part in Step 3
Step 8 – With this 2nd section create another Dutch braid
Step 9 – Once you run out of hair to add, secure the braid with another clear elastic
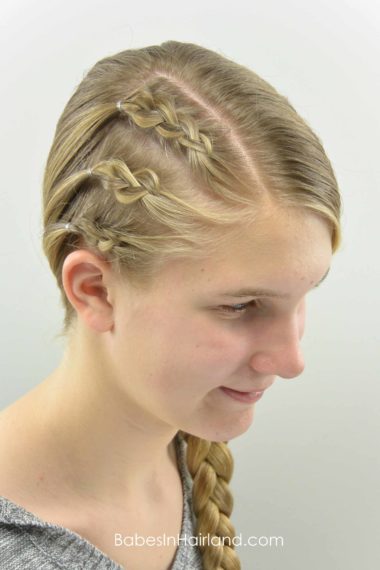
Step 10 – With the remaining hair between your off-center part and the part from Step 7, create a 3rd Dutch braid
Step 11 – Secure it with a clear elastic once you run out of hair to add.
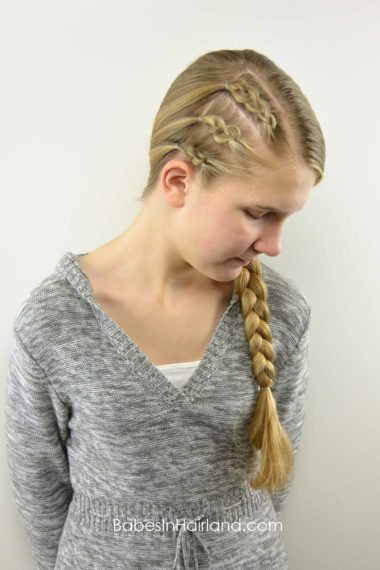
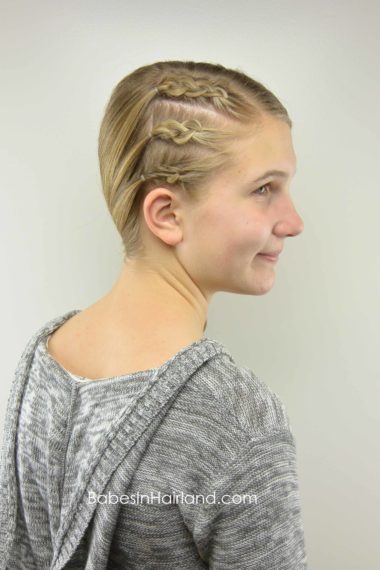
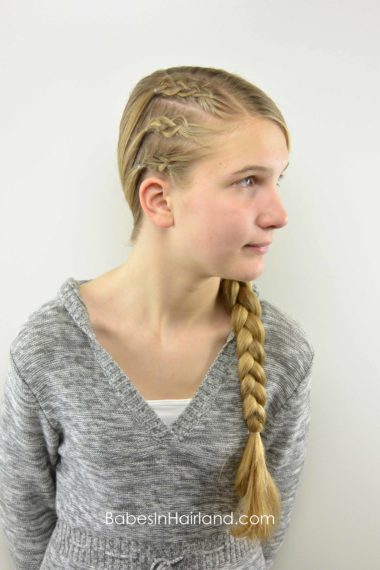
All 3 of your braids should stop at the part that runs from the crown to the ear. It will look like you’ve got “vertical steps” of braids on the right side of your head.
Step 12 – If desired, gently pull on the edges of the braids to make them wider & flatter
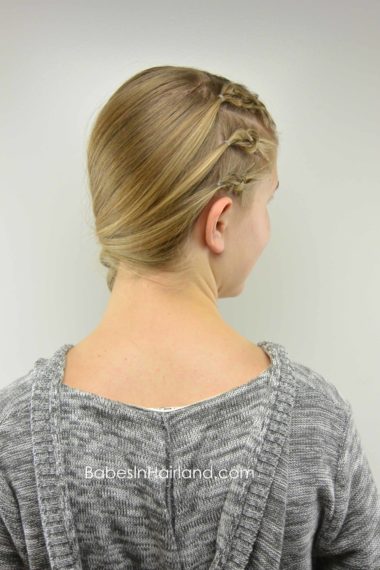
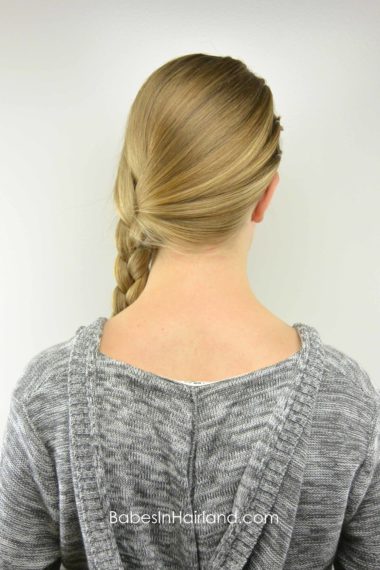
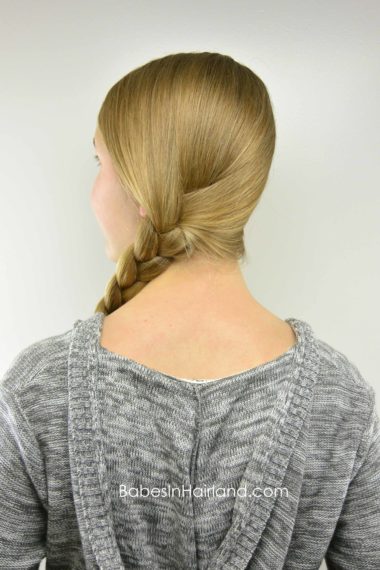
Step 13 – With all remaining hair (including tails from the braids) draw the hair to the left side of the head
Step 14 – Make a regular 3 strand braid over the left ear & secure the end with an elastic
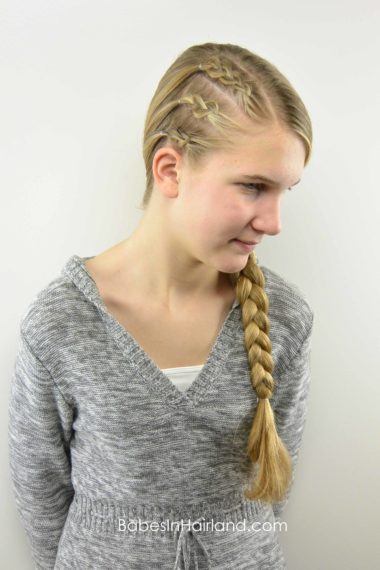
On the CSI: Cyber episode, the character wore this style a few different ways leaving the 3 braids on the right side of the head. She also pulled the hair to the left side & created a low bun over her left ear. She also just wore it down in back with just the 3 braids on the side. You can really finish this style off any way you like, so it’s really versatile which is great!
FINISHED!
So that’s it! Pretty easy & really cool, right?! If you like a bit “edgier” look, be sure to check out these great styles:
Click HERE for our Dutch Braid Messy Bun style.
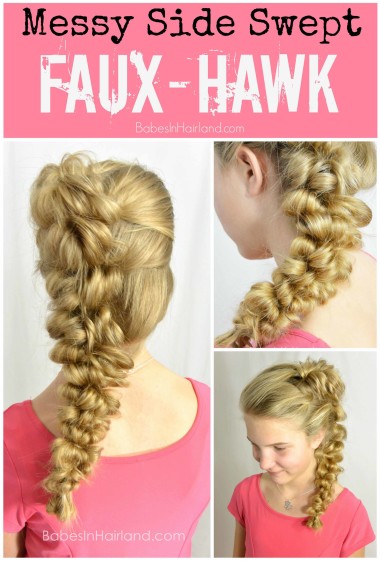
Try our Messy Side Swept Faux-Hawk HERE.
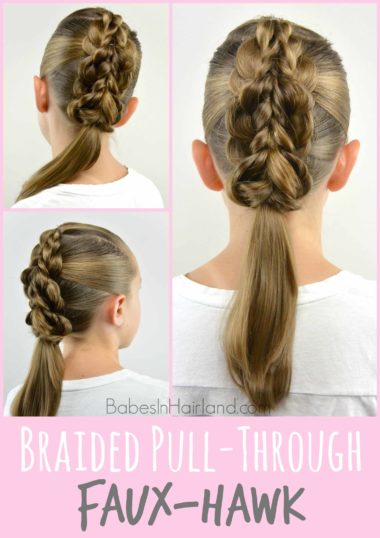
Or try our Braided Pull-Through Faux Hawk HERE.
Be sure to pin this one to refer back to later! And don’t forget to use the buttons below to share this great style!
