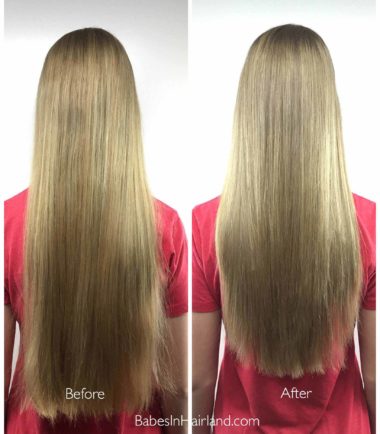
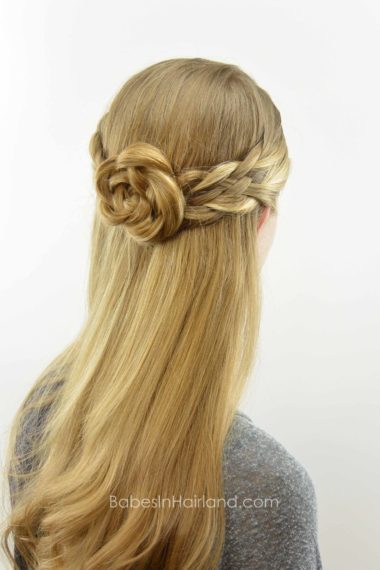
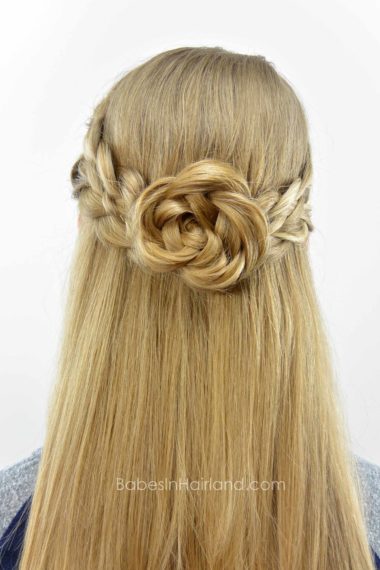
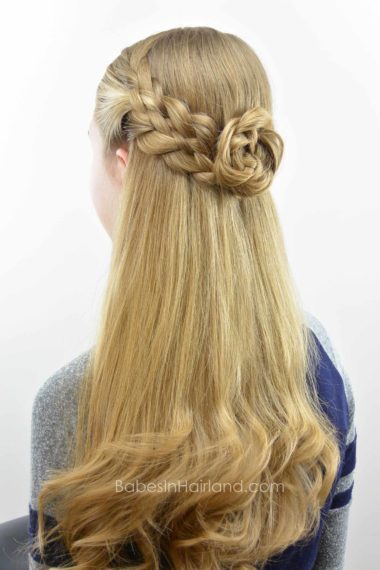
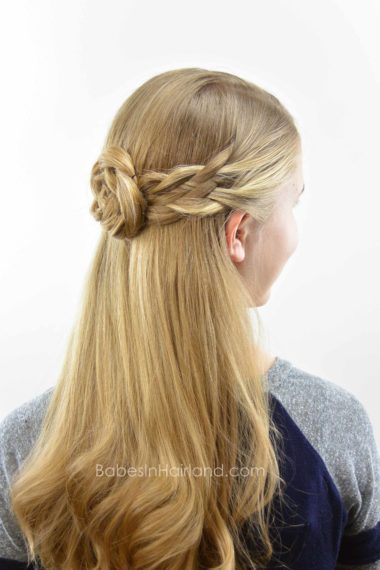
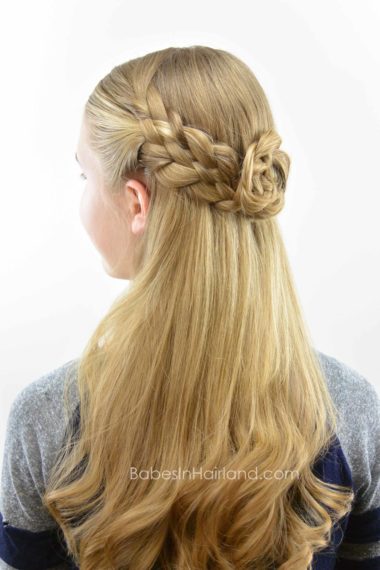
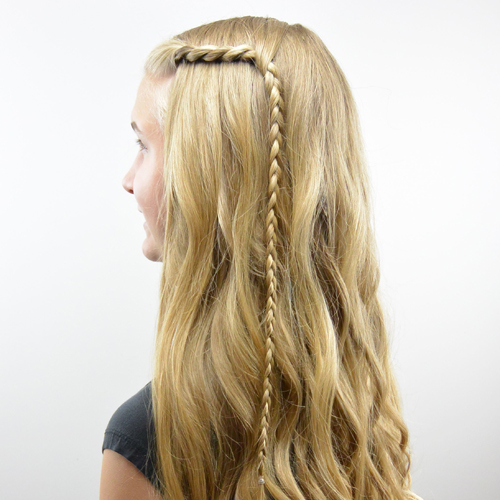
Before I start with our tutorial, in case you didn’t see on Instagram, we recently shared that my oldest daughter had long layers cut into her hair. It may be a bit hard to see in the picture, but it’s made quite a lot of difference in her hair. She was nervous at first to do it (and I admit, so was I) but since the layers are long, it hasn’t hindered things too much. It makes her curls amazing (watch for an upcoming post about that) and she says it’s nice to have her hair not feel as heavy. She also thinks her ponytails are fabulous now which I thought was cute!
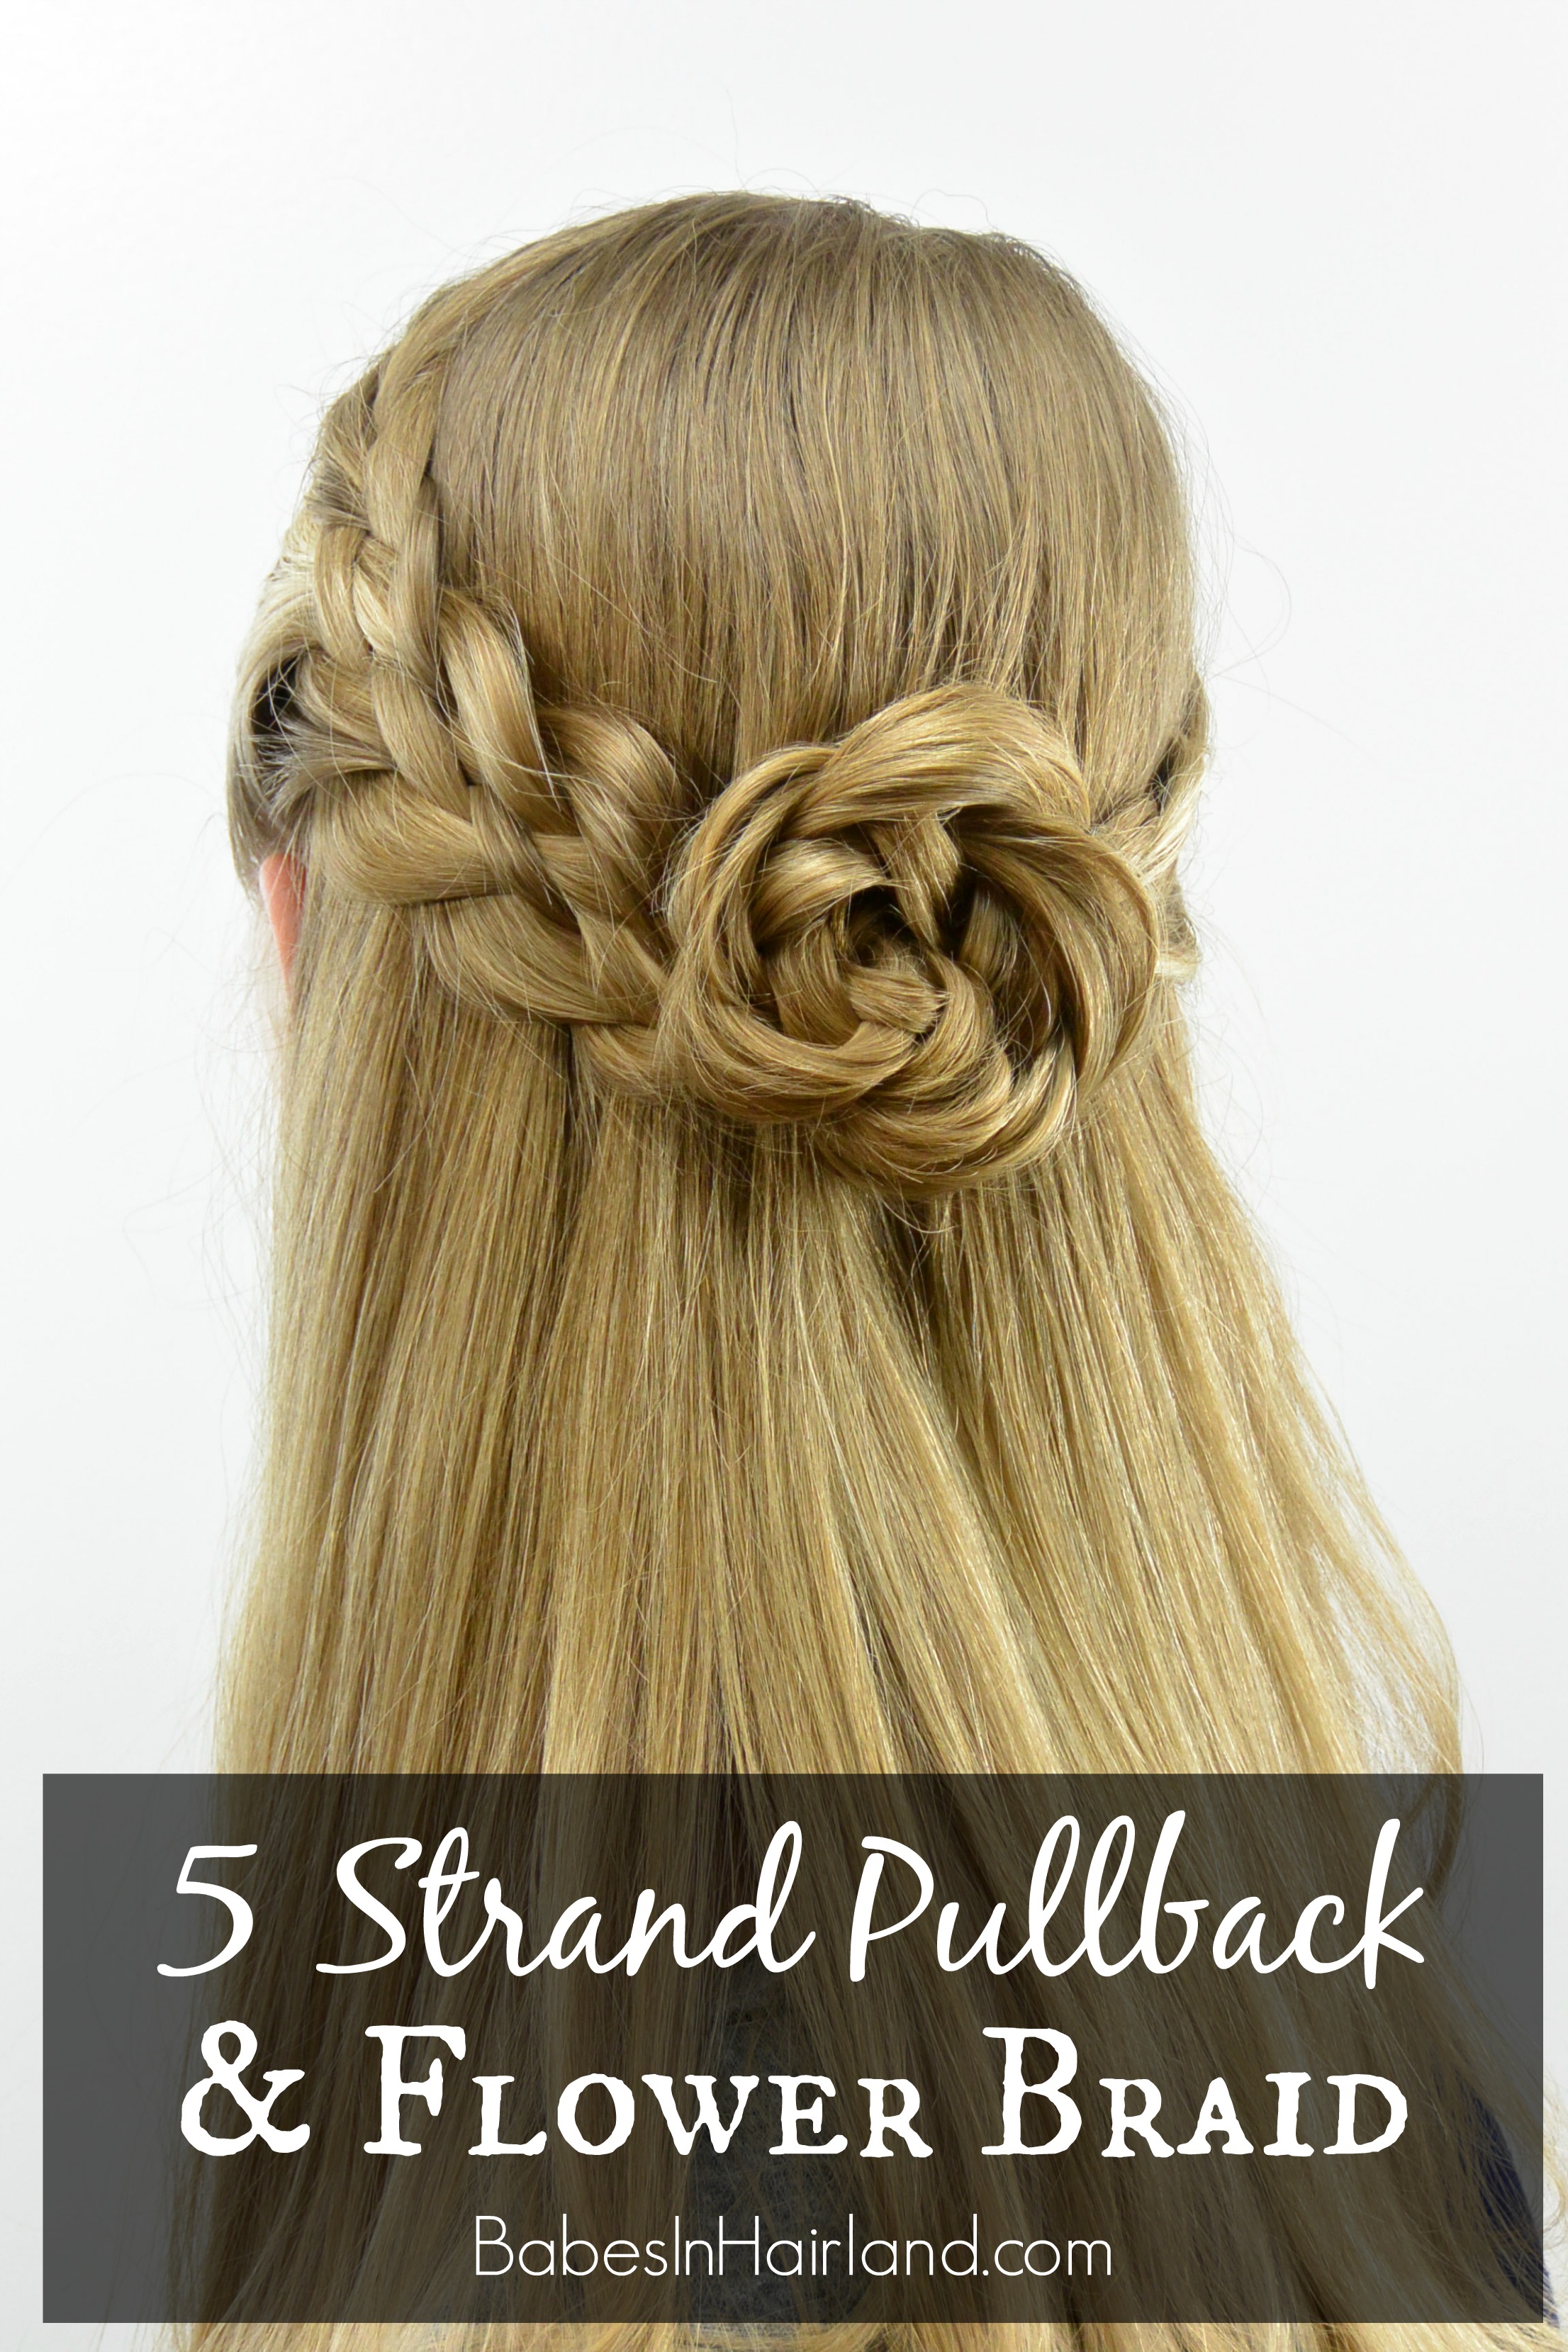
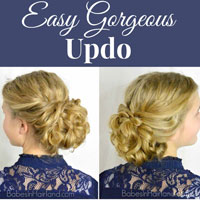
Anyway, this hairstyle worked wonderfully despite her layers, so here’s our video showing how we create this pretty pulled back hairstyle.
Step 1 – Make a side part from the forehead back to the crown, then part down from the crown to the left ear
Step 2 – Make a 5 strand braid with that section of hair
I know there are several ways 5 strand braids can be created, but this is how I do it:
Divide the hair into 2 sections. Divide the section in your right hand into 2 pieces. Pass the top section of hair (strand 5) over strand 4. Next, with the hair in your left hand, divide hair out to make a 3rd strand and pass it under the section from your right hand. Then divide the remaining hair in your left hand into 2 pieces. Pass the far left section (strand 1) over strand 2. Then pass it under the section in the middle (strand 3). Repeat the pattern with the far right strand – pass it over strand 4 and under strand 3. Back on the left side, pass strand 1 over strand 2 and under strand 3.
Step 3 – Continue the 5 strand braid until it can reach the middle back of the head & temporarily secure the end
Step 4 – Part hair from the crown down to the right ear & then create another 5 strand braid on the right side of the head & temporarily secure the end
Step 5 – Join the 2 braids in the center of the back of the head with an elastic
Step 6 – With the hair below the elastic, create a regular 3 strand braid
Step 7 – Gently pull the on the edges of only the left side of your braid to feather it
Step 8 – Secure the end of the braid with a clear elastic leaving the tail looped up
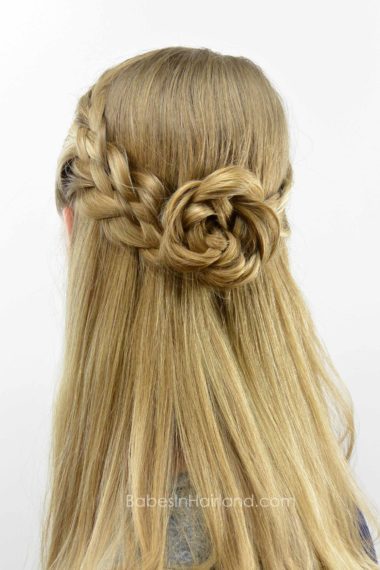
Step 9 – Wind the braid up in a counter-clockwise motion to create the flower/rosette
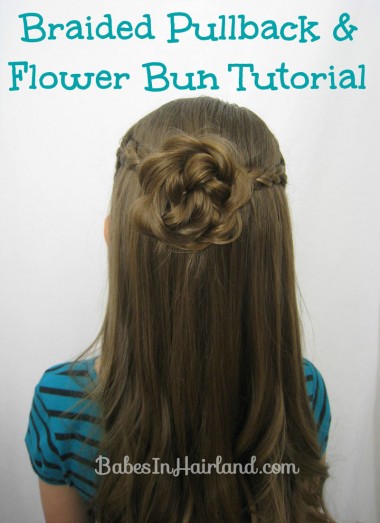
This isn’t wound up like a regular bun, it will be a flat “hair flower”. You could certainly finish this off more like a “flower bun” as we show in THIS tutorial.
Step 10 – Secure the flower/rosette on top of the elastic from Step 5 in the center back of the head
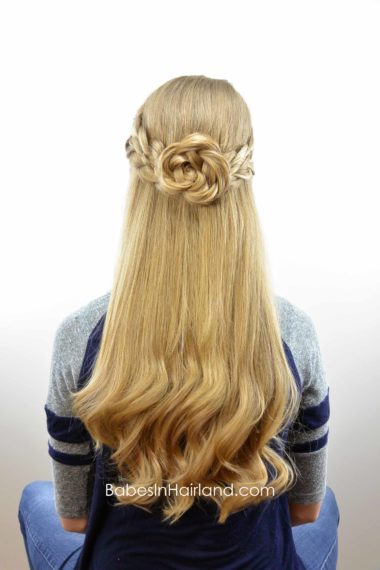
Step 11 – Curl remaining hair down in back if desired
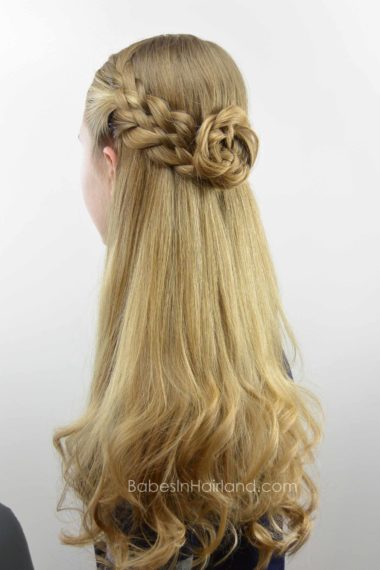
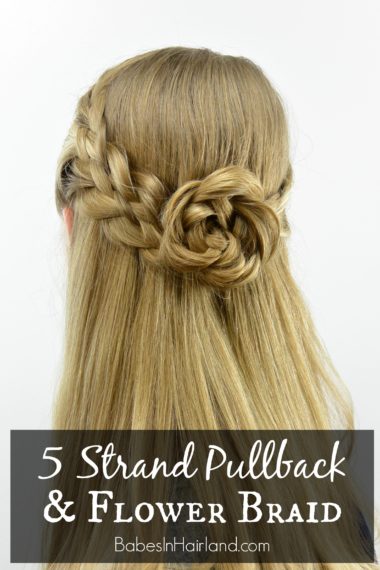
FINISHED!
If you like the pretty “hair flowers” – there’s more than one way to create them! Check out our Braided Pullback & Flower Bun hairstyles HERE.
Be sure to share & pin this one for later!
