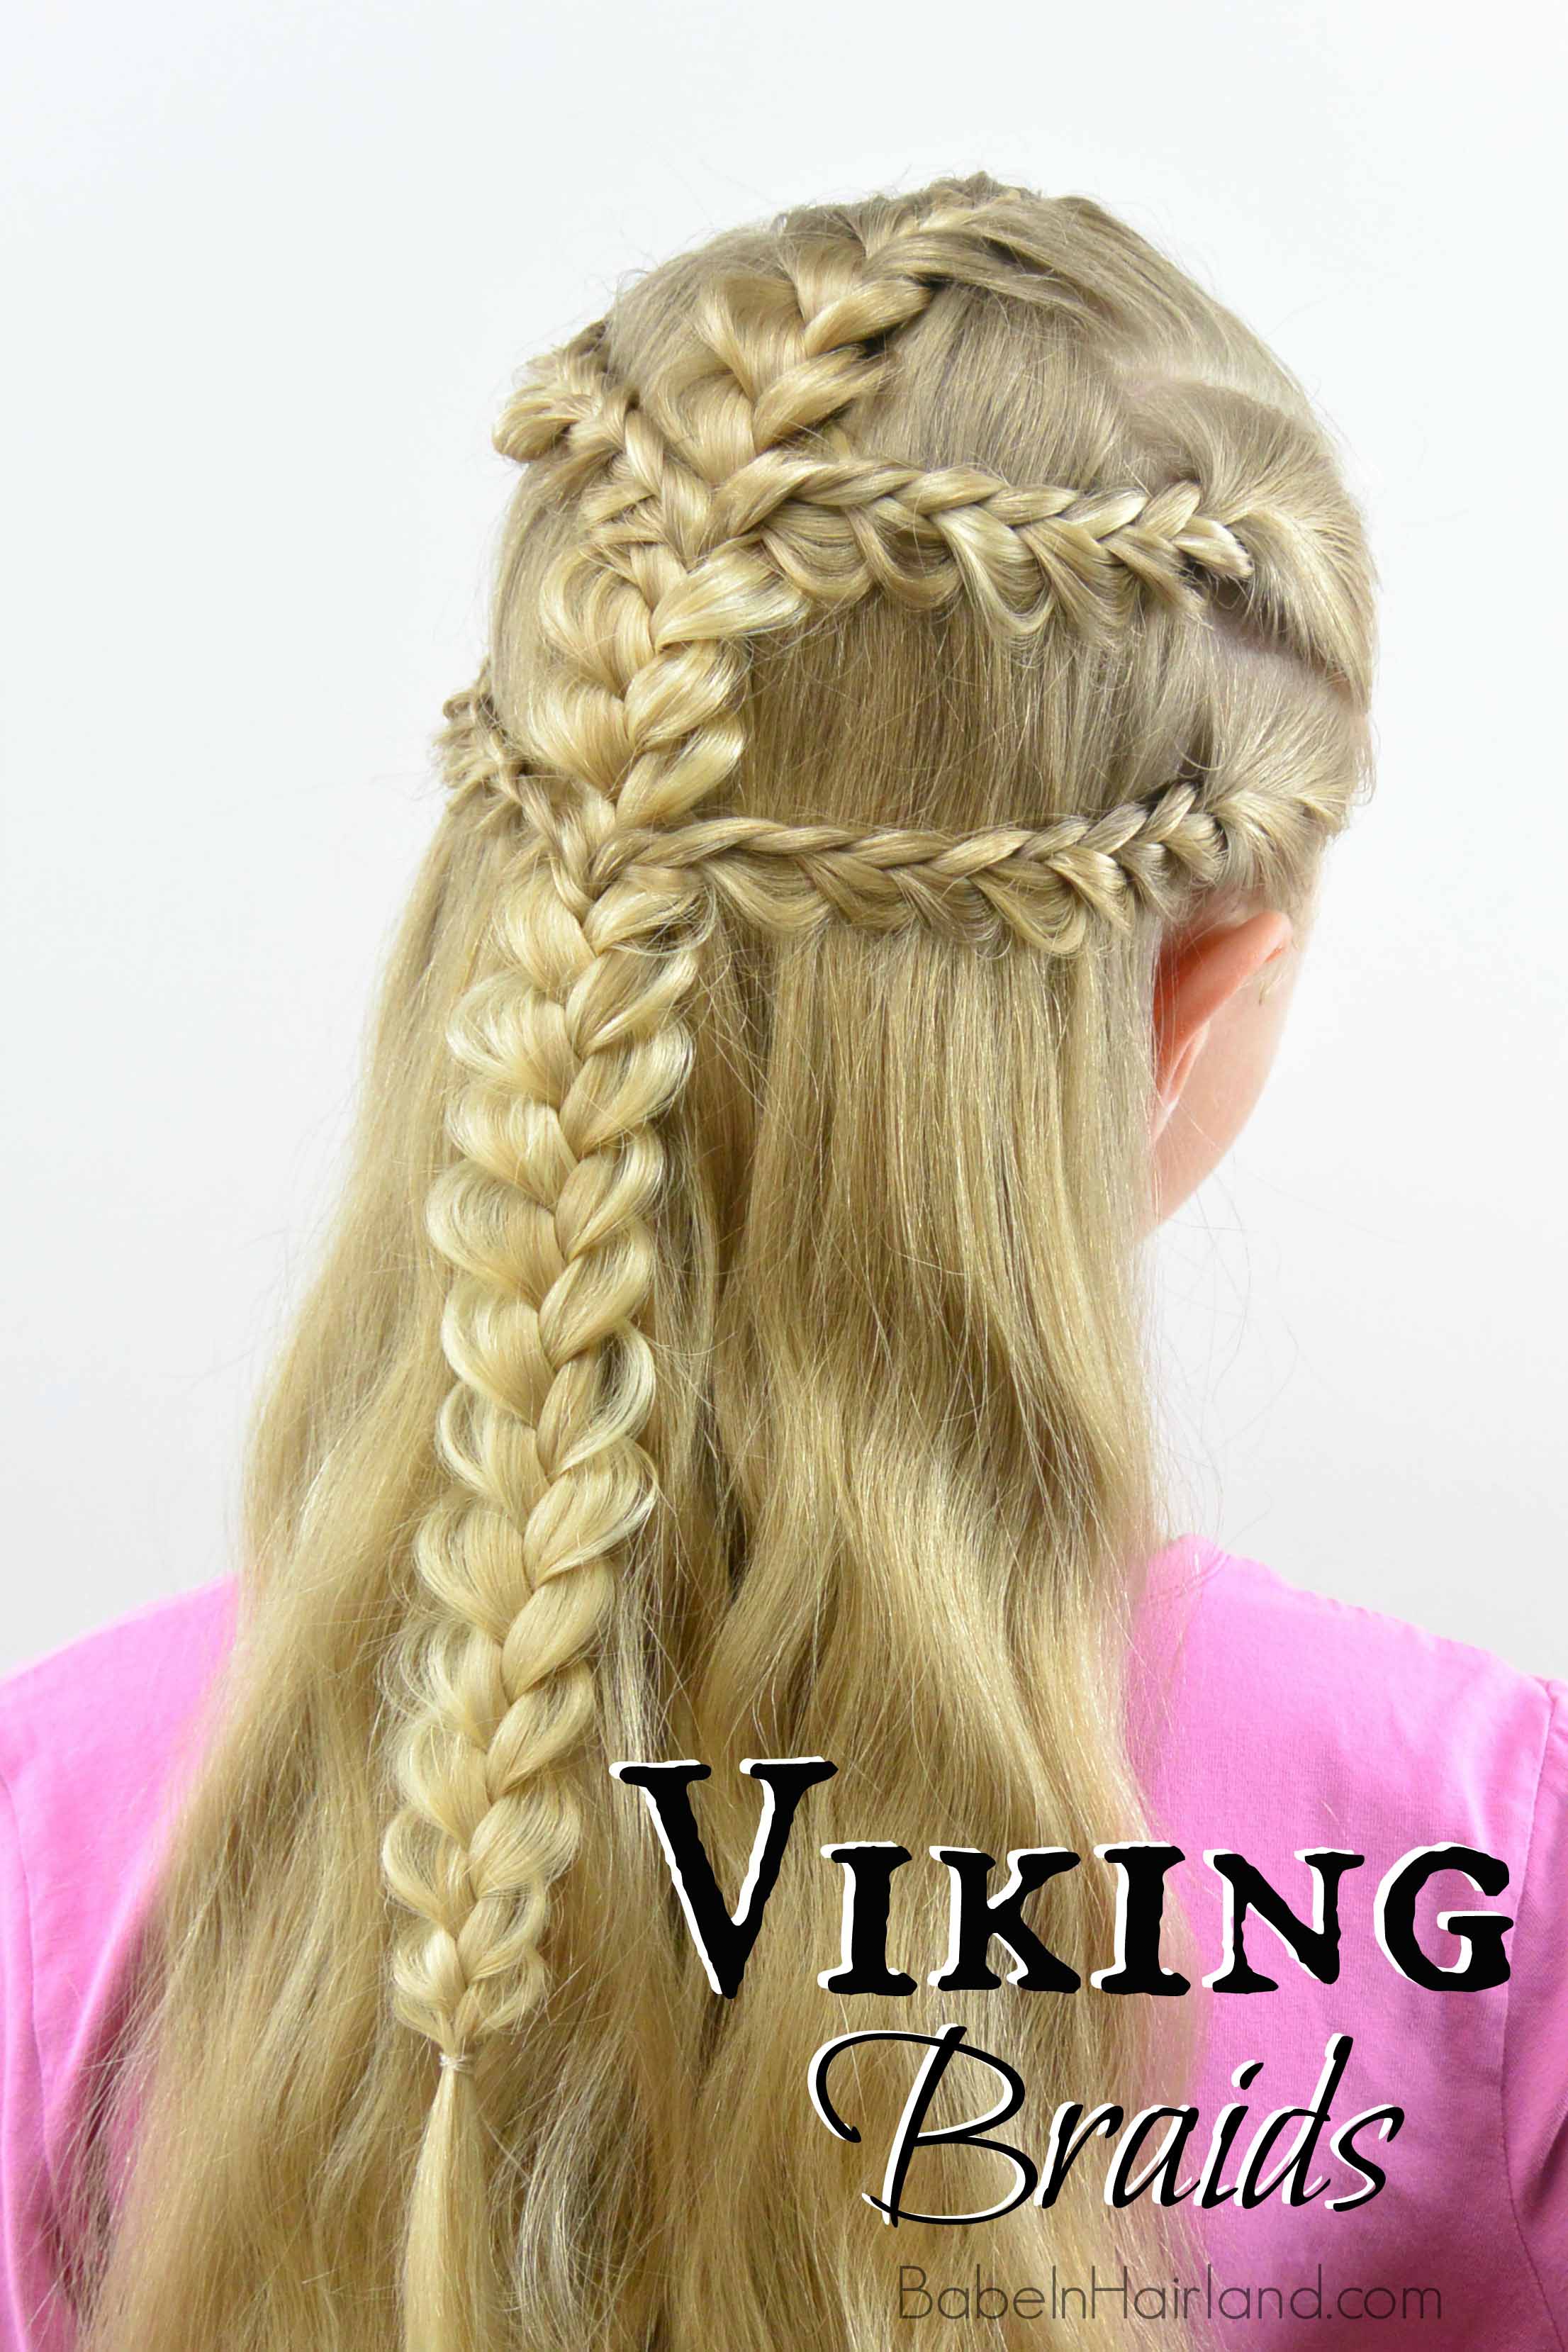
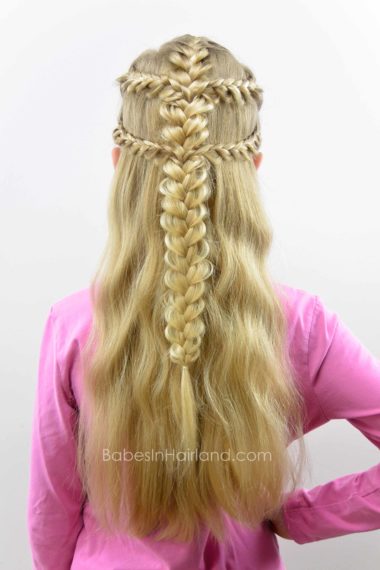
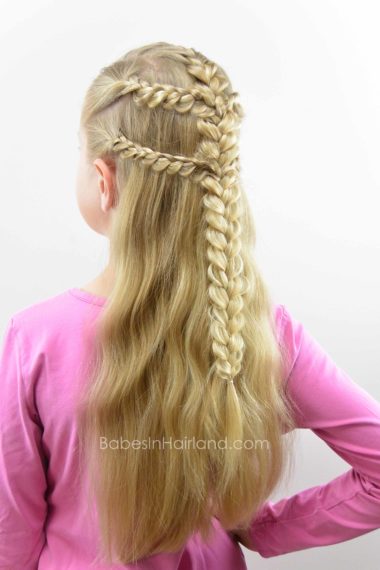
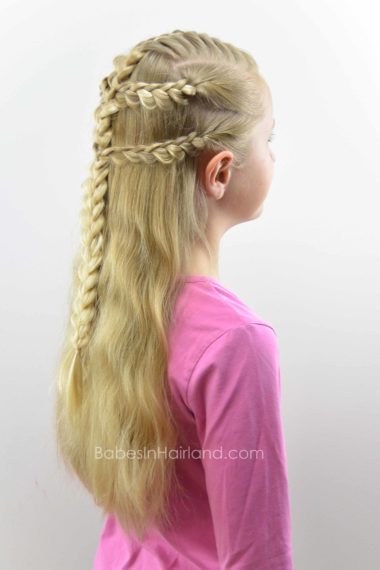
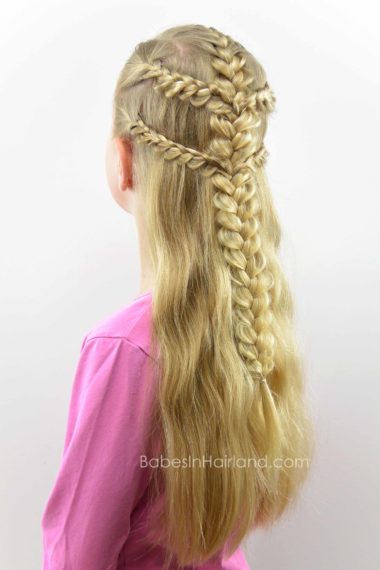
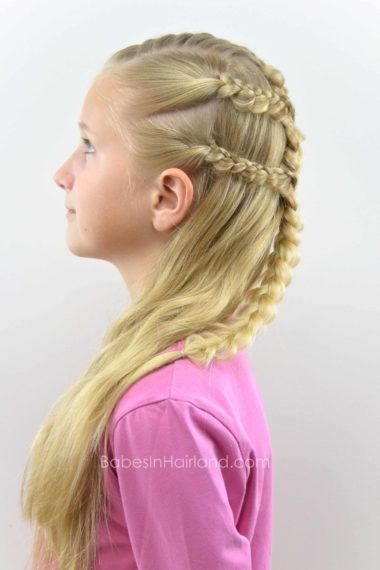
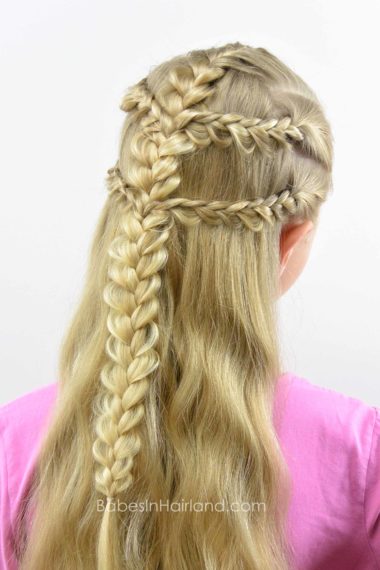
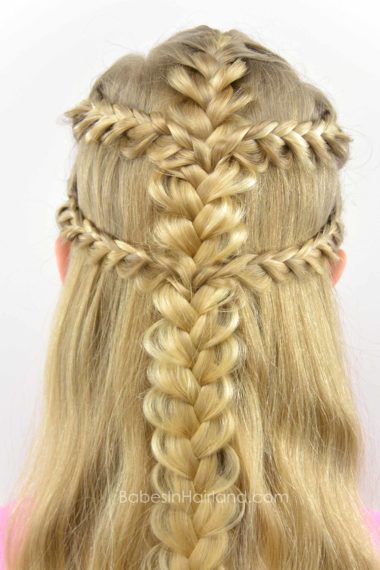
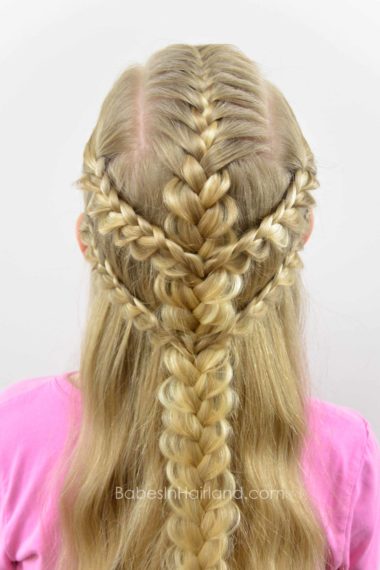
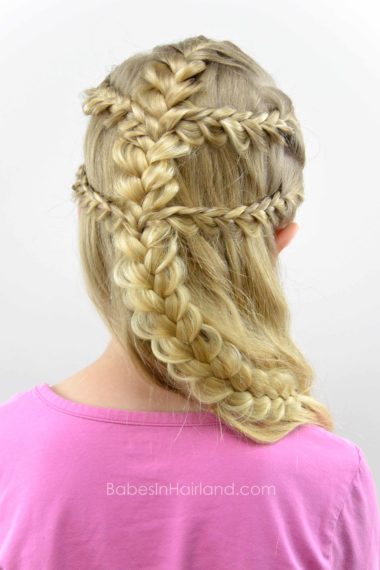
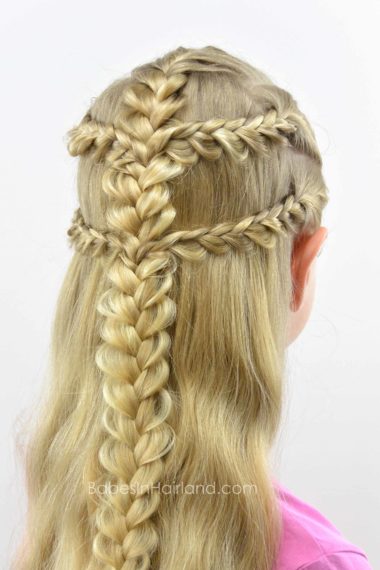
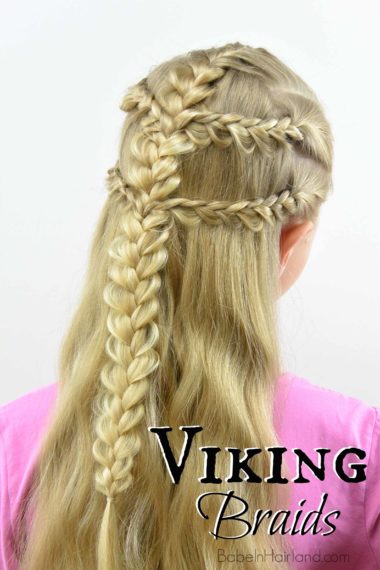
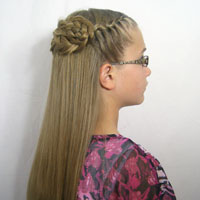
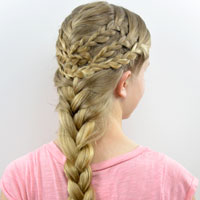
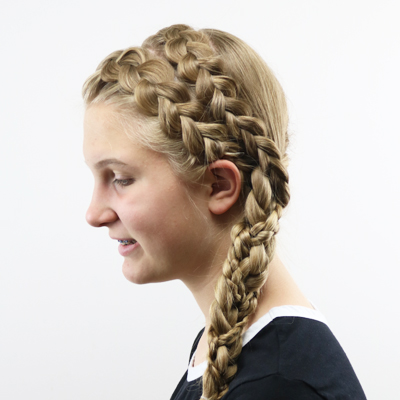
This cool style could also be called Warrior Princess braids or something similar – so you take your pick as to what you’d like to call this style! Ultimately, however, it’s perfect for any age and isn’t a hard style so that’s a win in my book for sure!
Here’s our short video showing how it’s done, and step-by-step instructions below. Be sure to keep scrolling to see all the pictures of the finished style! It’s awesome! 🙂
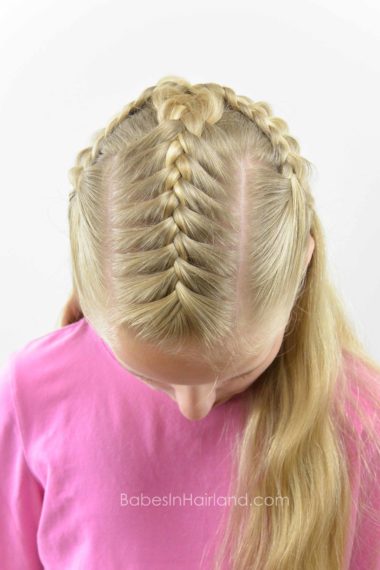
Step 1 – Make a rectangular part from the temples back across the crown of the head
Step 2 – Create a French braid with this section of hair
Step 3 – Once you reach the crown stop adding hair and continue a regular 3 strand braid to the end
Step 4 – Gently pull on the very edges of the 3 strand braid to give the edges a loopy appearance
The goal is not to just pancake it and make it flat and wide – you just want the edges to resemble loopy edges of lace or something similar. Make a few stitches of the braid, then pull on the edges as you go – don’t do it once you’ve finished the braid.
Step 5 – Once the braid looks like you want, secure the end with a clear elastic
Step 6 – On the left side of the head, create a horizontal part near the bottom of the temple
Step 7 – With this section of hair create a regular 3 strand braid
As you braid, every few stitches, pull on the bottom (or left) side of the braid to make it loopy in appearance. Again, you don’t want to flatten and loosen the braid, you just want the left edge of the braid to be loopy but the rest of the braid to remain tight.
Step 8 – Braid until your braid reaches the center of the back of the head & temporarily secure the end
Step 9 – Repeat Steps 7 & 8 with the hair remaining above the left ear
Step 10 – On the right side of the head create another 2 braids, repeating Steps 6-9
Step 11 – Now you should have a total of 5 braids – 2 braids on each side of the head and the French braid in the middle
Step 12 – Draw the top 2 regular 3 strand braids toward the back center of the head
Step 13 – Join them together with a clear elastic so they are centered on top of the braid you made in Step 3
Step 14 – Take a Topsy Tail and stick the straight end through that center braid just underneath the elastic from the braids above
If you don’t have one, you can purchase a Topsy Tail HERE. These are great for so many styles, I highly recommend you have one on hand! 🙂
Step 15 – Place the tail of those 2 braids through the loop of your Topsy Tail and pull them through to the back side of the braid from Step 3
Step 16 – Repeat this process with the 2 final braids above each ear. Join them together with an elastic, and pull the tail through the braid with your Topsy Tail.
Step 17 – Adjust braids as needed so the elastics don’t show
FINISHED!
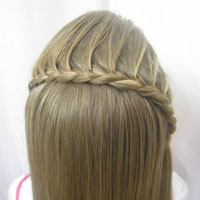
Here’s a bit more up close look at the braids. You can see that we just pulled the edges to make the braid have “loopy” edges, rather than just flattening the braid to make it wider.
Thanks for check out our hairstyle today! Comment below & let us know what you think! Have a great day! 🙂
