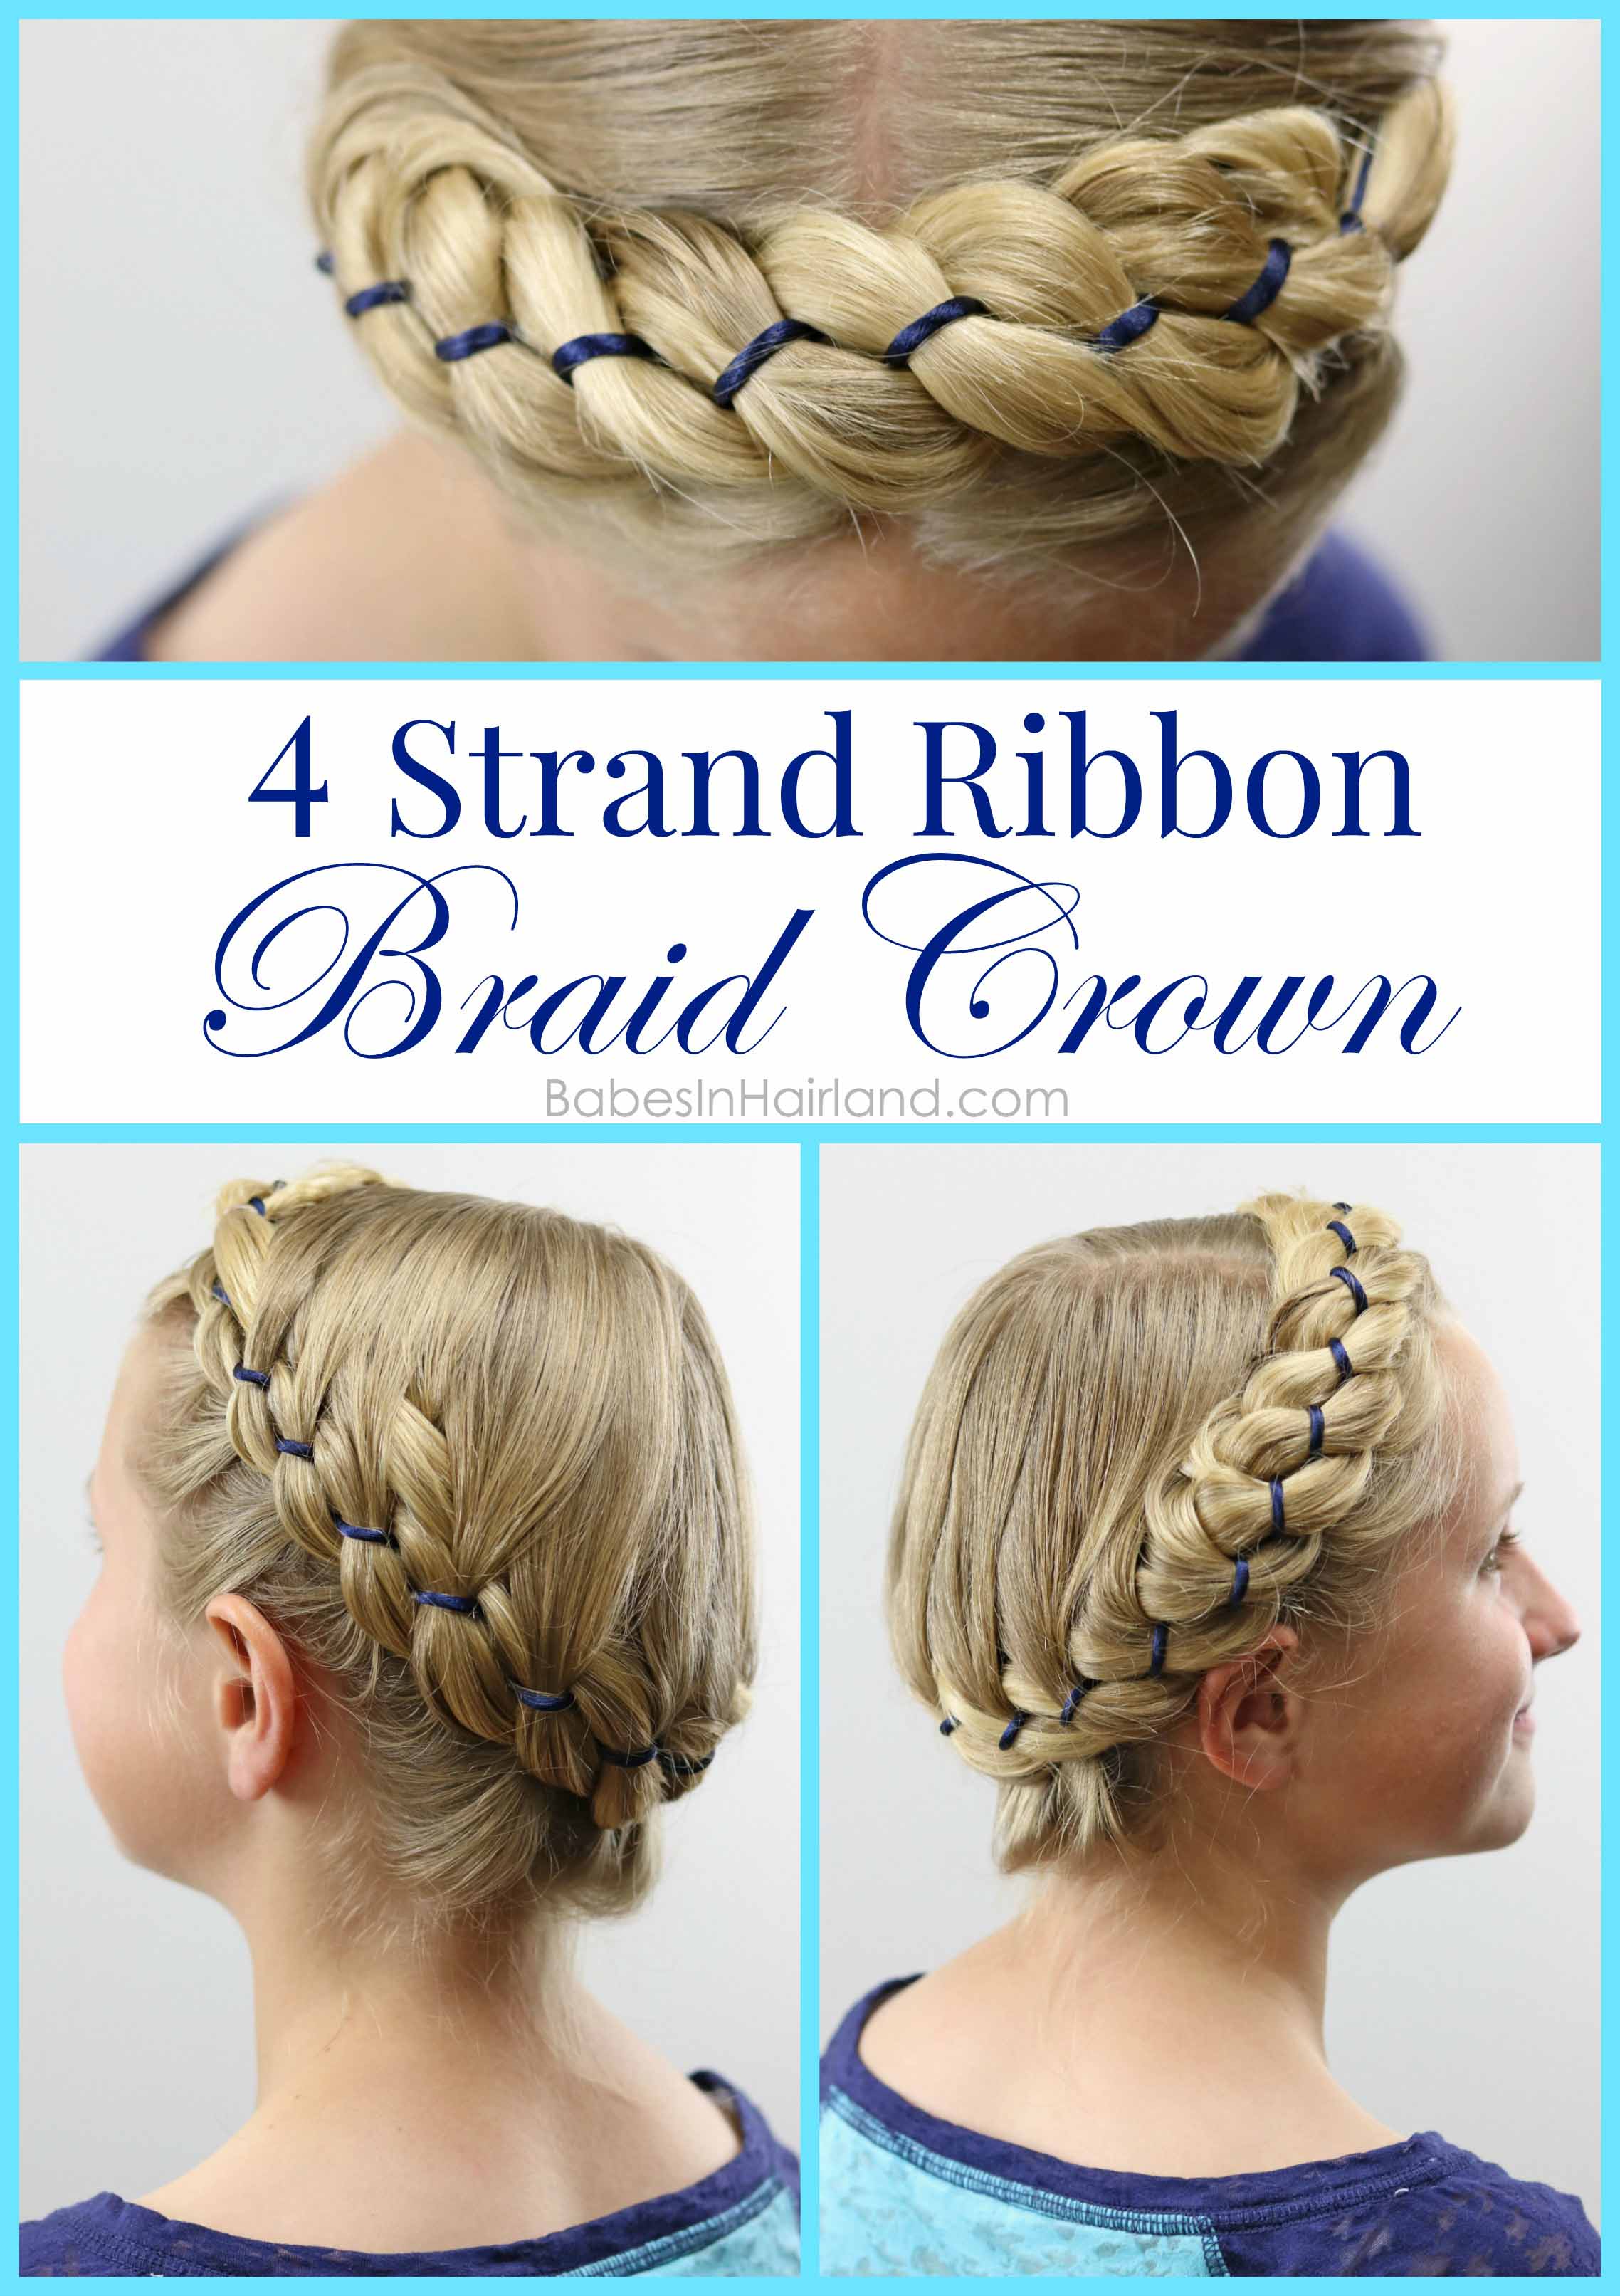
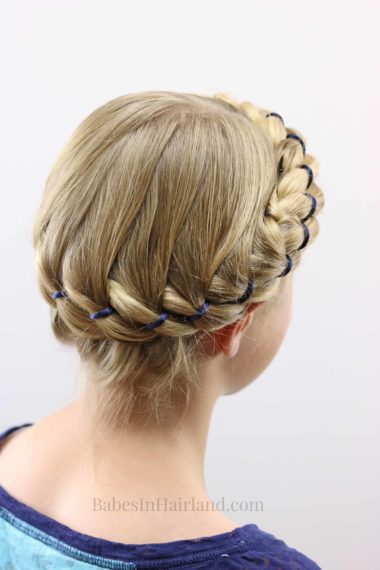
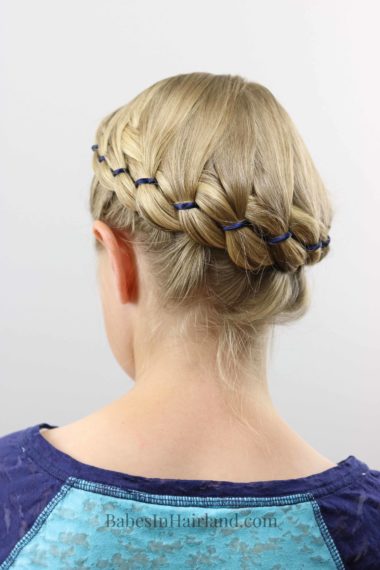
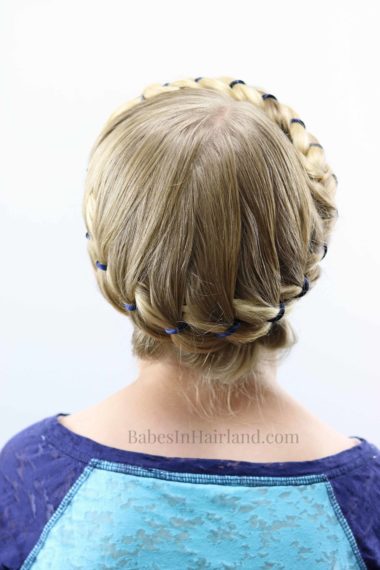
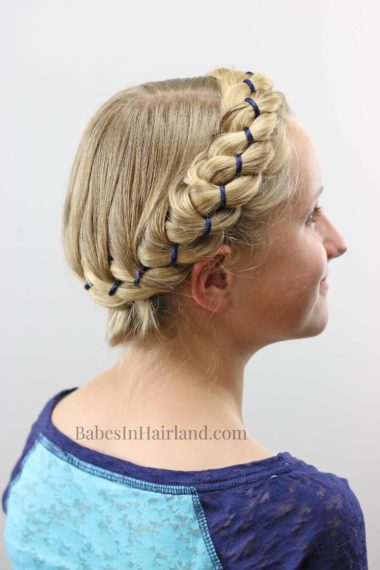
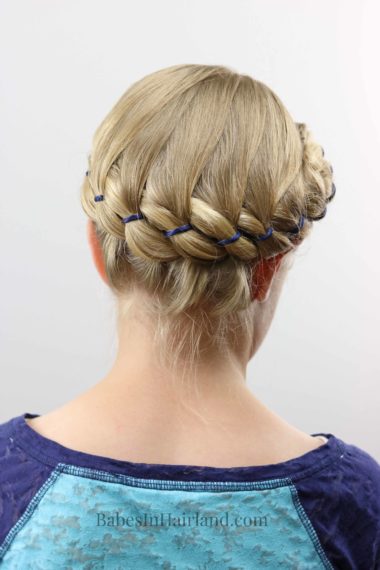
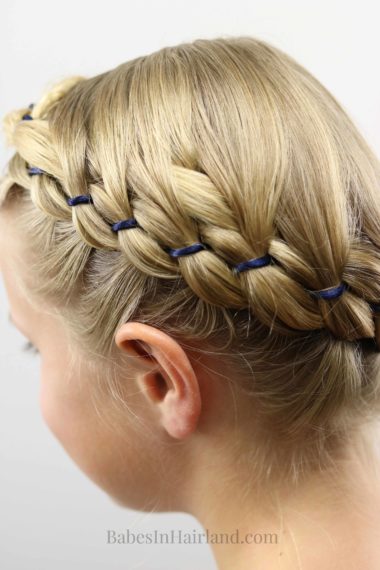
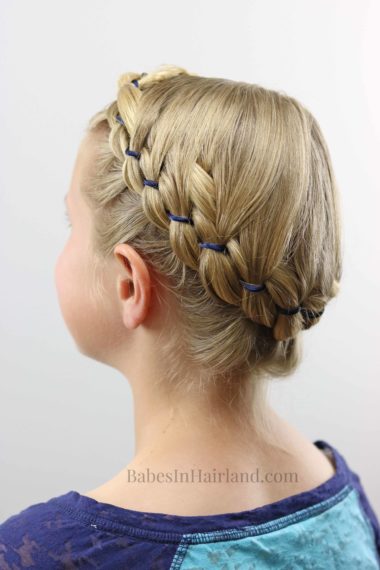
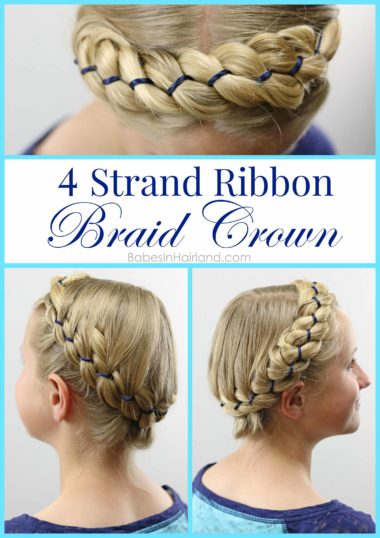
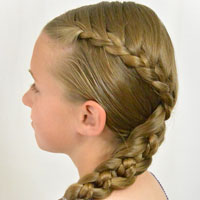
This 4 strand ribbon braid crown is one we shared on Instagram about a year ago. We had people asking if we had a tutorial for it, which I thought we did. Going back through our hairstyle gallery and archives, I realized we didn’t. So we’ve recreated that 4 strand ribbon braid crown for you today. I love 4 strand braids, but when you add a ribbon to it, I love it even more.
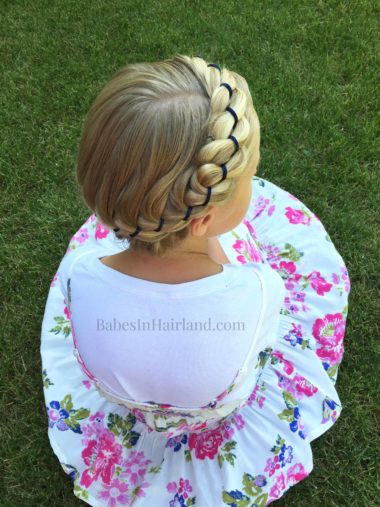
Below is the picture we shared on Instagram last year. At the time her hair was a bit longer, so her braid reached a bit better across her head. That obviously made it easier to secure and hide the ends. Since then she’s had a trim so it was a bit trickier. Watch our video to see how we solved the problem of hiding the end of her braid!
Here’s our 4 Strand Ribbon Braid Crown video. If you are having issues viewing it – click HERE to watch it.
For this hairstyle, you will need
- a long piece of ribbon, cord, string of beads, or whatever you want to add into the braid
- a clear elastic
- bobby pins
- Topsy Tail (not totally necessary, but helpful.) Still need one? Click HERE to buy a Topsy Tail today
.
1 – Make an off-center part on the right side of the head.
2 – Take a triangular section of hair to the left of the part and near the forehead and divide it into 3 even sections.
3 – Add your ribbon to the braid so it is in the 2nd position from the left.
If you are doing this on someone else, you can have them temporarily hold the end of the ribbon in place for a little bit while you start braiding, or you could temporarily bobby pin it to hold it there as well.
4 – Begin creating a 4 strand braid
Take the far right section of hair (section #4) and pass it over section #3 of hair and then under the ribbon. Then on the left, take the far left section (section #1) and pass it under the hair (section #2) and then over the ribbon. That is one rotation of the braid.
5 – Once you have done one full stitch or rotation, you will begin to add hair, creating a French 4 strand braid
Repeating the pattern from Step 4 take the far right section of hair (section #4) and pass it over section #3 of hair. Then add a bit of hair from above to that section. Next, pass all that hair under the ribbon. Move to the left, and take the far left section (section #1) and pass it under the hair (section #2). Then grab a bit of hair from below near the face and add it to the hair you just passed under. Next, pass all of that hair over the ribbon.
6 – Continue this process, adding hair to the braid and work your way around the head to the right ear.
Before you pass the left ear and have done a few stitches of the braid, if you have a tail of your ribbon sticking out at the beginning of your braid, gently tug on it so the tip of the ribbon hides into the hair at the beginning of the braid.
7 – Once you reach the right ear and can no longer add more hair to your braid, continue a regular 4 strand ribbon braid until you reach the end of the hair. Secure the braid with a clear elastic.
8 – Draw the end of the braid up and over the top of the head so it touches the left side of the braid where you first started.
9 – Secure the braid with bobby pins as needed.
10 – If your braid isn’t long enough to completely hide the end of the braid, using your Topsy Tail, lace it through the hair close to the braid on the left side of the head until it is fully incorporated into.
FINISHED 4 STRAND RIBBON BRAID CROWN
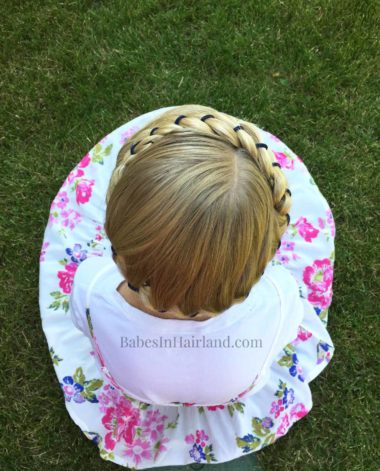
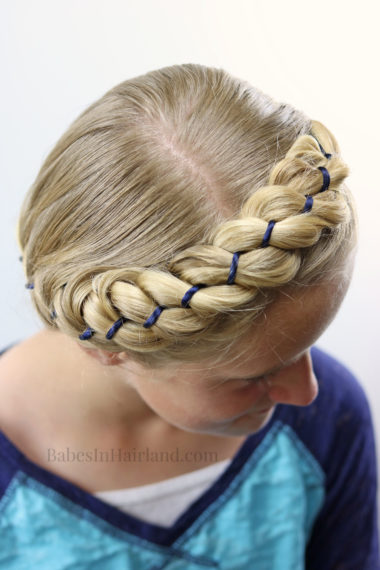
Here’s a view from the top when I did this last Spring. You can see her hair reached just a little bit further on the left side so it was easier to hide the elastic and ends of the braid!
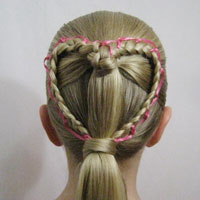
Despite her hair not reaching as far as I’d of liked, this still turned out beautiful and looks wonderful! If you love 4 strand braids with ribbon – here are a few other pretty styles we’ve done.
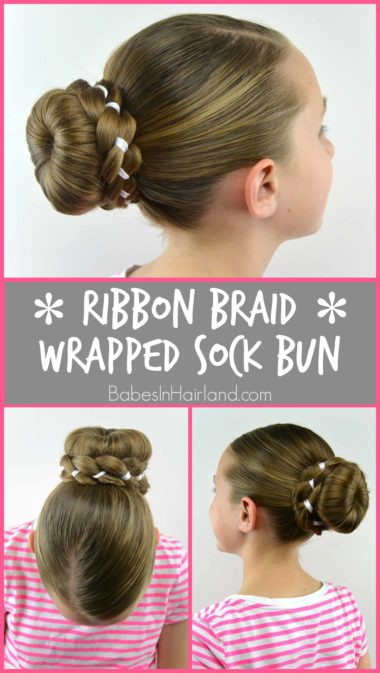
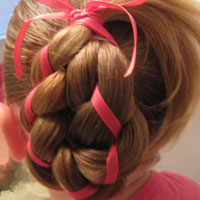
Ribbon Braid Wrapped Sock Bun
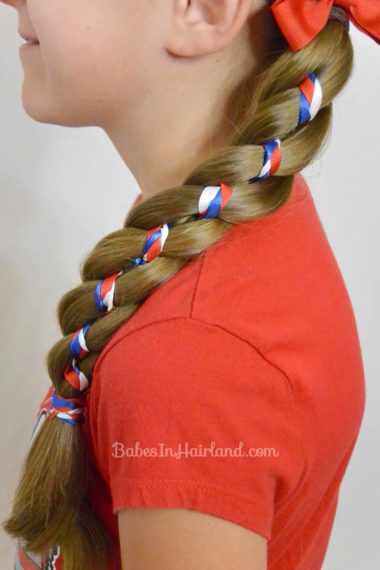
Ribbon Braid in a 4 Strand Braid – 4th of July Hairstyle
Comment and let us know if you can do 4 strand braids and if you like this one! Don’t forget to PIN for later and share with your friends!
