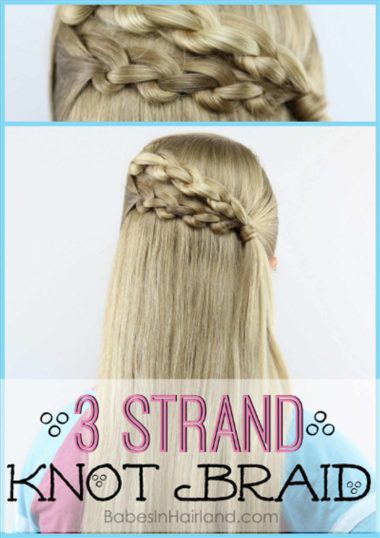
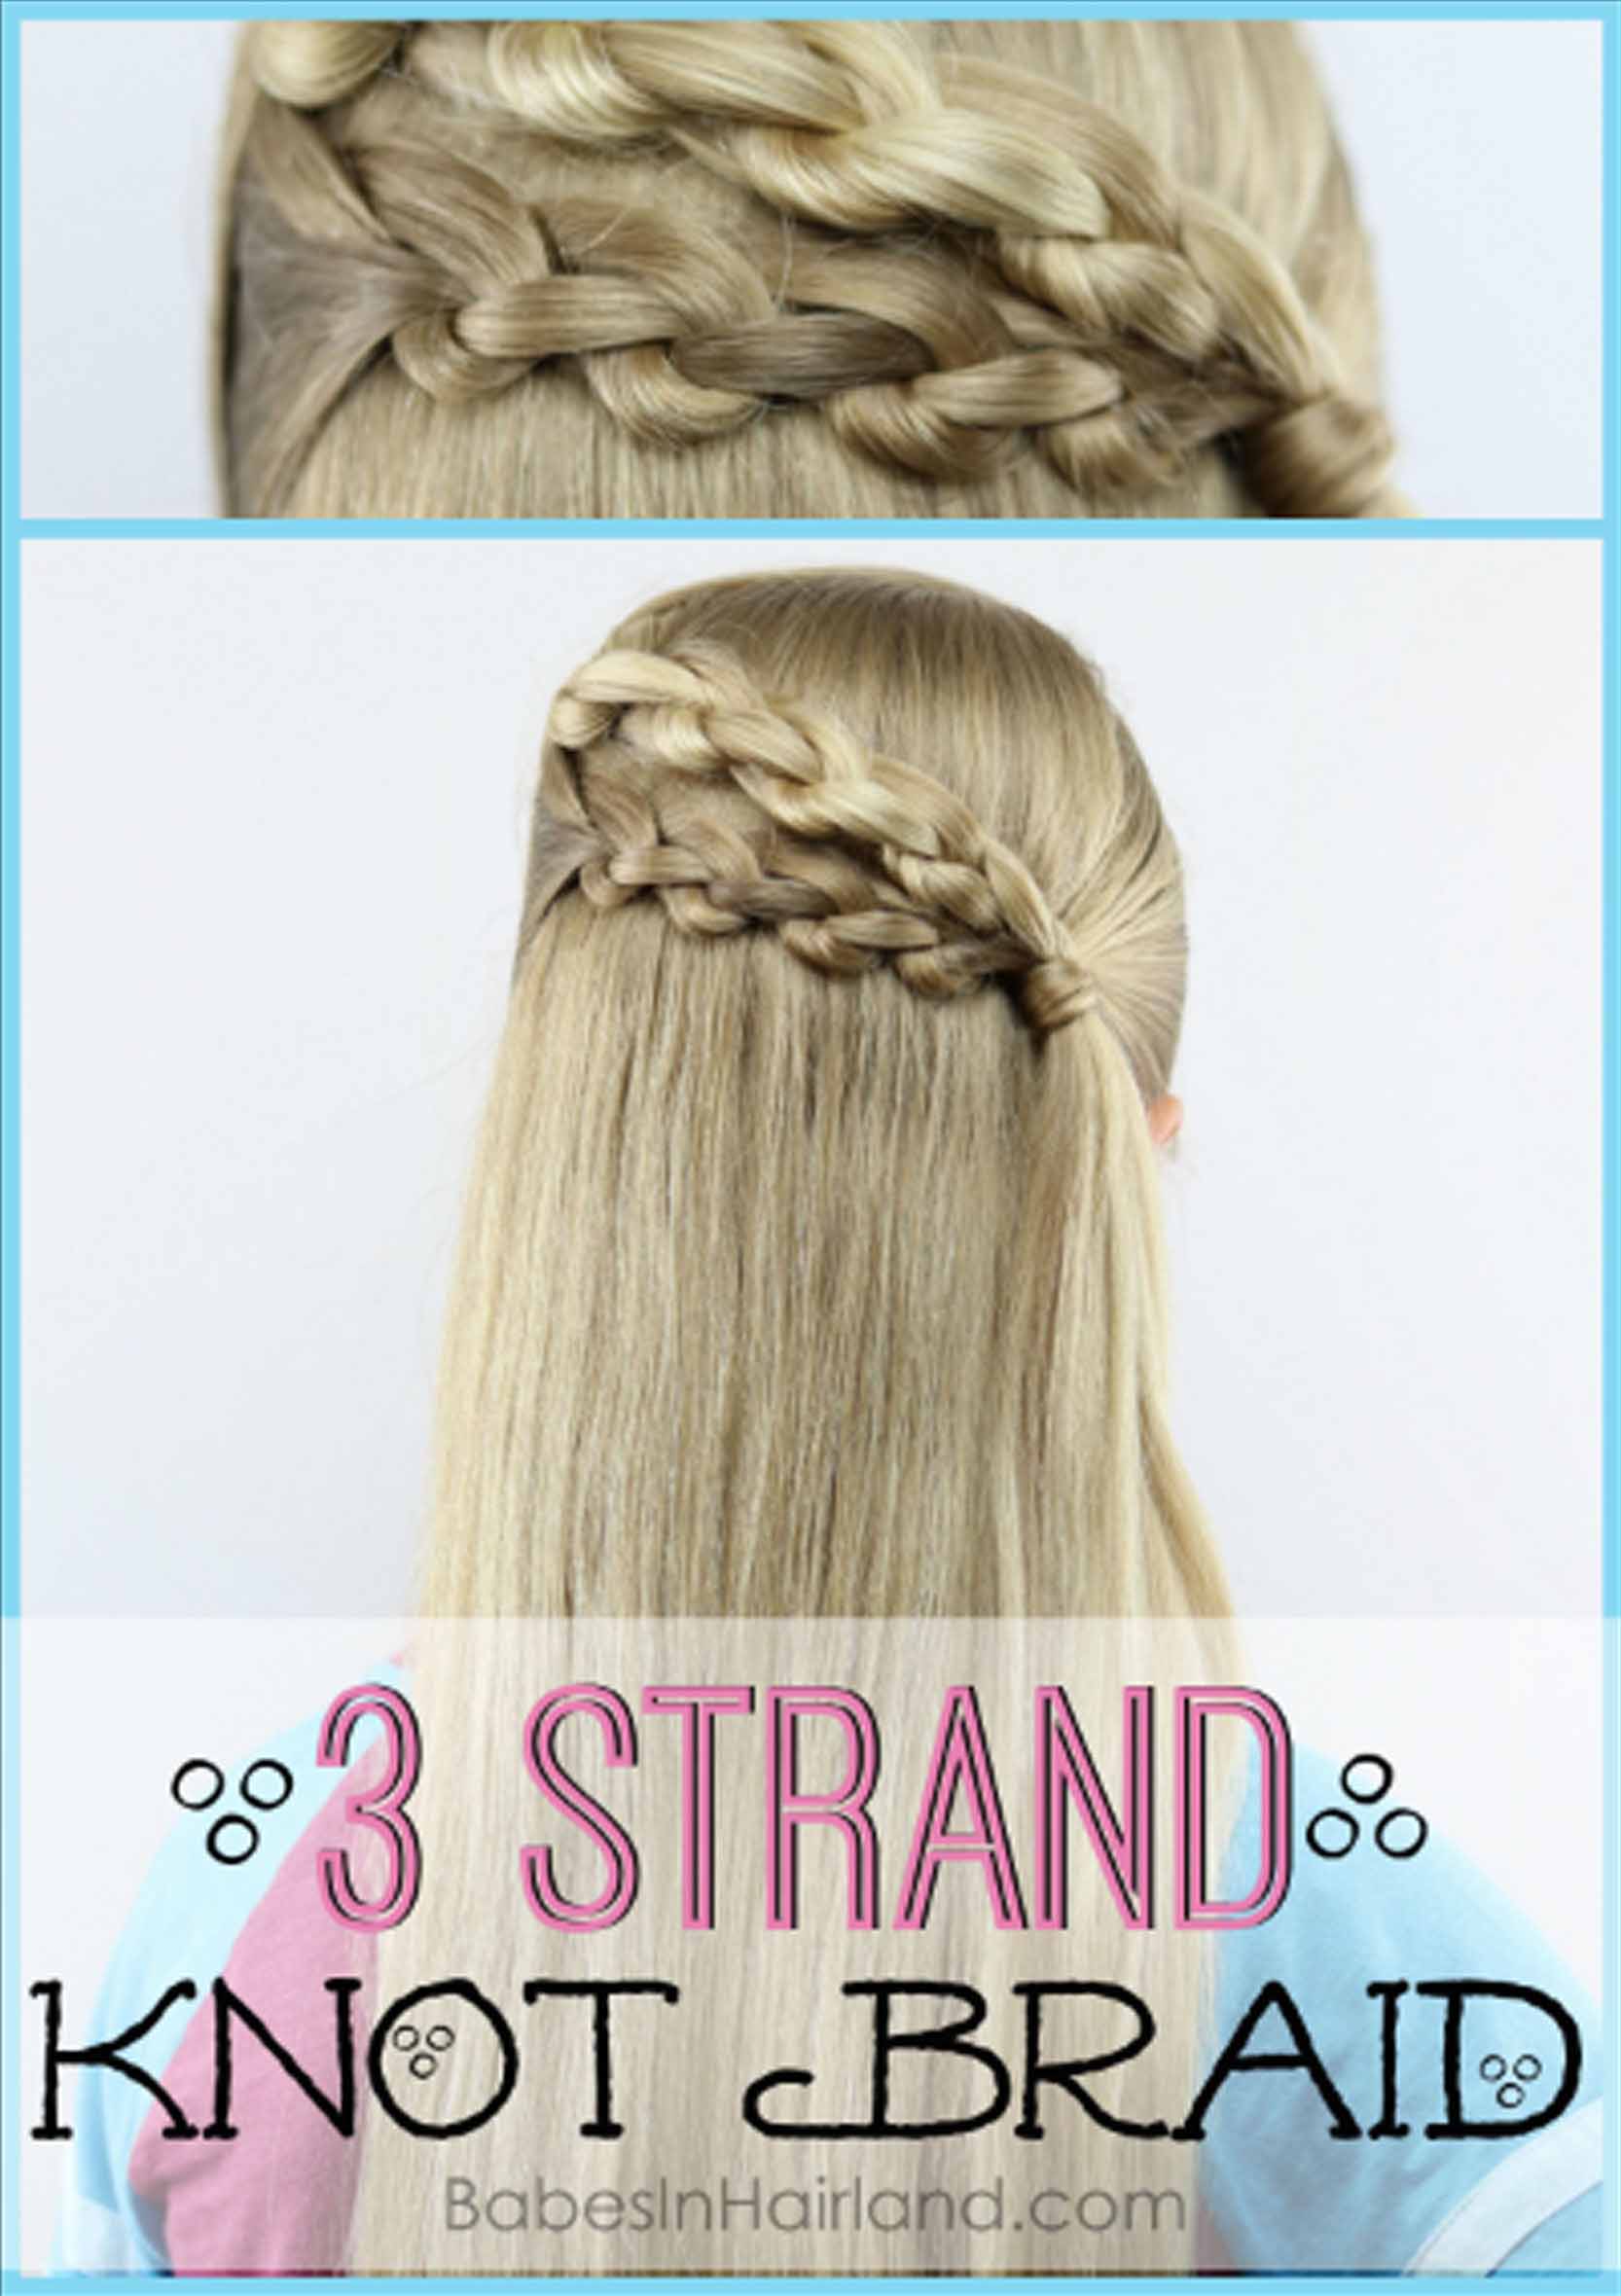
We’re back today with another fun braiding technique. When I did this, the girls thought it looked like an upside down pretzel, waves in the ocean, as well as knots. I think I’ve mentioned one of the hardest things sometimes with styles is coming up with a name! So for lack of a better name, this is our 3 strand knot braid. It gives a really cool look, but isn’t hard at all. If you can do a regular 3 strand braid, or can tie your shoe, you can handle this braid!
Today’s style is also more to just show the technique of how it’s done. I did this on Bee recently, but unfortunately didn’t shoot a video. I have pictures of the finished hairstyle on her, but the tutorial was filmed on our mannequin. We have other pretty hairstyles that we’ll share at a later date, using this fun 3 strand knot braid technique that we know you’ll love.
So here’s our video showing how it’s done. If you have problems viewing it here on our blog, go HERE to watch it on our YouTube Channel. Oh, and if you haven’t yet, please subscribe!
1 – Make an off-center part on the right side of the head.
2 – Near the left temple, section out a medium sized amount of hair. Divide the hair into 3 even sections.
3 – Begin a regular 3 strand braid – bring the top section over the middle section. Then the bottom section over the top section.
4 – Now bring the top section down over the middle section. Then pass it behind the bottom section and bring it around again to the front so it creates a loop. With your right hand pointer and middle fingers, pull that hair through the loop you just created. The hair should stay in the middle position of the braid once pulled through the loop.
5 – Then you will braid one rotation like normal again. So take the strand that is on top and pass it over the middle strand. Then take the bottom strand and pass it over the middle strand.
6 – Repeat Step 4 again. Bring that top section over the middle section. Then pass it behind that bottom section and around to the front again creating that loop. Pull it through the loop so it regains the center position of the braid.
7 – Next take the top section and pass it over the middle section, and the bottom section over the middle section.
8 – Repeat the above steps until your braid reaches as far over to the right side of the head as desired. Temporarily clip off the end.
Note: The same section of hair will be the one you make the “knot” with each time, so it will become shorter than the other 2 strands of the braid. Depending on the length of hair you’re working with, this may make it a bit tricky to make the braid as long as you want!
9 – Just behind the left ear, repeat the above steps to create a 2nd 3 strand knot braid.
10 – Near the right ear and temple, take a small section of hair and draw it backward to meet up with your 2 braids.
11 – Secure the 2 braids and the hair from the right side of the head together with an elastic.
12 – If desired, add a cute accessory to cover the elastic, or wrap the elastic with a small section of hair.
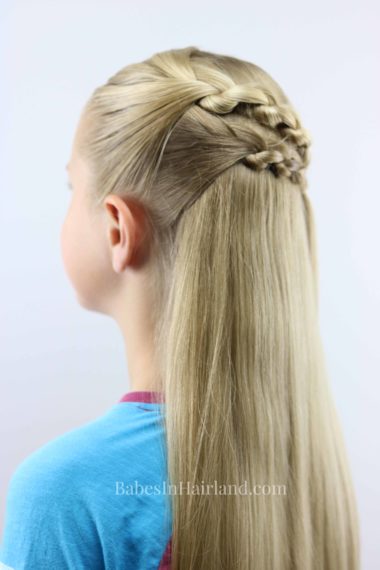
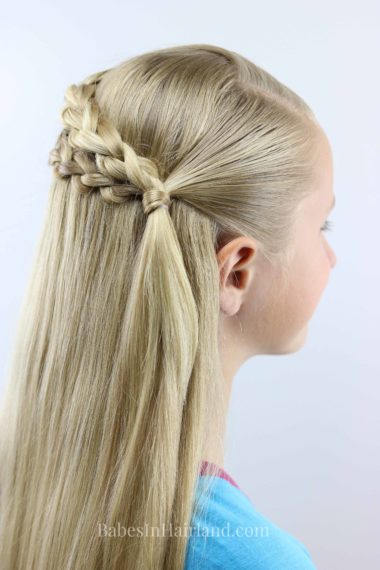
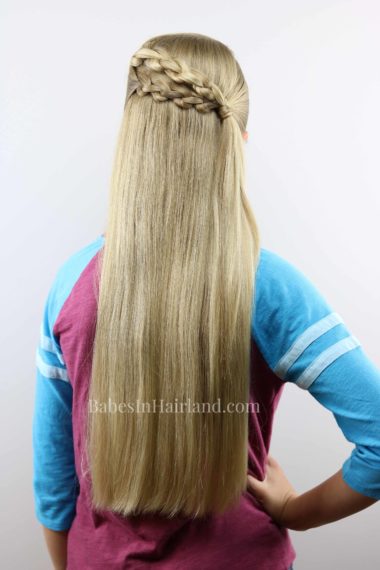
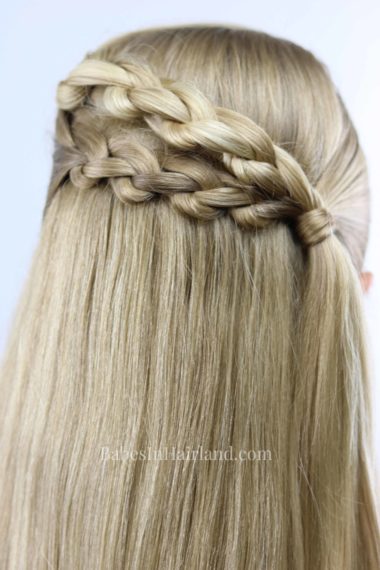
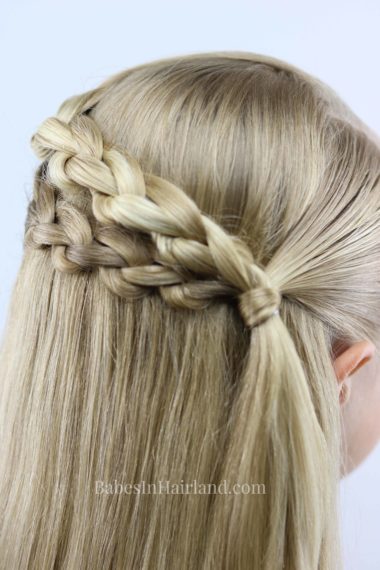
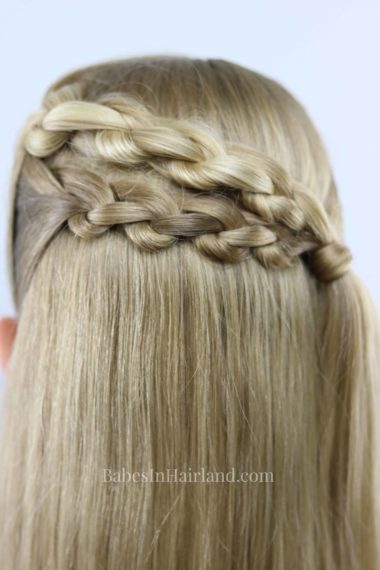
FINISHED 3 STRAND KNOT BRAID
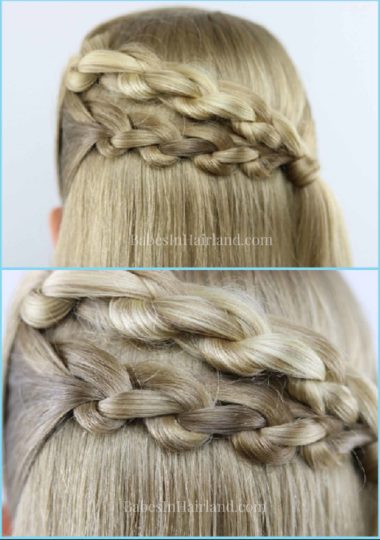
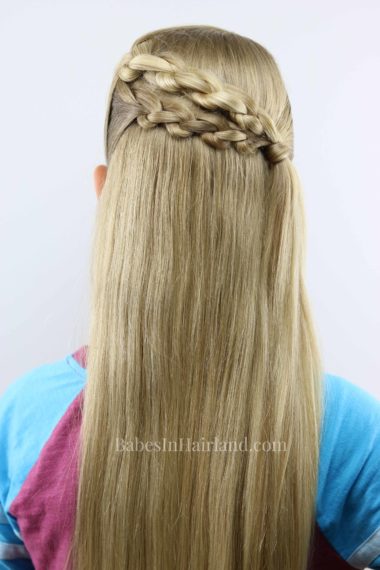
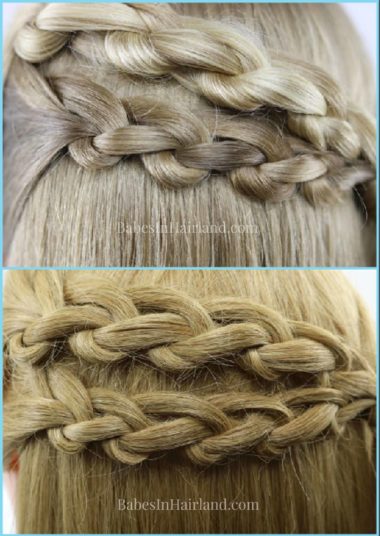
Here’s a comparison of Bee’s hair and our mannequin. You get a different look depending on the amount of hair you use or how tight you make things. I just love it!
And here’s a more up close look at the braids on Bee:
 Be sure to check out all our styles that have knots in them by going HERE. Here’s a few of my favs:
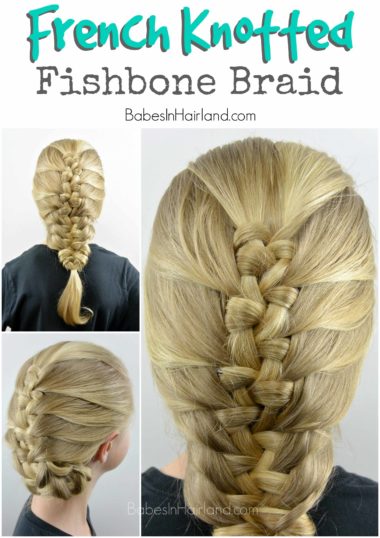
French Knotted Fishbone Braid
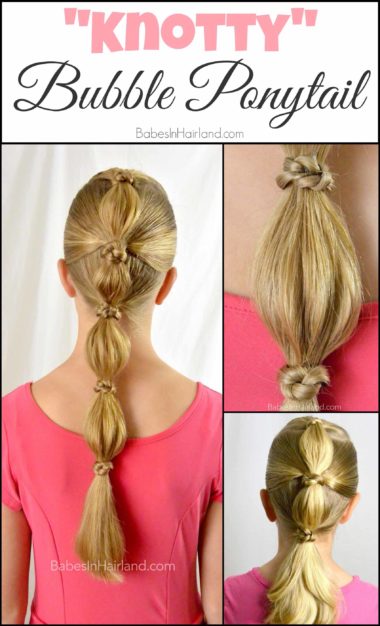
Knotty Bubble Ponytail
Thanks for stopping by and we hope to see you again really soon!
 BE SURE TO PIN & SHARE TODAY’S FUN NEW BRAIDING TECHNIQUE! WE KNOW YOU’LL LOVE THE 3 STRAND KNOT BRAID!