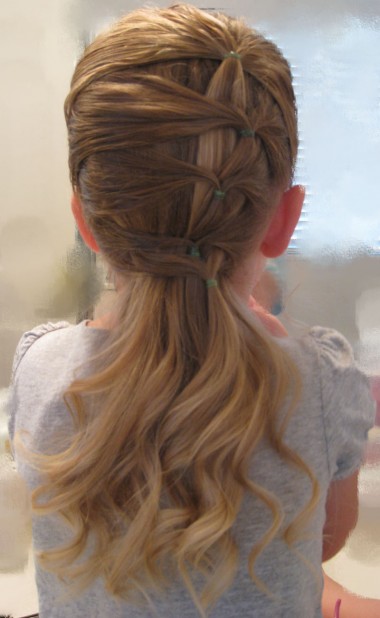
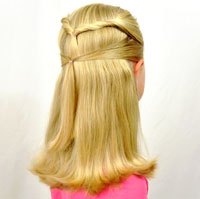
Once again, no creativity in the name … In the summer I tend to keep the girls hair up and off their necks to help them stay cool, but it’d been a while since we’d done anything down, so we tried this one for a change. I really liked the way it turned out. Plus, it’s quite simple and fast.
I started by parting Bug’s hair on the side so it wasn’t pulled straight back. I think it suits her face better.
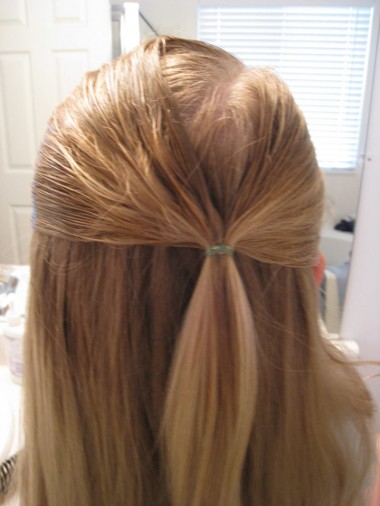
Step 1 – Pull hair up starting at the ears on both sides & make a small off center ponytail
Don’t make a solid part from ear to ear though. You don’t want to pull a full half pony up on top. I pulled it back and fastened it with a rubber band like this. (once again she picked green — we were almost out of every other color that day, so green it is!) You could do this right down the center, but I wanted to offset it a little to the left and then stagger the rubber bands underneath.
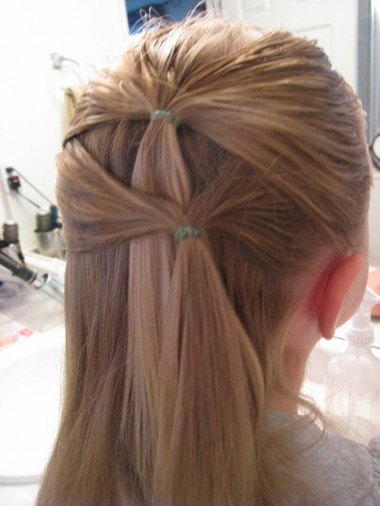
Step 2 – Part out another section of hair on both sides & pull it back
Once again, not parting it clear across her head from side to side. Do not pull up hair from the prior pony or any other hair from below. You are just making a new pony with the two new sections of hair. If you are unclear on how I’ve pulled these sections of hair up, I did it similar to this previous post.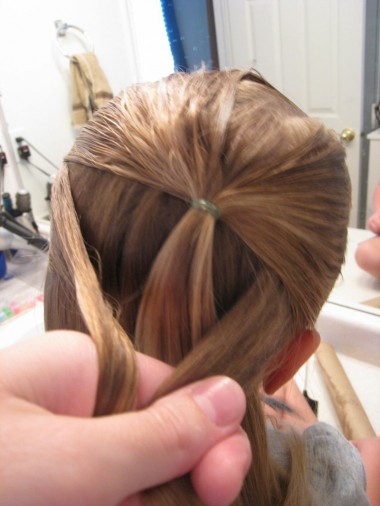
Step 3 – Fasten sections together with rubber band.
Set it off to the side a bit underneath the top rubber band. Notice how you can see the top ponytail’s hair hanging down below it.
Step 4 – Continue on down repeating the above steps, however many times you wish
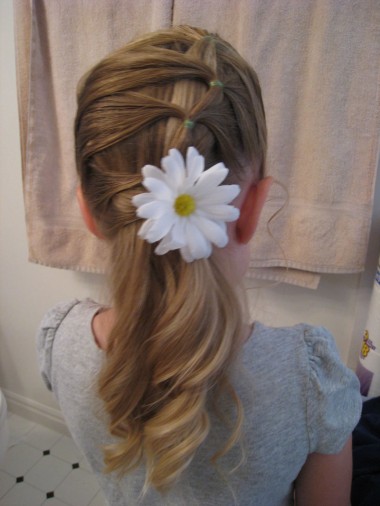
I did 5 separate ponies – staggering them ever so slightly as I went down and that worked out great. The bottom 2 weren’t spaced as far apart as the other ones, but oh well.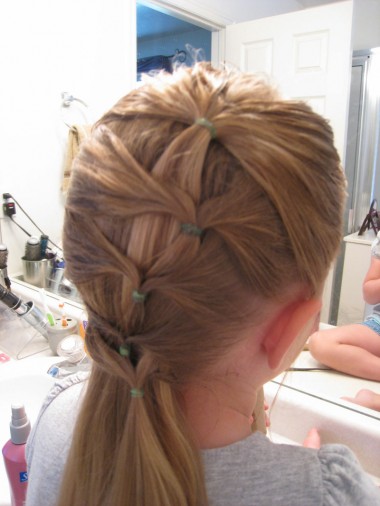
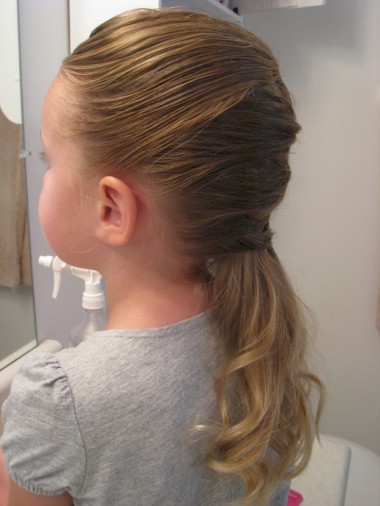
Here’s a view from the side. The nice thing about this one is the way the hair is sectioned out and pulled over the top of the hair that is hanging down, there are no real parts in view from the sides.
Step 5 – Curl the remaining hair down in back
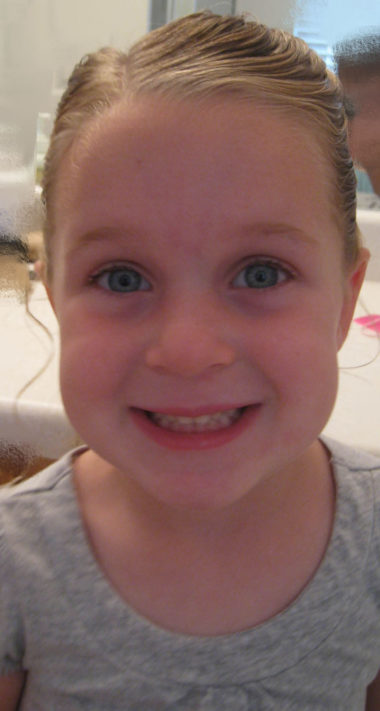
I then curled the ends so it hung nicely and was a little dressier than if we’d left it straight. Here she is from the front … I accidentally missed a few wisps of hair on the sides so we just made those into loose ringlets.
I debated on the whole bow/flower thing, and although it looked cute with, the daisy ended out being a bit big for what I wanted and it covered up the lower half of the style. So I ended out taking it off and just letting it be plain rubber bands. You could probably use bright colored rubber bands for this as well to add a little pizazz to it if you wanted.
