I guess technically this is our day-after-the-baptism hairdo – and when I first posted it HERE – I didn’t do step-by-step pictures. But due to the fact that I had many of you say you tried it & couldn’t quite figure it out, I figured I’d help you out & do it over, this time taking pictures!
I apologize if any of the pictures are blurry. I’d taken some medicine for a monstro-headache that I’d had, and as I was doing her hair I started feeling rather shaky.
When I did her hair like this the first time – it was wet from after her bath, but this time I just dampened it with my water bottle. After having done it both ways I think it turned out better with the wet hair from her bath. But do what works best for you.
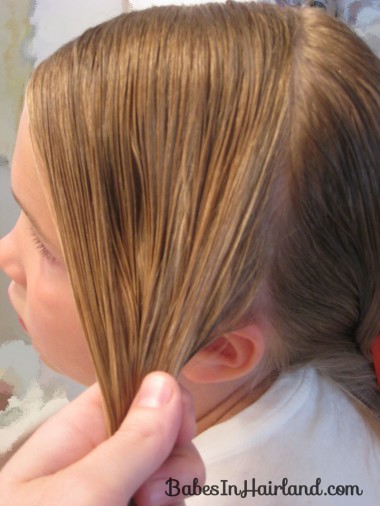
Make a part on top of the head – off center on the right side. Then part it from ear to ear.
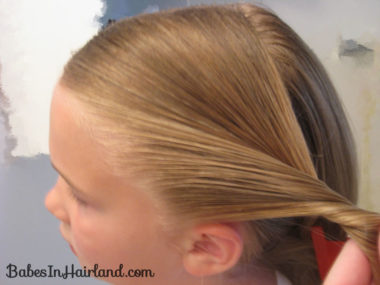
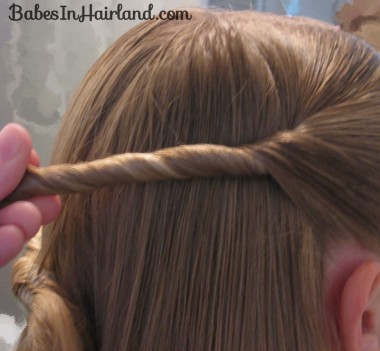
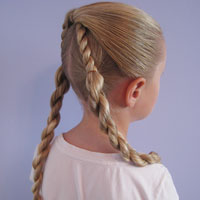
Starting on the left side, begin to twist – just twisting – not a twist braid or anything fancy…. simply twist it inwards – towards her head.
Twist it good and tight and the temporarily secure it to the hair hanging down in back with a little clippy. The first time I did this, I did the whole style a bit off center – towards the right side of her head. I accidentally got things more centered the 2nd time around!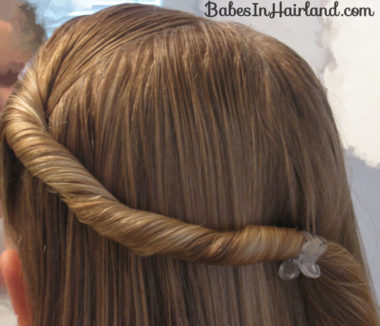
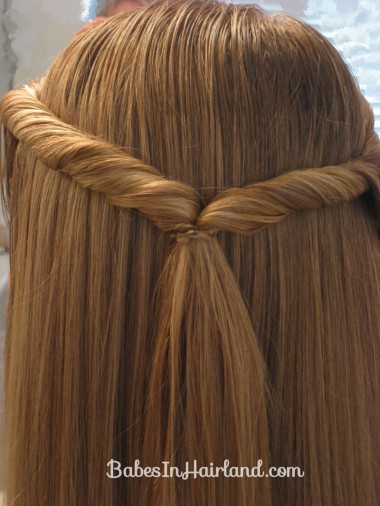
Repeat on the right side of her head – twisting the hair inwards.
Secure with a rubber band. Like I said, this is more towards the middle of her head. I liked it more off-center.
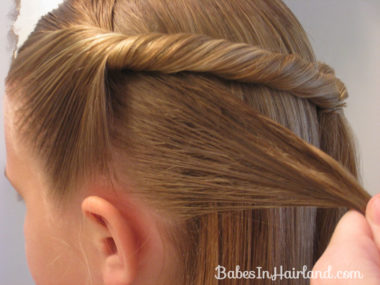
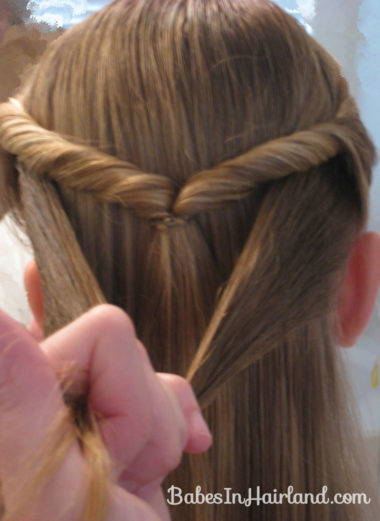
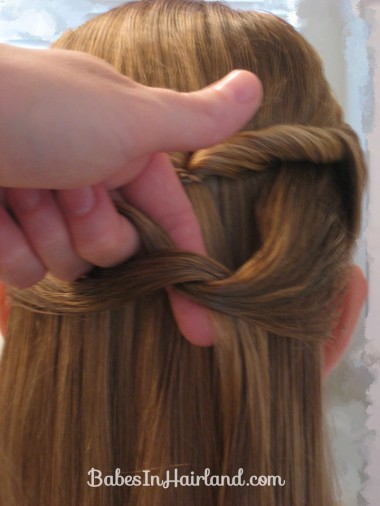
Take a thin section of hair from behind the left ear and comb it smooth.
Do the same on the right side. You might need an extra hand for this to keep things smooth!
Then take those 2 strands and cross the right strand over the left and pull it through – making a basic shoe string knot like when you start tying your shoe.
This is where it gets hard to explain – although this isn’t hard! Once you’ve made that basic “knot” pull it a bit tighter and then allow the “tails” of your knot to join the tail that’s hanging down from your twists.
Sort of pinch it with your fingers to get it all to stay in place and not loosen up. Secure it underneath the knot with a rubber band.
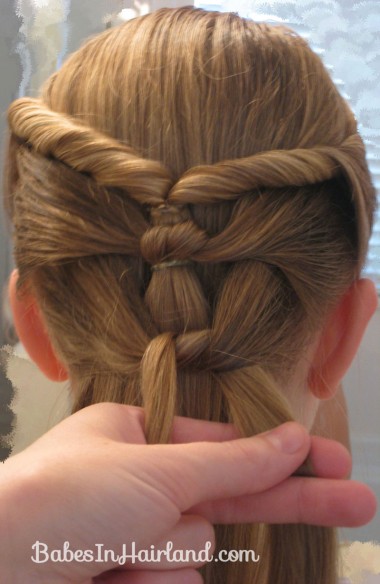
Repeat again one more time. Take a section of hair from each side behind the ears, and tie a simple knot – crossing one strand over the other and pulling it through.
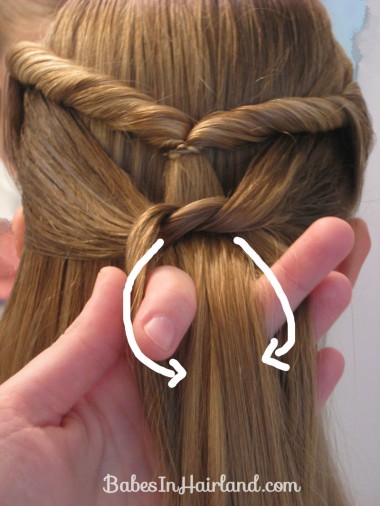
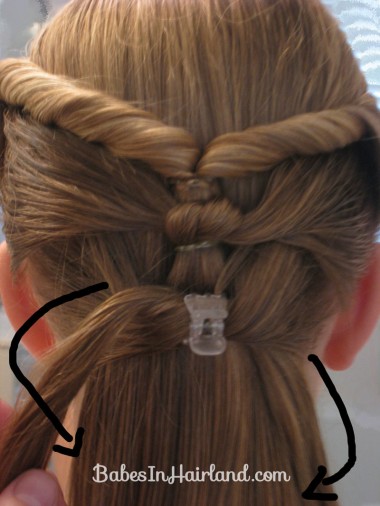
Temporarily hold that knot with a clippy for this next step. Now you will take each tail of the knot and pass it underneath the rest of the hair that is hanging down in back.
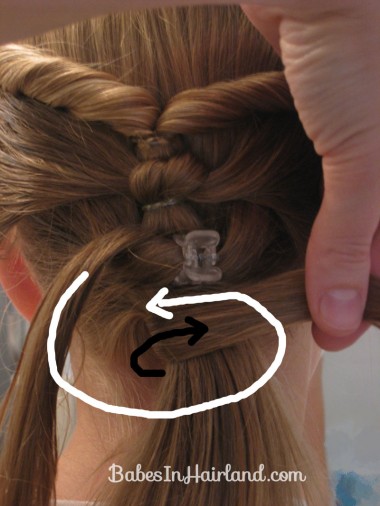
At this point you’re going to basically be making a wrapped ponytail – except you’ve got 2 sections of hair you’ll be wrapping around the ponytail. Start with the right “tail.” Pass it underneath the hair going towards the left, and bring it back around over the top of the hair. The black arrow is showing the direction that right tail of hair should go once it’s passed underneath. The white arrow is to show you to pass the left tail from your knot under the hair towards the right side and wrap it over the top of the pony heading back towards the left side. Oh geez, I hope this makes sense. Sorry if it doesn’t!
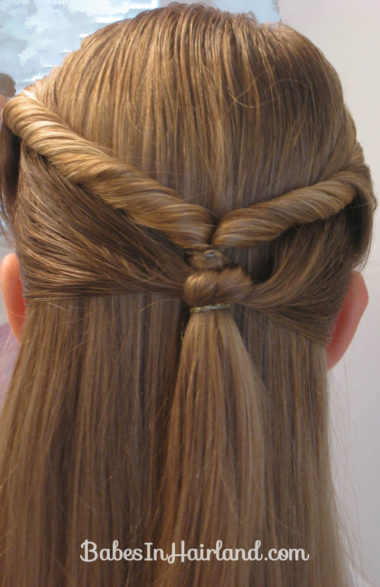
Once you’ve passed both of them fully around the ponytail add the tails that you wrapped around the ponytail into the ponytail and hold it carefully while securing it all with a rubber band. If you get the rubber band in right, you should be able to sort of hide it up underneath the hair that is wrapping the ponytail.
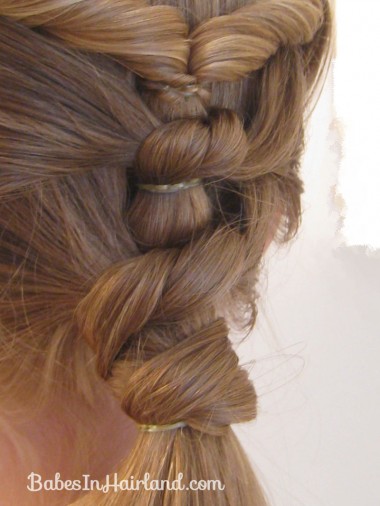
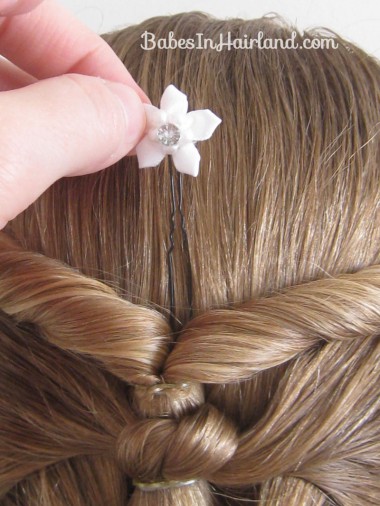
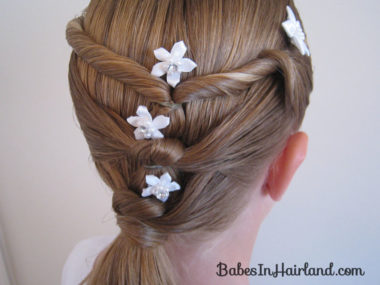
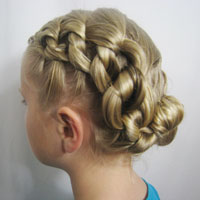
Here’s a little closer look of all the knots & wrapping! If you want that bottom knot & the ponytail wrap to be a bit closer together, just cinch that ponytail up a bit as you would to tighten a ponytail & it should get rid of the gap there on the bottom.
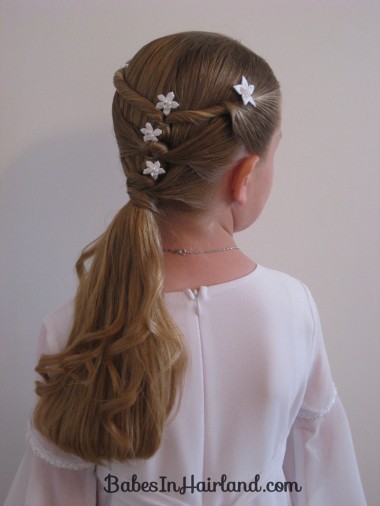
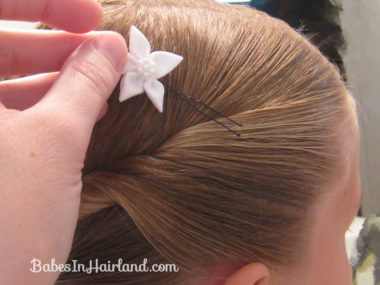
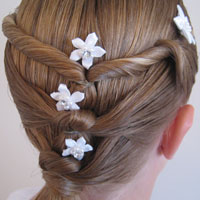
Then I stuck in the hair pin accessories I made. I angled the pin forward so the flower sat the way I wanted.
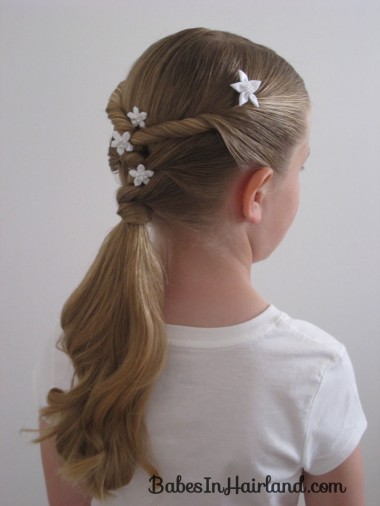
Then added a few of the smaller flowers in back – and I staggered them, because I didn’t want them making a straight line down the back of her head.
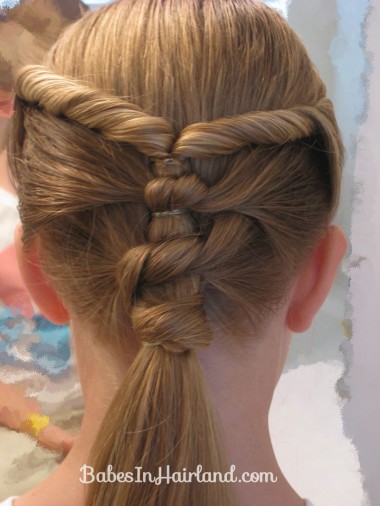
So here’s take 2 of this hairdo:
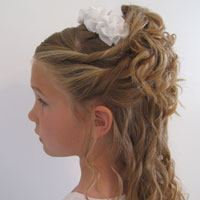
And the 1st time I did it: (I got it all a bit tighter and neater I think!) Oh, and don’t forget to add a bit of curl to the ponytail!
Hope that helps a bit. The whole knot stuff & the ponytail wrap was rather hard to put in words, so hopefully I make sense!
My husband and i baptized our 15 year old daughter last year at easter vigil.she was 14 then and we dressed her in all white consisting of a poofy,top of the knees baptism dress and did a cute bridal bow with pink and white ribbons on the back of her head.she had the lace socks and white mary janes with a pink bow on them.On the back of her white rubber pants i did a smaller pink bow in the center of them.the back of the bow was sticky and stuck to the rubber pants all day and looked cute on them.
Hi,we also baptized our 15 year old daughter and our 13 year old son this past easter sunday at easter vigil.we rented a white suit for the son and then did the daughter in a very poofy,midthigh length dress with 6 small pink roses on the front-3 on each side.her bonnet was white with a pink rose on the back of it.we did the white lace socks with pink lace around the top and then i got two pink roses at michels arts and crafts and stuck one each on her white mary jane shoes.i was able to find a pair of white rubber pants with pink flowers on them that she wore under her dress.she looked so cute and adorable in the outfit for the day.