A couple posts ago I promised a tutorial on what I call Half-French braiding – and things have been so crazy I almost forgot! Ya’ll may already know how to do this, but for those of you that don’t I hope this helps. Rather than trying to take step by step pictures (since I’ve only got 2 hands) I figured I’d do the next best thing … make a video for you. I made one using Goose for the video a while ago, but baby Bee was not cooperating and you couldn’t hear the audio – except for her crying, so hopefully this one works ok that I remade today. If you don’t find this helpful, let me know & I’ll try make another one. And sorry, the end cuts off because it was too long to upload. But just keep doing what I show in the video wrapping around the whole head.
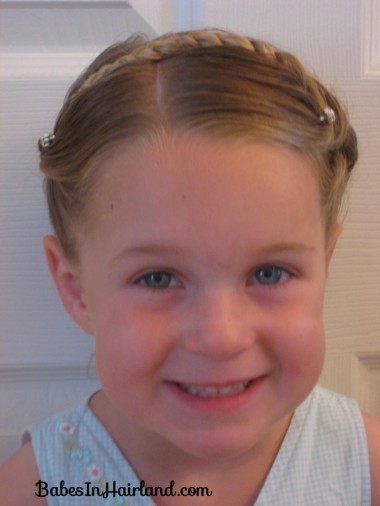
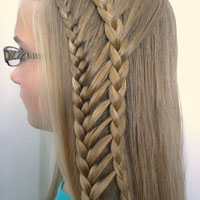
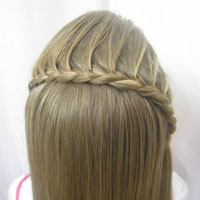
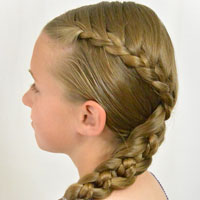
You can do these “half French braids” in a bunch of different fashions, (like I showed at the bottom of this post) but I love the way the crown looks on Bug. It also is a great way to get the hair off her neck during the summer.
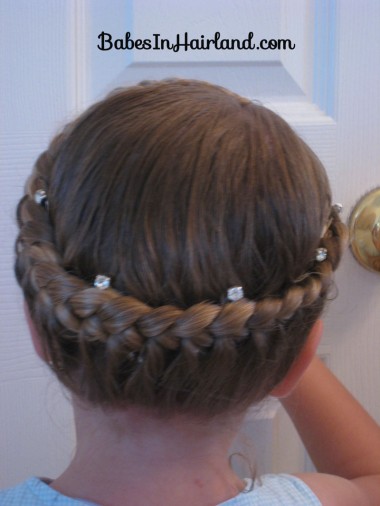
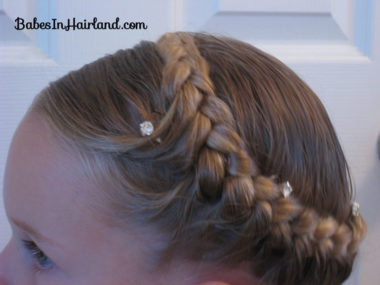
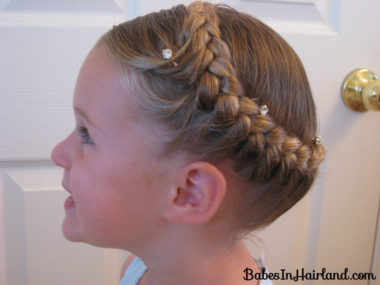
I started by making a part on the right side of her head. I then began the braid on the right side of her head – just above her ear – working my way around her head. Be sure to regularly smooth down the hair that is laying flat on the crown of her head so you don’t have a ton of bumps and stuff.
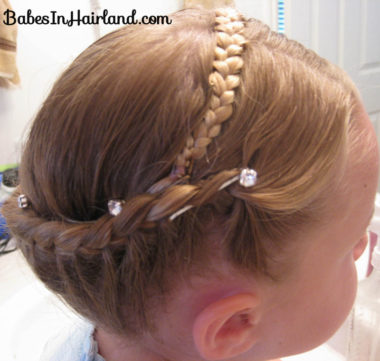
Once I get to the left side of her head up by her left temple I’m pretty much out of hair to add into the French braid part, so I then just continue making a regular braid until I run out of hair. Tie it off with a little rubber band. Then take it and pull it across the top of the head as done in my pictures – like a headband over the top of the head from left to right. Fasten it down with bobby pins over on the right side of the head, where you first started it all.
This next picture I took after I was about ready to take it out for the day. I hadn’t fastened the end down well enough and you can see the end of the braid & rubber band had started pulling away from where I’d tacked it down. If your DD has longer hair, just wrap it across her head and tuck it into the braid that is wrapping at the base of the neck. Does that make sense? Bug’s reaches just perfectly over her head and into the right side, so I don’t have to bury it too much into the other part of the braid.
If you feel like your braid isn’t tight enough to the head, just tack a few bobby pins from the inside to keep it from sagging. That’s what I usually end out doing. Then I added a few of the “pretty” ones to embellish the whole thing. She really feels like a princess with this do!
And a view from the front where you can see the braid pulled over the top of her head.
Like I said, there are many ways you can do this. I’ve seen them done where the half french braid is done around the entire head, but the way I parted her hair and let it hang down I can’t do that. I get it to lay nicer doing it this way. Anyway, there are countless ways to style your DD’s hair with these and I find them easier and quicker than a full french braid because there are fewer steps.
I just wanted to let you know I found your website last year when my granddaughter was in kindergarten. I began doing different styles on her everyday and received so many raves on how nice her hair always looked. I have given your website to so many people that asked how I did that. Keep up the good work and thank you so much for your videos, now my granddaughter has unique braids instead of just the normal braid or french braid, (which is all I knew how to do until I found your website last year).
Thank you so much for letting us know Eva! That is so sweet that you are sharing that time with your granddaughter and doing her hair. She is one lucky little girl! Thank you for passing on the word about our site! We really appreciate it! So glad you like our stuff & hope you’ll continue to come back often!