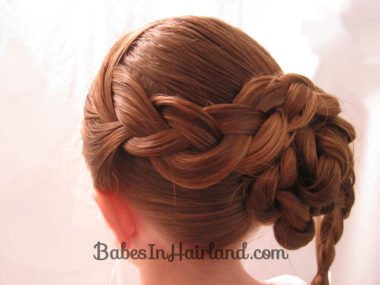
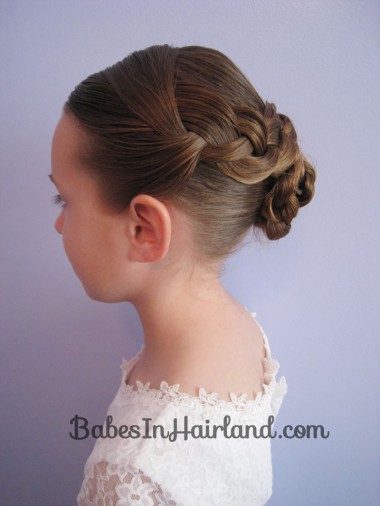
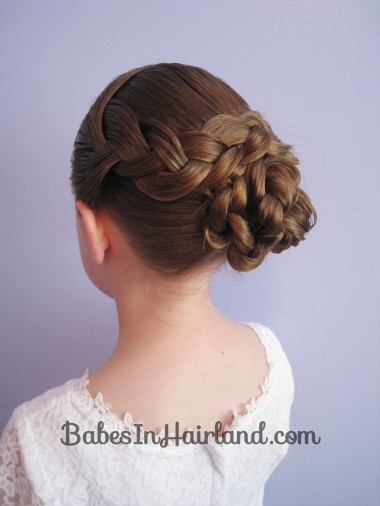
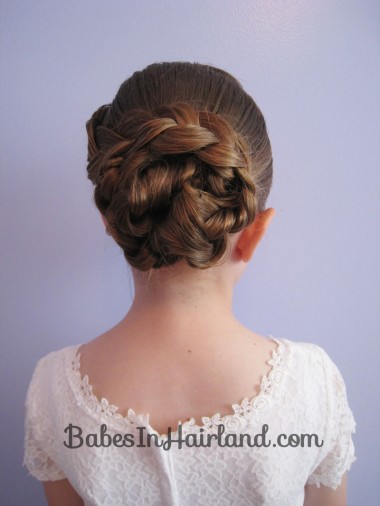
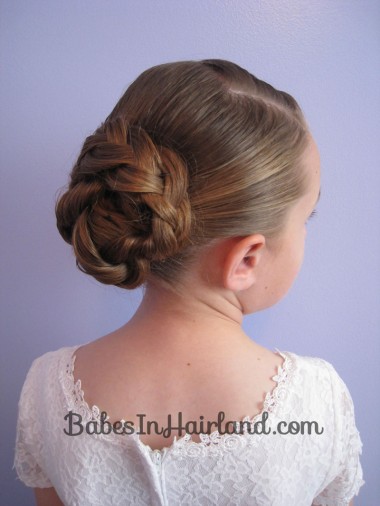
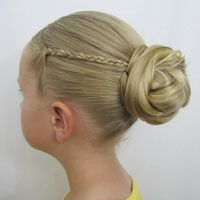
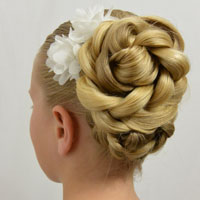
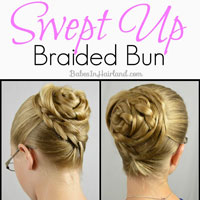
At first glance, this bun may appear to be just a regular braided bun. Not so! If I try do Bug’s hair in a bun, it still is a bit “knobby” for me. By that, I mean, I prefer braided buns that lay closer on the back of the head rather than being like a weird “knob” protruding off the back of her head. And so by knotting the hair in her bun it gives it a cooler texture and allows me to arrange the hair where I want it so that it isn’t so much of a “knob!” You could certainly do this with a braided bun, but with her length of hair this is how we did it.
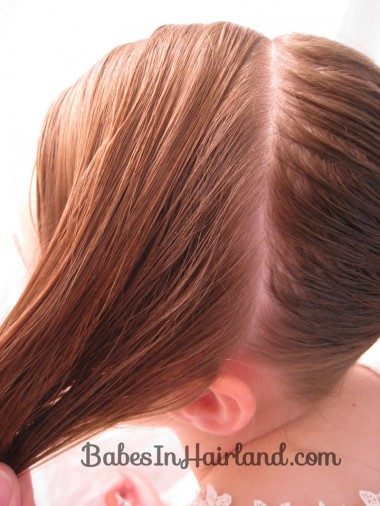
Step 1 – Section out hair on the front left side of the head
Make a side part on the right side of the head. Then part down to the left ear.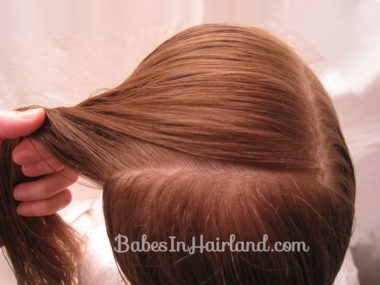
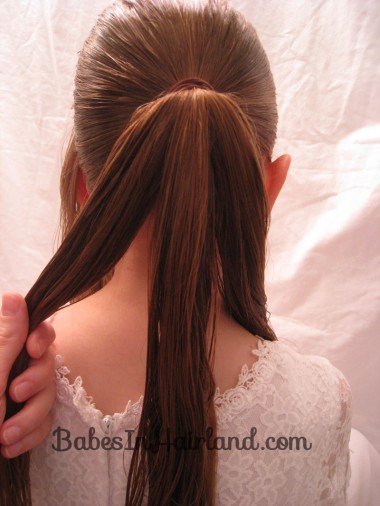
Step 2 – Make a ponytail
With all the hair remaining, secure all the hair into an off-center ponytail in back.
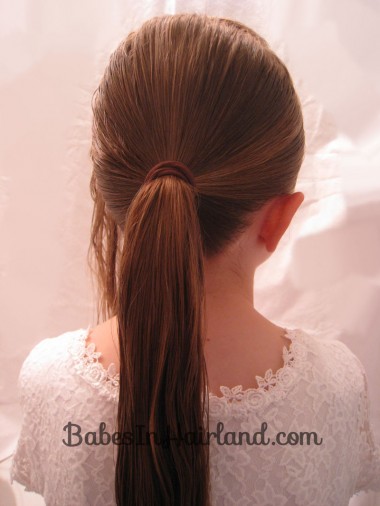 Step 3 – Divide ponytail into 3 sections
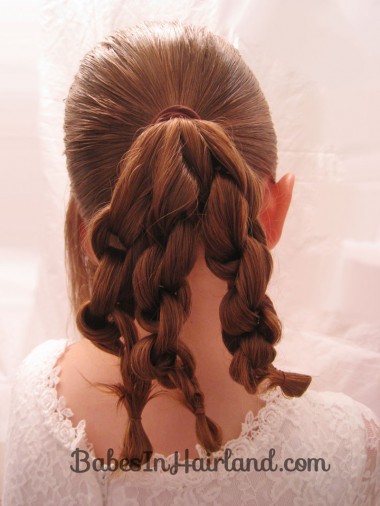
Step 4 – Tie knots in each section
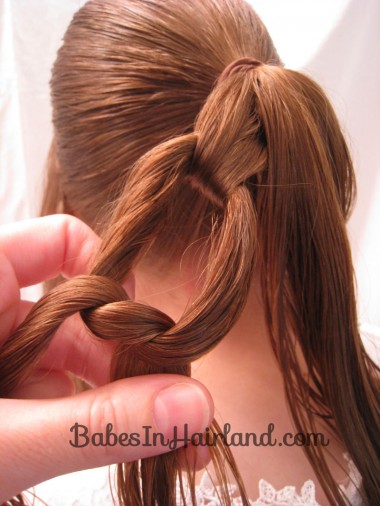
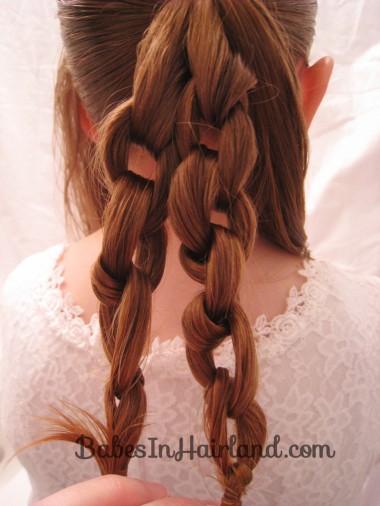
Starting in the left section of the ponytail, divide it in half and pass left over right as if you are tying your shoe. You will be making loops or “chains” as you knot the hair. You can make these as big of knots or as small as you wish.
Once you reach the end of each section of hair, secure with a rubber band.
When I wrap the rubber band around for the last time, I like to keep the tail at the bottom looped up in the rubber band. It makes a little loop at the end and sort of “traps” the hair and makes for less loose hairs poking out all over.
 Step 5 – Arrange the knots
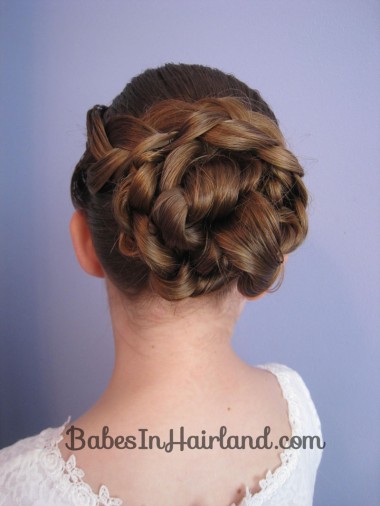
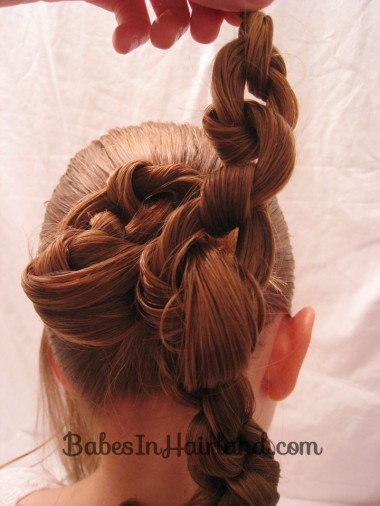
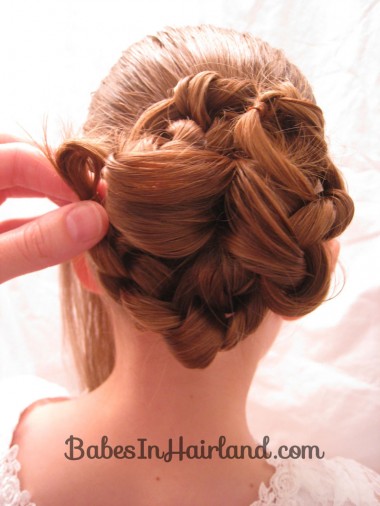
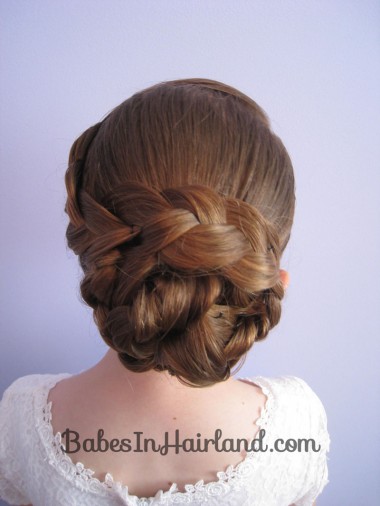
Starting with the left section, carefully arrange it up and around the top of the ponytail. Secure with bobby pins as needed. Don’t pull it too tight or the knots don’t lay as nicely. Just arrange these to look the way you think is best.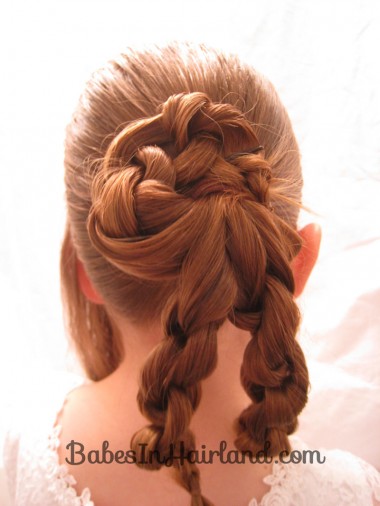
Next take the middle section of knots and place it as you like. I laid this section down more toward the right side of ponytail base.
Lastly, take the section on the right and wrap it under everything to make things look a bit more symmetrical. Bobby pin as needed.
Step 6 – Make a braid
Once your knots are secured on the back of the head, braid the section of hair that you parted out in step 1.
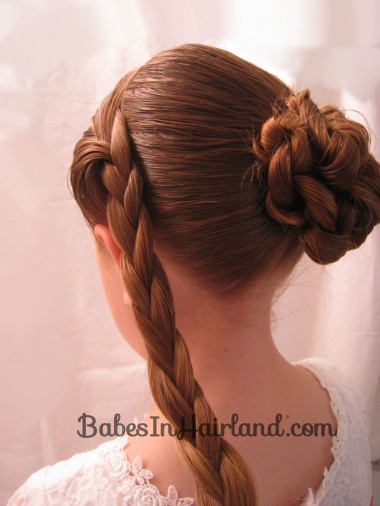 Step 7 – Pull on edges of braid to make it looser & wider
Be sure to secure the end of your braid with a rubber band once you’ve gotten it to the width you want.
Step 8 – Drape the braid over the knotted bun
With a few bobby pins secure the braid on top of the knotted bun. Continue wrapping the braid around the right side of the bun and tuck the ends of your braid into the bun and secure with a few more bobby pins.
FINISHED!
That’s it! You can add accessories as needed to dress this up even more if you wish. This is great for church, or even a fancy occasion. If you wish to leave off the braid in front and add a more intricate look with the knots – check out our Knotted Pony Updo we did on Bug way back when we first started our blog!
I have the same problem with braid buns! I really love the braid across the top, so fun!
I’m so glad we’re not the only ones! When I was writing that I wondered if anyone else has that issue with braided buns! It just bugs! lol
did this. turned out cute