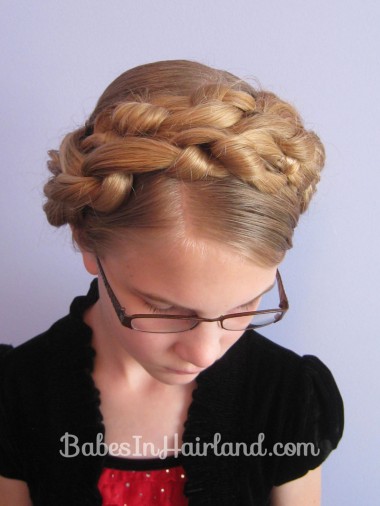
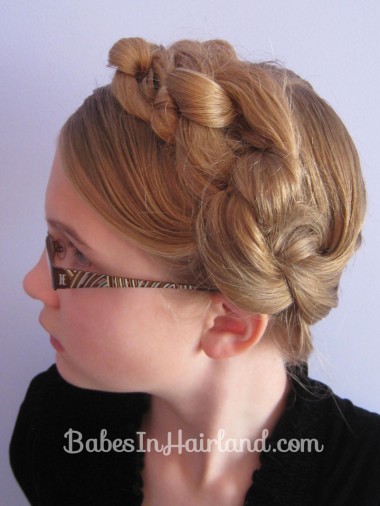
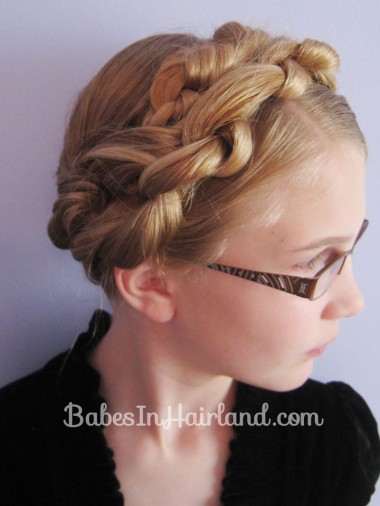
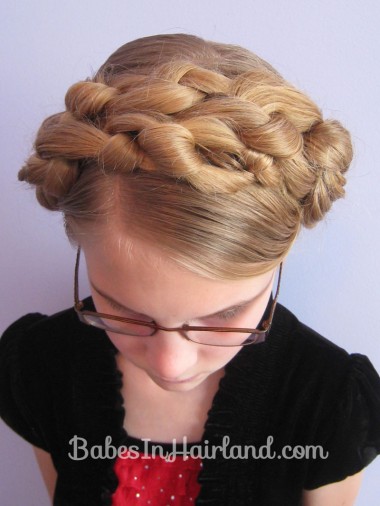
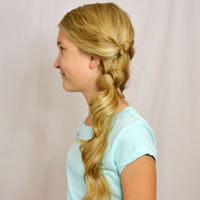
Ok, so these aren’t technically braids. But most everyone knows if you say “milkmaid” braids, they are pulled over the top of the head, right? Good! So we’ll go with that then! 🙂 Knotting the hair instead of braiding for this style, gives the hair a thicker/fuller look I think.
The idea behind these is basically the same as our Milkmaid Braids we did years ago, but instead of braiding, you’re going to make knots or chains that go across the top of the head. This obviously was done with long hair, but if you are working with shorter hair, just start the knots up higher above the ear to allow them to at least touch in the middle.
Step 1 – Make a middle part all the way from front to back
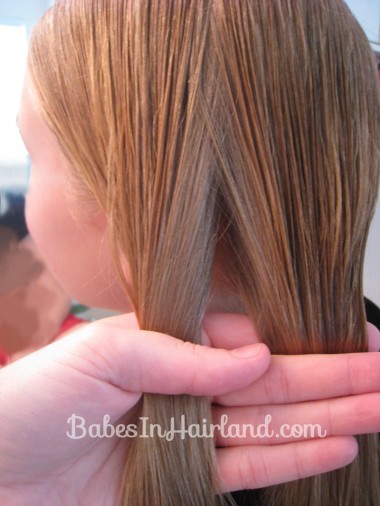
Step 2 – Divide hair in half
Starting on the left side of the part, divide the hair in half to prepare to make a knot.
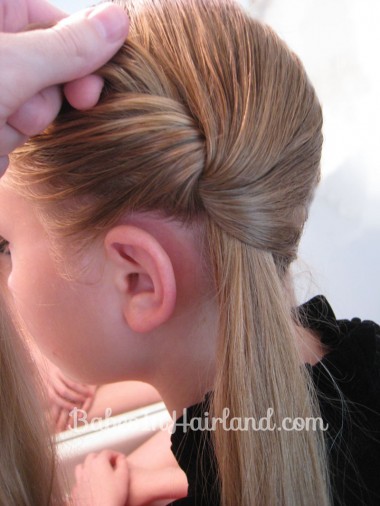
Step 3 – Tie a knot
This is basically like the beginning step of tying your shoe. Cross the right section of hair over the left, and pass the left section of hair through the hole and pull tight. (Or do just the opposite if that is more natural for you!)
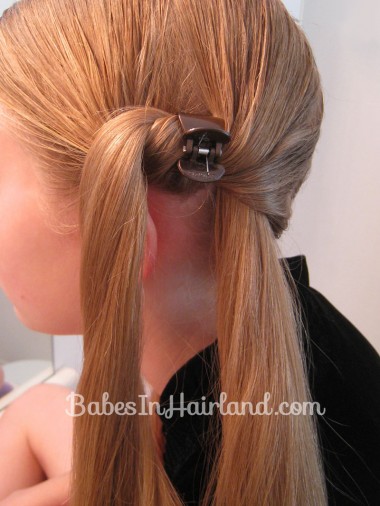
Step 4 – Secure with a clip
This is optional, but I find it keeps things from coming undone until everything is secured at the end.
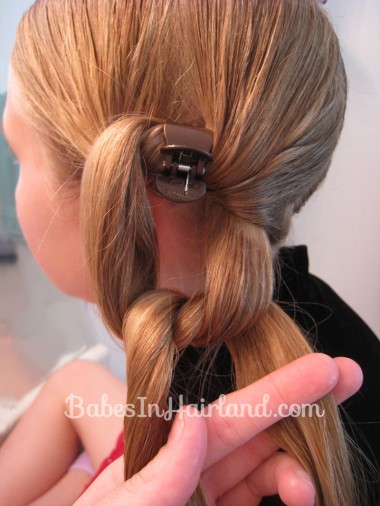
Step 5 – Make another knot
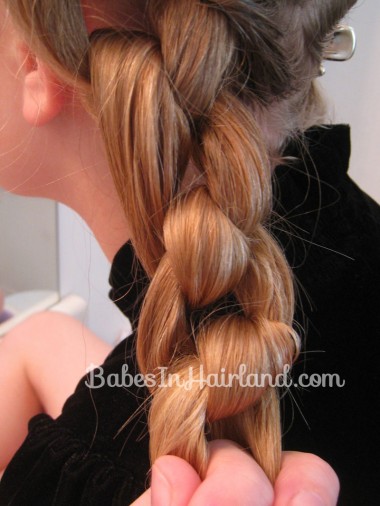
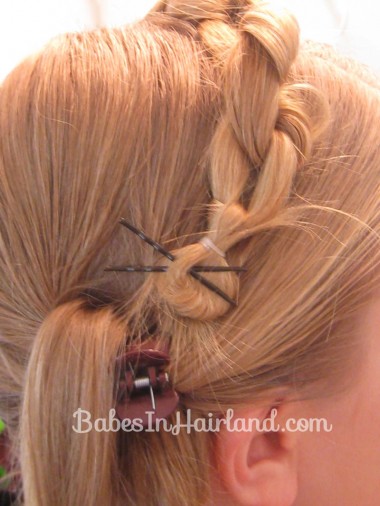
Again, pass the right section of hair over the left, and pass the left section of hair through the hole — but this time don’t pull it tight. You’ll be leaving it like a chain of knots. We did this with her hair dry and didn’t worry about loose hairs too much.
Continue down the hair until you reach the end.
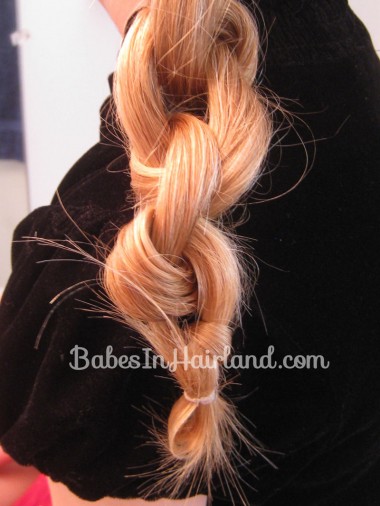
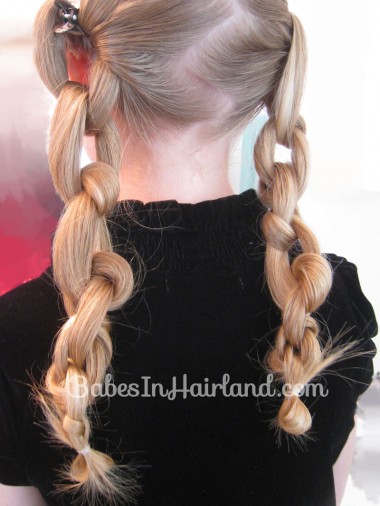
Step 6 – Secure the end with a rubber band
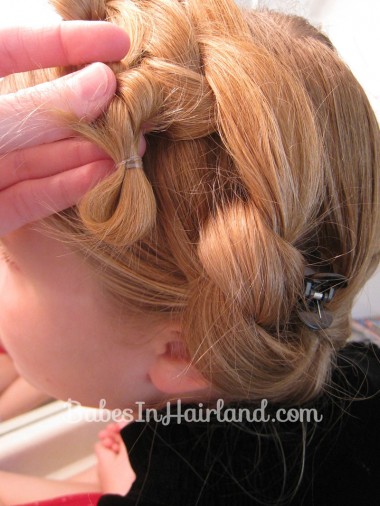
We left the tail looped up in the rubber band. This helps when anchoring it later.
Step 7 – Repeat Steps 2-6 on the right side
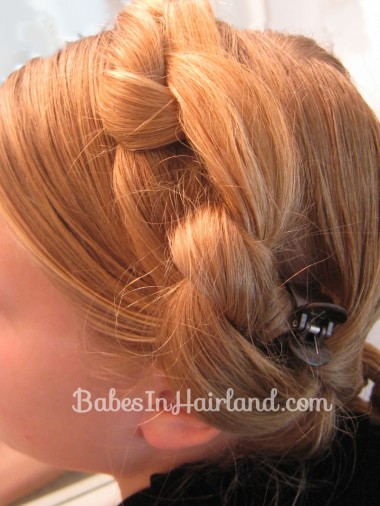
Step 8 – Drape left braid over the head
Step 9 – Secure as needed with bobby pins
This is where that “loop” in the tail comes in handy. Plus you don’t have as many stray hairs spraying out all willy nilly!
Step 10 – Repeat Steps 8-9 on the right side
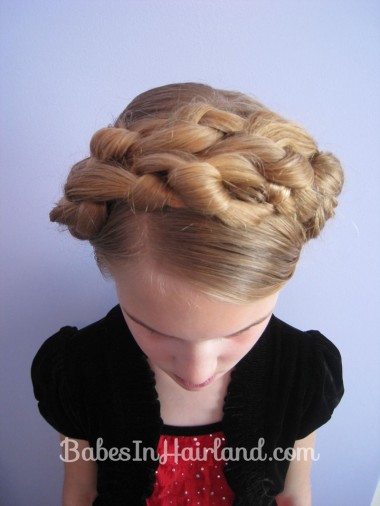
I brought the right braid over and placed it in front of the braid from the left side. If you want them to sit further back on the head, position them as you wish. Secure with bobby pins as needed. **Now you can remove those clips that were holding the starting knot in place! **
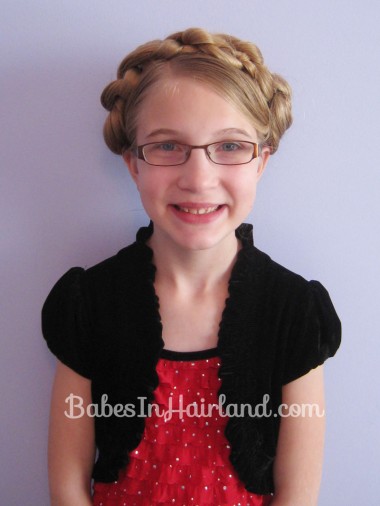
FINISHED!
This is style is a great one now that the weather is starting to warm up. It keeps your hair up off your neck & out of the way in the heat! Don’t forget to share this pretty style by using the buttons below!
Follow my blog with Bloglovin


So Adorable!! I did a couple of knot tutorials that one of my good friends had shared on her blog. Playing with hair is always fun.. And you have such a cute blog 🙂
Thanks so much! It’s been fun seeing all your cute stuff on Instagram too! Your girls are darling!
Can u have Goose do her own hair sometimes???
So we can learn on ourselves
She does do her hair a couple times/week. She’s just not comfortable sharing it with the world just yet! Fingers crossed that eventually we’ll get there. Thanks for your understanding & patience.
Thanks