I’m sooo excited about our fun new hair series we’re starting. If you’ve been around for a while here at BIH I used to do a monthly hair share (before we had our FB page) and I’d post pictures of the hairdo’s you guys were doing on your dd’s. About a year ago, I posted a hair share showing some fabulous creations from one of my wonderful readers Laura. She’d embarked on a fun quest to do the entire alphabet in her daughter’s hair.
Well, I sorta tucked that fun idea away in my head with plans to do it in Bee’s hair since she’s in pre-school now. When I told her what I was wanting to do she got so excited at the mere suggestion! So I hope you’ll enjoy our fun adventure we have as we proceed to create A-Z in Bee’s hair & share it with you!
So since school starts for us next week, I thought it only appropriate that we start our alphabet series up now. Obviously this can be done with twists, or altered to fit the length of hair your working with. But this is what we came up with. Feel free to recreate them however suits you and your dd!
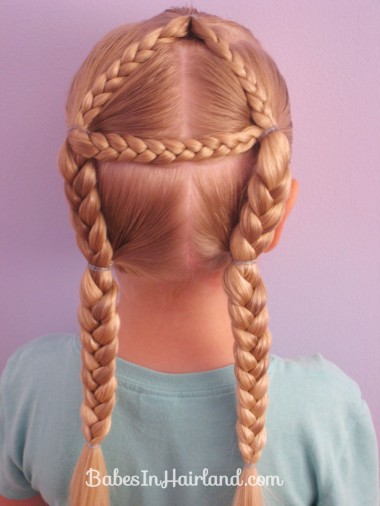
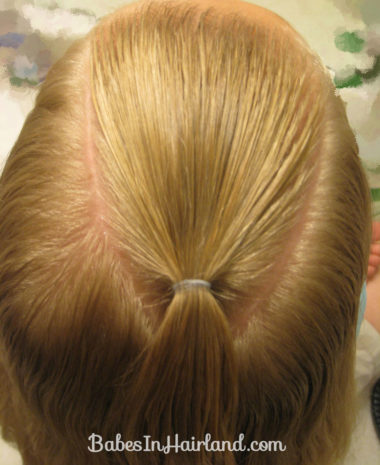
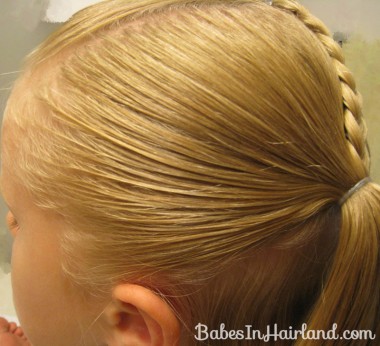
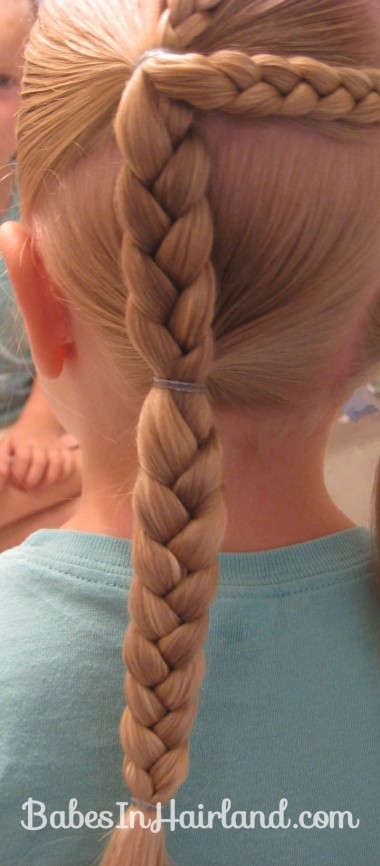
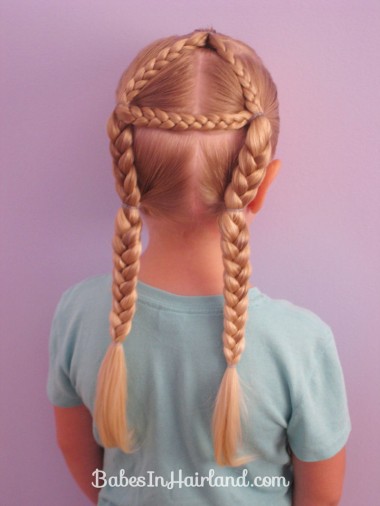
Part the hair into a triangular section coming back from the temples on an angle to make somewhat of a triangle. Make a ponytail & secure it with a rubber band.
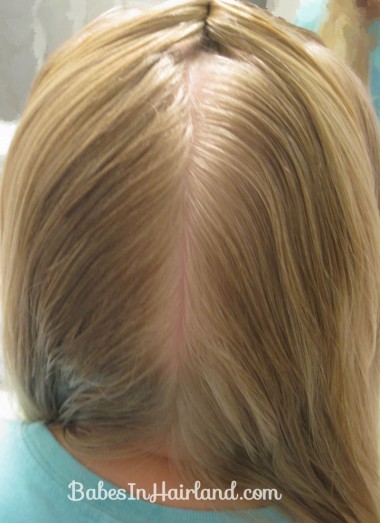
Divide the pony tail in half and also part all the hair down in the back right down the middle (or as close too it as you can!)
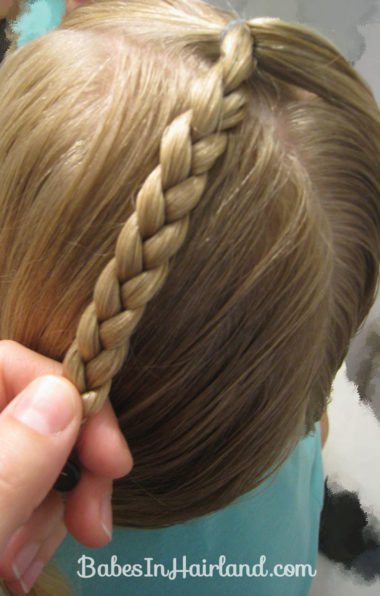
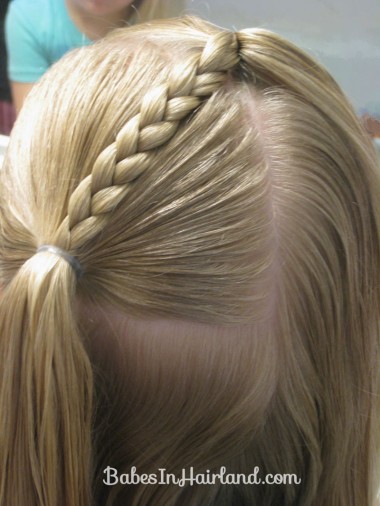
Take the left half of the ponytail and braid it part way down – secure it temporarily with a clip or have your dd hold it.
Make a part from the ear across to your middle part and make a ponytail.
Add your braid into that ponytail.
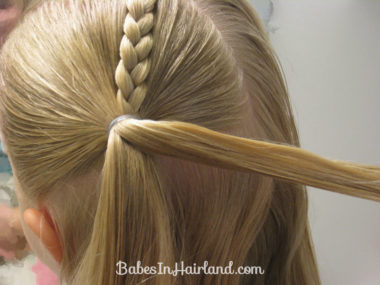
Take a small section off the top of the pony tail you just made –
Braid that section of hair and then temporarily secure it with a clip or rubber band.
Back to the pony tail on top — braid it part way down. Part out another section of hair from the ear back into your middle part and form another ponytail adding in your braid. (You technically could do this first before the step just before this one!)
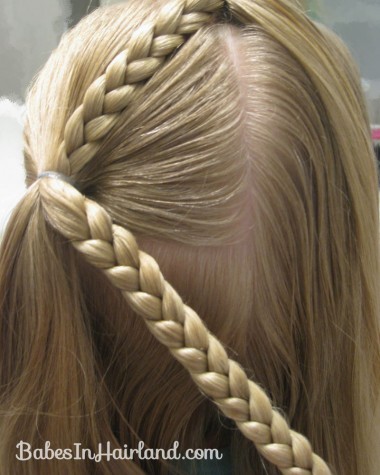
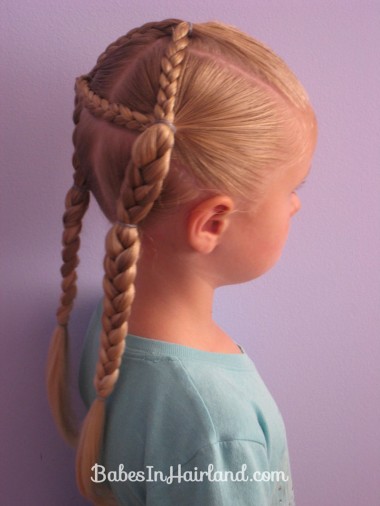
Now take that 3rd braid that has been hanging down & pull it from the left side of the head & join it into the ponytail on the right. Secure it with a rubber band. It should sort of cover up the part you made.
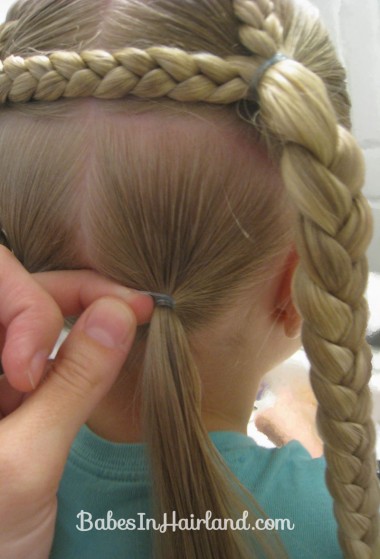
Braid the remaining hair in the ponytail that is hanging down on the right side and temporarily secure it. Then with the hair that is down below everything for a little ponytail and secure it with a rubber band.
Add your braid into that ponytail.
**Then the optional step is you can continue braiding the rest of the way down for a longer side on your “A” **
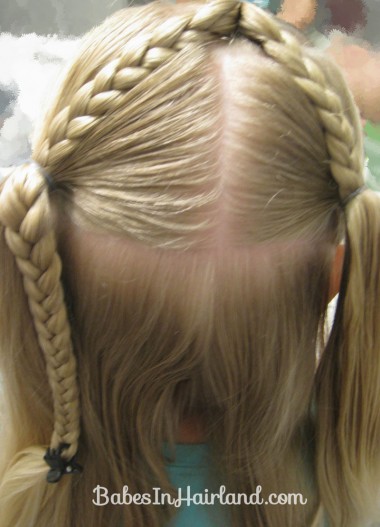
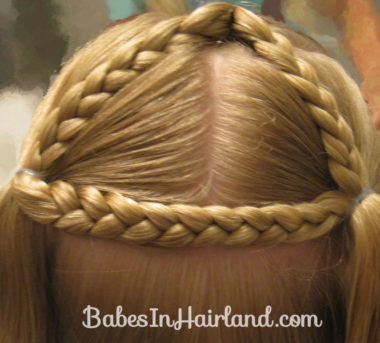
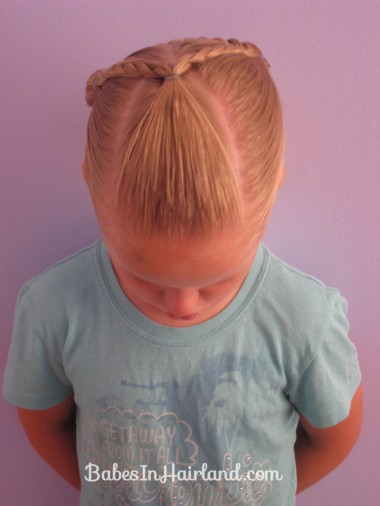
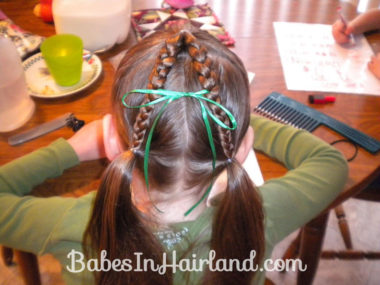
So here’s a look from above.
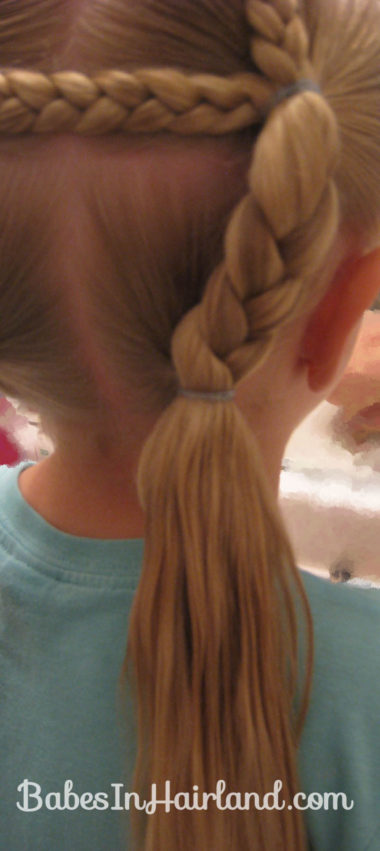
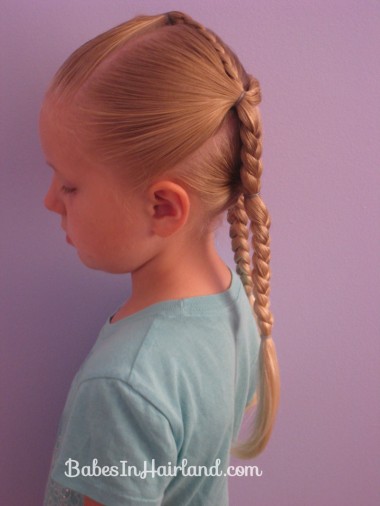
And from the sides:
Bee was so excited when I got done. It was a hit for sure!
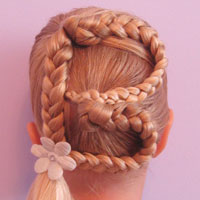
Periodically I’ll share with you Laura’s version of how she did the letter and so here is how she made her A. She used a ribbon to cross her A. I love how she got the angle on her A much higher and depending on how much time you have in the morning, hers might be a bit faster for you.
Photo used by permission from Laura W.
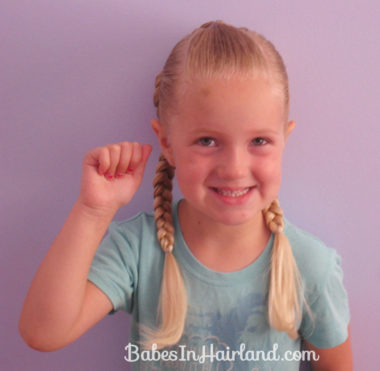
So — “A” is for Alphabet … but my husband says “A” is for “Aggies!” for all you USU fans! 🙂 And Bee has learned her sign language alphabet, so she’ll be sharing that too!
If you try any of our hair from our alphabet series, we’d love it if you shared it with us on our Facebook page! Hope everyone is adjusting back into the swing of things with school schedules and such. Monday is our 1st day back so wish us luck!
Wow! I still just dont know how you can do it
Wow! Your daughter has so much hair!!
Hey, just tried this….. came out pretty good!!! gotta make a few adjustments, I think….I’ll post a pic on your facebook a bit later, and maybe you can give me some pointers on making it look more like yours…. thanks for these, I’m planning doing a letter a day for back to school!!!