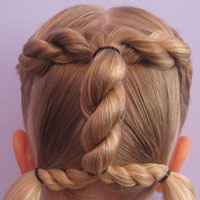
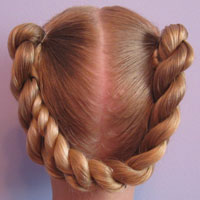
“Q” is for Queen Bee
I realize it’s been a while since we posted an ABC Hairstyle, but life gets crazy & we wanted to get a few of our Valentine’s Day styles posted, so these took a back seat for a bit.
This one isn’t too different from our Letter O style – so let’s get started.
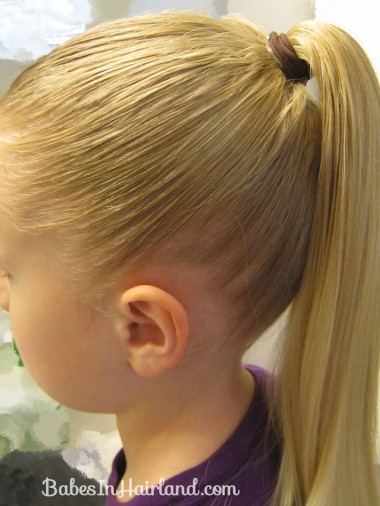
Step 1 – Make a ponytail
Be sure to make it a rather high ponytail up on the back of the head so you’ve got room to form the shape of your Q.
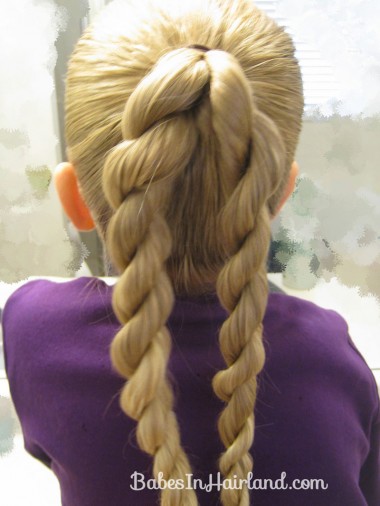
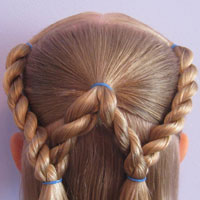
Step 2 – Divide the ponytail in half and make 2 rope/twist braids
You can do regular braids, or whatever you prefer it to look like.
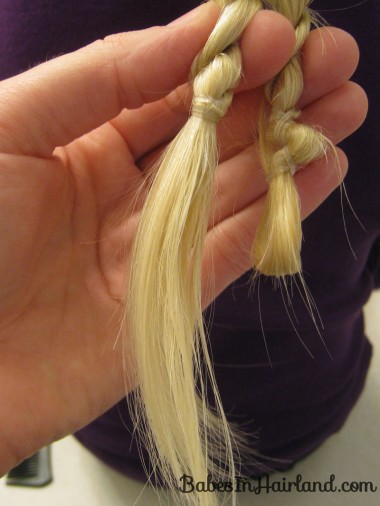
Step 3 – Secure the ends of your twists
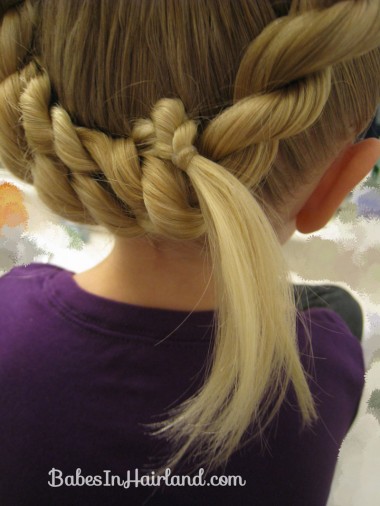
Tie the left twist off with a rubber band and let the “tail” hang out freely. Secure the right twist with a rubber band so the ends are tucked up in it and won’t spray out anywhere as shown in the picture below. The right one will have a little loop on the end.
Step 4 – Form the circle
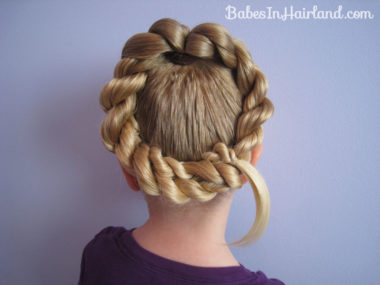
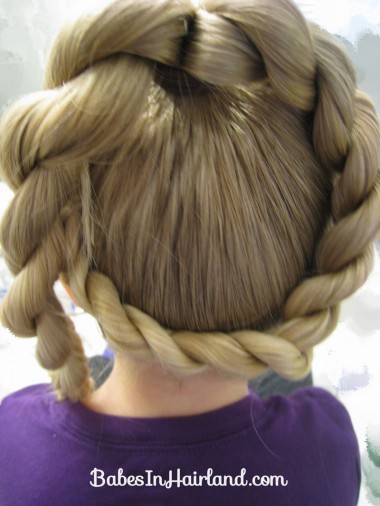
Take the right rope braid and anchor it as needed with bobby pins to form the right side of the O shape. If the hair is long enough, the ends should hopefully hide under the left rope braid.
Step 5 – Position the left rope braid & anchor with bobby pins as needed
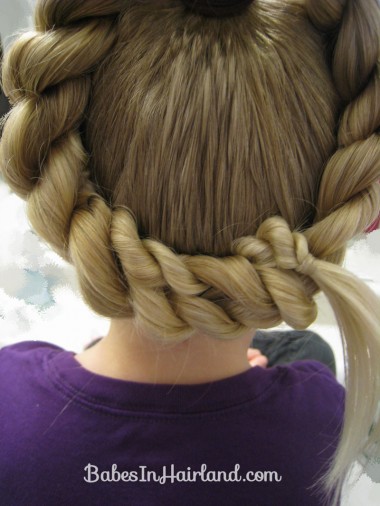
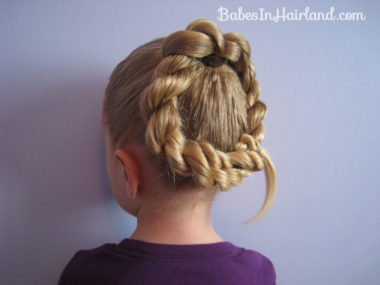
I had the left rope braid wrapping on the bottom of the right one, then I tucked it up and around the top of the right rope braid so the “tail” hung over the top to form the “tail” of the Q.
Step 6 – Secure the Q tail with a bobby pin
I used my flat iron to ever so slightly curl the end under & make the tail stay together so it didn’t “spray out” as much.
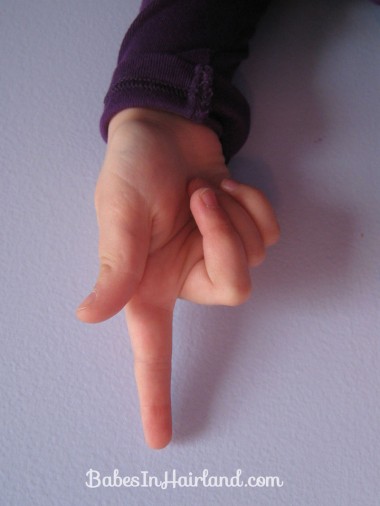
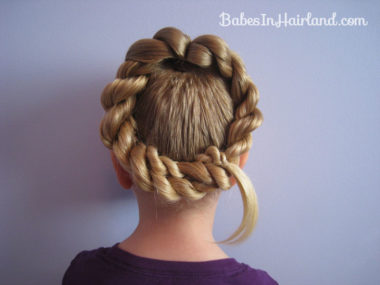
And because the letter Q is hard to do in sign language for a little 5 year old’s hand, I took the picture and flipped it upside down!
So here’s your finished product! Bee thought the tail of the Q should have come into the circle a bit more & perhaps she’s right. If you’ve ever read the Ramona Quimby books, this Q sort of reminds me of how Ramona wrote her Q’s … it just needs 2 little cat ears up on top! lol
This one was really quick & easy & it stayed in nicely. You could embellish this by wrapping it with ribbon as well. Be sure to share your pictures with us on our Facebook page if you do this one!
