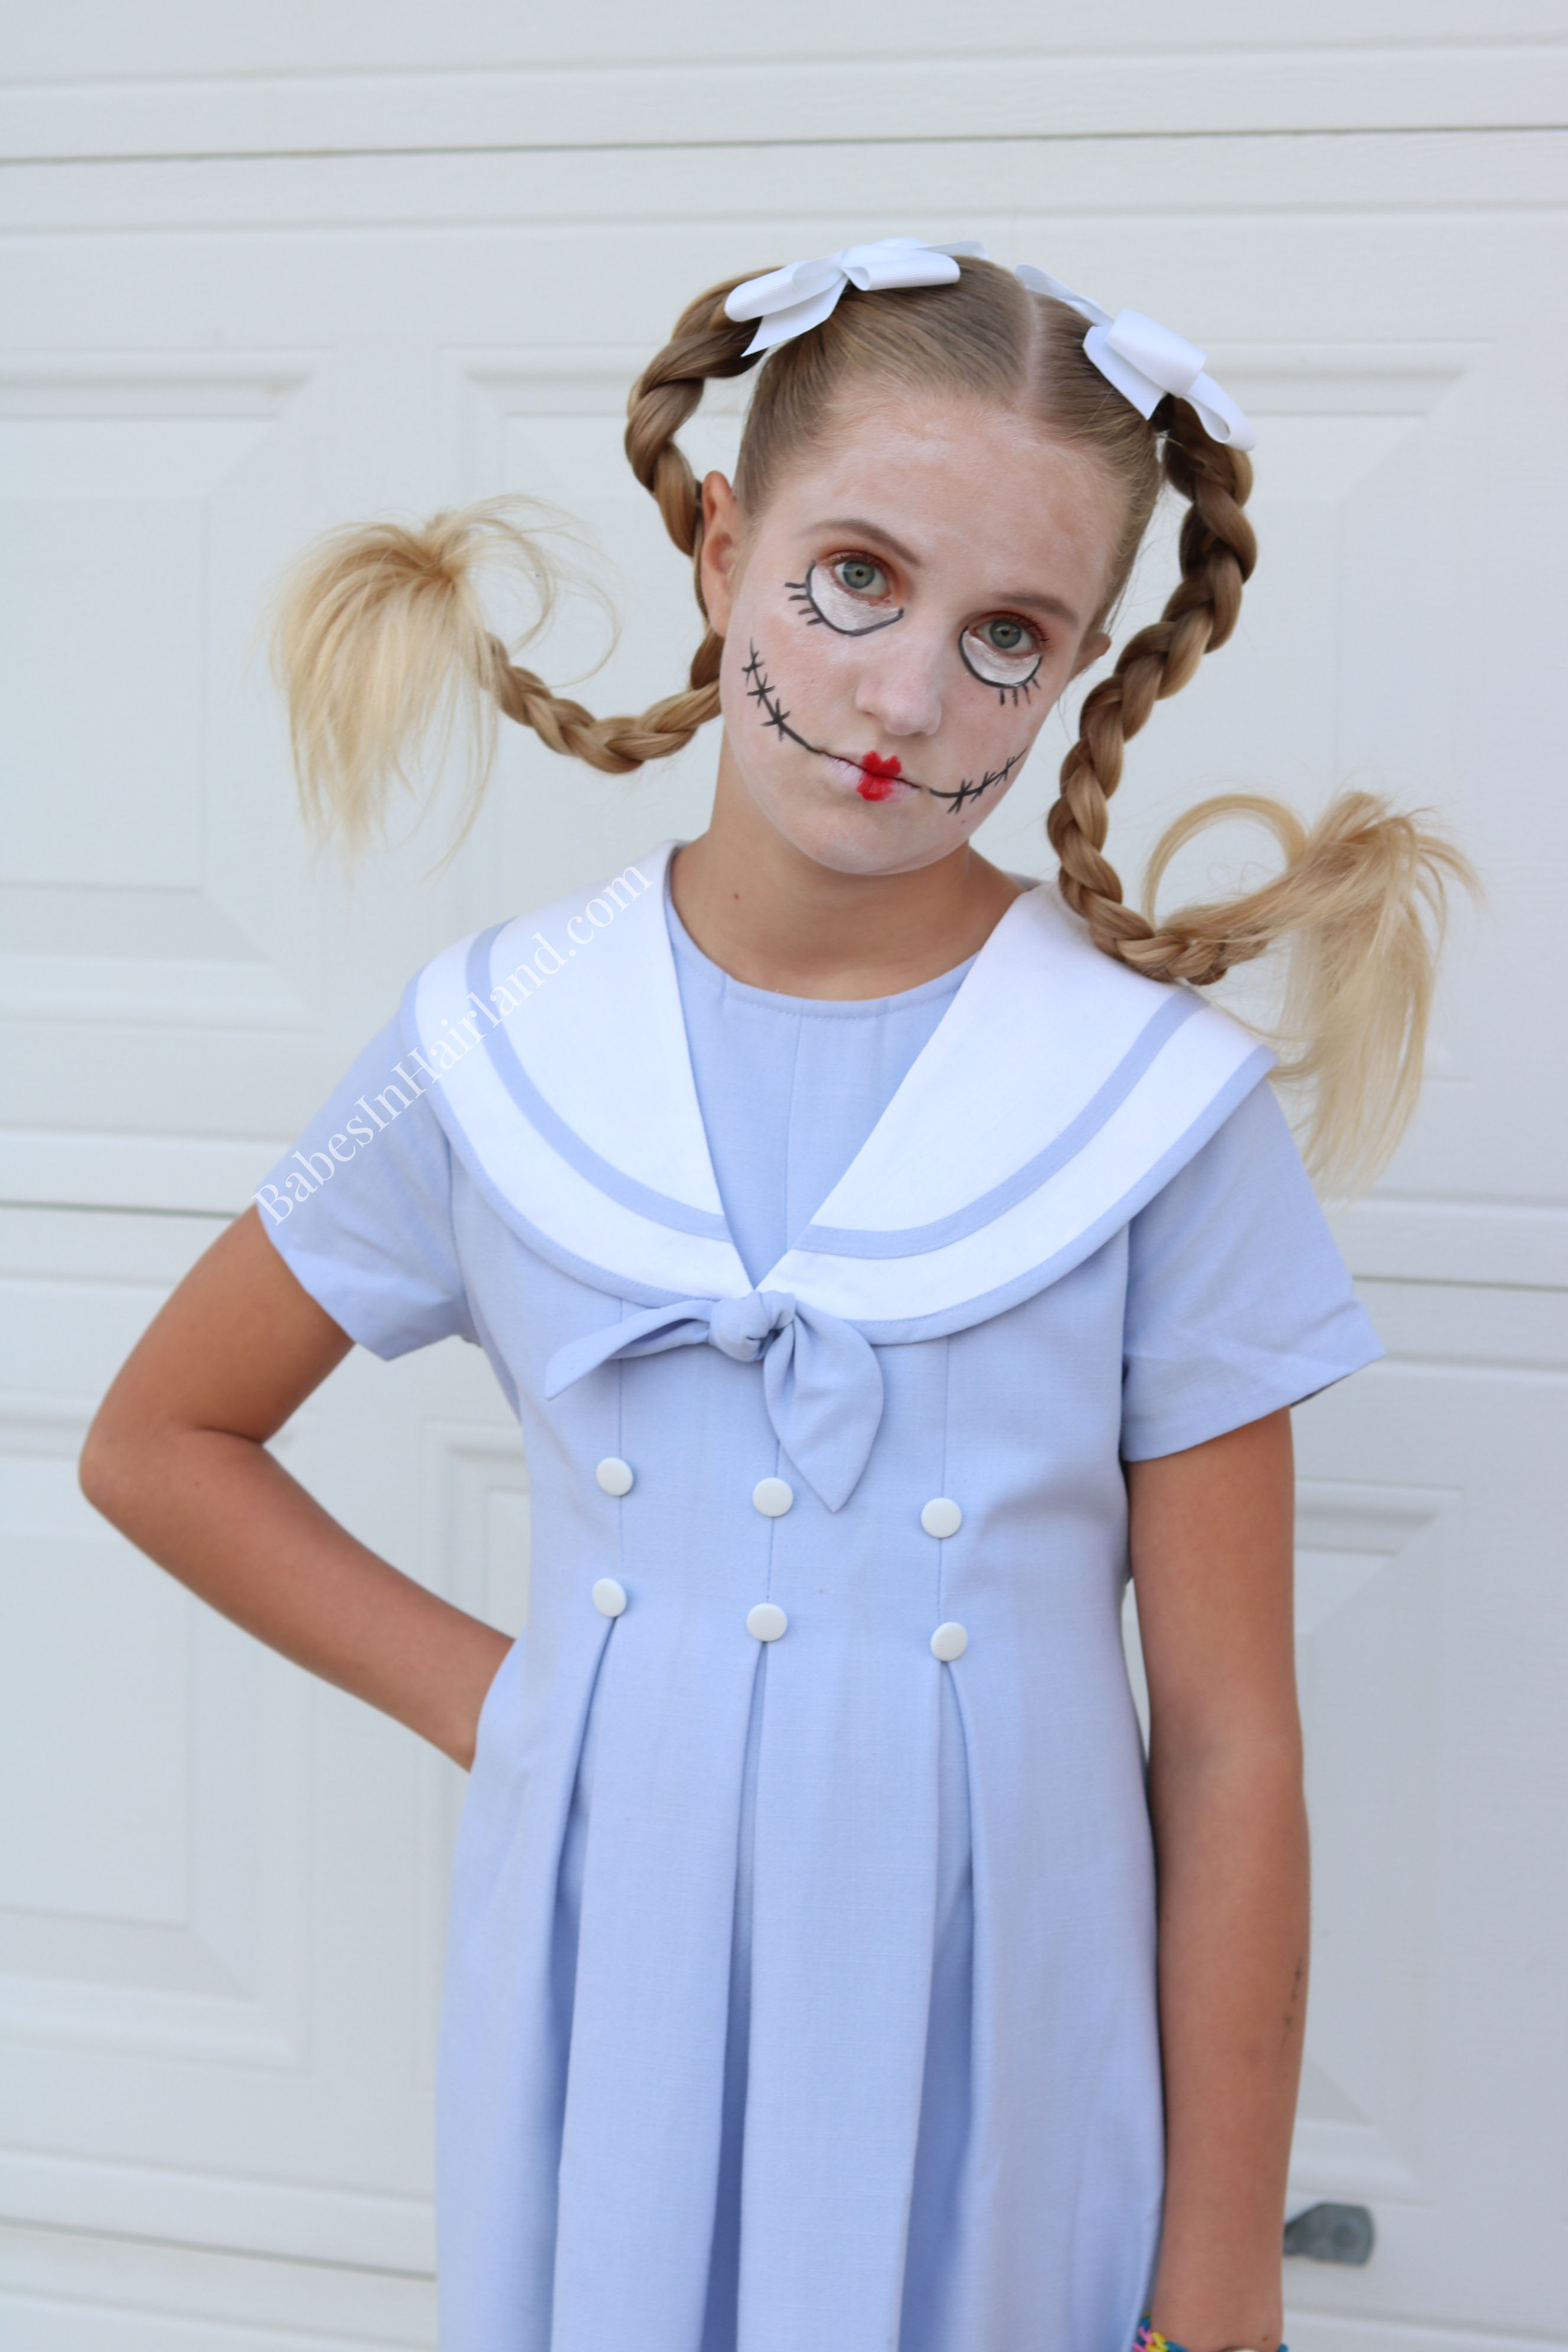
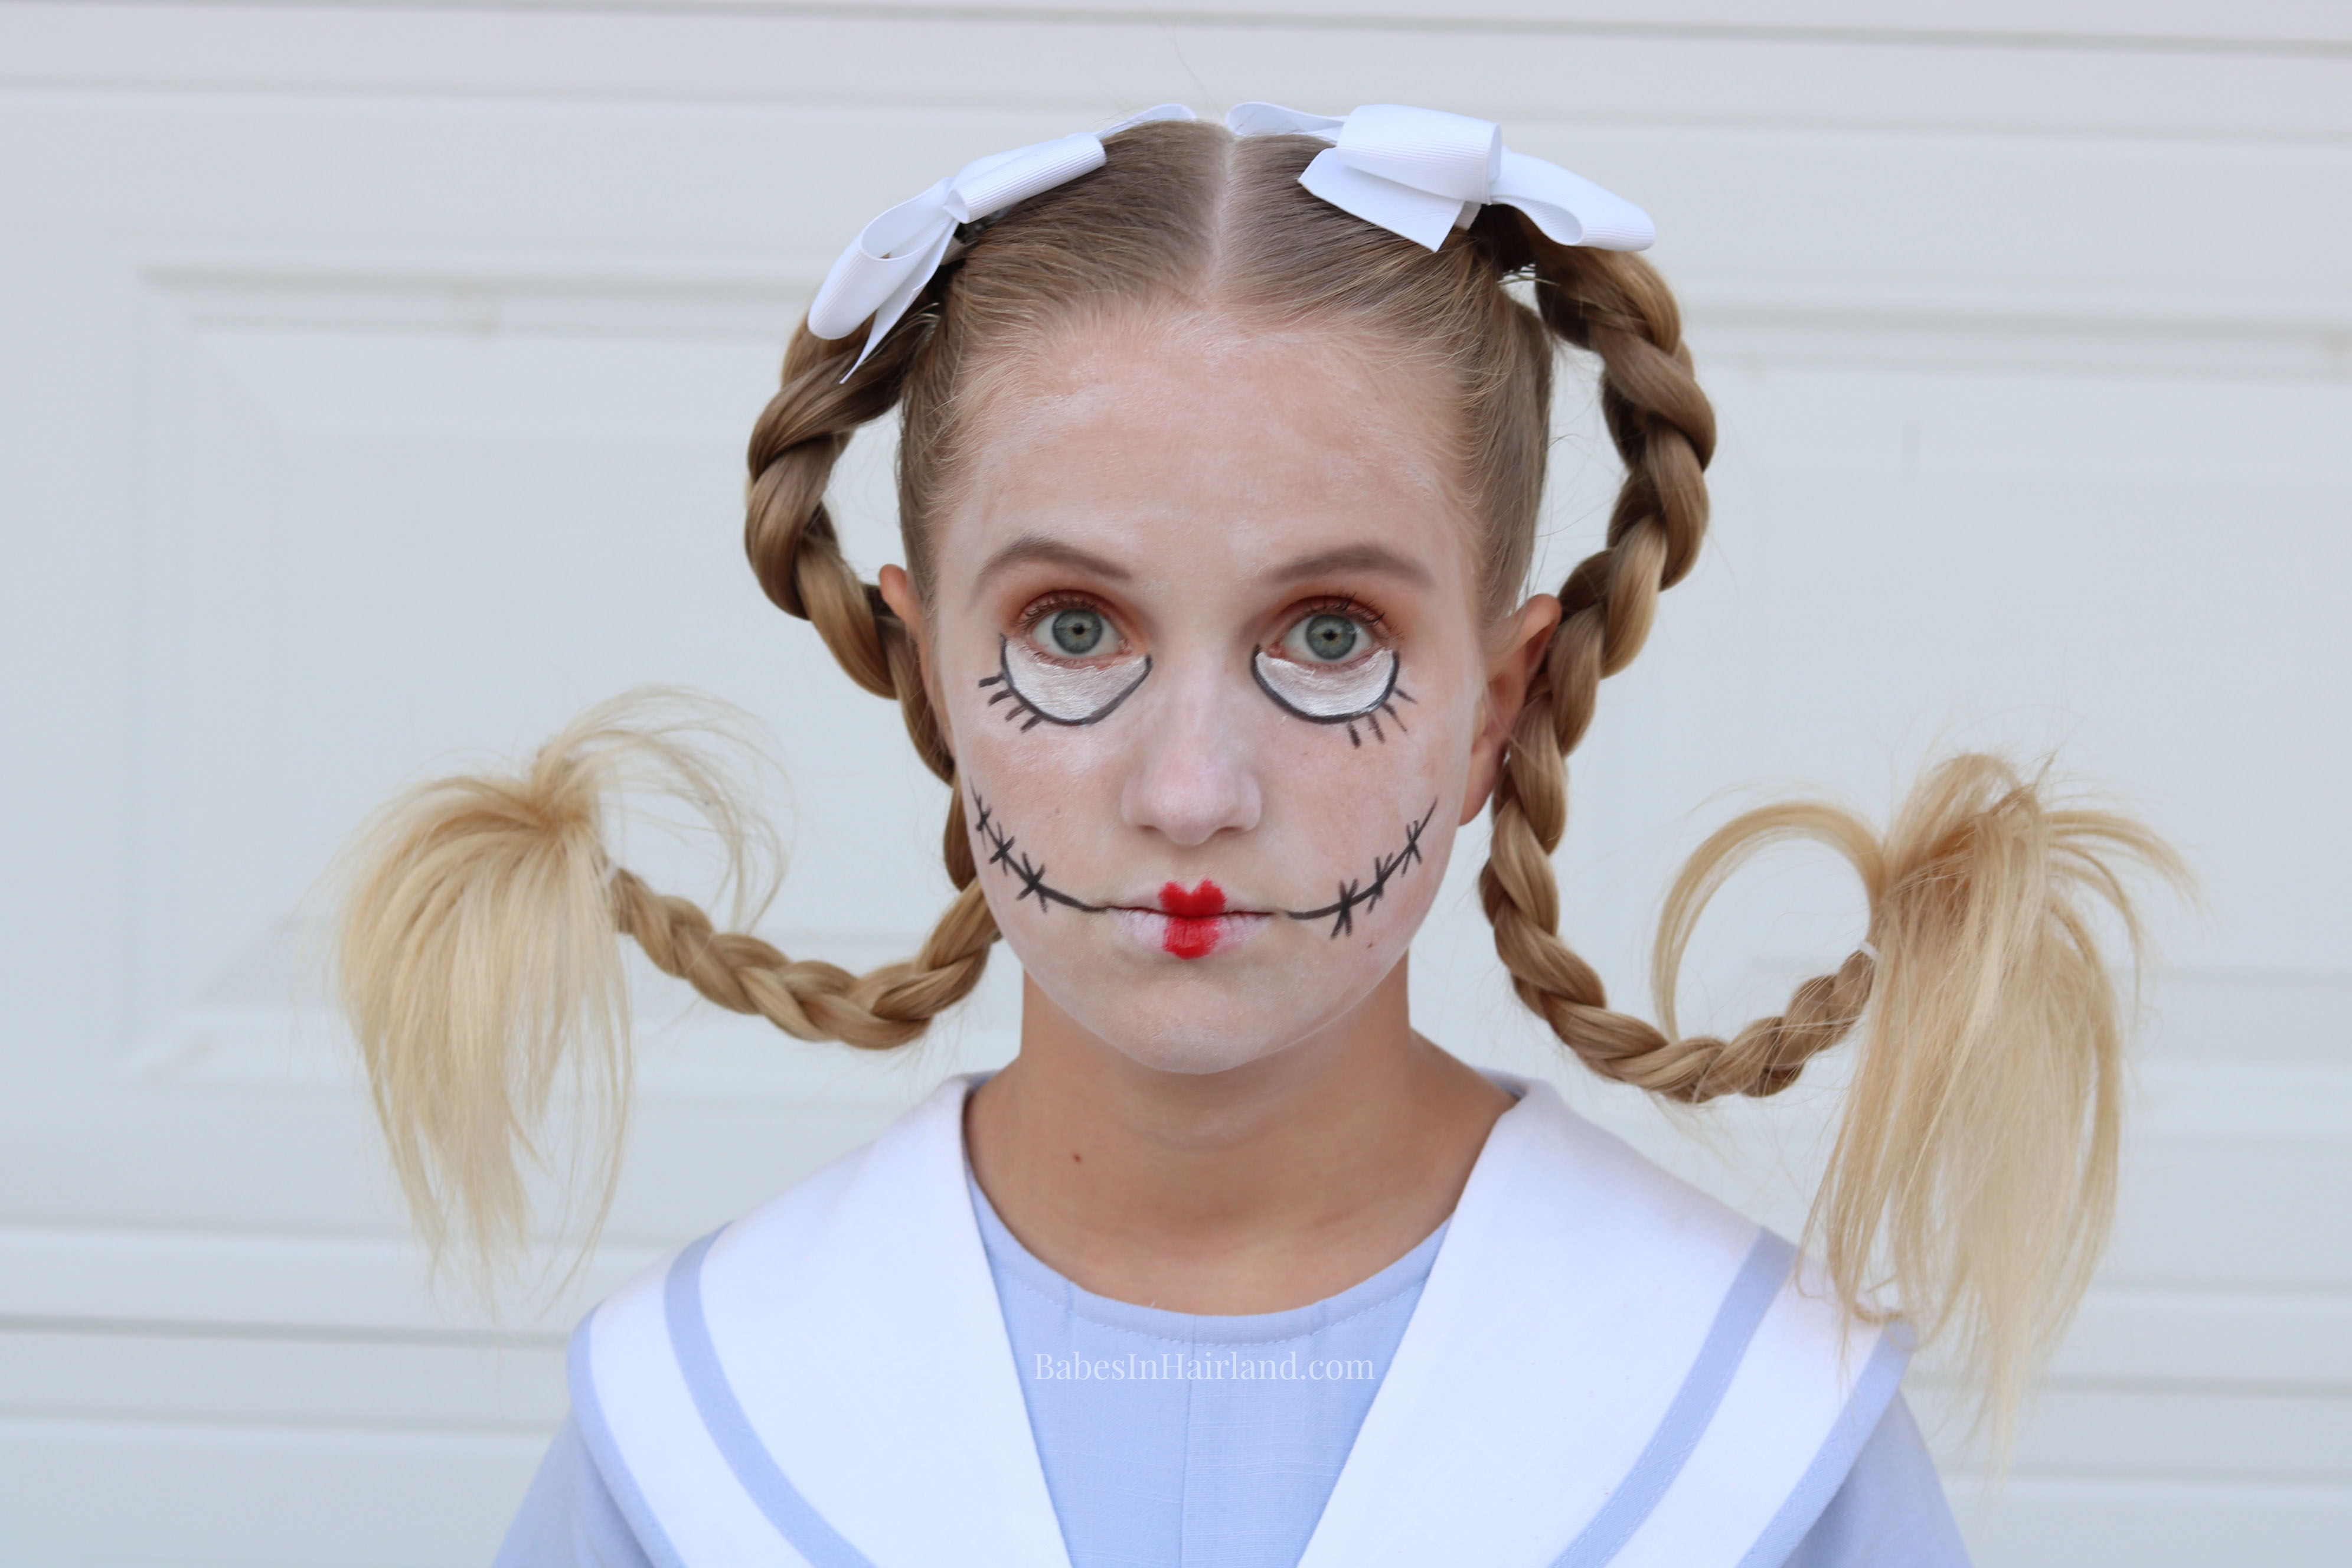
We hope everyone had a fun and safe Halloween yesterday. I know we usually post new tutorials on Tuesday’s, but with Halloween being yesterday, we figured most everyone wouldn’t be home! So we decided to waited a day to share this quick and easy and very cute bun! But before we share today’s tutorial, here’s a few pictures of Bee last night before she headed out trick-or-treating. We had planned on doing a few other things for her costume, but they didn’t work out. So we were inspired by Sweethearts Hair design on Instagram, and went with a “creepy doll” look instead. We normally don’t do gross, creepy, or scary costumes for Halloween, but I’ve got to admit, she pulled this off nicely!
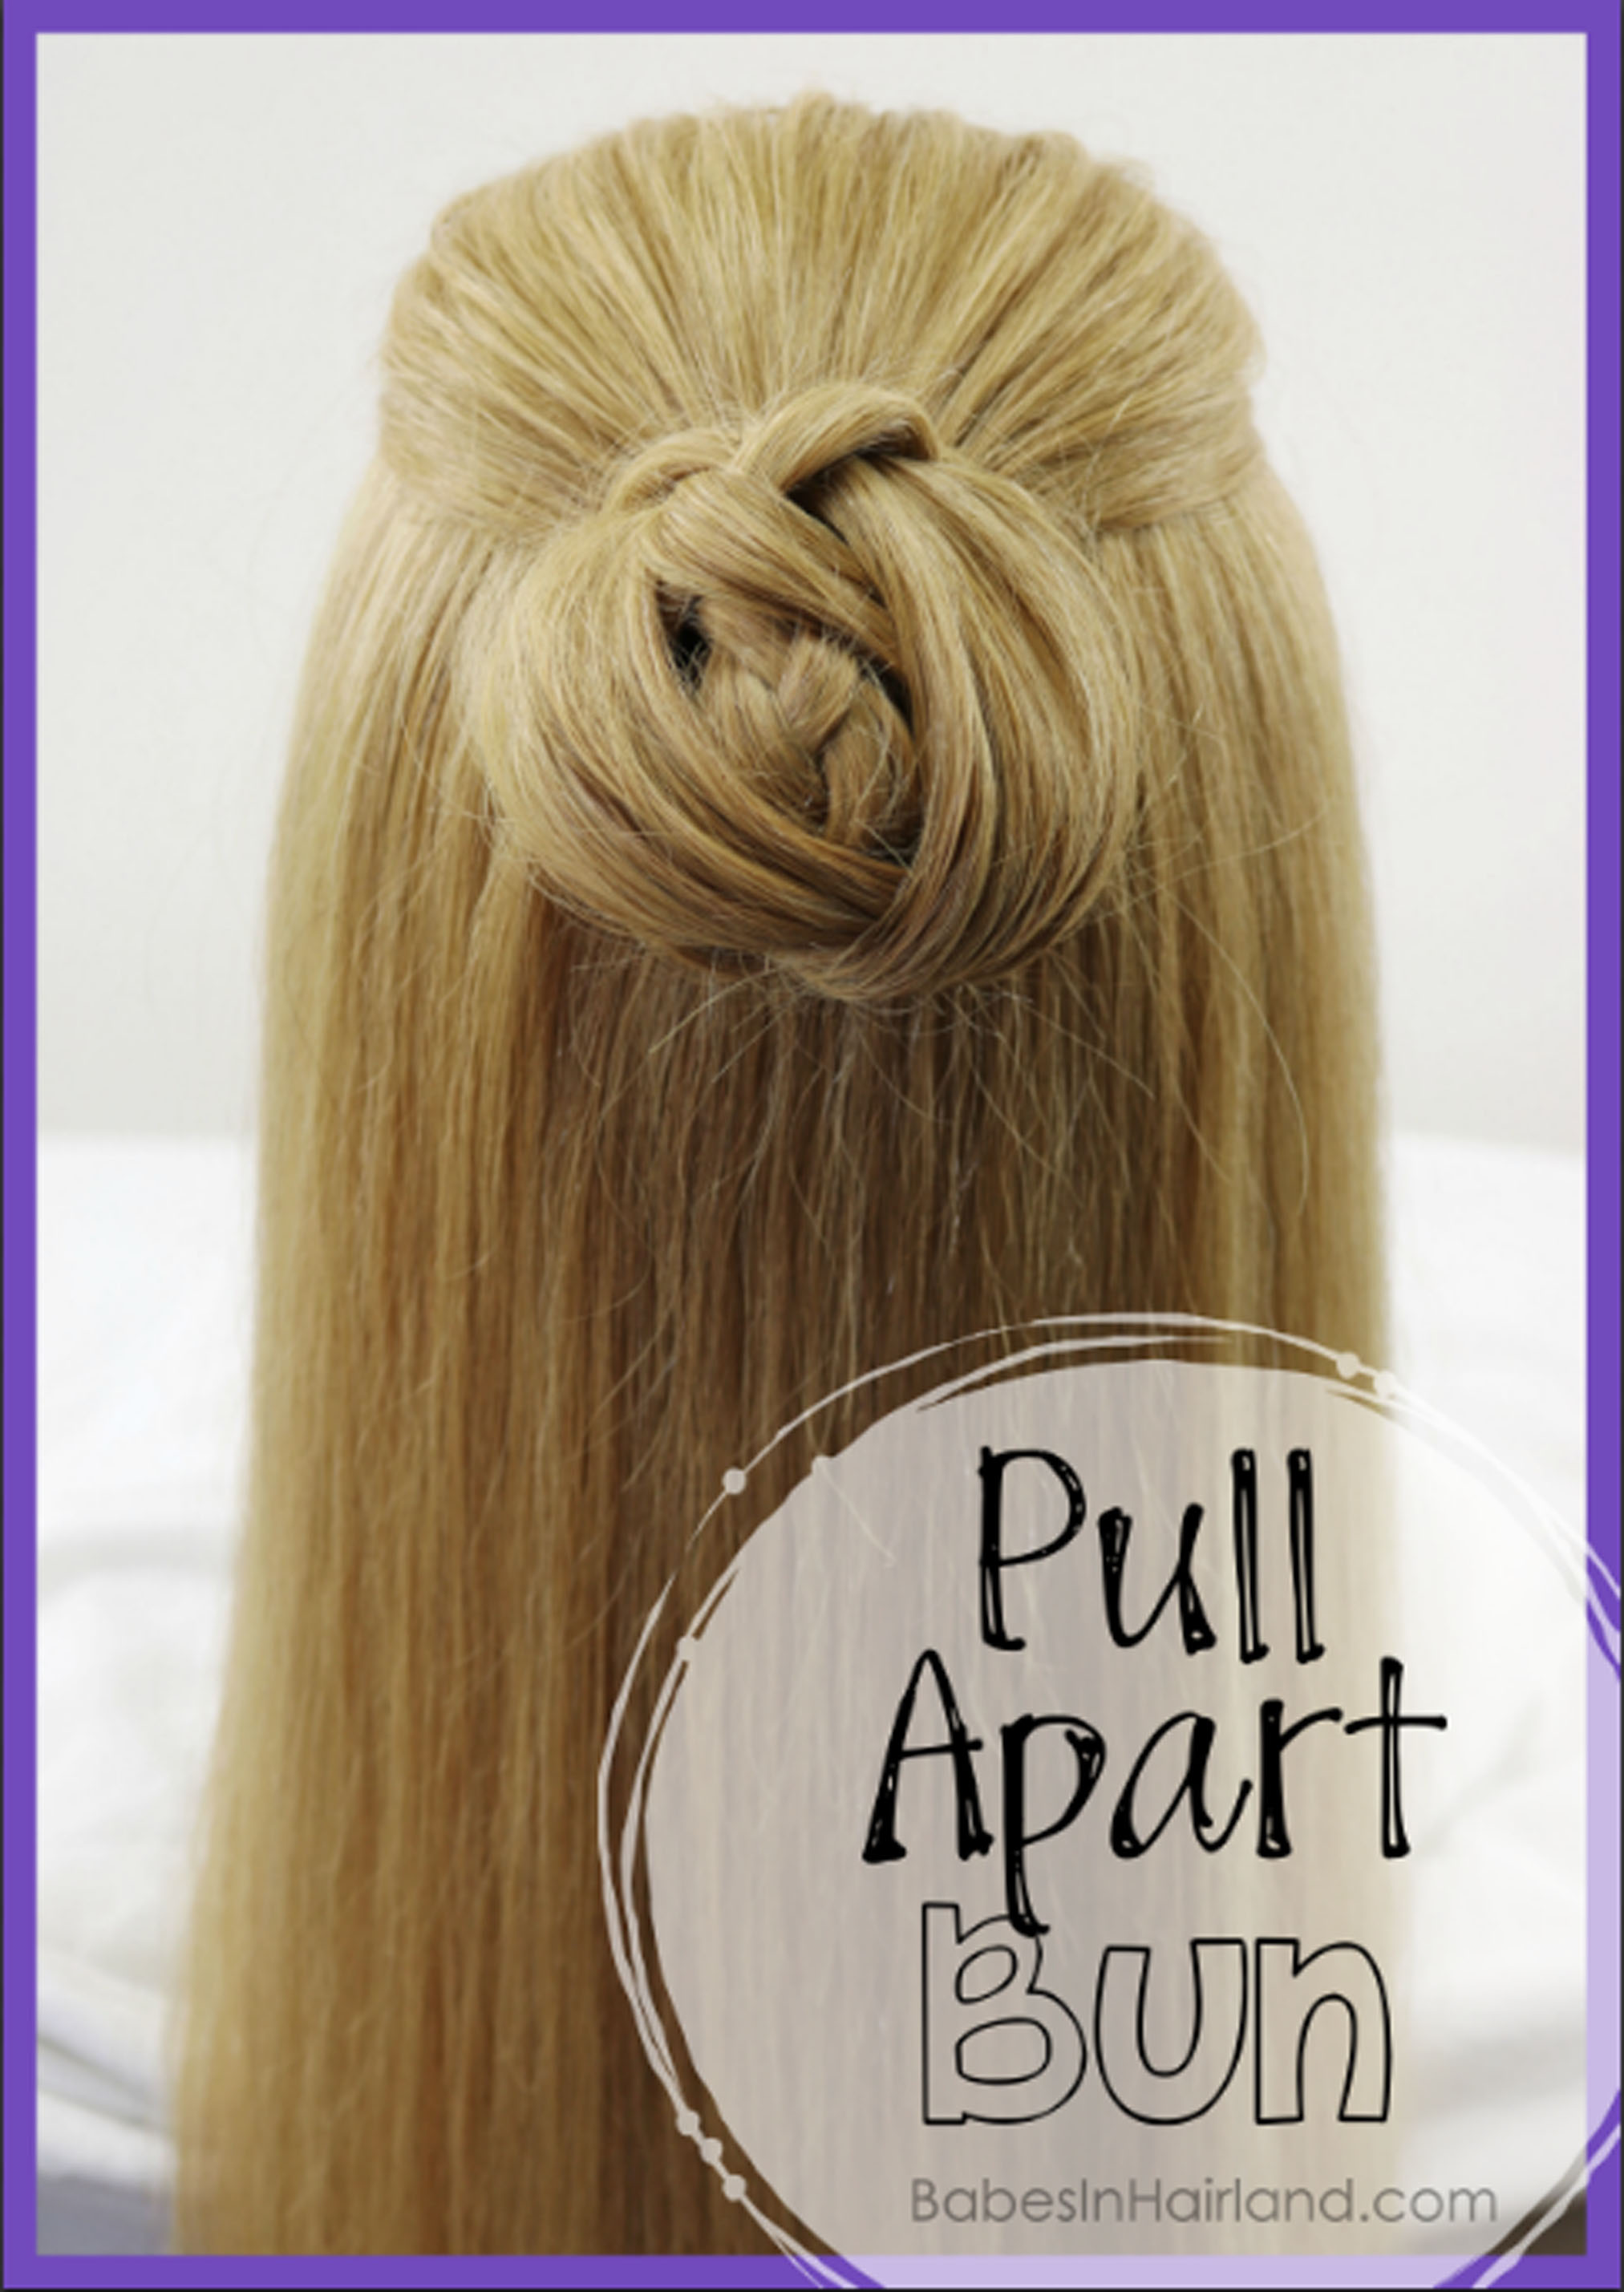
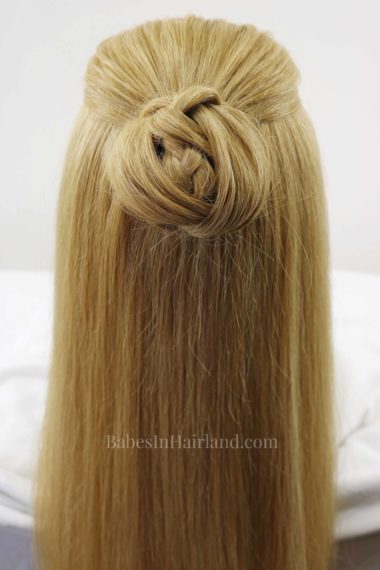
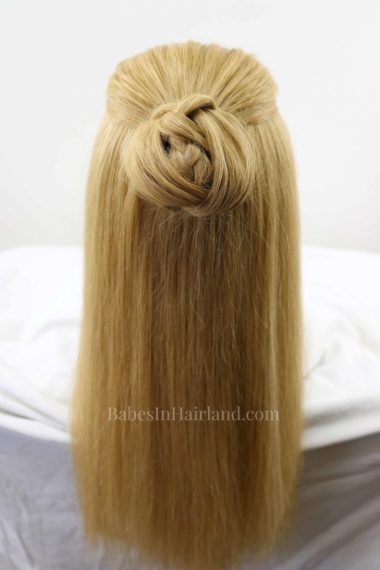
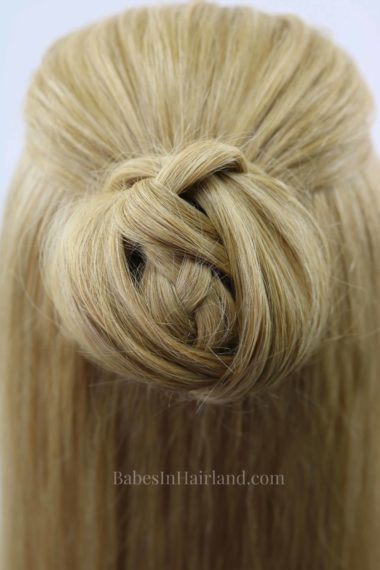
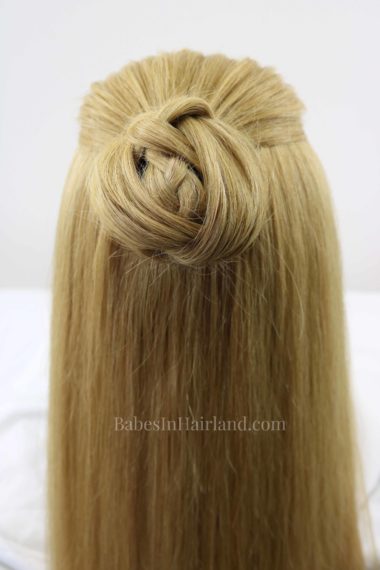
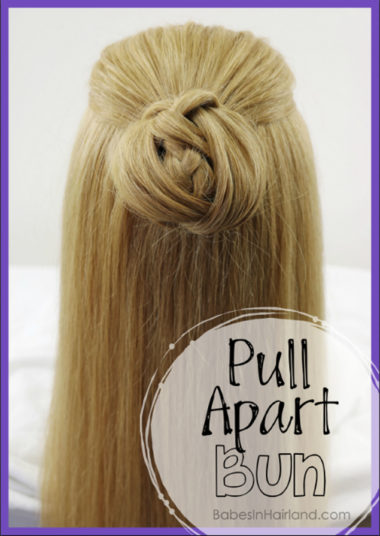
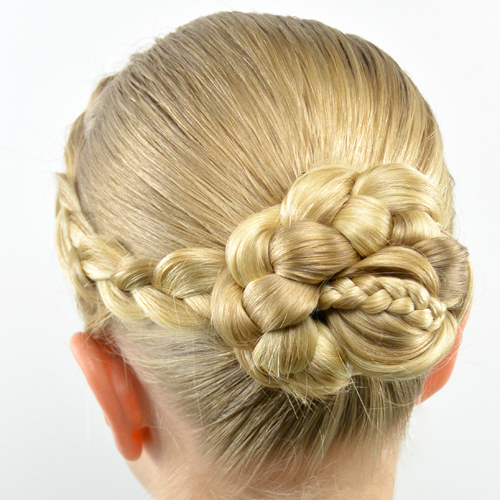
Anyway, on to today’s tutorial! This cute hairstyle is one that will be great when you’re in a hurry in the morning. We’ve called it the Pull Apart Bun, but it also could be called the peek-a-boo braid bun, or even the rolled up bun. But the essence of this bun is that it’s pulled apart, so we’re going with that for he name! The fun part about the bun is the “surprise” that you find hidden inside when you pull it apart!
Watch our short video to see how it’s done. If you have issues viewing it here on our blog, go HERE to watch it on our YouTube channel.
1- Part the hair from both temples back to the crown. Secure this triangular section of hair into a ponytail with an elastic.
2- With the hair in the ponytail, make regular 3 strand braid. Make sure the first part of your braid is not too tight. You will need it looser to help with the “pull apart” part of the style!
3- Once you’re about half way down your braid, make sure the braid is fairly snug and tight.
4 – Braid all the way to the end. Then with the tail of the braid, carefully loop it around your fingers. Place both right and left hand index fingers in the loop and carefully roll the braid up toward the head. Be sure that you keep the braid in one big loop as you roll it up.
5 – Once you reach the elastic, take a few bobby pins and secure the braided loop to the head.
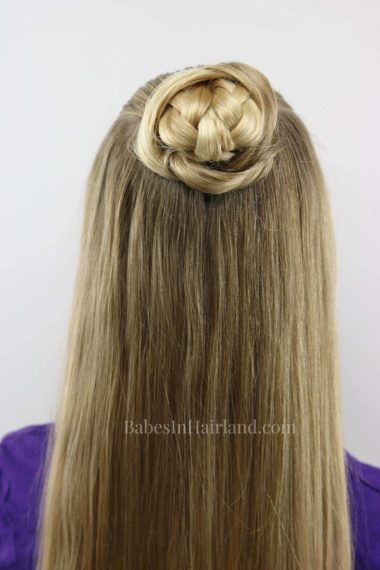
6 – On the top of the bun, gently pull apart the sections of the braid that are right on top. They will be covering up the tighter braided section of the braid mentioned in Step 3 (The bottom part of your braid should have been tighter!)
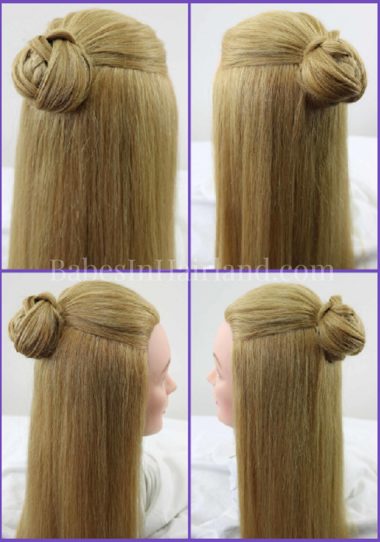
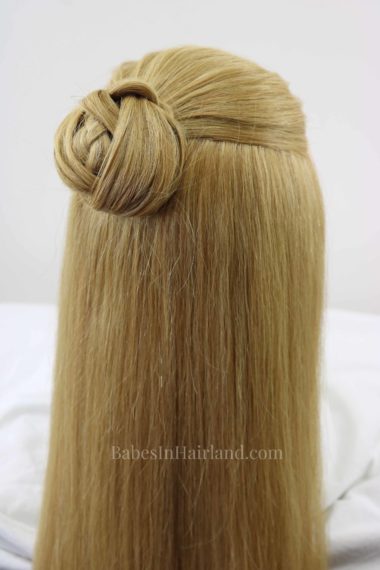
7 – With bobby pins, secure these sections of looser braid off on the sides of your bun, so that the tighter braided section peeks out and shows. These will also cover the sides of the loop you’d formed with the braid in Step 5.
8- Secure with bobby pins as needed, and adjust the bun as desired so as much as that center braid peeks out as possible.
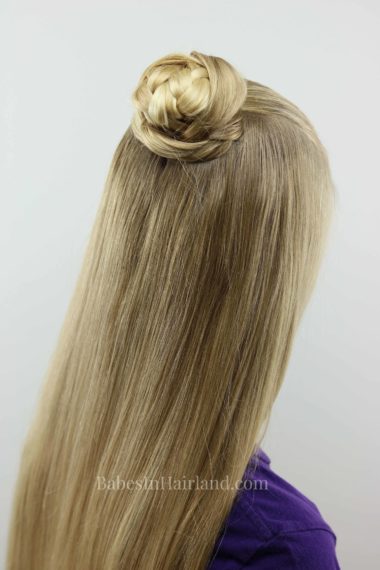
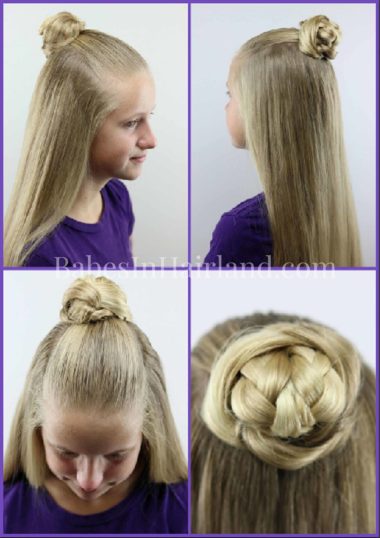
Note – when I did this on Bee’s hair, it turned out a little different. Because her hair is much longer than our mannequin, I ended out with much more braid wound up inside. So her rolled up braid was more of a “tunnel” and so I had 2 sections of braid showing through when I pulled her bun apart. So depending on the length of hair you are working on, your hidden braid in the center may vary.
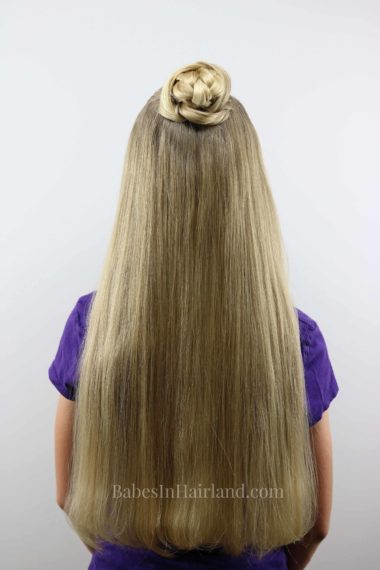
FINISHED PULL APART BUN!
Here’s a few more pictures when we did the hairstyle on Bee. Like I mentioned above, with her longer hair, we ended out with 2 tighter braids peeking through. I love how both of them turned out.
We hope you like this one as much as we did! Try it out on a morning when you’re in a hurry, it’s so cute and looks better than a regular bun I think!
If you love bun styles, below are a few others you might enjoy. For all our bun hairstyles go HERE.
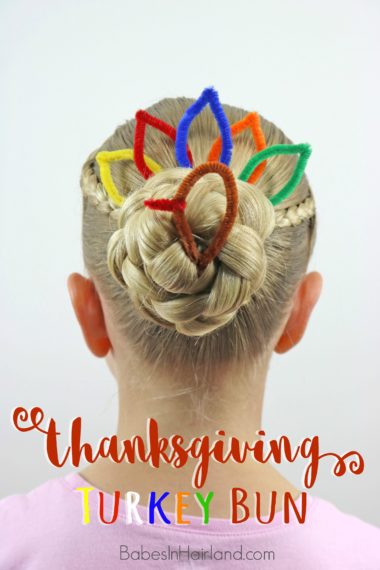
With Thanksgiving around the corner, of course, our Turkey Bun can’t be forgotten!
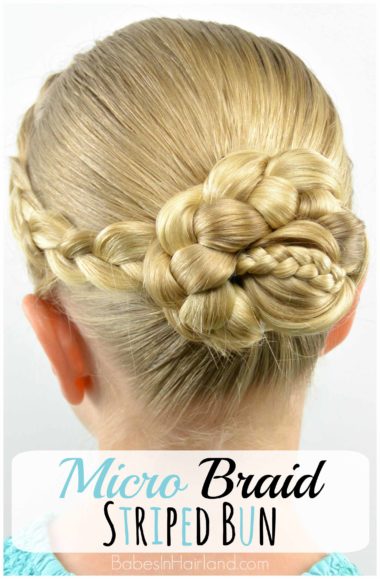
And another bun with a “surprise” inside, is our cute Micro Braid Striped Bun. Check it out HERE.
And don’t forget to PIN & SHARE our bun from today! Thanks for stopping by!
