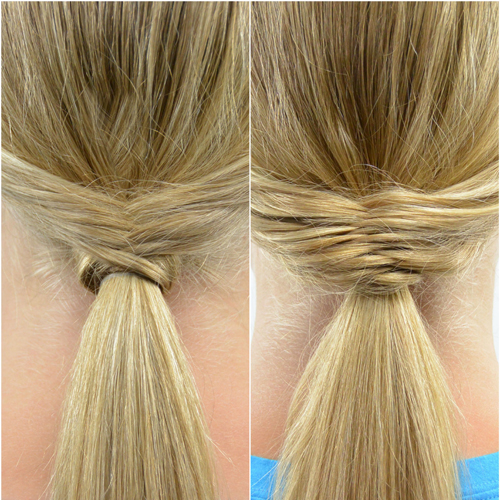
As I mentioned in my waterfall ponytail post the other day, I have a few ways that I’ve jazzed up the girls ponytails so they weren’t just the norm. I especially liked these if the girls were wearing some abnormal color that I didn’t have any hair accessory that would match. This way I didn’t have to worry about that.
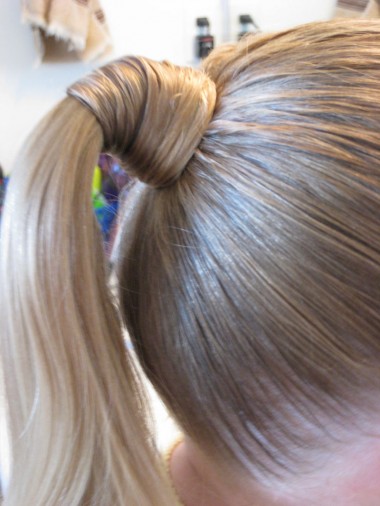
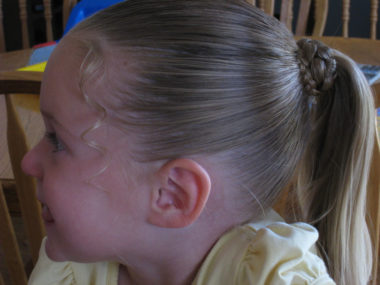
Not that I’m a huge fan of Madonna (I did like some of her stuff from 80’s but she got a bit fierce for my taste), anyway, I remember that famous ponytail so we’ll call these Madonna ponytails!! For some reason I remember her hair being wrapped like the picture above, but after refreshing my memory it was braided – at least in any pictures I could find of her. It was most likely a hairpiece anyway, so it doesn’t really matter, but I want to get my facts straight for all you fans!
Madonna Wrapped Ponytail #1
Anyway, we’ll start with the basic wrap of straight hair around the ponytail first.
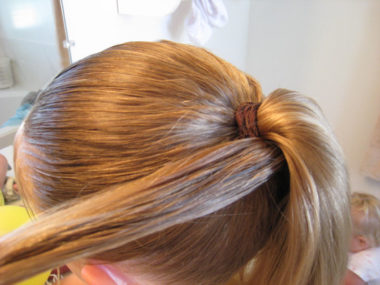
Step 1 – Make a ponytail
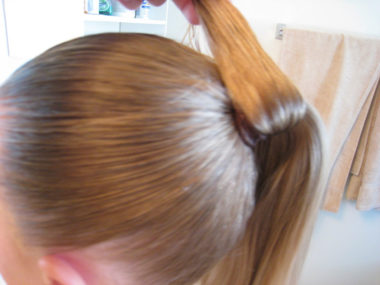
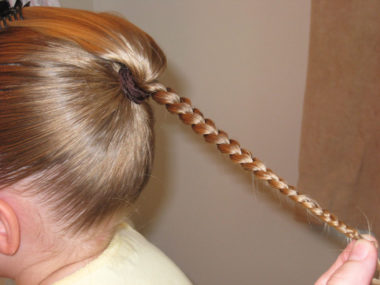
Then pull a section from the bottom like so:
(Since I’m not going for the “real” Madonna look I don’t put the ponytail up as high on her head!) I make sure it is nice and damp so the hair lies smoothly. Since I’m right handed I wrap towards the right and wrap until I run out of hair – keeping it misted with water to keep it smooth.
Step 2 – Wrap hair around ponytail base
Step 3 – Secure hair underneath ponytail
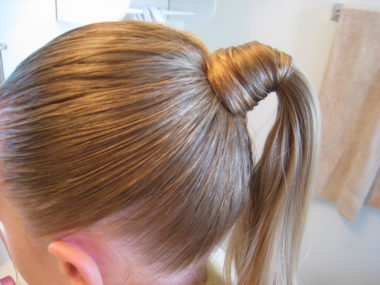
I try pull it tight enough that I end up on the bottom as I’m running out of hair. I then tuck it up under the hair that I’ve wrapped around and use a bobby pin or two to secure it. (In this picture I just tucked it up and didn’t have anything holding it, since I was going to braid it for the next example.) Since posting this we now have a video showing our awesome way to wrap a ponytail. Watch it HERE!
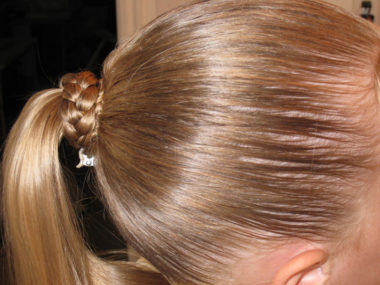
This is a view of it from behind of the plain hair twisted around the ponytail.
Madonna Wrapped Ponytail #2
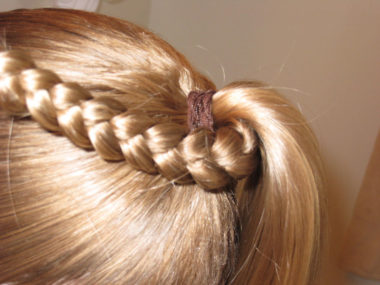
Then for the ponytail that is wrapped with a braid, you start the same way as above, except you braid the section of hair that you pulled out from underneath.
Step 1 – Make ponytail
Step 2 – Braid small section of hair from underneath ponytail
Once again you wrap it around the base of the pony tail until you run out of hair.
I tie the braid off with a small rubber band so that I’ve got something firmer with which to fasten it.
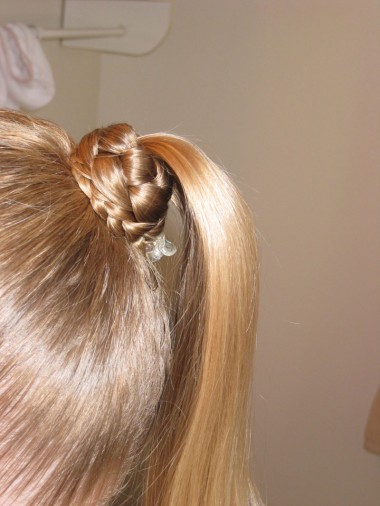
Step 3 – Secure end of braid under ponytail
As you can see, there’s a tiny clip underneath Bug’s ponytail. On Goose I’d just use bobby pins, but Bug’s hair is thinner so it’s easier w/a little baby clip. With thicker hair you don’t see the stuff underneath as much either. Or use our wrapped ponytail technique.
Sorry the flash made these pics not turn out so great.
Optional – Step 4 – Add curls
I added some ringlets on both sides by her temples to give her more than just the slicked back look in front. She’s not one for giving me good front shots, and as you might see her tongue was on it’s way out to pull a silly face even from the side. But you get the idea! There you have it. Not a real brainer but kinda cute nonetheless.
