I recently went to see the new 3D movie Avatar with my honey and, of course, there were a bunch of previews for new movies also coming out in 3D. One of them being Tim Burton’s version of Alice in Wonderland. I must honestly say, I’m not a huge fan of his, but I do love Alice in Wonderland. Well, a friend of mine challenged me to do a hair do or two off this new non-cartoon Alice in the upcoming movie. So, over the next many days I’ll be posting a couple of hairstyles that I’ve tried to recreate, based on the little bits & pieces you get to see of Alice’s hair in the trailers of the movie. Alice is played by Mia Wasikowska & I believe in real life she has beautiful long blond hair. I think Bug’s hair, before I cut the several inches off it would have worked even better for these do’s – but we made them work! The Red Queen, and The Mad Hatter (of course played by Johnny Depp) have quite freakish hair, but Alice, on the other hand, has very elegant, curly, and beautiful styles throughout the show. So I hope you like what I’ve got to show you the next several posts!
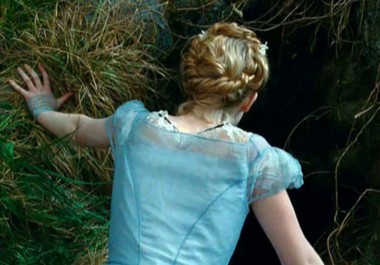
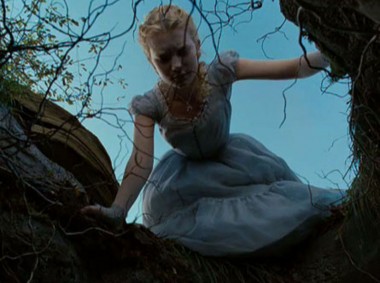
These 1st two pictures are clips from where Alice is peering down the rabbit hole – just before she falls in.
Not the best – but here’s a frontal view. When you see her running to the hole, you can tell she’s got a very natural look going on here – nothing pulled really tight, or “plastered” to her head, as I tend to do sometimes!
Also, I apologize, as some “steps” may be missing, because since I only have 2 hands, at times it’s hard to take a picture and do “the step” as well. So hopefully what I show you will make sense. This is a 2nd way that I did this style, the first time she’d had Curlformers in her hair.
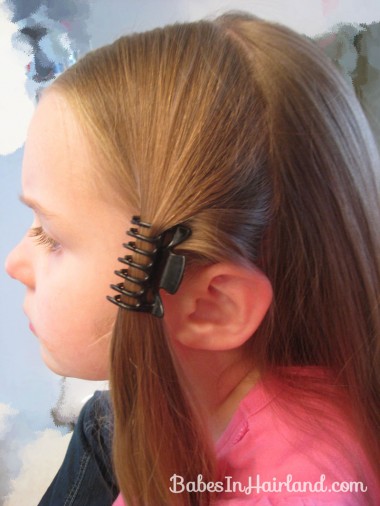
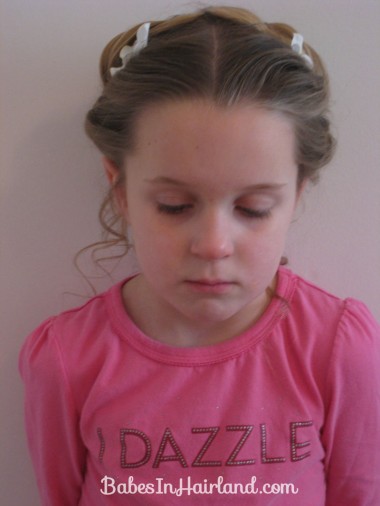
Begin by parting the hair smack down the middle. Then part it from ear to ear. Use a clip to hold the hair in front of each ear apart from the back of the hair for now.
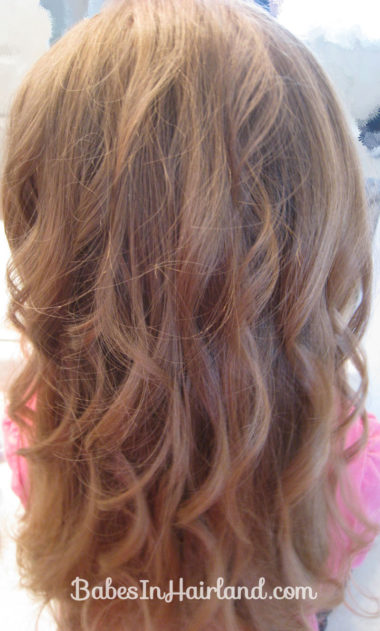
Add a bit of body to the back of the hair by curling random strands of hair. We used our flat iron. As I mentioned, the 1st way I did this (I’ll show that one another day) I’d had her hair in Curlformers, so this step wasn’t necessary.
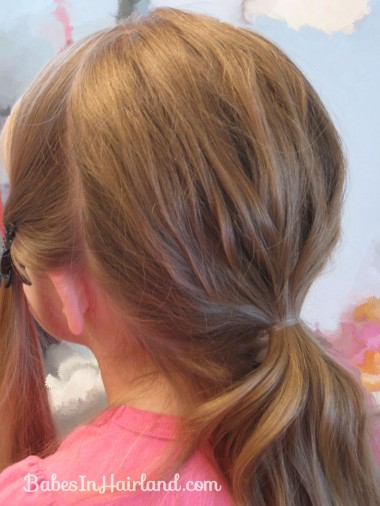
With your fingers, loosly “comb” the hair into a loose pony tail at the nape of the neck. But leave a few hairs out underneath the ponytail.
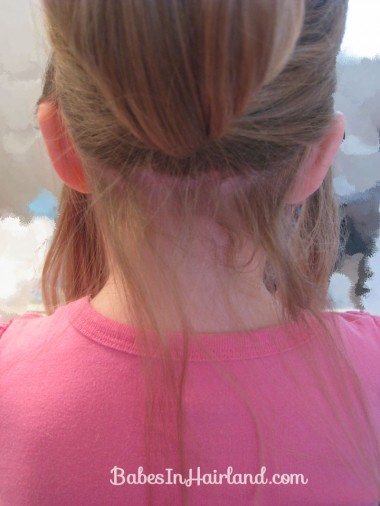
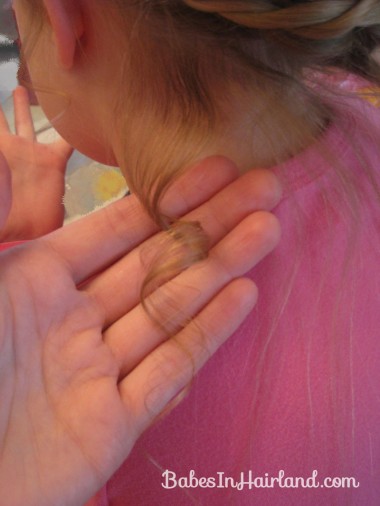
Here’s underneath the ponytail – and the loose random hairs I left out.
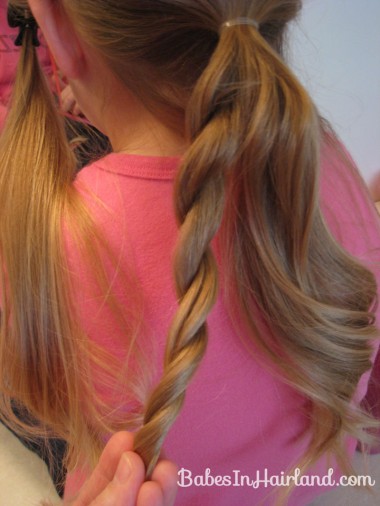
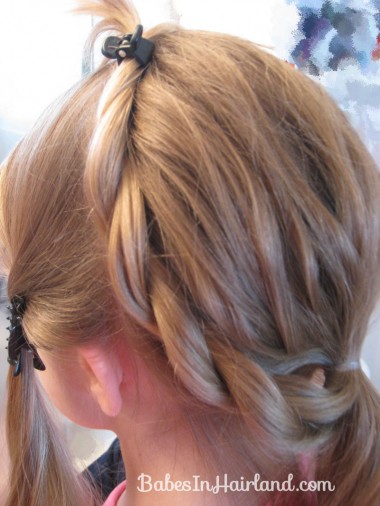
Divide the ponytail into 2 and with the section on the left, make a very loose rope/twist braid.
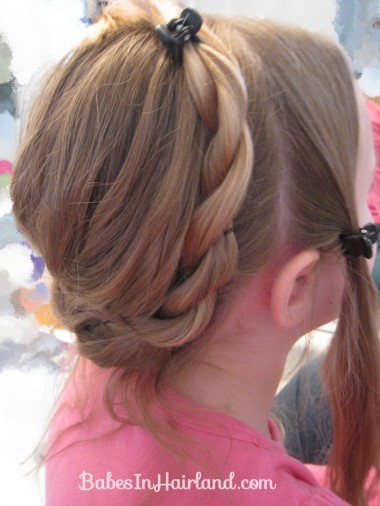
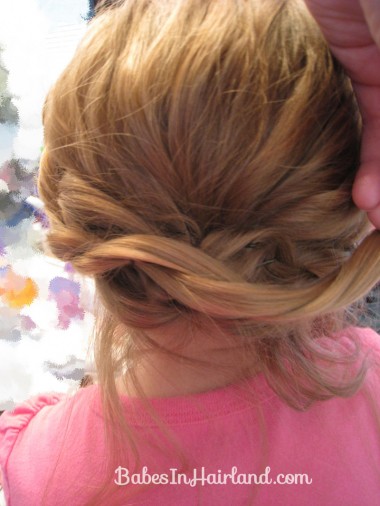
Rap it around the left side of the head and secure towards the top with a claw clip. Secure the twist to the head in places with bobby pins so it will stay put.
Repeat on the right side of the ponytail. Bring that rope/twist braid around on the right side of the head, and also secure on top with a claw clip. Using bobby pins, secure the twist in spots around the head as well.
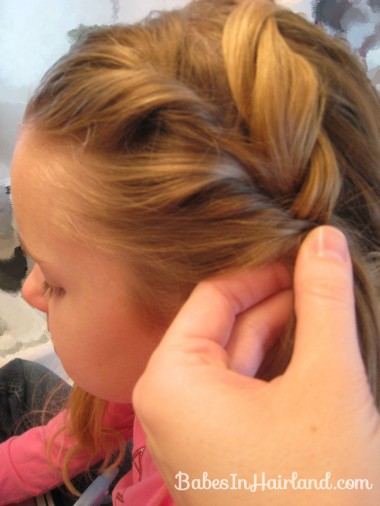
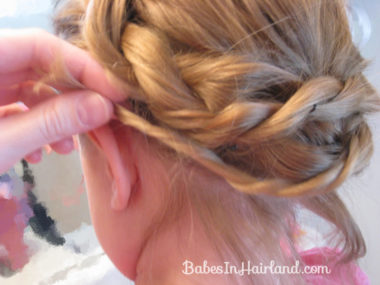
Once you have the back wreath secured, move to the hair up front on the left side. Loosely take the hair and twist it a bit, adding a little as you go – twisting toward the back of the head. Not really like a French twist – there was no exactness to this. Just twist the hair into itself sort of!
Once you reach the top of the ear, secure that part with a bobby pin. (Hide it better than I did in this pic!)
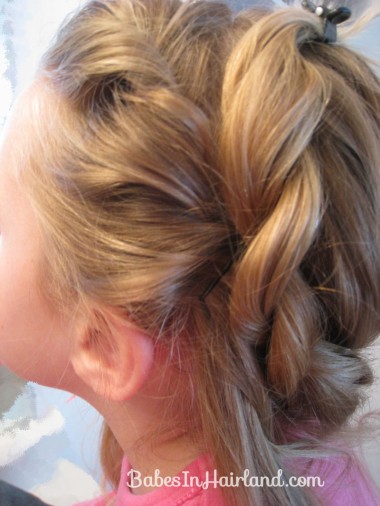
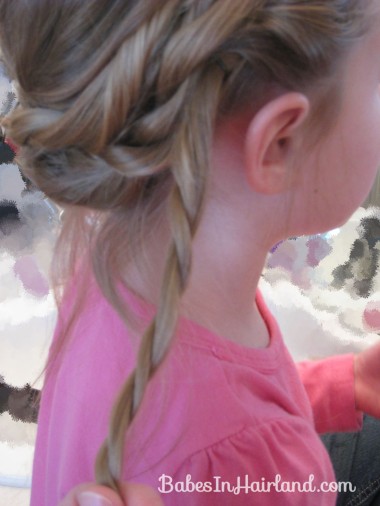
The with the hair you have hanging down, do a loose rope/twist braid
And bring it around the head to the right – sort of over the area where the base of the rubber band from your ponytail sits. Secure it as needed with bobby pins. Tuck the ends of the hair in where ever the tail of your hair ends up and secure with bobby pins.
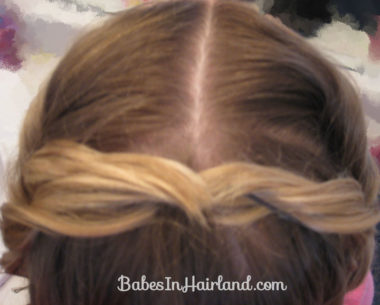
Repeat with the hair on the right side. Then pull it around towards the left and secure it with bobby pins wherever you need.
Now – once you’ve tog all the hair wrapped around, if you need to, finish securing the hair on the top of the head. If I’d of pulled Bug’s hair a bit tighter, I’d of gotten the ends to cross over better – but alas, with the hair cut I gave her, it’s a bit shorter now! Just twist & arrange the hair as necessary over the top of the head!
Then with the loose hair you left underneath it all, using a small curing iron make nice little ringlets all over! And I pulled a few hairs out in front of the ears as well to add a bit of curl too.
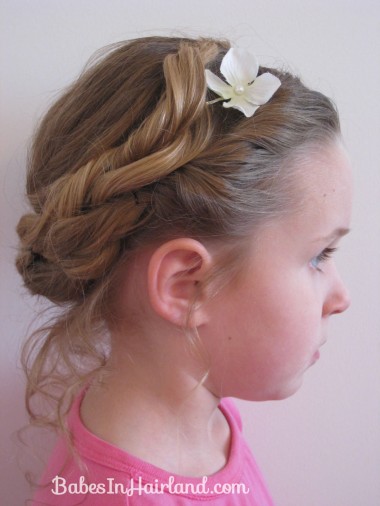
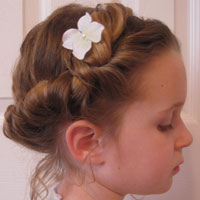
Alice, also had a few little flowers in her hair, so we added these fun ones from Gimme Clips to pretty it up.
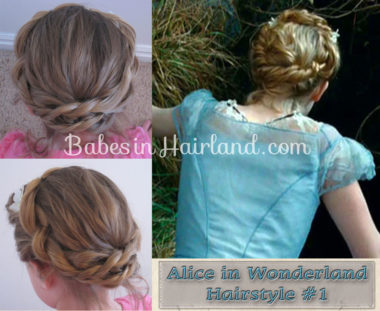
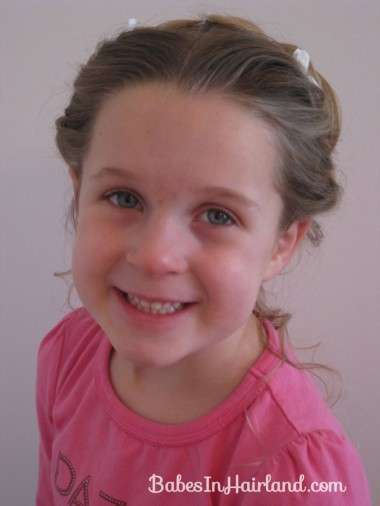
Our “little Alice!”
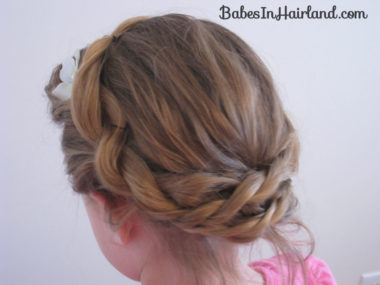
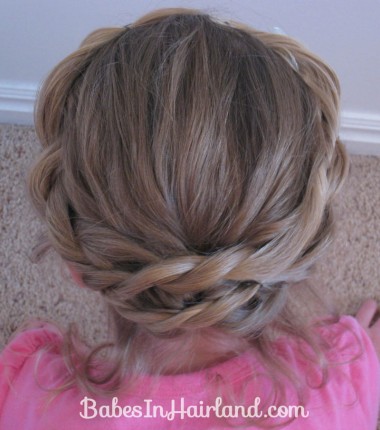
And the finished product from the back view.
What do you think? I know it’s hard to tell from such a far off view – but I don’t think it’s half bad!
I’ve got to admit, I’m not a fan of working with total dry hair. I much prefer damp hair because I don’t feel like it slips through my fingers as much. So to help a bit with that, I misted her hair at times with hair spray to help tame the fly aways, etc. But this hairdo isn’t about exactness, or sleek & smooth. It’s beautifully done, yet loose and very natural. I don’t know how to quite describe it – but that’s my take on it! Stay tuned for another Alice style coming soon!
And don’t forget —
If you’re wanting to catch the new Alice in Wonderland in 3D . . .
ON



super cute!! When i was younger I had the same long sleeve bug is wearing.