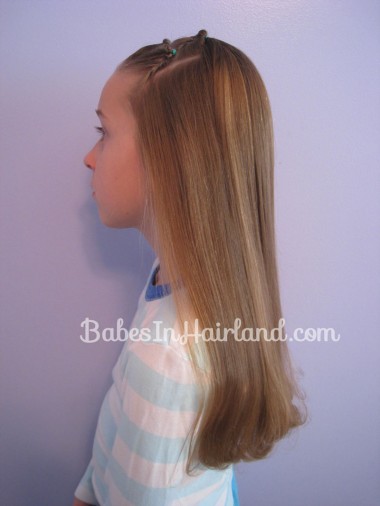
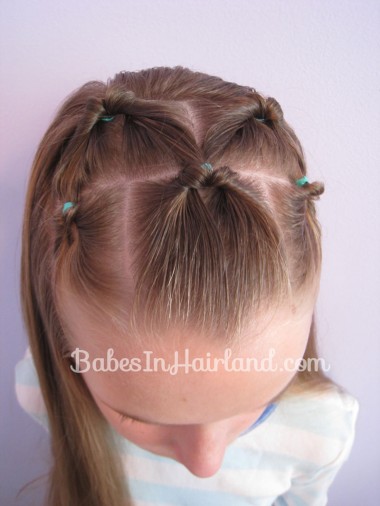
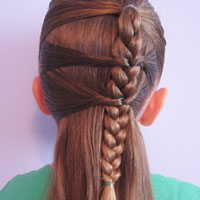
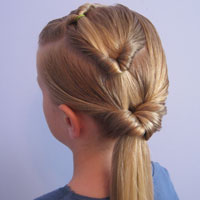
Despite the windy & cooler weather we keep having, Bug continues to want to wear her hair down but doesn’t like it falling in her face. So even though she does not have bangs, this would be a great style if your daughter is growing out her bangs or if you just want to keep the hair out of her the face but still have it down on the sides and in back.
This is a great style for school morning’s when you don’t have a lot of time and it can be done even if you don’t have Topsy Tail. This is also another great style for a toddler or someone who has a lot of short baby hair up front.
To be quite honest, I think our flipped ponies – or pulled through ponies (whatever you may call them) turn out better when I don’t use a Topsy Tail. I think because we didn’t have one for so long I just got used to doing it the cheater way! You can watch our video to see how we flip a ponytail without a Topsy Tail! I did, however use one for this hairstyle.
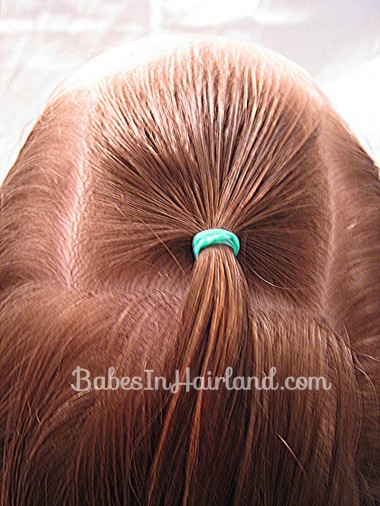
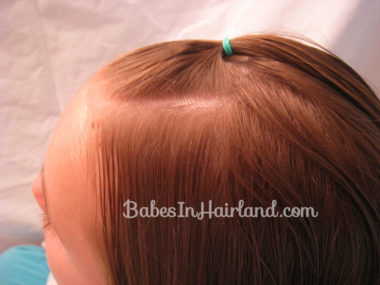
Step 1 – Make a small ponytail
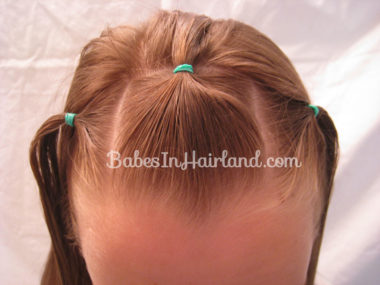
Right up front in the middle of the head, part out a square and make a small ponytail.
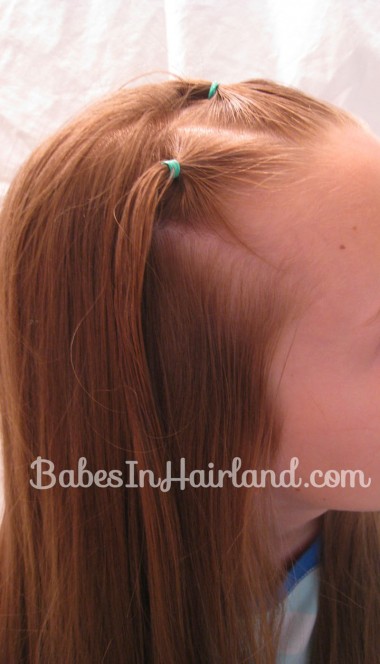
Step 2 – Make 2 more small ponytails
On the left and right of that center ponytail, part out 2 more small square sections of hair & make ponytails. Don’t part clear down to the ear. You want them to be by the temple, but not much further down.
Step 3 – Flip the ponytails
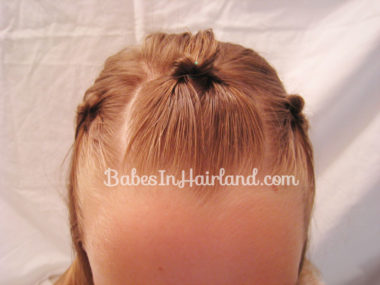
Using a Topsy Tail or our ponytail flipping technique, pull those ponytails through and flip them!
Step 4 – Part out 2 rectangular sections of hair
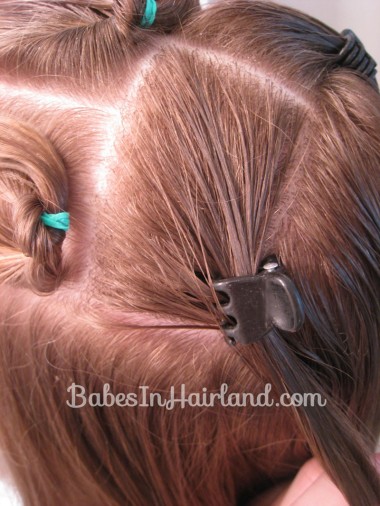
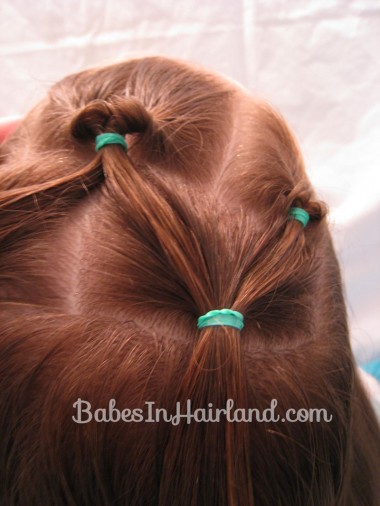
Make the middle part for these 2 sections right behind the front middle ponytail. And make sure to follow the parts back from the temples on the left and right sides. You may want to temporarily hold them with claw clips to keep the hair divided out.
Step 5 – Divide middle ponytail in half
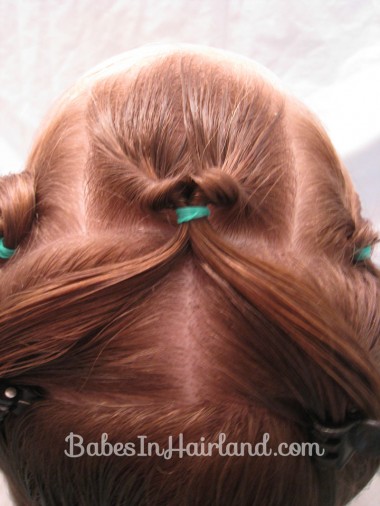
Half of that front middle ponytail will go to the left, and the other half to the right & will be added into those sections of hair you parted out in Step 4.
Step 6 – Make another small ponytail
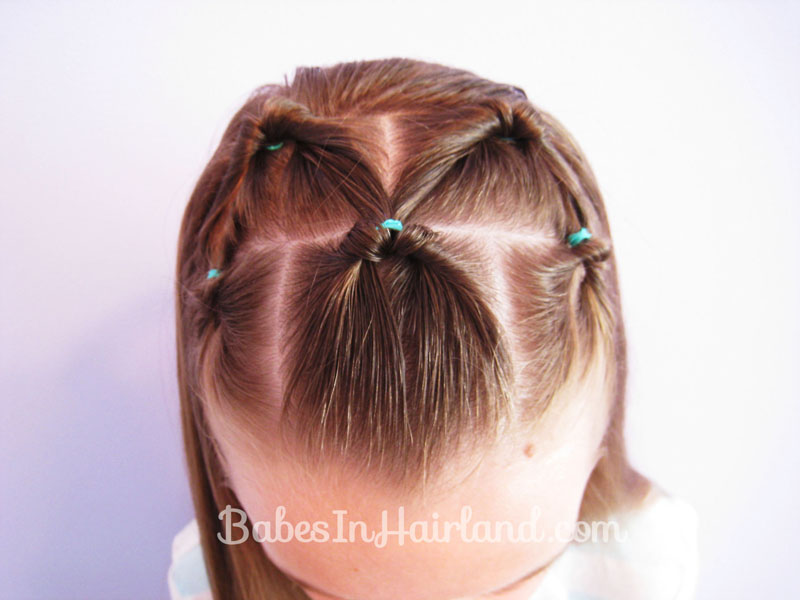
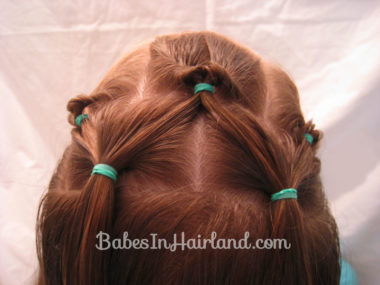
On the right side, add the front right ponytail and half of the front middle ponytail into this section. Secure it all with another rubber band.
Step 7 – Repeat Step 6 on the left side
We turned the ends of her hair under with our flat iron and we were done.
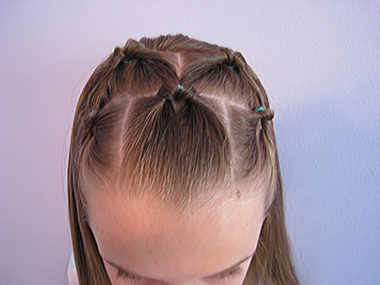
FINISHED!
That’s it! Easy peasy & keeps the hair out of the face oh-so nicely!
These are perfect for my niece her hair always seems to be in her face. Thanks for great ideas!
Super Cute. I can also see this on the runway models that we do hair and make up for. Great photos as well. Thanks!
So cute, gotta try this out on both my little girlies 🙂
I’ve done similar ponies. When I was cheering in high school, we would make a ‘net’ with our hair. I sometimes still do it!