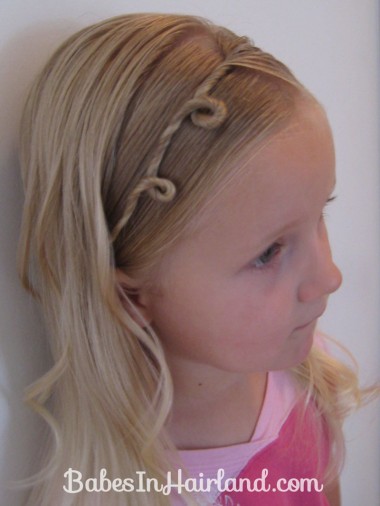
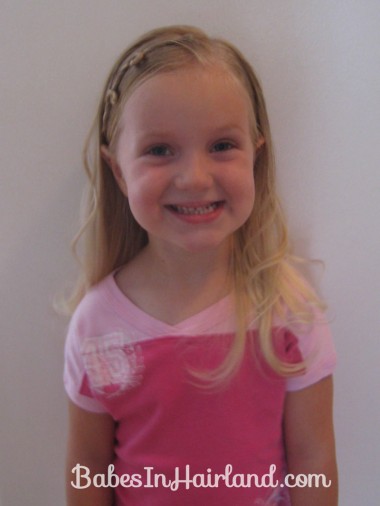
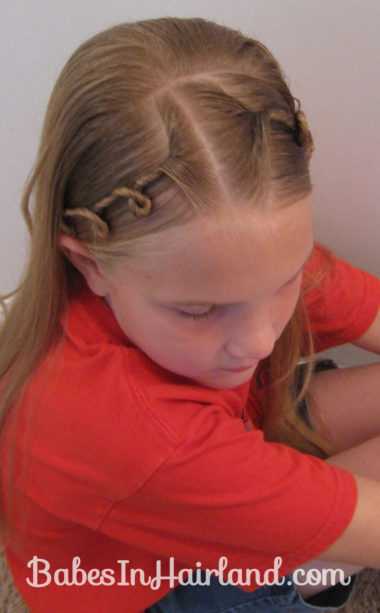
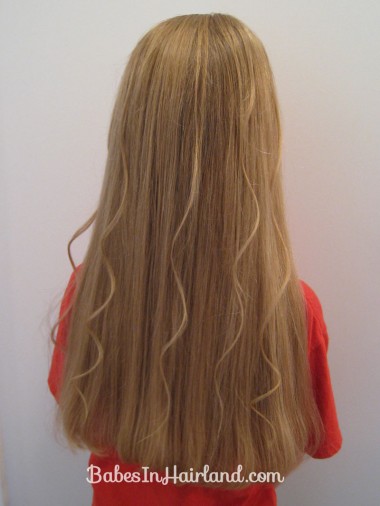
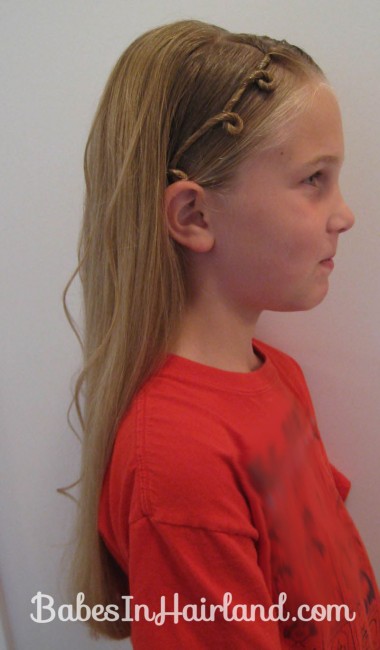
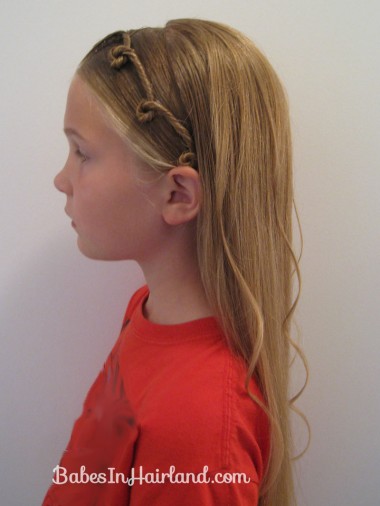
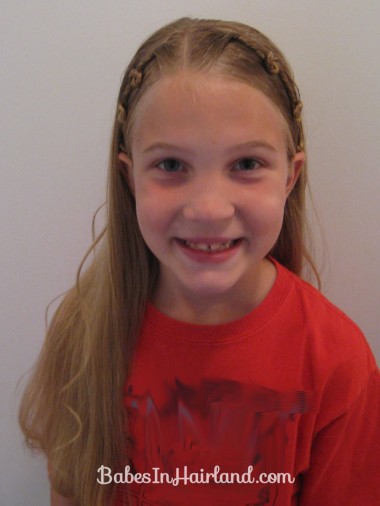
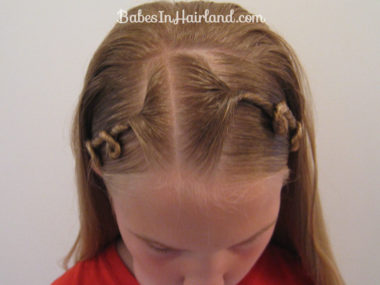
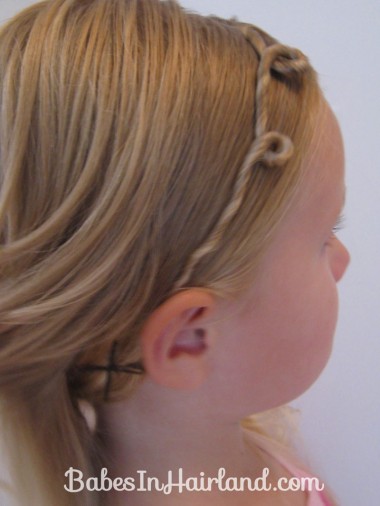
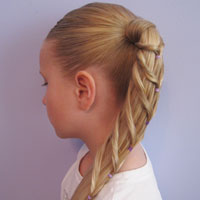
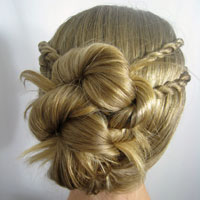
This was a fun one that I tried first on Bee and went back and redid to take step-by-step pictures, but did it on Goose instead. She was all excited about this one because she thinks the twists look like cursive “E’s” – which she is currently learning in school, along with a bunch of other cursive letters! No matter what you call it, this was a fun one & it is pretty easy too.
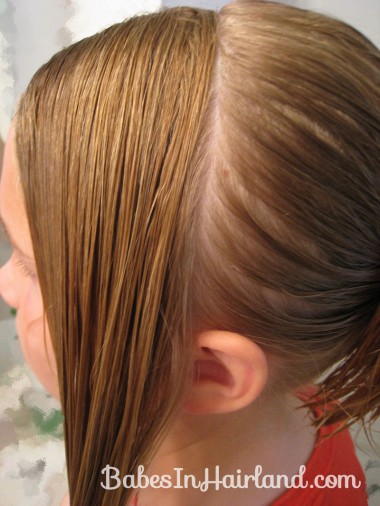
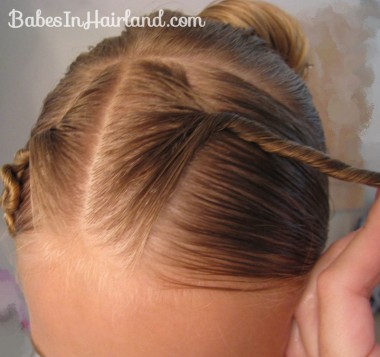
Start by making a side part on the right side of the head. Then part the hair from ear to ear over the top of the head. Having damp hair for this helps – at least for the “bangs” and twists. Secure the hair in back up and out of the way for now.
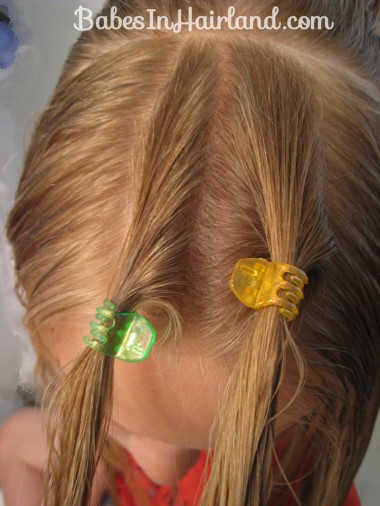
At the off center part on top of the head – section out 2 small sections of hair – one on the left and one of the right side of that short part. Your original part that was off center is now in the middle of these 2 little sections of hair. Secure them with little claw clippies temporarily.
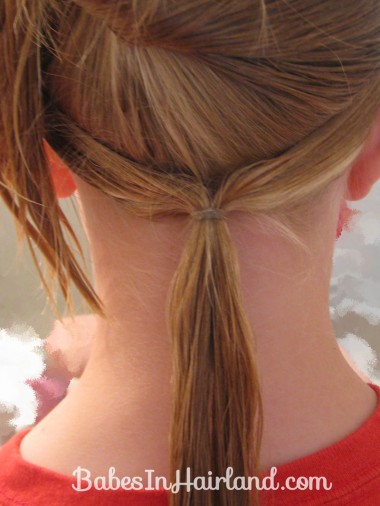
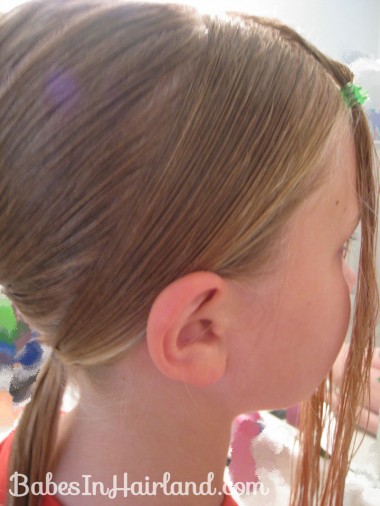
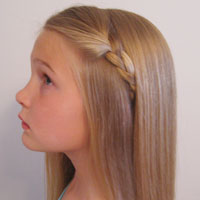
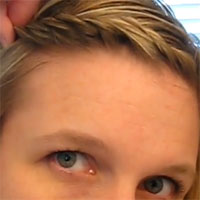
Take the rest of the hair and smooth it down on each side, bringing them together at the back of the head. Secure them with a rubber band at the nape of the neck. This forms makes what we call “Barbie bangs!”
Each side should lay smoothly for the “bangs” & you should still have the 2 little sections of hair held in clippies up front.
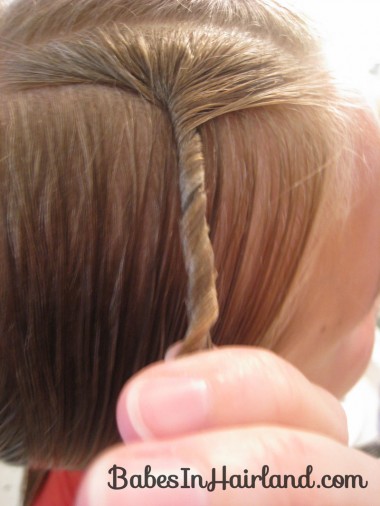
On the right side begin twisting the hair towards the back of the head. Like I said, really damp hair is best for this, as it helps with the fly away’s.
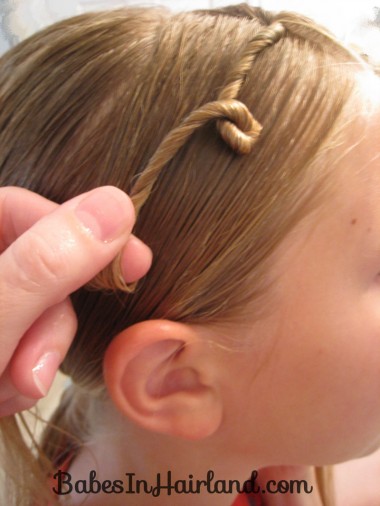
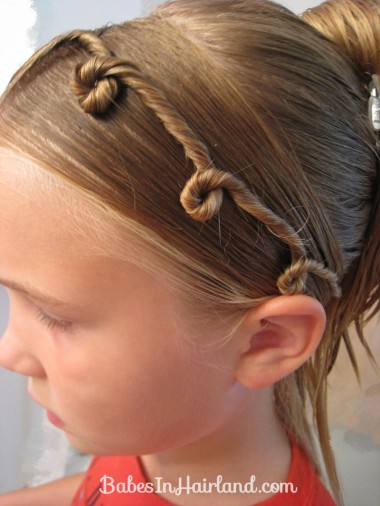
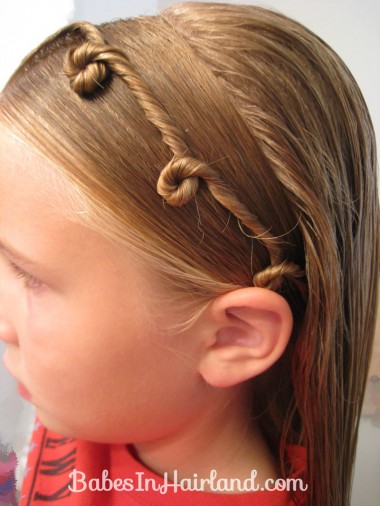
Continue twisting – rather tightly, so the hair starts twisting up on itself. It’s basically the “worm” hair idea that I posted HERE, ages ago – but you don’t want to twist it up as tightly. Twist the hair tight enough that it starts making little loops or “cursive e’s.” Go about this carefully or you’ll pull them out as you work down the twist.
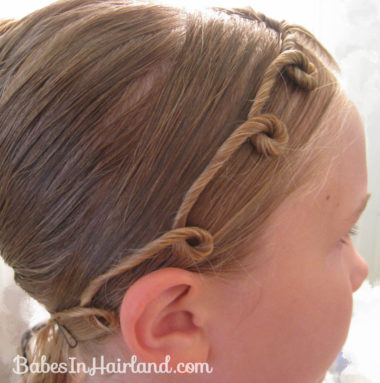
Keep twisting to make more loops. You may need to “guide” these a bit to lay the way you want.
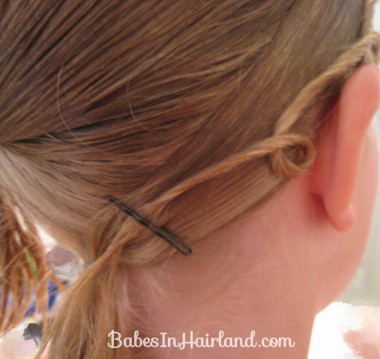
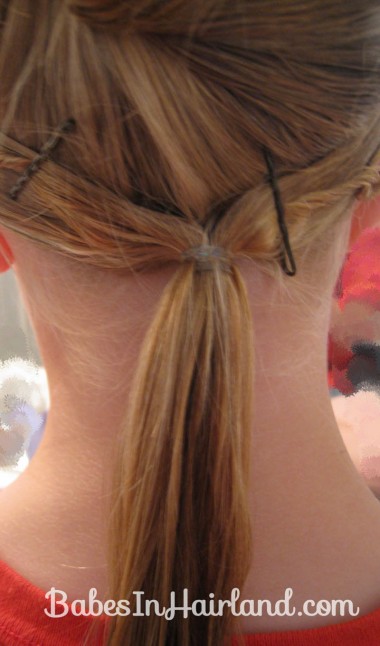
Once you’ve got the look you want, bring the end of the twisted hair towards your rubber band at the nape of the neck. Hold temporarily with a bobby pin.
Do the same on the left side of the head – twisting the hair backwards, nice and tight.
Repeat the process making more loops with the twists and work around the side of the head.
Hold that side secure with a bobby pin as well and then secure them to the head with a rubber band around the first rubber band at the nape of the neck.
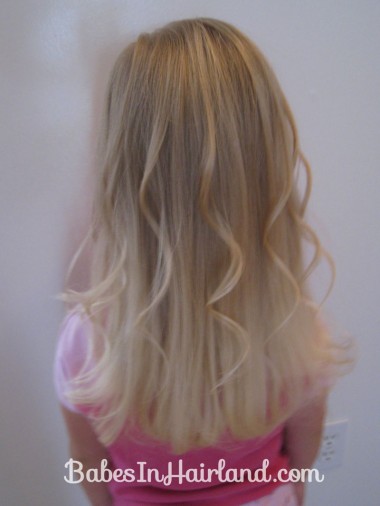
Let the hair down in back that was pulled up to begin with.
Dry the hair & add a few random curls. Lately I just love this look. I curl the hair under with the flat iron and then piece out little sections of hair to curl. I spray them each with hair spray to ensure they stay curled & separate from the straight hair below.
When I first did this on Bee I only did it on the right side & actually just secured the twist with an X of bobby pins off on the right side of her head. It was hidden with her hair hanging down though. It stayed pretty good – but not as well as how I did it on Goose.
So whether you do twists on both sides to overlay the Barbie bangs – or just do it with one like on Bee, it is a fun & cute style that is sure to be a hit!
And just a reminder – the 1st giveaway for Disney on Ice tickets is still open – so head over HERE if you haven’t entered yet! 