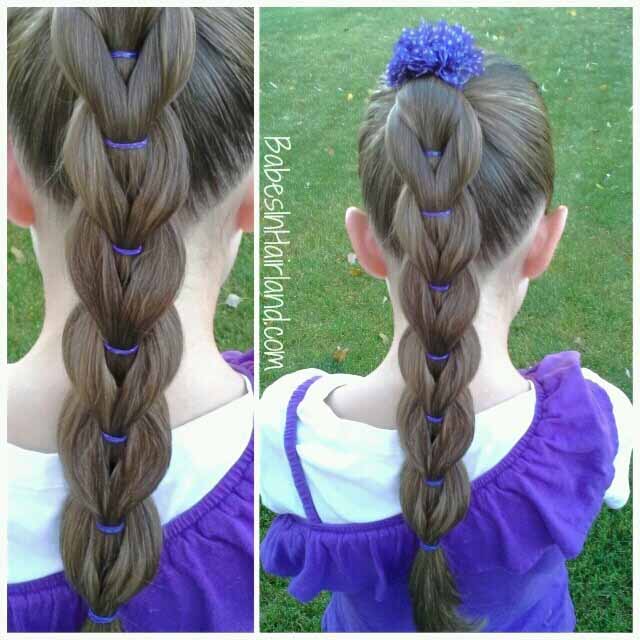
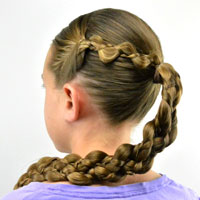
 For the past many months, I’ve seen countless pictures and tutorials for a cool hair technique some call a “pull through braid” (see the picture below we posted on Instagram months ago long before Bug cut her hair.) It’s been done in only a ponytail as we’ve done below, and others have created the style starting at the crown and adding hair by sections working their way down the back of the head to create a similar look. But we’ve switched things up a bit adding some “real braids” to the “pull through braid” for an even cooler look.
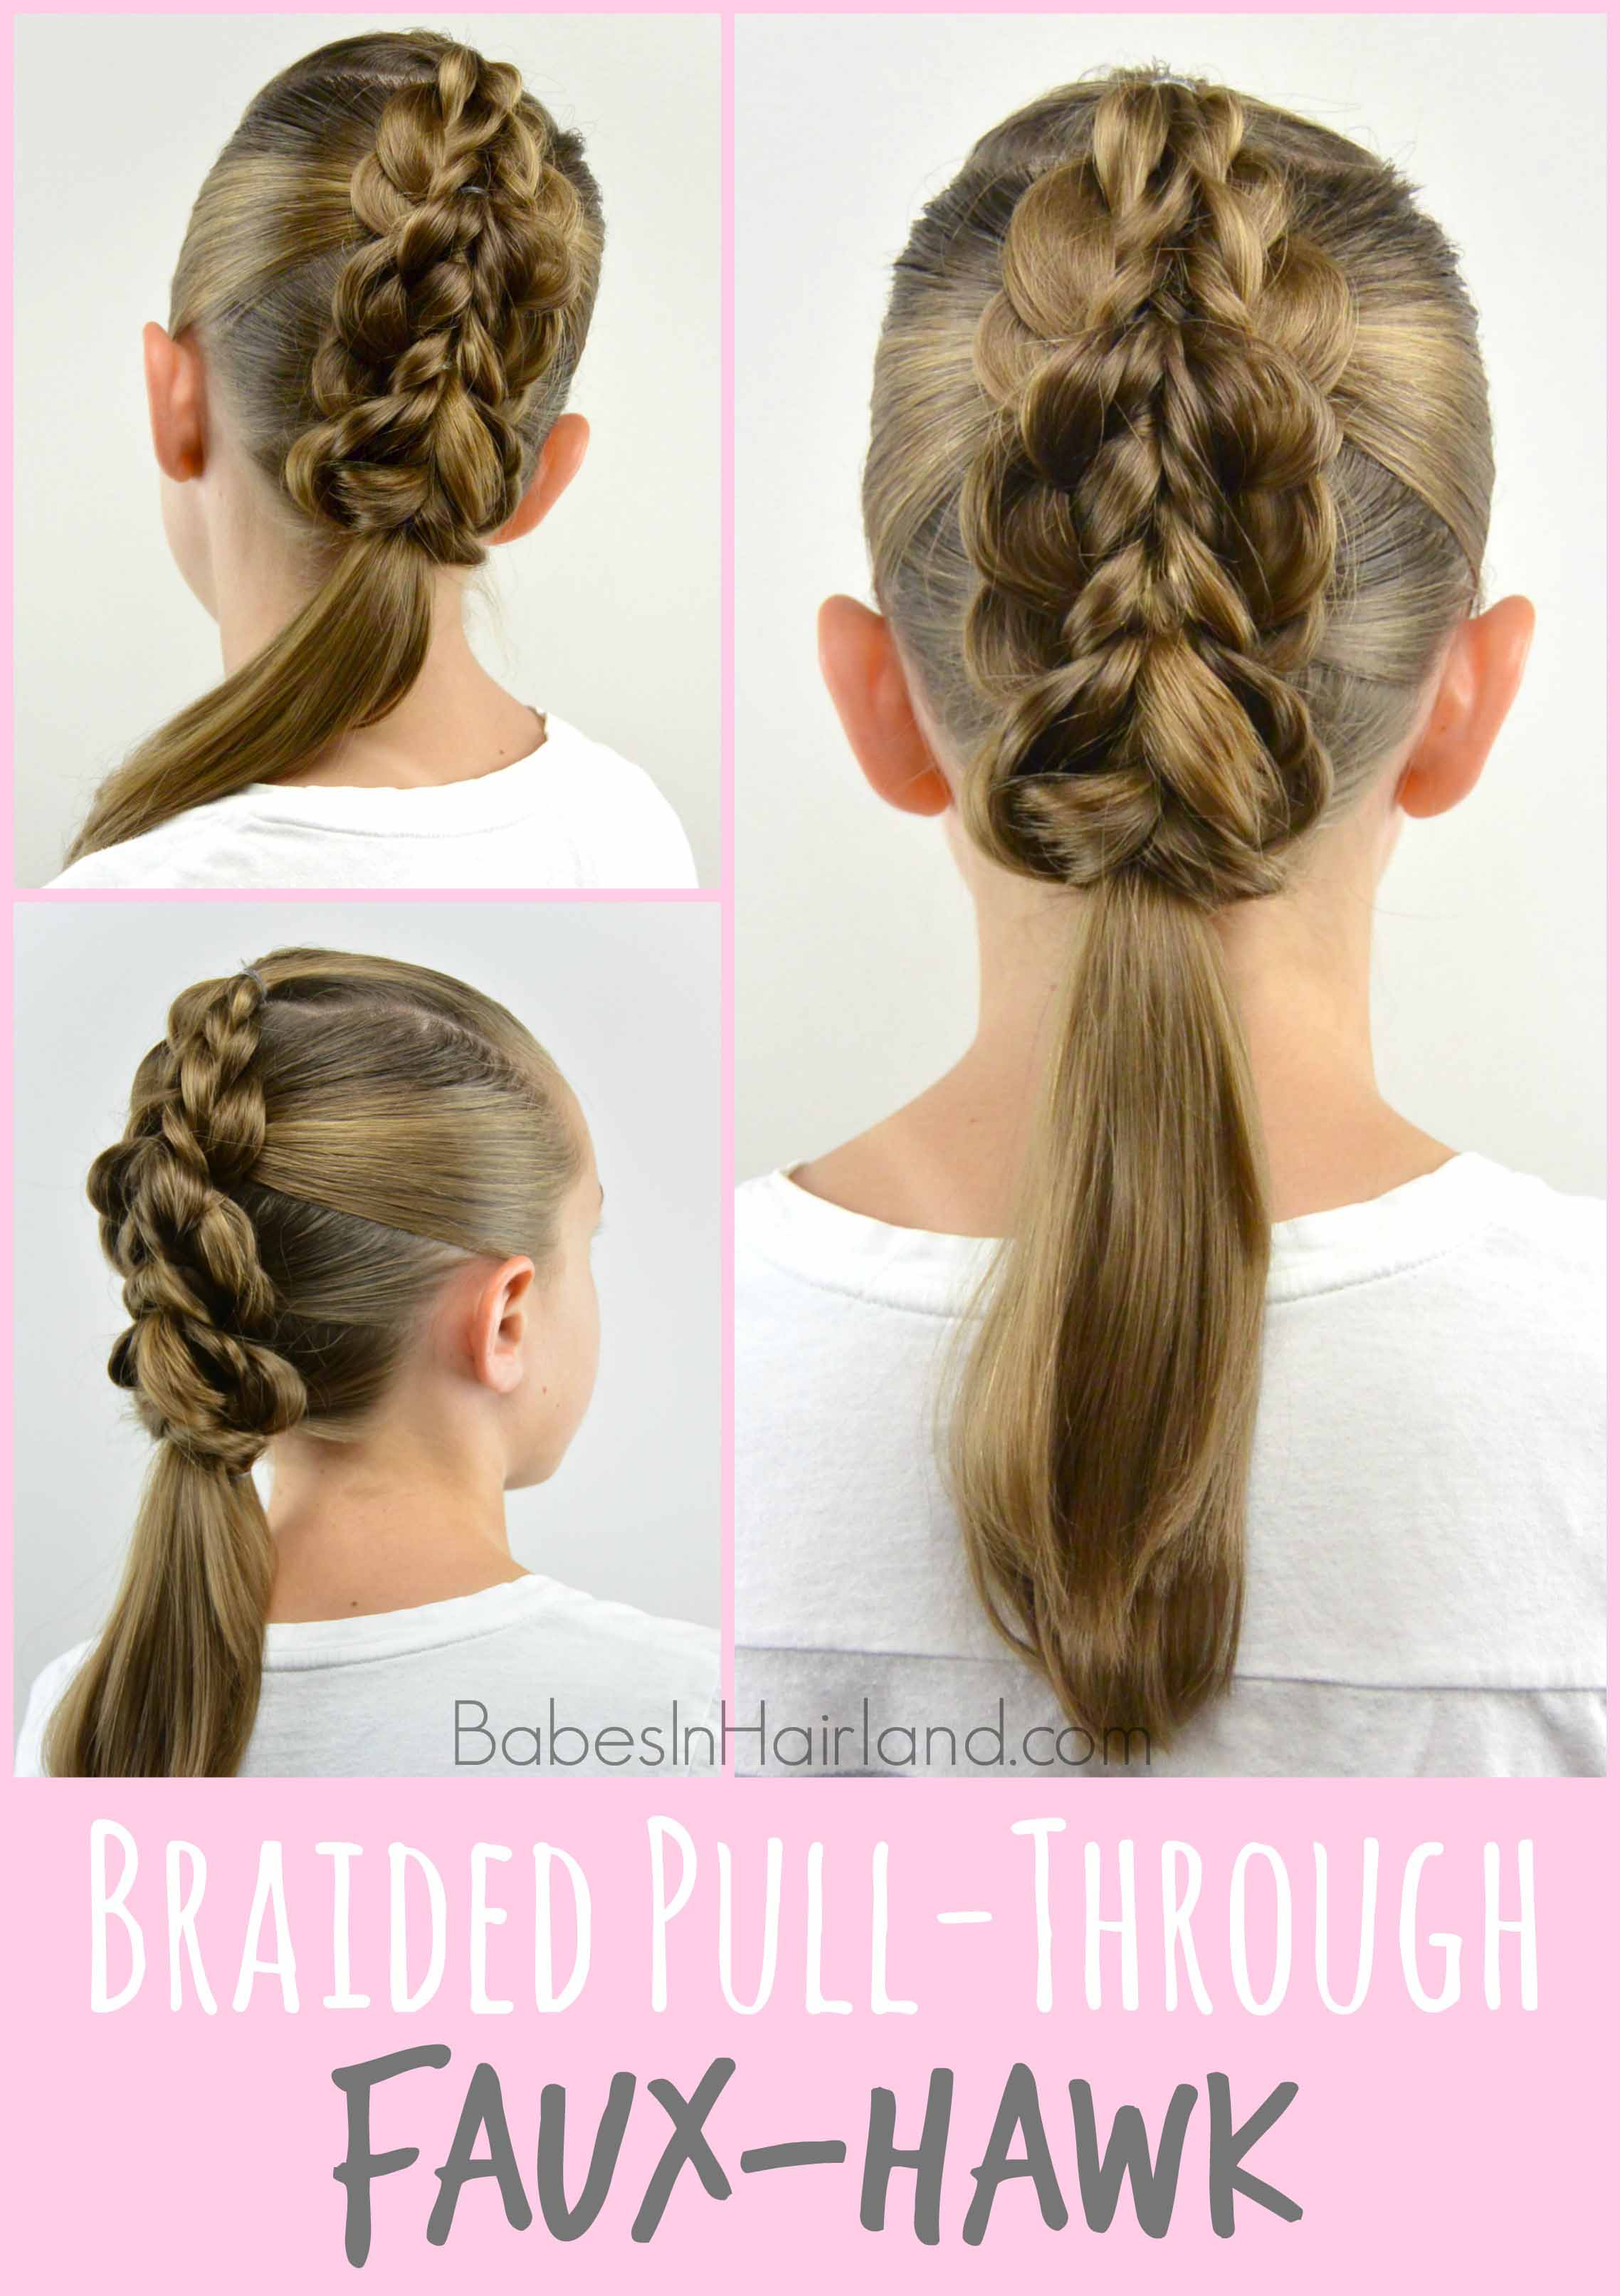
This is our “twist” on the above cool style. We’d done a version in Bug’s hair before she cut her hair (but didn’t create a tutorial), and we started at the crown and then once we couldn’t add hair any longer, we worked our way clear to the tips of her hair. But since her hair is a foot shorter now, we had to stop at the nape of her neck and leave things in a ponytail. If time permits, I’ll have to recreate this style on my 13 year old and carry it down all the way to the tips of her hair to show you how pretty it looks. But for now, here’s our video on Bug with her first tutorial since the “big chop!” Enjoy!
Step 1 – Part the hair from the temples back to the crown making a rectangular section of hair
Step 2 – Secure that section of hair with an elastic to make a ponytail that sits at the crown
We use THESE Goody Elastics when we do styles like this. They hold up the best that I’ve found over the years.
Step 3 – Flip that ponytail forward out of the way temporarily
Step 4 – Section out hair starting at the tip of the right ear across to the tip of the left ear
Step 5 – Gather all that hair to create a 2nd ponytail, securing it with a clear elastic
Step 6 – Bring ponytail from step 3, back down so it covers up the ponytail from step 5
Step 7 – Divide that ponytail, from step 3, in half so it straddles the elastic from the ponytail in step 5
Step 8 – Create a regular 3 strand braid with these halves and temporarily secure the ends with a clip
Step 9 – Optional – Pull on edges of braids to pancake them and make them wider
This is optional, depending on the look you are going for. I wanted the elastics from the ponytails to be hidden, and her braids were too thin to do that unless I pulled on the edges to make them wider. You can pull on them a lot more than I do depending on the look you want. But since we were going for the “faux-hawk” look for this one, we wanted to make things wider.
Step 10 – Flip the ponytail from step 5 up out of the way
Step 10 – Draw the braids under the elastic of that ponytail and secure them together with another elastic
Step 11 – Flip the ponytail back down and adjust the braids further if desired
Step 12 – Repeat this process down the back of the head as many times as desired
Step 13 – Once you reach the nape of the neck and have no more hair to add or braid, secure things with another clear elastic
Step 14 – Adjust braids as needed so they are rather uniform down each side
** Optional ** You can continue the process of splitting and braiding the hair and making ponytails down the “ponytail part” that is below the neckline as well. It just depends on the length of hair you are working with if it will work or not. As mentioned, with her shorter hair, it just didn’t work to continue things past the nape of her neck.
** Tip ** – We used our Gimme Style Cutter Comb to cut out the elastics when we took the style out that night. If you don’t have one, refer back to our post on 5 Tools to Easily Remove Elastics. You’ve probably got one of the “tools” we mention on hand & they will make taking this style out a lot easier!
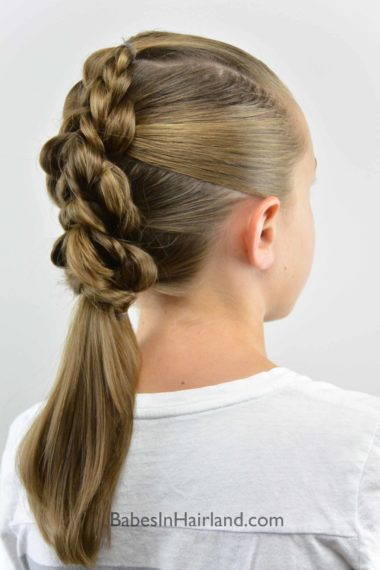
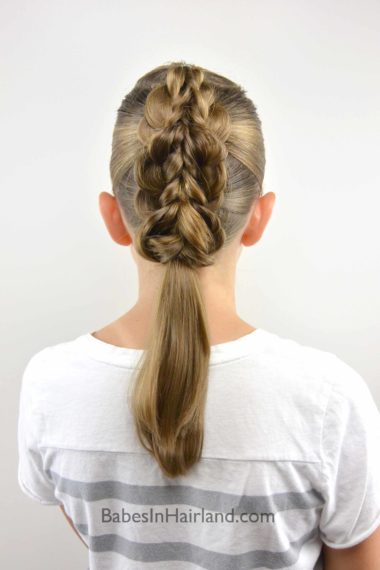
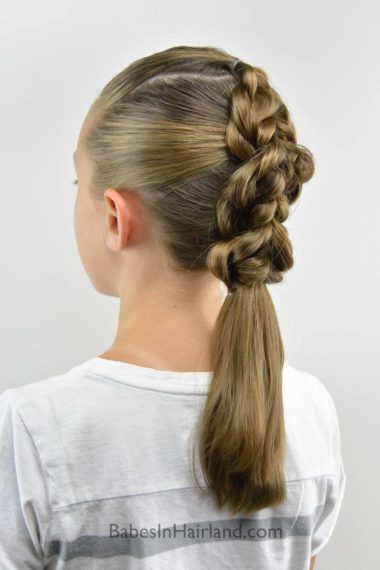
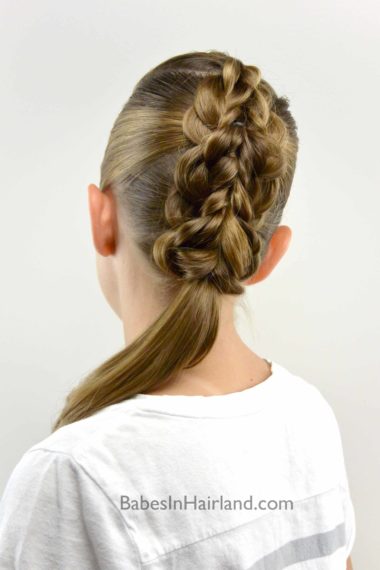
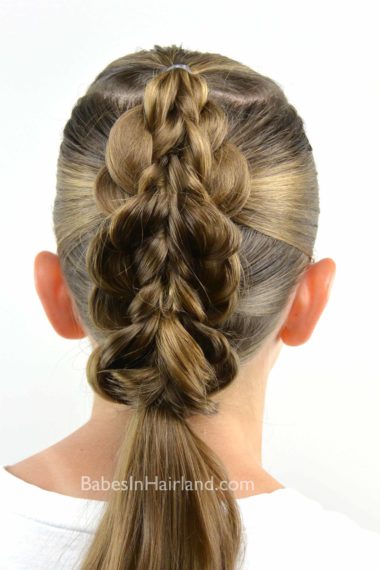
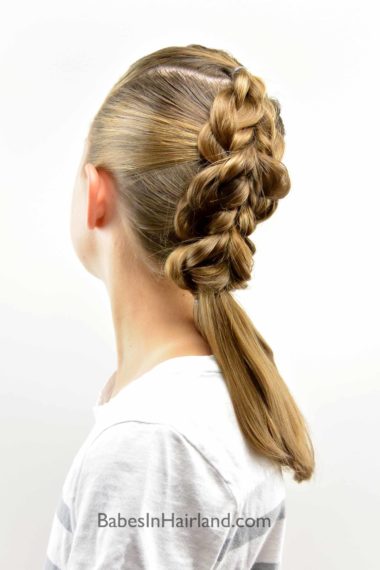
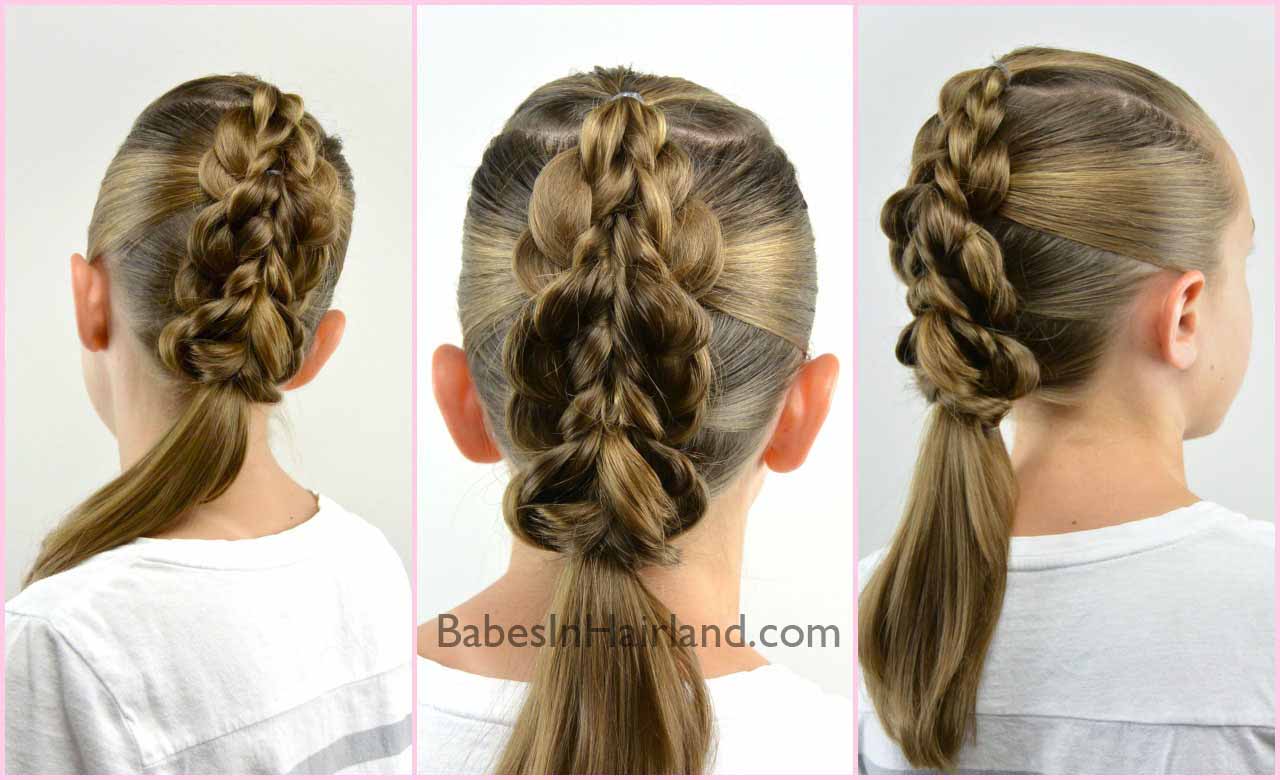
FINISHED!
Here’s a more up close look – I think it looks so cool. Sometimes her darker hair is harder to capture the detail on, so some of the pictures and even the video don’t do it justice!
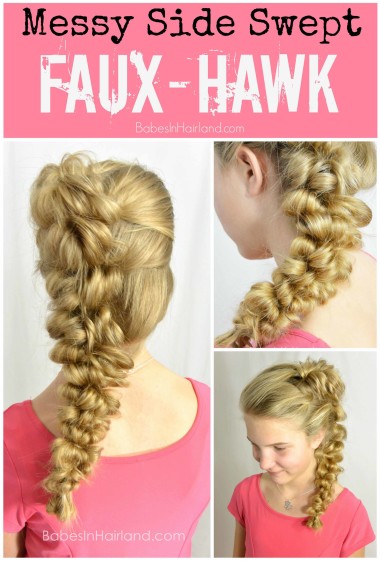
Let us know what you think of this one. If you like the “faux-hawk” look, be sure to check out our Messy Side Swept Faux-Hawk we posted back at the beginning of the year.
Leave us a comment below & let us know what you think. Be sure to pin this to one of your hair boards to refer back to later!
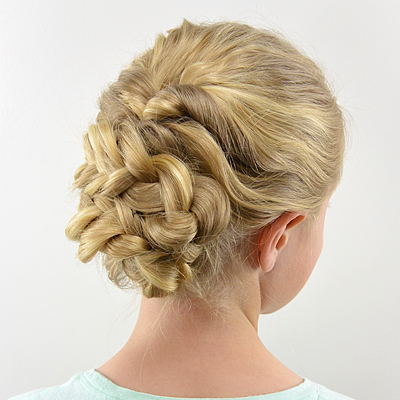
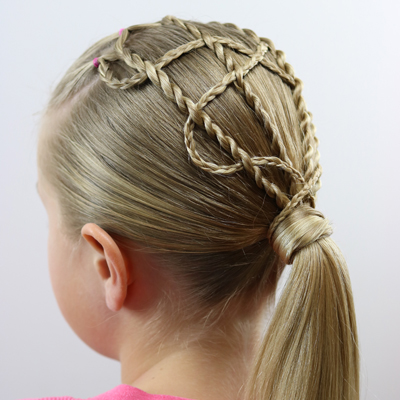
So cute!!!! I’m going to try to do this on my own hair since I don’t have any sisters ):
Thank you! So glad you liked this one. I’d love to see how it turns out if you recreate it.