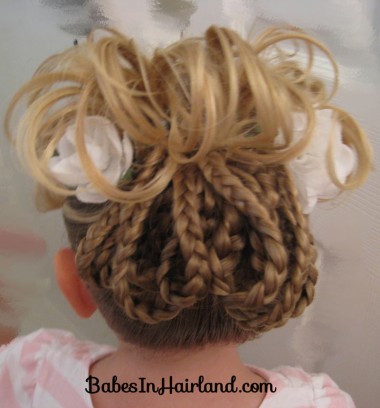
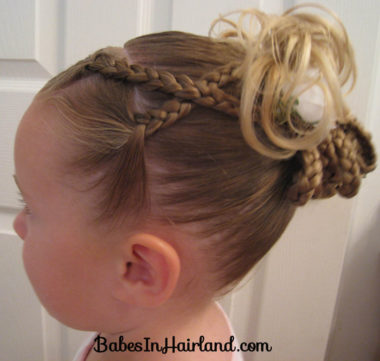
Well, 13 braids to be exact — 2 up front & 11 in back … and 13 happens to be my lucky number, since I was married on Friday the 13th, and Goose’s birthday falls on the 13th of a month in Spring. I didn’t really plan this that way, but like I said, it’s my lucky number! I did this for Bug’s first day of pre-school. I must have been in the mood to have hair protruding from the top of her head too, because I did this a day or two after the Peacock! I’ve been excited to post this, because it looked so cute, I just wanted to wait for my giveaway to be over. I saw this somewhere – I don’t know where, since I’m constantly checking out hair wherever I am (I need to concentrate other things sometimes I think!) – so as I’ve said before, I don’t claim to be original, but here it is for you anyway!
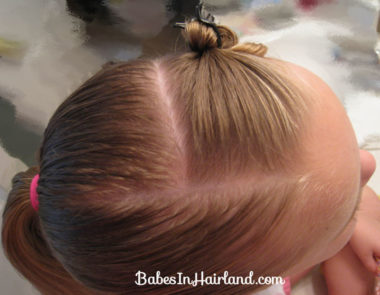
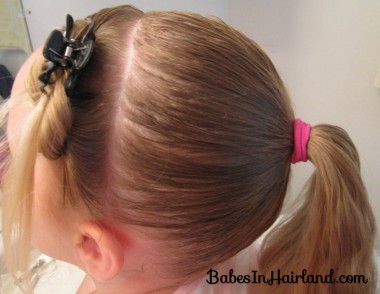
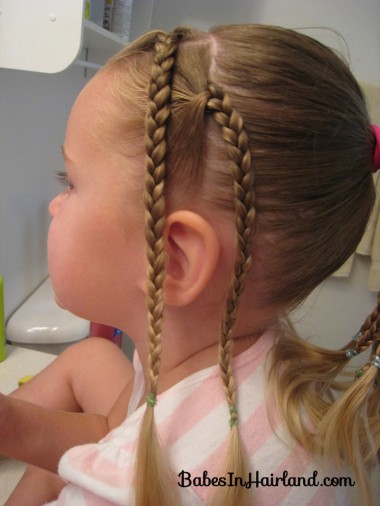
Begin by making a part on the top of the head (from front to back – but don’t go all the way back – mine looks like it does becuz of her cowlick.) Then hang a left and part straight down to the left ear. Like I did in this past post. Then just pin it up out of the way for now.
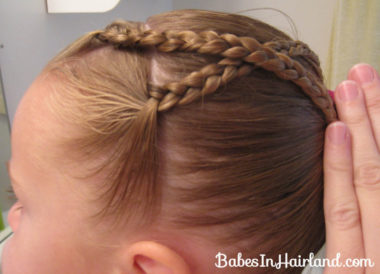
Here’s a picture of the part down to her left ear. Once you’ve parted that off, make a ponytail in the back with the remaining hair.
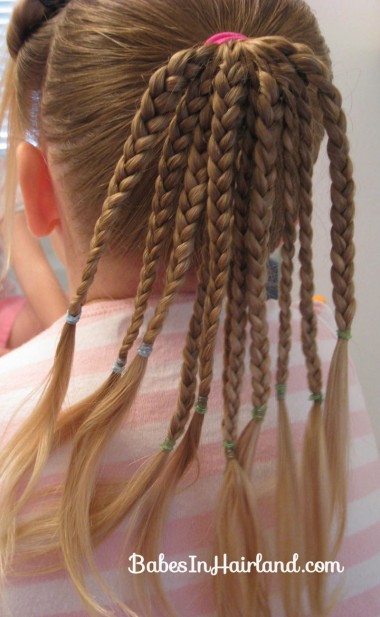
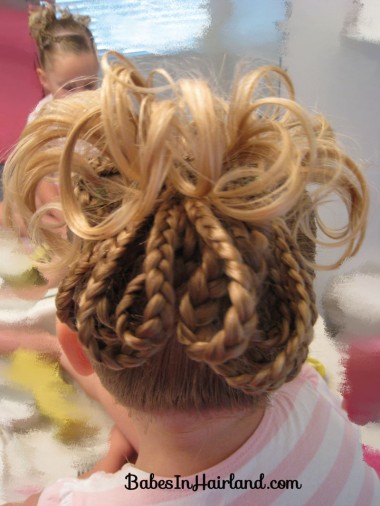
Then taking small sections, make as many small braids as you want (I did 11). This could also be done with corkscrew twists too. Whatever is faster for you. But don’t braid all the way down to the tips. Tie them off with rubber bands, leaving a couple inches on the bottom.
Onto the front section of hair. Divide it into 2 more sections and braid them. Once again, you could do corkscrews, or even do these as mini-french braids. What ever you want to add flair!
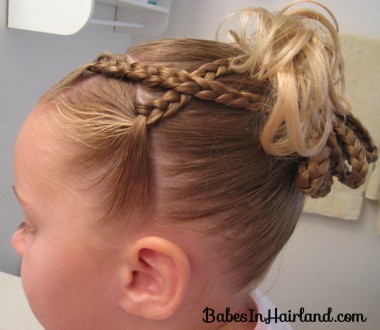
Then I pulled them back towards the base of the ponytail, crossing the highest one on her head on top of the bottom one like this:
Then secure them with a few bobby pins at the top of the ponytail. The ends of the braids will be hanging down with the rest of the braids in the ponytail. You’ll need to bring the ends of those 2 braids back up so they are pointing up towards the top of the head (to curl them later.)
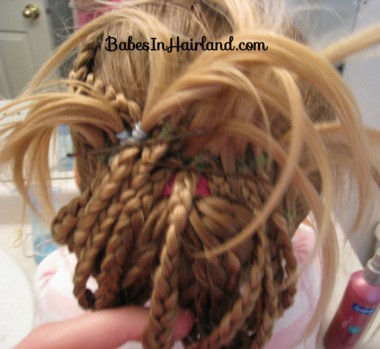
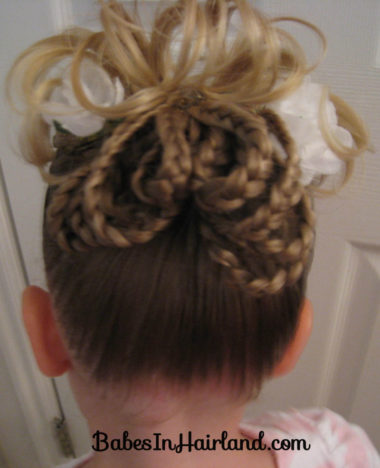
Sorry, I realized after I’d pinned them all up I didn’t take any other shots between the last pic & this one, and it’s a bit blurry. You can use little claw clippies to do this, or as I did, bobby pins. Just bring all the braids from the ponytail up so they are making a “U” shape and fasten them above the ponytail holder. Spread them out a bit – don’t try to just bunch them all above the rubber band. Once again I had a ton of green rubberbands (we don’t have a ton of use for them so they are always the stragglers!) but I figured they wouldn’t be seen too much so I didn’t care! At this point you could be done & have them all willy-nilly like this. But . . .
I took my flat iron (this was my first attempt at curling her hair with it after I bought it!) and curled the ends downwards. Once you’ve curled them, spray the curls a bit with hairspray so you can arrange them how you want & have them stay “fluffy!”
Here’s a view from the side:
From underneath:
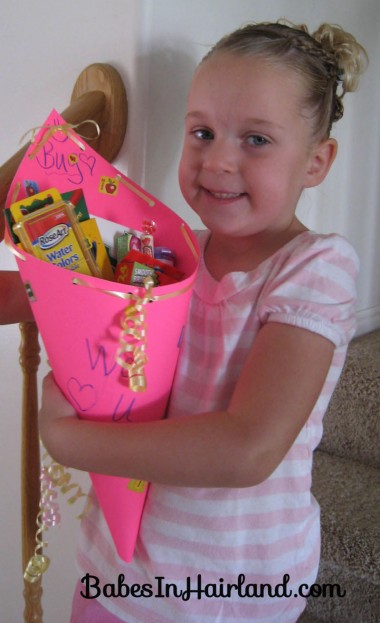
Sorry, she was in a “cheesy” smiling mood this day & so this is the best I could get from the front where you could sort of see her hair poking up over the top. The “weird cone thing” she’s holding & that you might be wondering about it is a cool tradition I do for the kids on the 1st day of school that I picked up from the Germans while living over there. I think they only do it for kids on the 1st day of school 1st grade, but I do it every year.
So there you have it — braids, braids, and more braids. And I must say, my hands did begin to feel a bit crampy after this one (is that a sign of old age!), so when I do it again I’ll probably do less braids in back.
