We hope you had a wonderful Christmas and New Year’s. It’s been so nice to sort of disconnect from everything and just be together with our family. It was hard to get back into the old routine as the girls have gone back to school this week and “real life” has started up again. The weather is bitter cold (6 degrees this morning) and I’m curled up with some hot chocolate and my keyboard with my space heater blowing at my feet!
As long as you know the basics of how to make a regular 3 strand braid as well as a fishbone braid (watch our fishbone braid video if you don’t!), you’re good to go on this pretty hairstyle. I did this with totally dry hair and didn’t really mist it at all with water, so forgive the fly-aways! I don’t know what it is though, whenever we do fishbone braids (regardless if hair is wet or not), they do tend to not look as “neat and clean” as other braids and have more fly-aways. If you have the same problem, don’t let that deter you!
Step 1 – Part and braid the hair
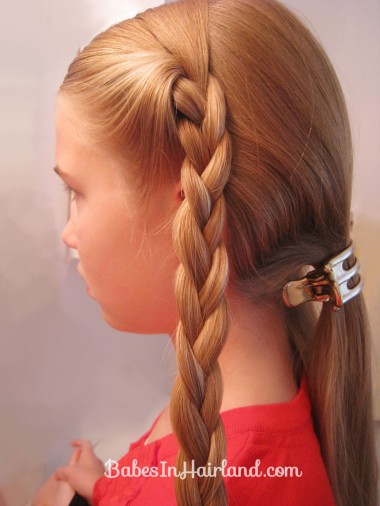
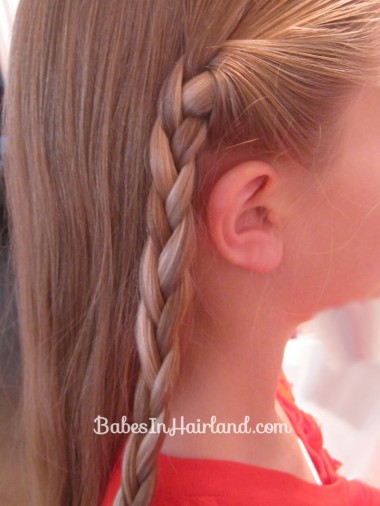
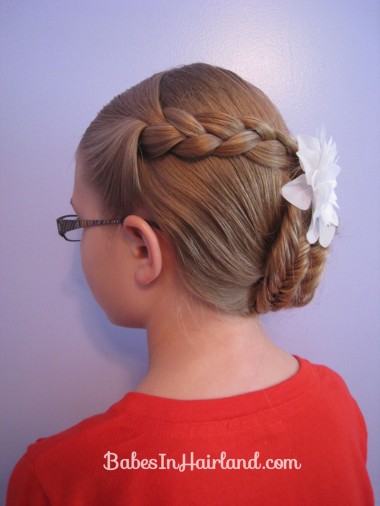
I started with an off-center part on top of the head & then parted down to the ear. Braid the hair in front of the ear on the left side and temporarily secure the end.
Step 2 – Make another braid
Repeat step 1 on the right side of the head.
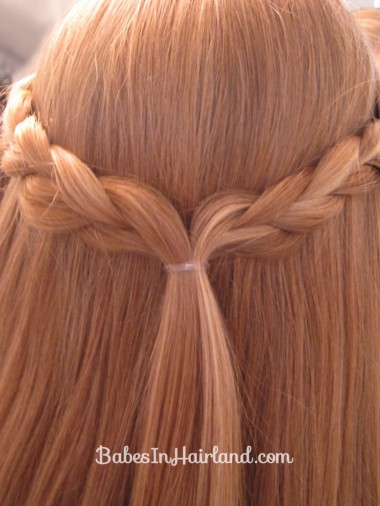
Step 3 – Join the braids
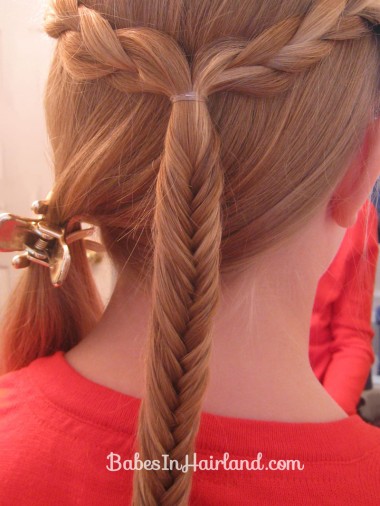
Pull both braids you just made back and fasten with a rubber band in the center back of the head.
Step 4 – Make a fishbone braid
With the hair just below the rubber band, make a fishbone braid. Don’t know how? Watch our fishbone braid video! Braid as far down as possible & secure the end with a rubber band.
Step 5 – Make another fishbone braid
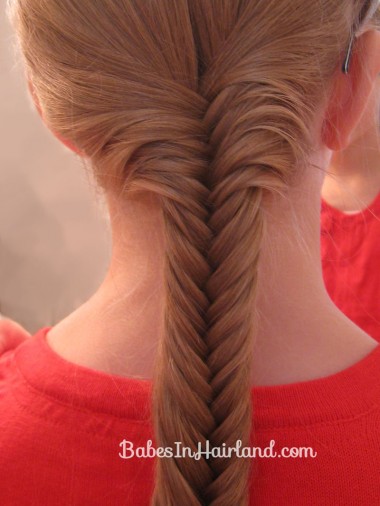
Flip your braids you’ve made so far up out of the way if you need, and with the remaining hair in back, make another fishbone braid. I made the braid toward the right side of her head. I didn’t want it dead center. Braid all the way to the bottom & secure with a rubber band.
Step 6 – Make a bun
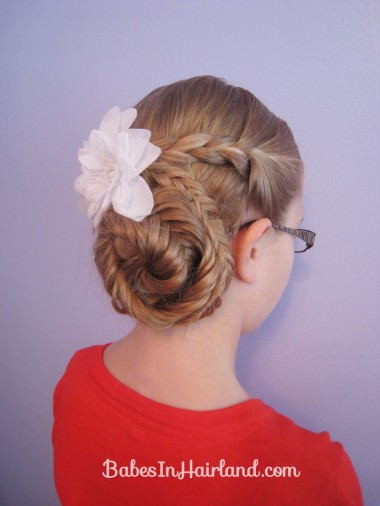
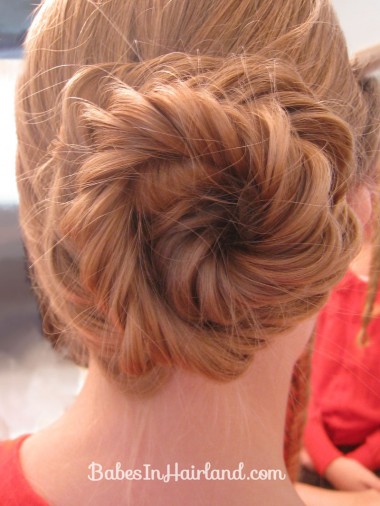
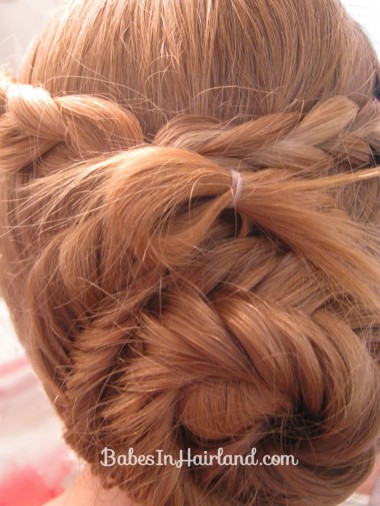
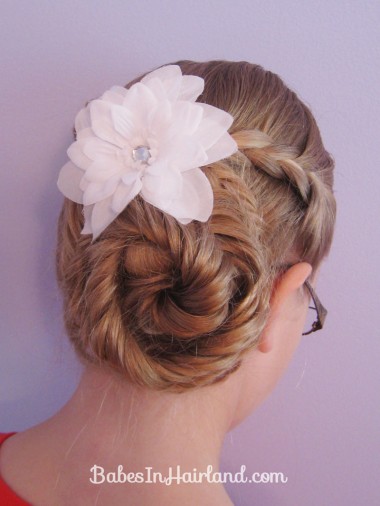
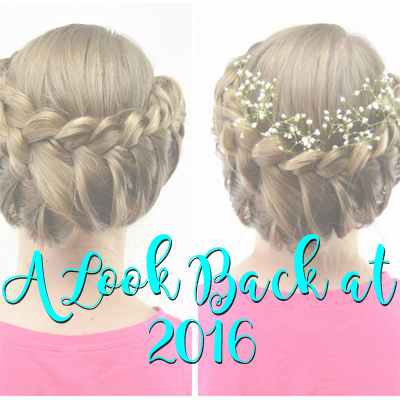
Wrap the fishbone braid you just made into a bun. Secure as needed with bobby pins. Once I had it pinned where I wanted it I pulled on the braid a little & loosened the plaits of the braid up a little bit. Gives it a bit messier look – and looking straight on sort of has a “flower-like” appearance!
Step 7 – Wrap the bun with smaller braid
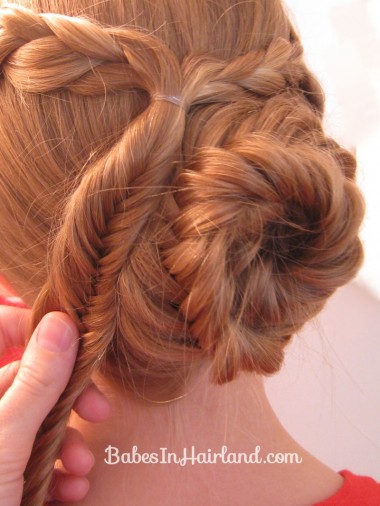
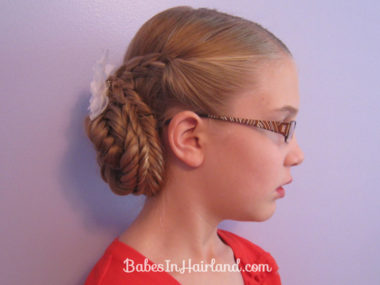
This is a great trick to “enhance” or make your bun look larger if you’re working with thin or finer hair. Bring the small fishbone braid back down so it is resting on top of your bun and wrap it around the outside of your bun. It will make the bun bigger! Secure the little fishbone braid with bobby pins as needed.
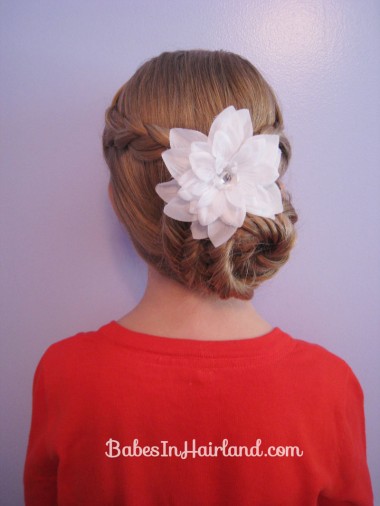
Our braid wrapped clear around the bun and so tuck your ends in, or hide them with an accessory like we did!
Finished!
Be sure to share this by clicking the social media buttons below! You won’t win a prize, but it’ll give you warm fuzzies knowing we appreciate you sharing the love! 😛
LOVE IT!!!
thanks, very helpful.