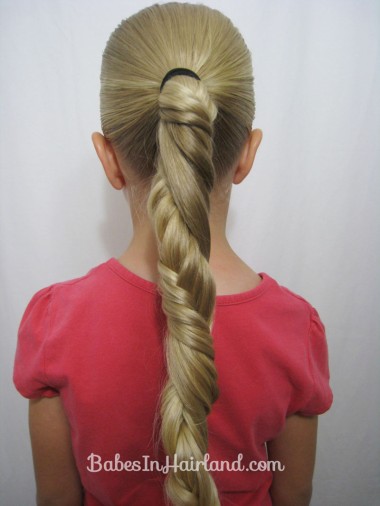
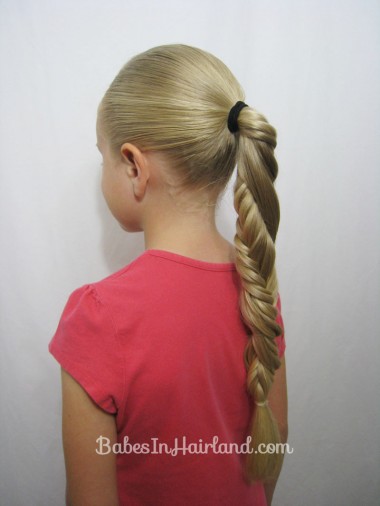
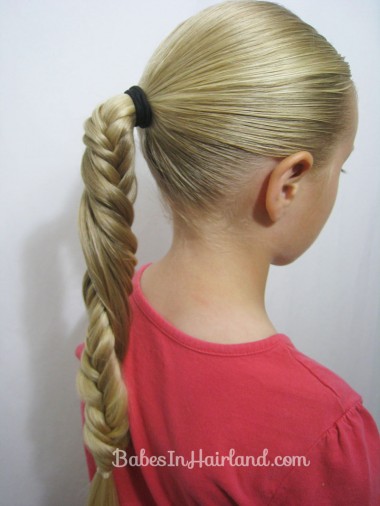
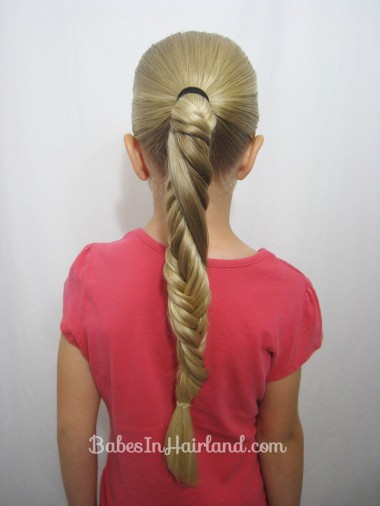
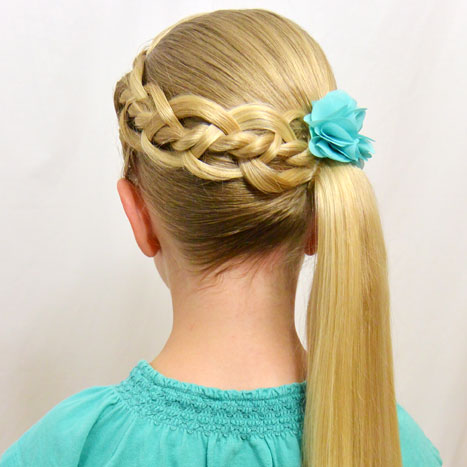
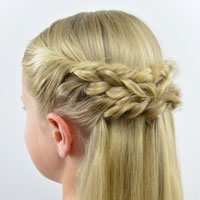
 Let me just start by saying that this beautiful braid is a product of a sweet friend I’ve made through blogging. Over the past many months, I’ve become friends with Eliane (and yes that’s spelled correctly!) from Peppinas Hair on Facebook.
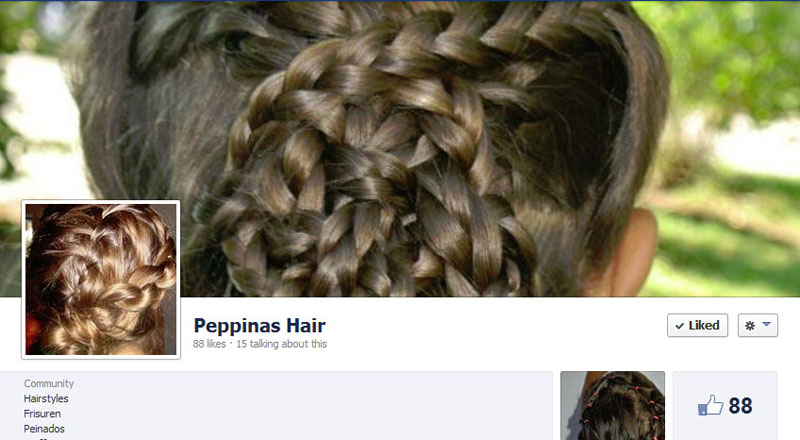
She too, has little girls and loves trying out different hairstyles and sharing them on her Facebook page. A while back she sent me some pictures of a fun new fishbone braid she’d come up with and wanted me to make a video of it. I’ve got to admit it took me a while to get it to look like I wanted it to – despite her detailed instructions! It’s not really hard, but for whatever reason it didn’t turn out quite like hers. I’ve come to the decision it’s because of the amount of hair I was working with on Bee’s ponytail vs. using a smaller amount of hair.
That being said, this video is to just show you the technique. You can do this anywhere on the head – not just a ponytail, and you can use any amount of hair to do it. I think if you work with less hair, you get an even cooler look.
Once you’ve watched the video and you try this, play around with it a bit to see what works best for you. Plait 4, 6 or even 8 sections and then twist it to see how it looks. Depending on the amount of hair you are working with will also change the look of the twist.
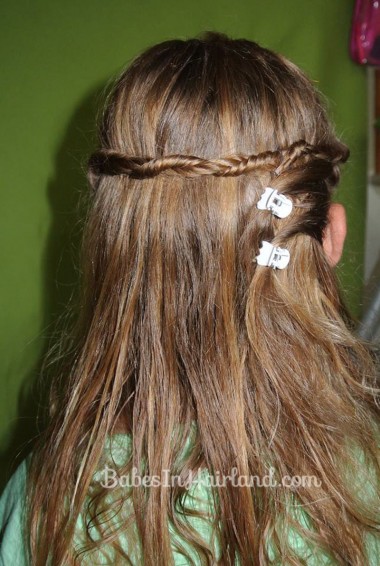
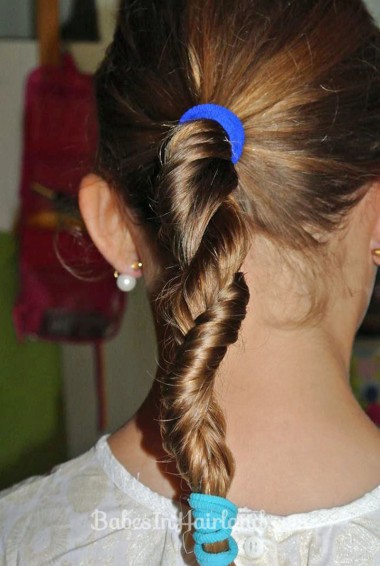
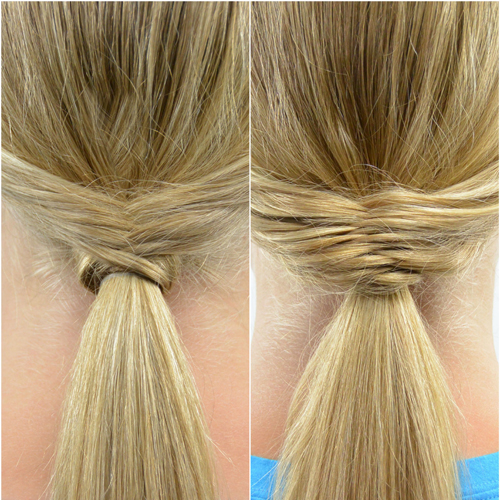
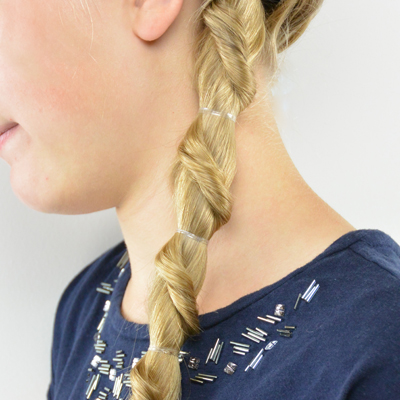
The next 3 pictures are courtesy of Eliane of Peppinas Hair showing a couple different styles she made using this fun new fishbone braid.
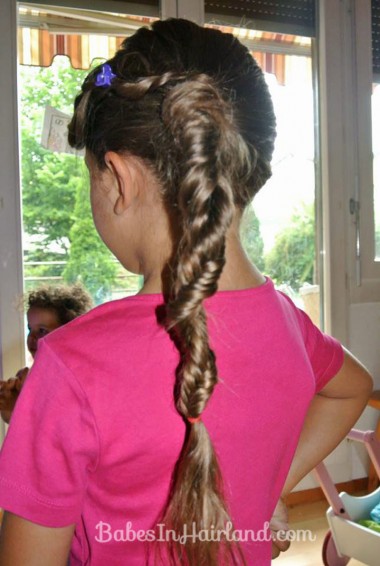 If you use smaller amounts of hair like she does below, it gives it a whole different look.
Step 1 – Make a ponytail
Step 2 – Divide hair into 2 sections
Step 3 – Start plaiting a regular fishbone braid
You can do 4-8 plaits at this point. Play around with this and do what you think looks best with the amount of hair you’re working with.
Step 4 – Turn the entire braid 180 degrees to the right
Step 5 – Plait an inverse fishbone braid
If you don’t know how to do that, you’ll just be taking hair and passing it under the braid instead of over. Do another 4-8 plaits inverted.
Step 6 – Turn or rotate the braid 180 degrees to the right again
Step 7 – Repeat Steps 3-6 until you reach the end of the ponytail
Step 8 – Secure the end with an elastic
Let us know what you think. This is definitely one we will be incorporating into some fun new styles in the future. And a huge thank you to Eliane for sharing her technique with us so we could share it with you. Be sure to share this pretty style and use those little social media buttons below!
Dear Becky,
With this I wanna say thank you for doing this Video. You are such a great hair teacher and Inspiration to me. I admire your Fantasy and especially your updos are extremely extraordinary. God bless you and see you, soon. ELIANE (Peppinas hair)
Tried this today and loved it. Thanks
I love creative people who are willing to share their talent. My daughters hair has definitely improved since I found you! Thanks so much.
Aw, thank you so much! We’re so glad we’ve been able to help! That’s why we do this! Hope you’ll visit our site often!