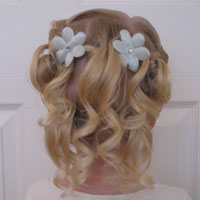
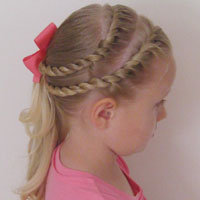
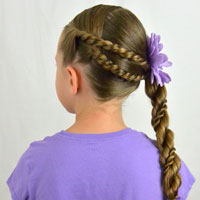
I nearly called this Criss Cross Applesauce because I don’t get to use that phrase nearly enough – but since there’s no applesauce in the hairdo I opted not to mislead you! 🙂
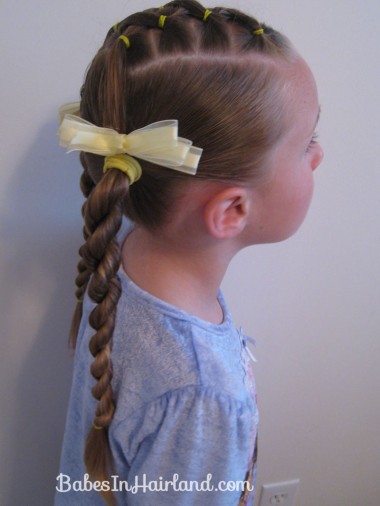
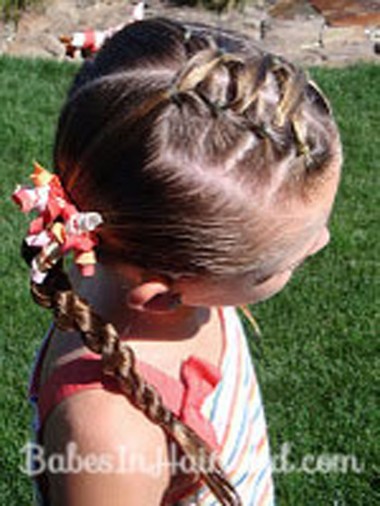
This post is for one of my readers – April, who after my March Hair Share- inquired as to how a certain hairdo had been done that was sent in by one my readers (the major hair doing diva – Jami!) I’m not sure if this is something that was done on another blog – which is quite possible with the number of blogs out there – but in any case, we redid this one a couple weeks ago after I’d given Bug her bath. It’s a fun & an easy one – although I think it’d look better on Bee since she’s a bit younger. Anyway – Bug is on the left and the pic that was sent to me is on the right. Just ignore my bright yellow rubber bands, etc., because I let Bug pick what color we used since she was just headed to be later anyway!
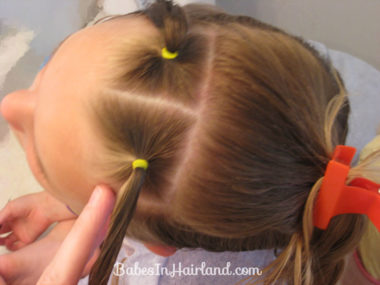
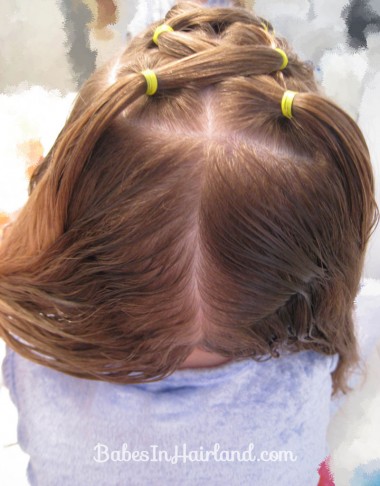
Begin by parting the hair back from the temples on top of the head. You’ll be dividing it into 8 small sections for ponytails once you are done.
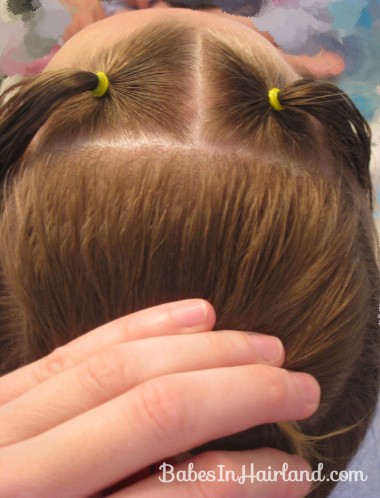
Begin by sectioning off hair in the front parting it from left to right (not including hair by the ears – just what you initially sectioned off.) Then divide that in half and make 2 small ponytails secured with rubber bands.
It helps to hold the hair you aren’t working with apart with a clip.
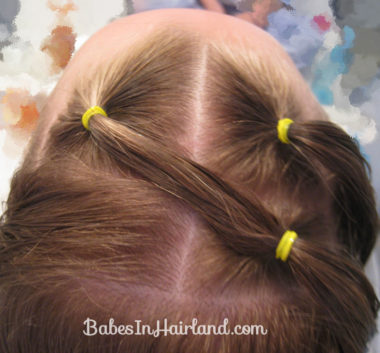
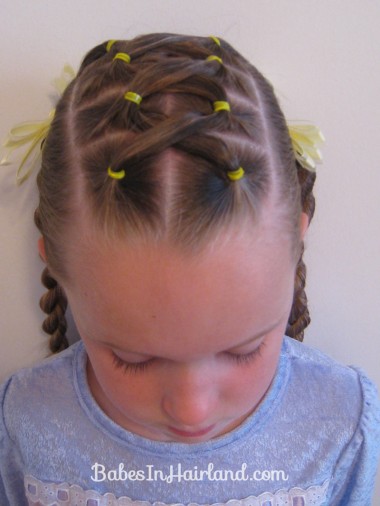
Part off another section to make 2 more “squares.” Take the front left ponytail and cross it over to the right side, joining it with the new section you’re working with on the right side. Secure it with a rubber band.
Repeat with the front right pony – joining it in with hair in the new section on the left side to form an X. This is just a simple lattice or criss cross with mini-ponytails.
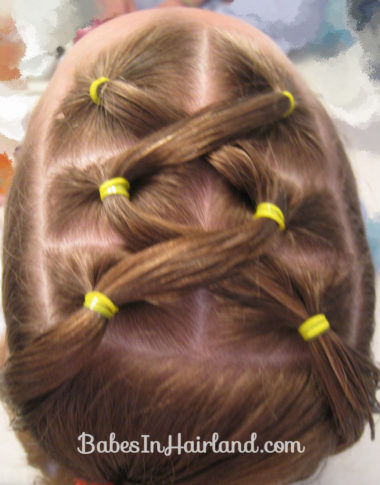
Repeat this process again making another X. I didn’t get my ponytails secured as tightly since we were just going to be pulling this out anyway – so make sure they are far enough apart and the rubber bands are tightened enough so they don’t end out looking like curvy X’s! LOL
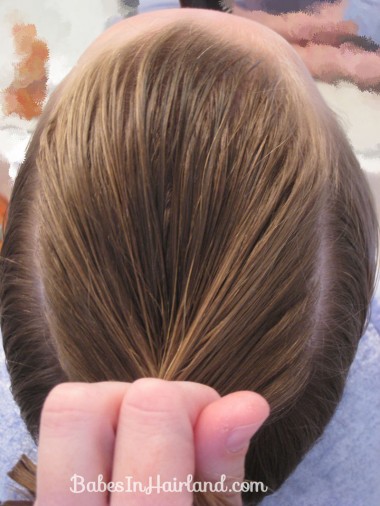
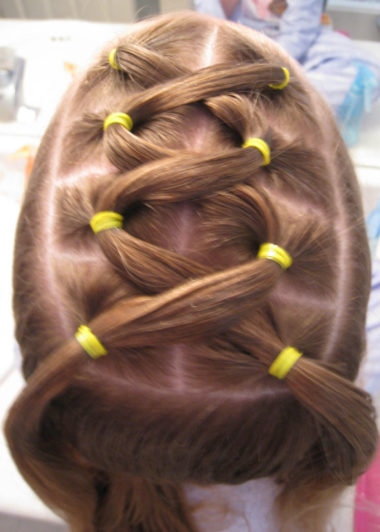
Repeat a 4th time so the top of the head looks something like this:
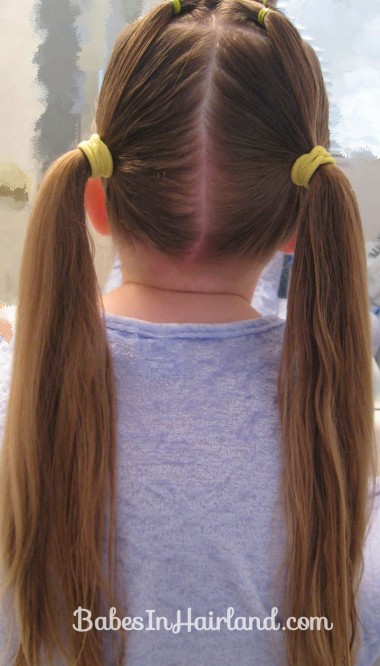
Now part the rest of the hair hanging down in back straight down the middle … or as straight as possible! Bug is seriously starting to get even more annoying curl wave in back and it makes getting a straight part almost impossible these days!
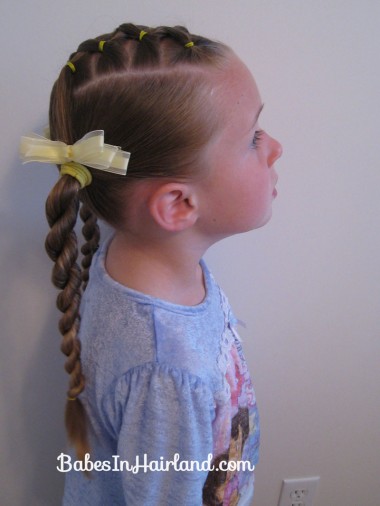
Comb back the hair on each side into a ponytail – being sure to include the “tail” from the criss-crosses you made on top of the head.
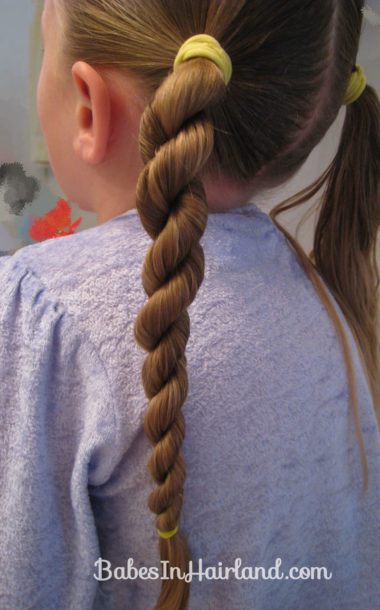
Then once you’ve tied them off into ponytails – make a twist braid/corkscrew twist in each of them & tie them off on the bottom with a rubber band.
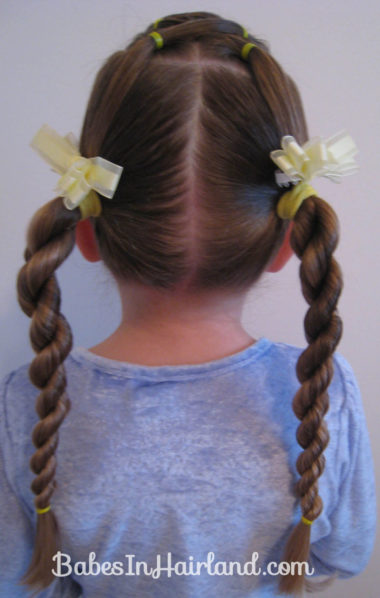
Add a bow or flower above each of the rope braid/twists and you’re good to go …. or in our case … go to bed! And just in case you were wondering – no – she didn’t sleep with her hair like this! I know – all this work only to pull it out! But this one is actually quick and easy so it was no big deal!
She was more than ready for bed because her silliness level went way up … she was standing at “attention” like someone in the military when I was trying to get these pictures!
And a “spacey look” to tie the whole cute look together! haha
This is a fun one for a day when you have just a few extra minutes in the morning and you don’t just want regular ol’ pig tails. So thanks April for inquiring how this one was done – and thanks to Jami for sending in the pictures!
