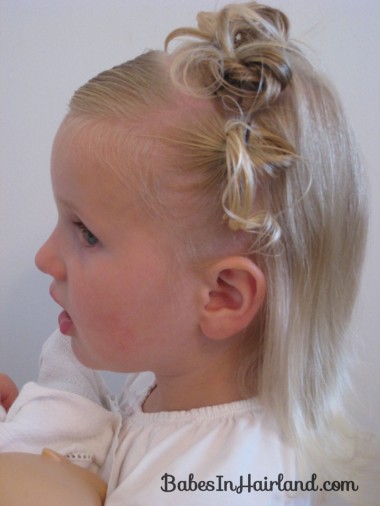
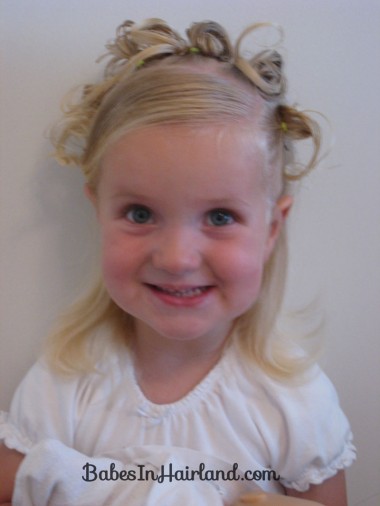
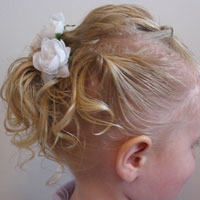
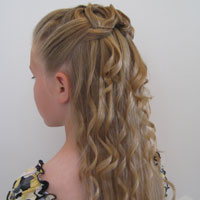
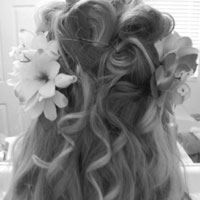
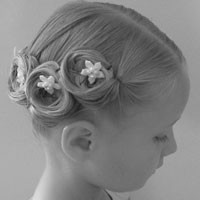
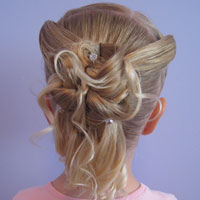
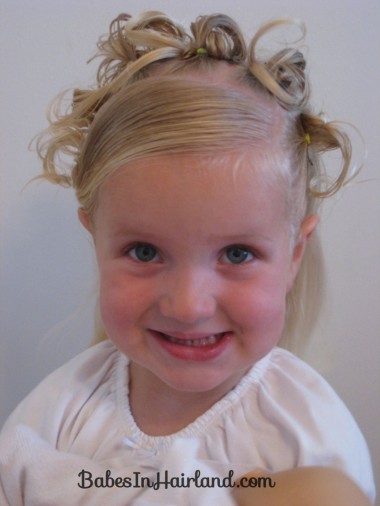
 This turned out much different than I thought it would, because I forgot how long Bee’s hair has gotten. I had wanted a more ” fun/playful – spunky/punky” look when I had thought this out in my head, but in the end I think it turned more on the pretty and more formal end of the spectrum – maybe a bit too grown up for her little head – but pretty all the same! That’s not bad – but if her hair had been shorter, it probably would have turned out more the way I’d envisioned. I’m still going to seek out a shorter head of hair to do a bit different version of this because in my mind it would be a fun one for a tween w/shorter hair. We’ll see if that ever happens though!
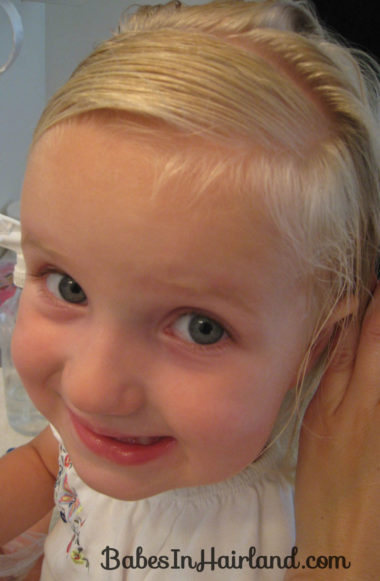
Pardon my pictures on this. Bee is excellent about sitting still and letting me do her hair, but as a 2 year old does, she moves a lot sometimes, and so trying to get a decent shot of her head that wasn’t blurred continues to be an issue – and trying to get her to realize she doesn’t have to turn her head and smile at the camera every time I take a picture is also a hurdle when it comes to step-by-steps with her! Case in point:
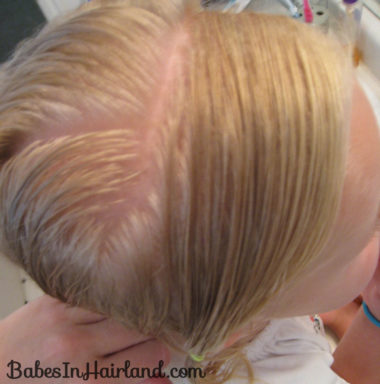
Begin by making “bangs” if your DD doesn’t already have them. In my case I sort of did a “comb over” bang- parting the hair a bit past the left temple clear over to behind the right ear. Then secure it with a rubberband behind the right ear.
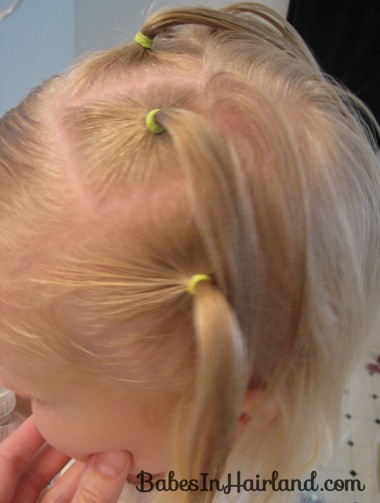
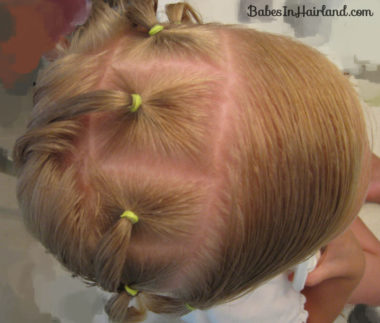
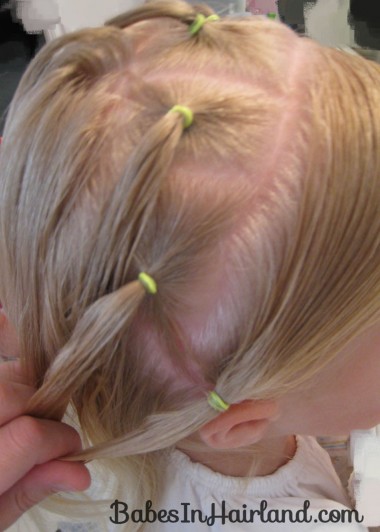
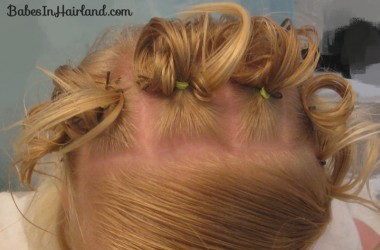
Start on the left side of the head and part hair out in little square sections. I parted from the left ear and worked my way across the head – making 5 little pony’s – securing each with a rubber band.
The top view:
The right side view. You’ll have 5 mini pony’s and then technically a 6th one that is from the “bangs” that you tied off by the ear. If you don’t have to “make” the bangs, be sure to make a 6th ponytail by the right ear. Or I guess whatever # works across your little one’s head.
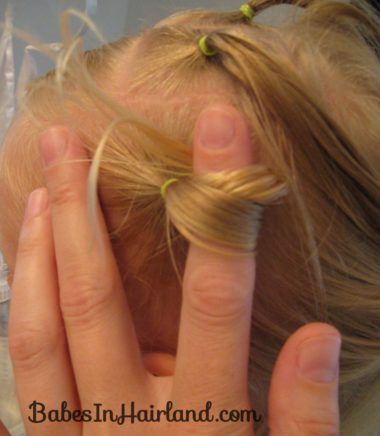
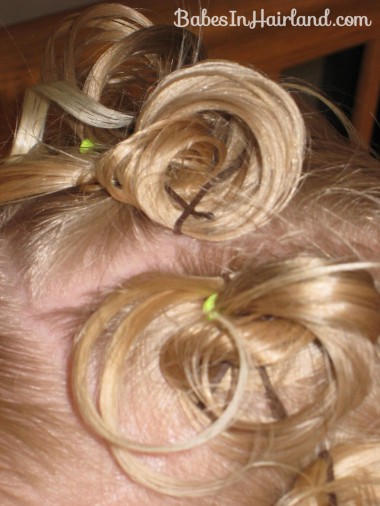
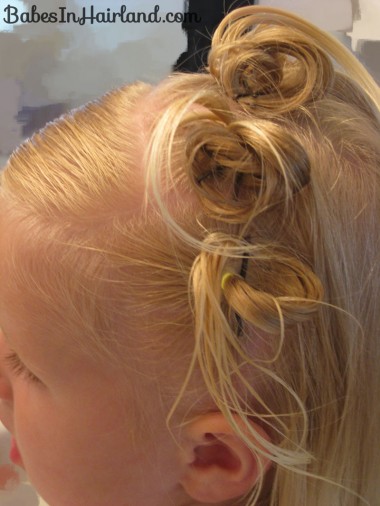
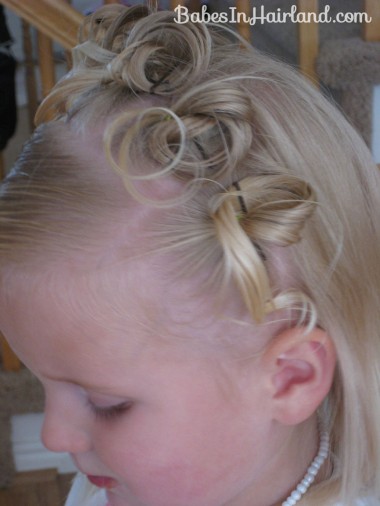
Then with each little ponytail, wrap it around your finger a couple times to make a loop or circle curl and then secure it with a bobby pin or two so that the hair forms a loop that sticks off the head – leaving the ends of the loop sticking out all willy-nilly. Depending on the length of hair you are working with – you may have to wrap the hair more times around your finger – or just once if it’s shorter hair.
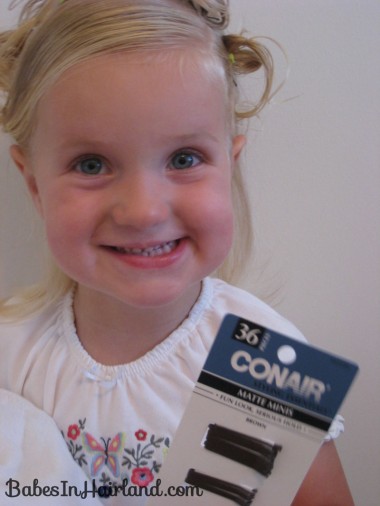
I know I’ve mentioned small bobby pins before, but recently one of my readers, Vera, introduced me to some other great little bobby pins by Conair (that Bee is fabulously showing you!) that are actually a bit smaller than the ones I’ve gotten at Sally’s. I’ll share more about these in a later post.
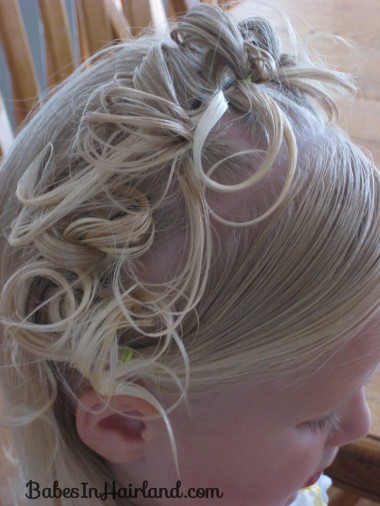
Sorry I didn’t get more pictures of how I secured the loops, but I needed both hands to do it so this is definitely where it would be nice to have a 3rd or 4th hand! So I tried to get some close ups of the curls/loops so you could see what I did. Don’t know if this helps or not – sorry!
It doesn’t matter if the loose ends that aren’t secured down are sticking towards the face or towards the back of the head. This is what makes the style playful. I forgot, however, that Bee still has a bit of natural curl going on, so some of them just naturally curled here and there, and then I touched the rest of them up with our little curling iron. If her hair had been shorter and didn’t have the curl my plan was to just let the hair stick out wherever it felt like!
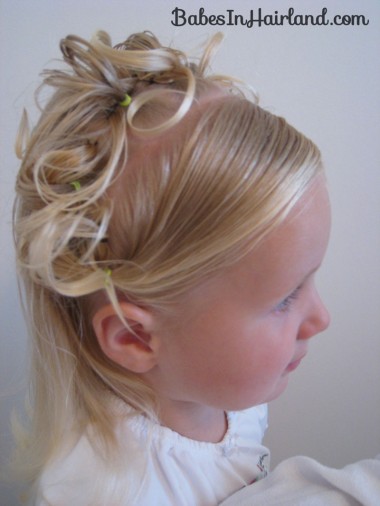
This is after I touched some of the ends up with the curling iron. (I had to follow her around the house at this point to get a few decent shots!)
A view from the top/front.
From the right side:
And the left:
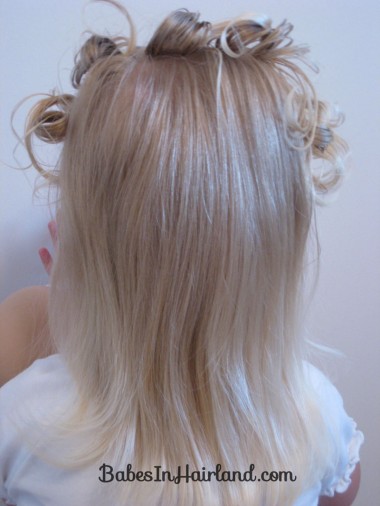
I had my flat iron on a low setting and gently turned up the ends on the back of her hair. You certainly could curl it a ton in the back if you wanted. I just wanted it more a drastic difference.
Blurry – but you hopefully get the idea. She looked so pretty in real life – the pictures don’t do it justice! But what else is a mother going to say?! 🙂 She called it her “Pin-cess” hair! I thought it looked like a crown or headband of curls. I didn’t add any other accessories to this do but you certainly could play around with mini-flowers and the like if you want.
