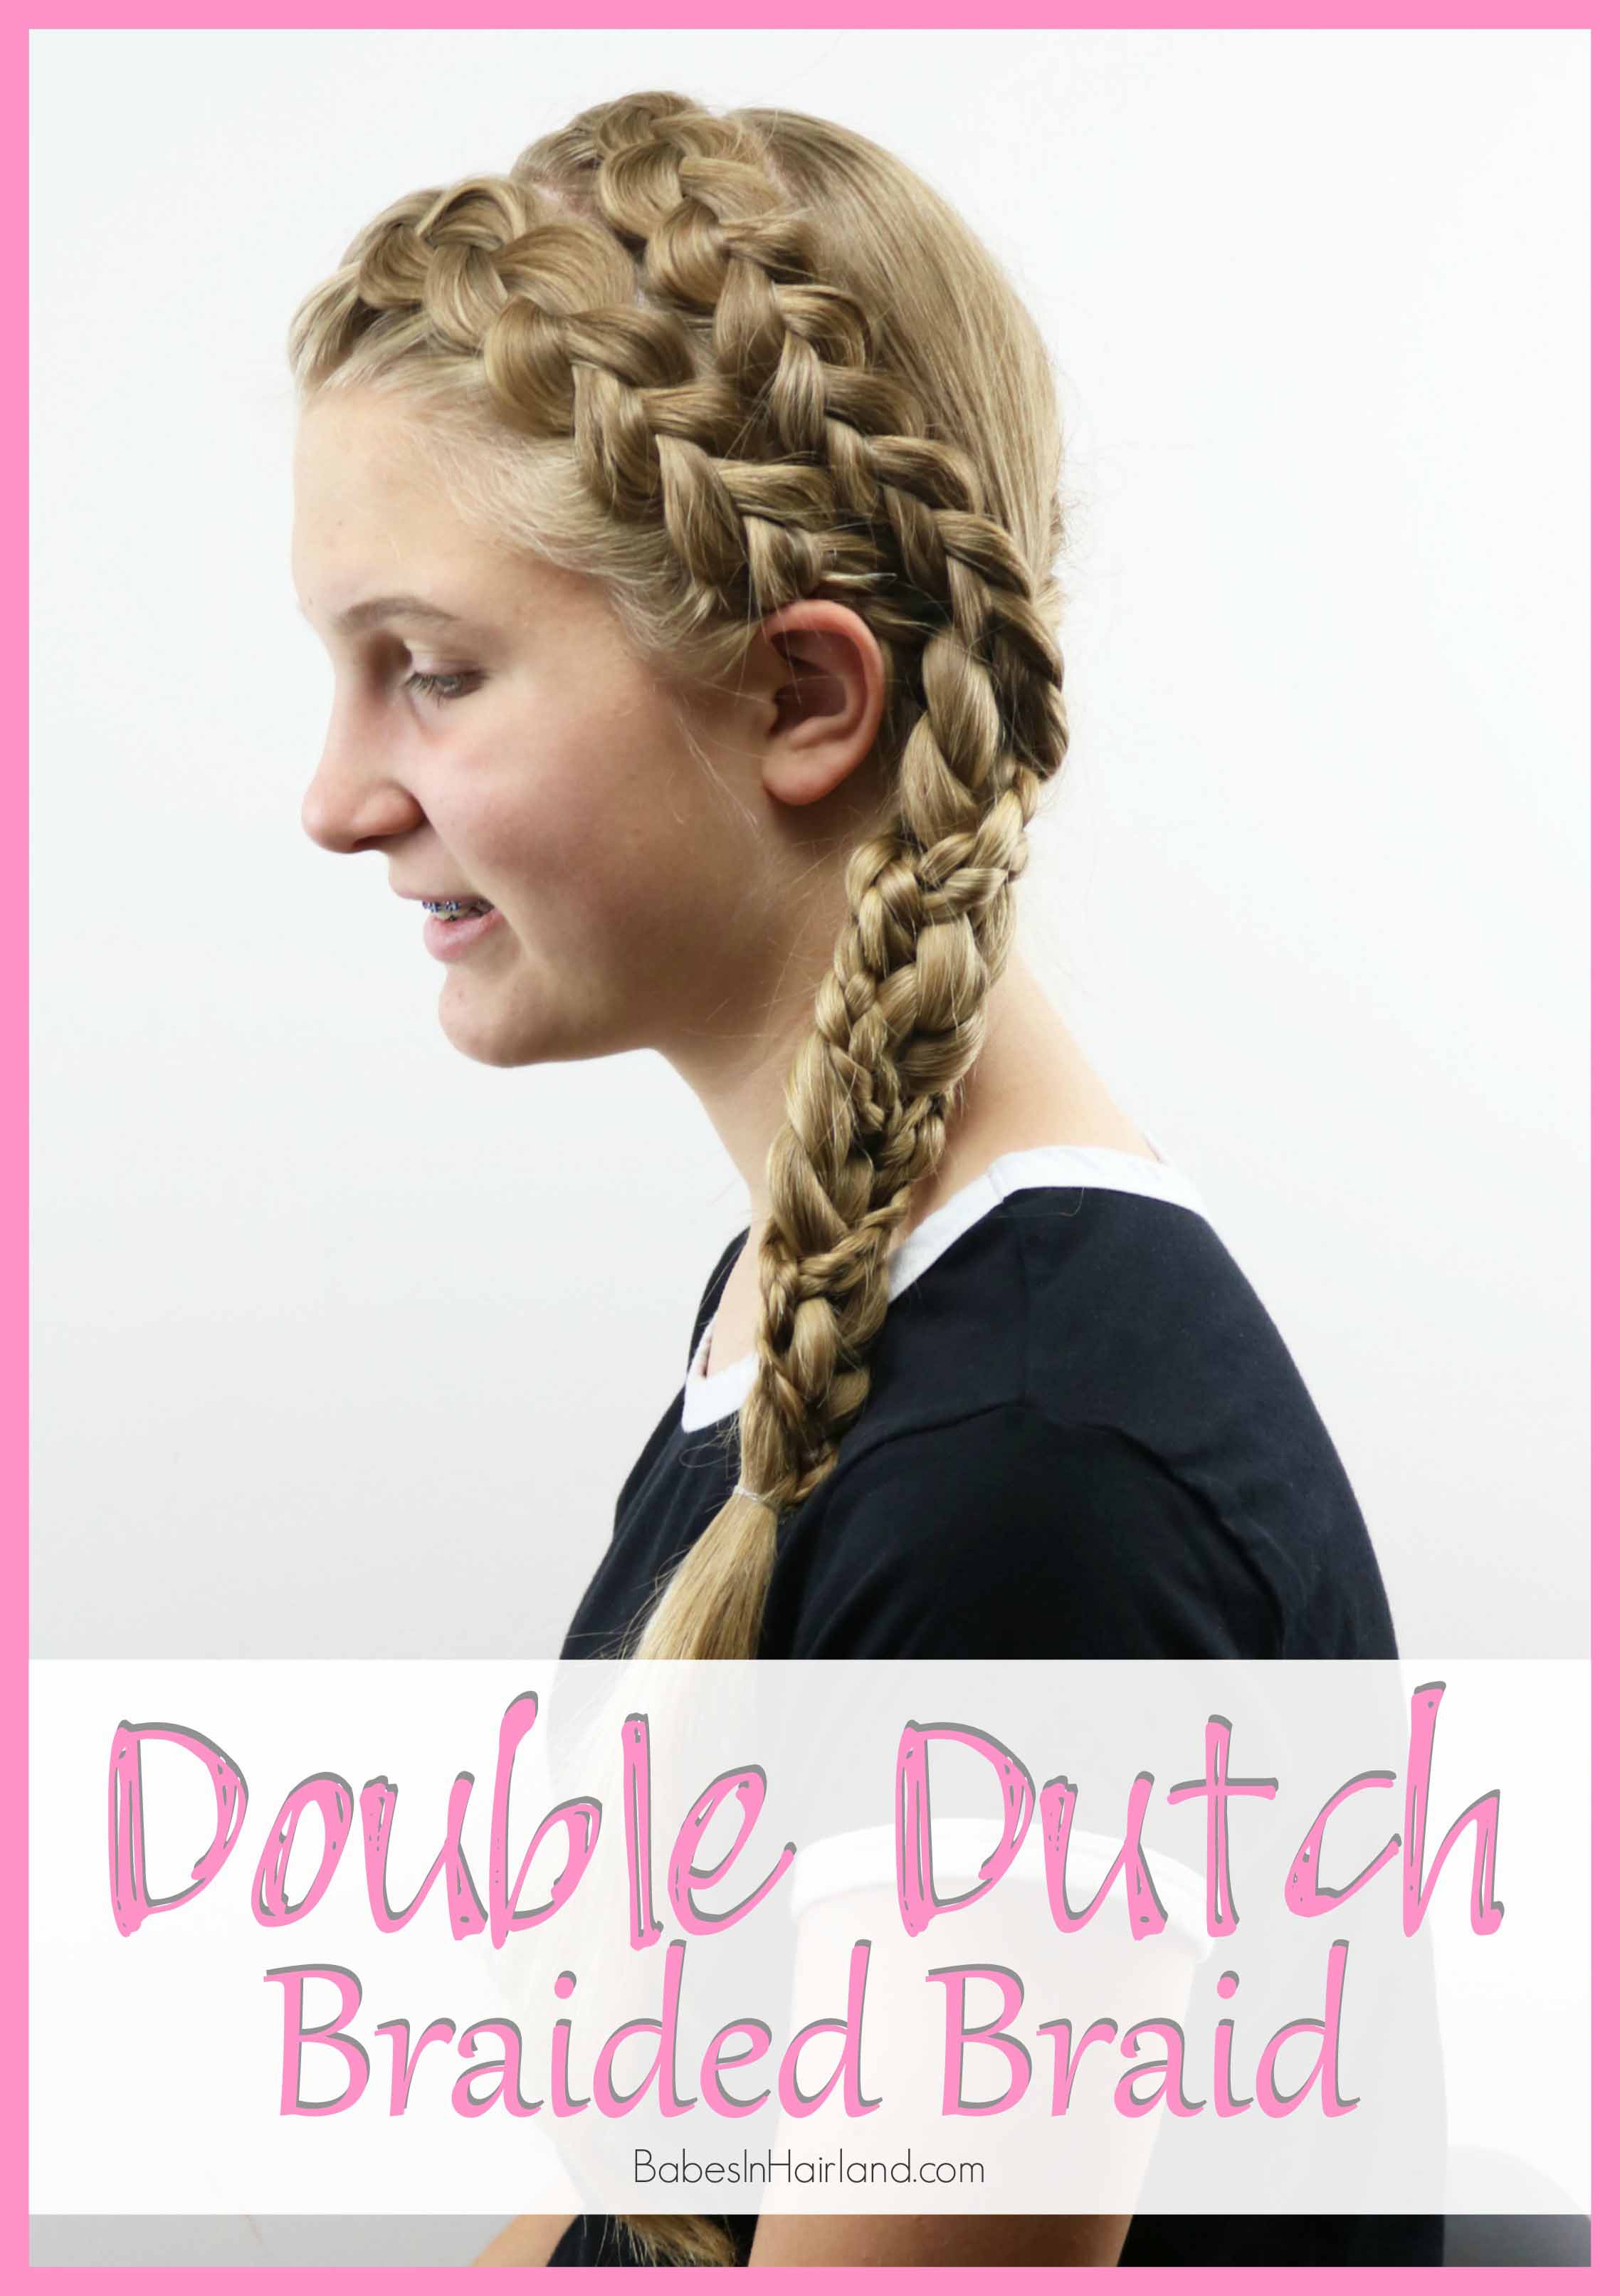
 This pretty style is one that you can do on yourself if you know how to braid your own hair, or you can have your mom or a friend help you out with it! It’s one that is awesome for any age or occasion. Those are the best kind of hairstyles, in my opinion!
Here’s our short video and then below are the step-by-step instructions as well as more pictures of this gorgeous style.
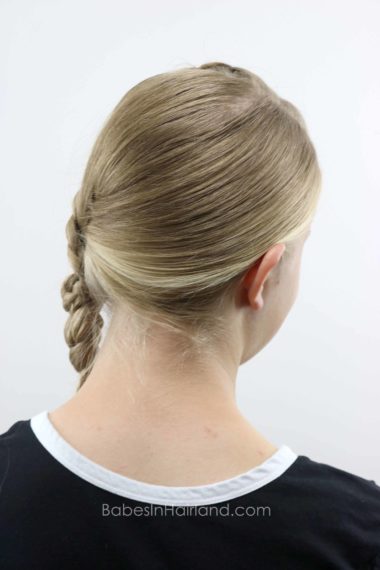
Step 1- Make an off-center part on top right of the head
Step 2 – Make a part branching off from that part near the crown that is vertical down behind the the left ear
With all remaining hair in back & on the right, combine it into a clip or elastic to hold it out of the way for now.
Step 3 – With that section of hair on the left side of the head, make another part from the off-center part, down vertically to the front of the left ear. Now you’ll have 2 long vertical rectangular sections of hair near the the face and left ear.
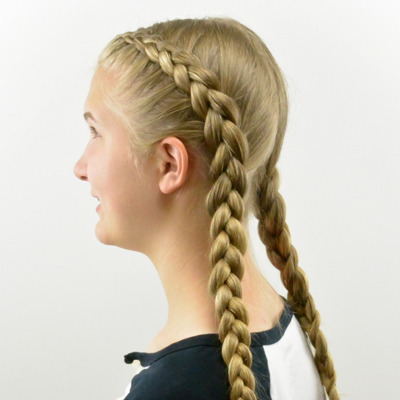
Step 4 – With the section closest to the face, up near the off-center part on the right, begin a Dutch braid (inside out French braid)
If it helps, clip the other section of hair nearest the ear out of the way temporarily.
Step 5 – Remember a Dutch braid passes the hair under instead of over like a regular French braid
If you need help with Dutch braids, you can watch my 14 year old’s DIY Dutch French Braid video HERE. You would just need to pancake them after, she keeps hers nice and tight!
Step 6 – Gently pull on the edges of the Dutch braid as you go to pancake it and make it flat & wide
Step 7 – Once you reach the ear & can no longer add hair, just continue making a regular 3 strand braid to the end & secure with an elastic
Only pancake the Dutch braid part of this braid. As you do the regular 3 strand braid, keep that tight for later.
Step 8 – Repeat Steps 4-7 with the 2nd rectangle section of hair near the left ear
Step 9 – With all remaining hair in back that you might have had clipped off, draw it over to the left side of the head & make a regular 3 strand braid just behind the left ear & secure the end with an elastic.
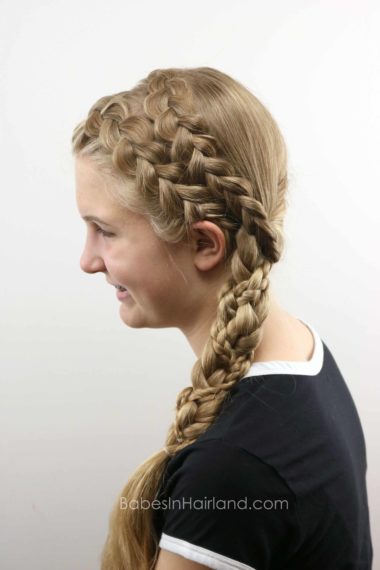
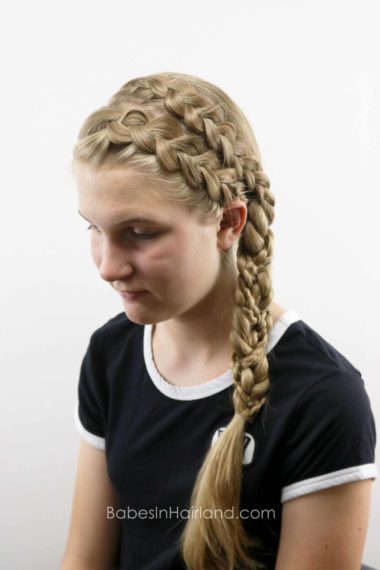
Step 10 – With the 2 Dutch braids, draw the one closest to the face back and pass it under the thick braid you just finished in Step 9. Then bring the other Dutch braid closest to the ear over the top of the thick braid from Step 9, then pass it under the thick braid so it ends up on the left side of it.
Step 11 – Begin a regular 3 strand braid, using the 2 thin braids from your Dutch braids and the big thick braid from Step 9
Step 12 -Braid these 3 braids together and once you reach the end, secure with another elastic.
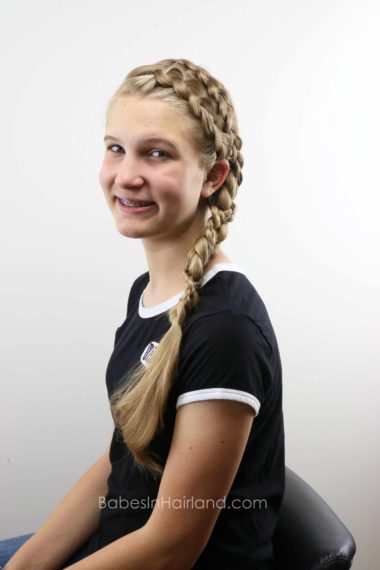
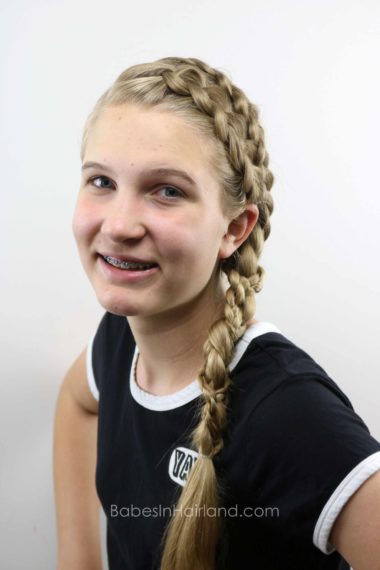
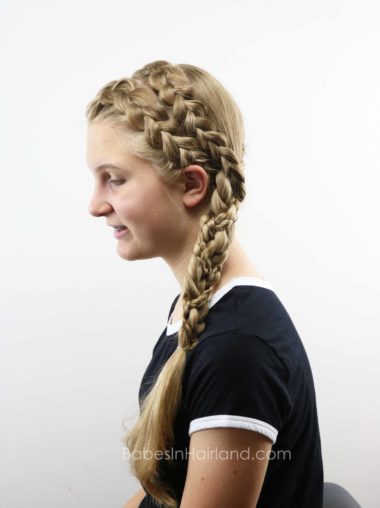
FINISHED!
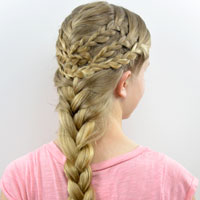
Here’s a few pictures more up close of the Dutch braids & then the 3 braids braided together. It looks fabulous!
If you like Dutch braids, also try this fun & funky one! Go HERE for our Dutch Braid Messy Bun Fauxhawk tutorial.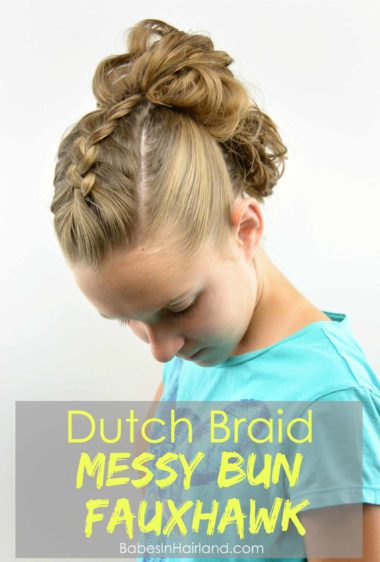
Be sure to pin this pretty one & share with your friends! Comment and let us know if you can do this on yourself or if you’ll have to try it on someone else! Thanks for reading & we’ll see ya next week!
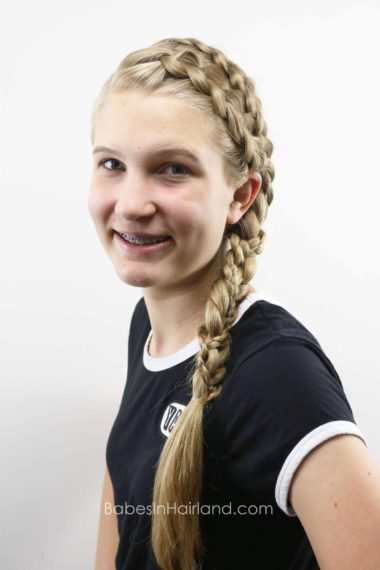
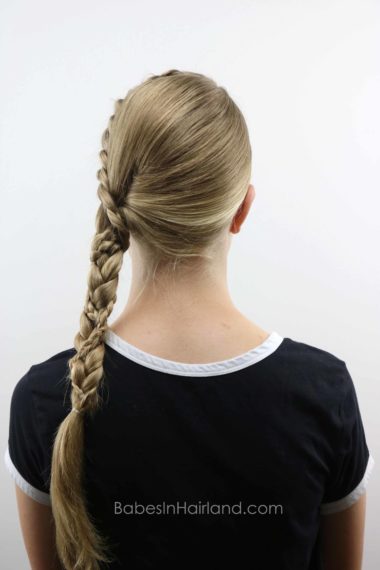
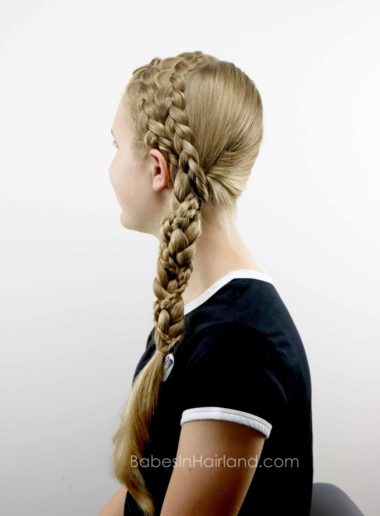
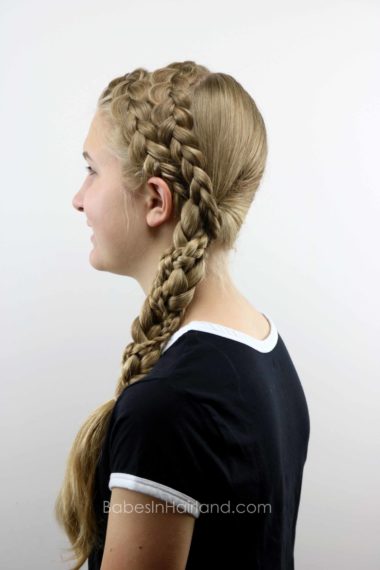
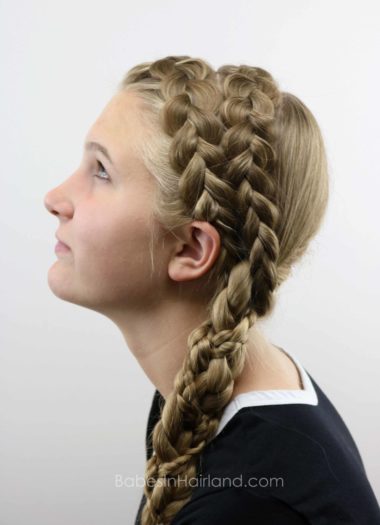
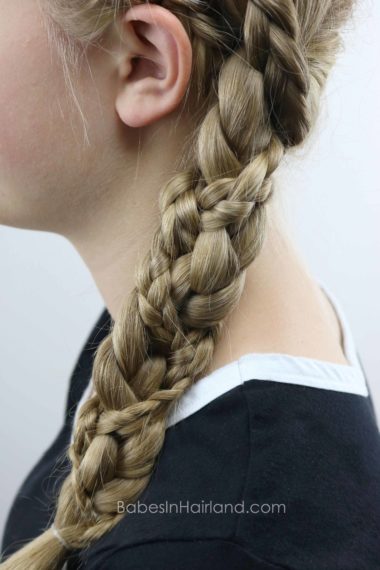
What I love about braids is they’re very versatile. You can wear it casually or formally. This braid in particular is really pretty!
Thank you so much! I agree, braids are so versatile and are great for really any occasion!