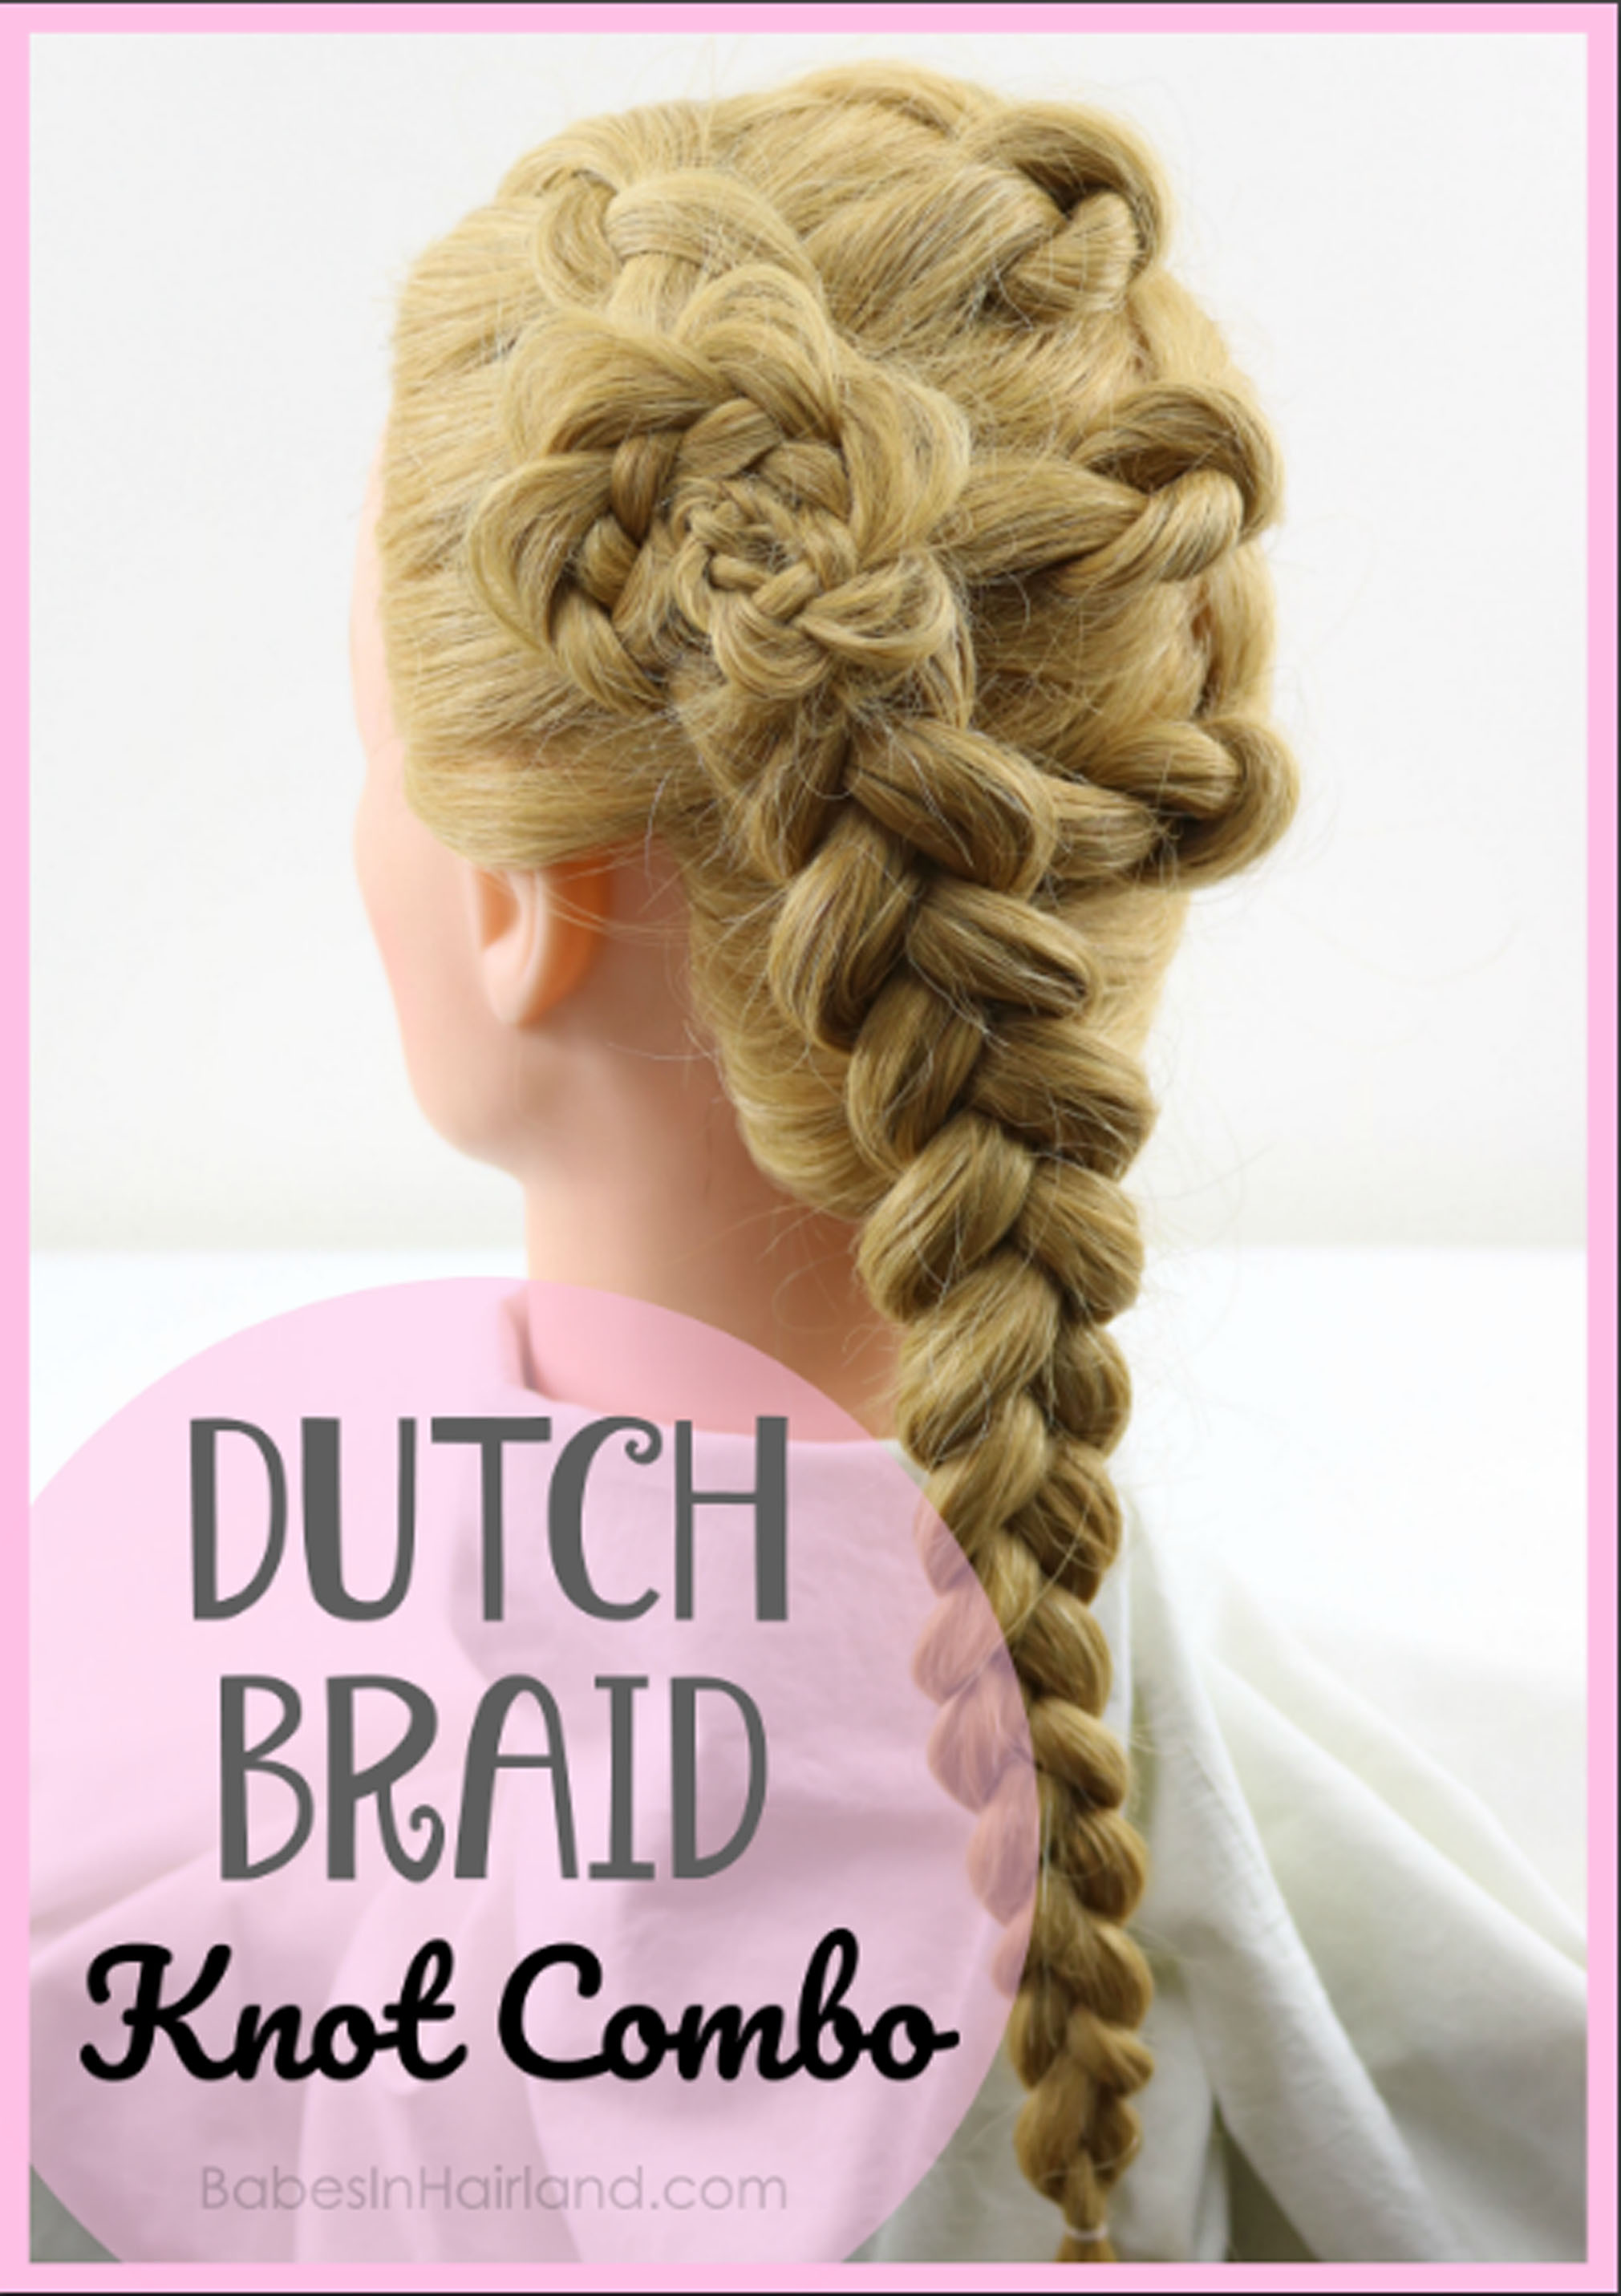
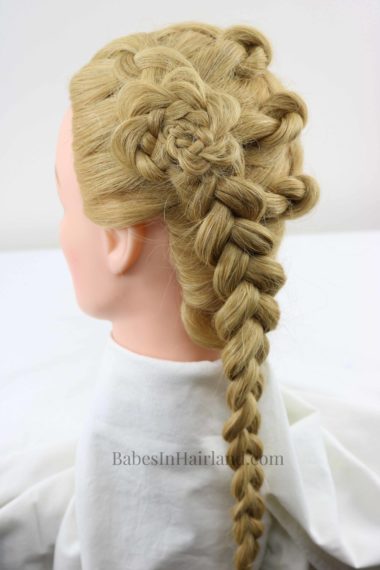
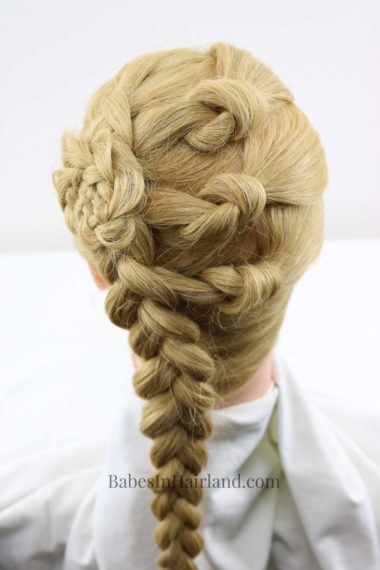
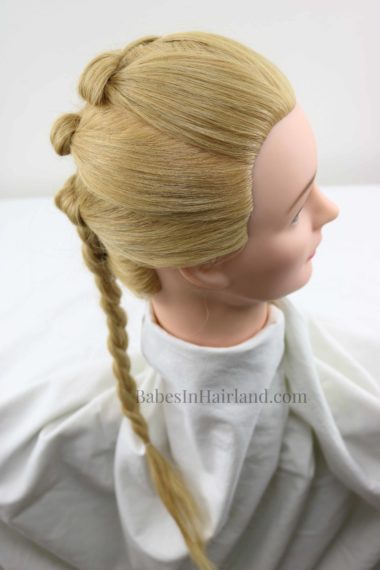
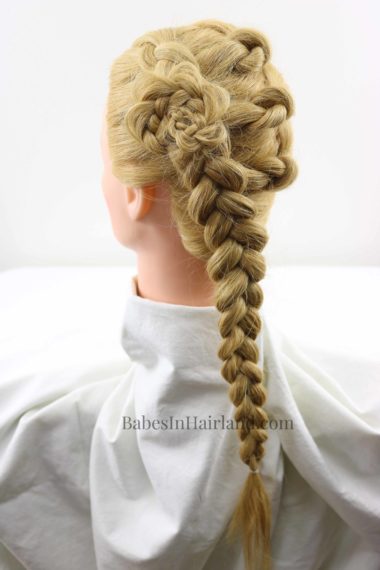
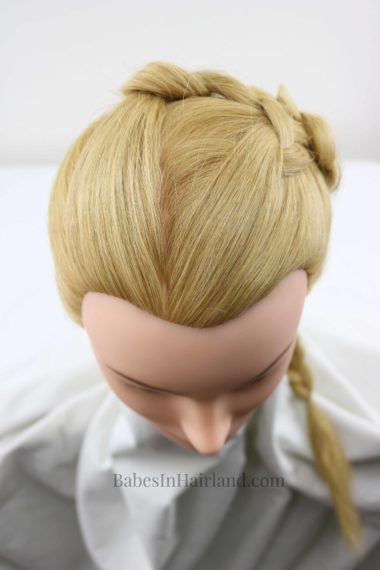
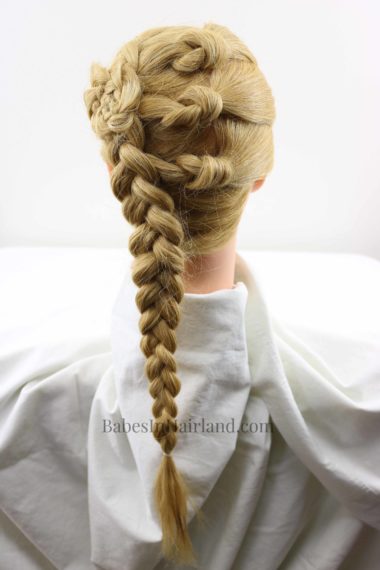
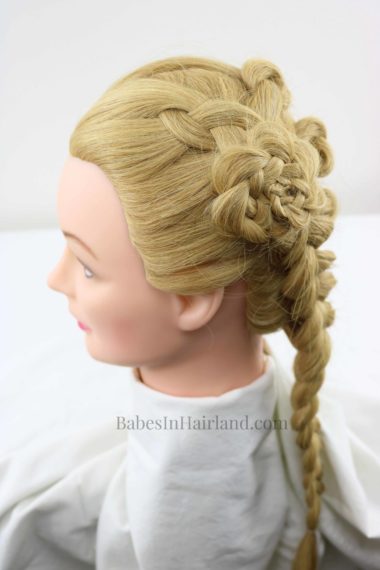
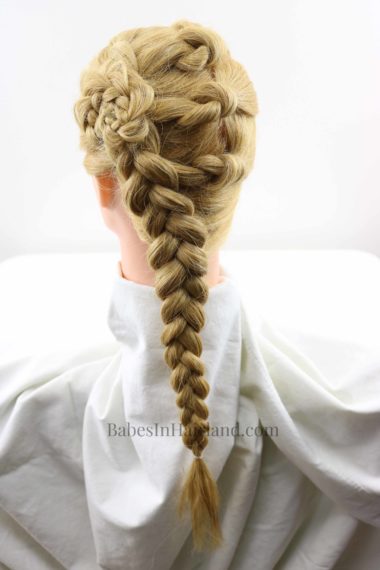
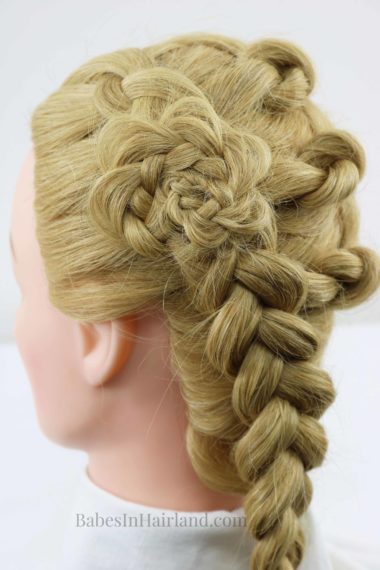
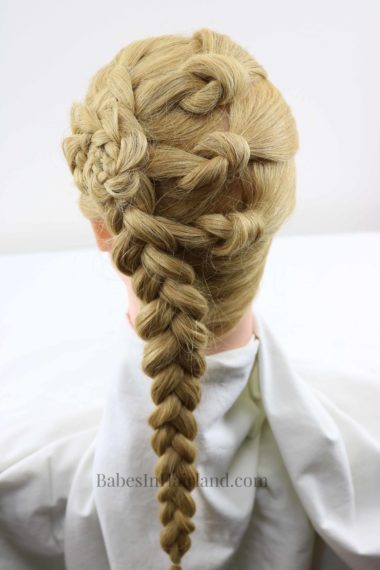
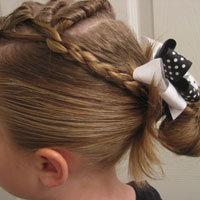
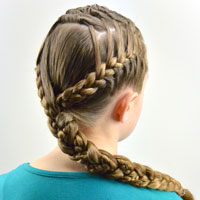
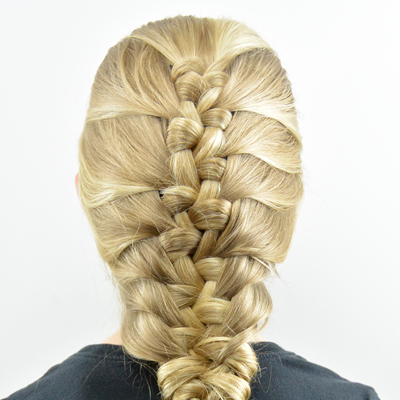
Our tutorial this week is a really pretty one, and incorporates several different techniques. From knots to a Dutch braid, we know you’ll like this one. I hope you’re ok that I did the tutorial on my “fake daughter” aka my mannequin Nicole! Lately the girls are so busy and are rarely home which makes filming a new style for you a bit harder. Having them gone a lot is a sign they are growing up, or so I’m told! Sigh! Anyway, I recently was trying out different things on my mannequin and thought I’d film and share this one since I love how it turned out.
Here’s our short video showing how it’s done. If you can’t view it here, head over HERE to our YouTube channel to watch it.
1 – Make an off-center part on the right side of the head. It should stop about 2/3 of the way down the head.
2 – Part from the middle of the right ear over to the part from Step 1. Temporarily clip all this hair on the right side out of the way.
3 – With all the hair on the left side, create a Dutch braid.
You can make a regular French braid here if you want, I just like how the Dutch braid looked for this. If you need help with Dutch braids, check out THIS video from McKayla where she hows how to Dutch braid.
4 – Braid all the way down until you run out of hair and secure the end of the braid with an elastic.
5 – On the right, divide out hair from the temple back to the off-center part. With this hair, make a knot.
Wrap the hair around a few of your fingers, tuck the end through the center, and pull the ends out creating a knot with this section of hair. The knot should sit near or on the part that runs vertically along the back of the head.
6 – Temporarily secure the knot with a clip so it’s up and out of the way.
7 – Divide the remaining hair on the right in half so you have 2 more sections. Repeat Step 5 in each of these sections so you have 2 more knots.
8 – Next, you will need a Topsy Tail to lace the tails of the knots under and through your Dutch braid.
If you need a Topsy Tail, you can buy one HERE.
9 – Near the top of your Dutch braid, place the pointed end of the Topsy Tail under the braid so it sticks out the left side of the braid.
10 – Place the tail of the first knot on top, through the looped end of the Topsy Tail and pull it under and through the Dutch braid. The tail should hang out the left side of the braid.
11 – Repeat Step 10 with the other 2 knots so all 3 tails of the knots are hanging out the left side of the braid.
12 – With the 3 tails from your knots, pull things tight and create a regular 3 strand braid.
13 – Braid until you run out of hair. On the right side (only) of the braid, gently pull on the edges to make them loopy and scalloped.
14 – Wind the braid up into a flower bun so it sits on top of the Dutch braid.
15 – Secure the flower bun with bobby pins as needed.
FINISHED DUTCH BRAID KNOT COMBO
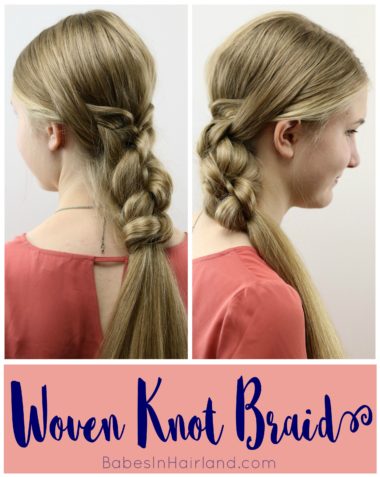
If you like styles with knots, check these out:
